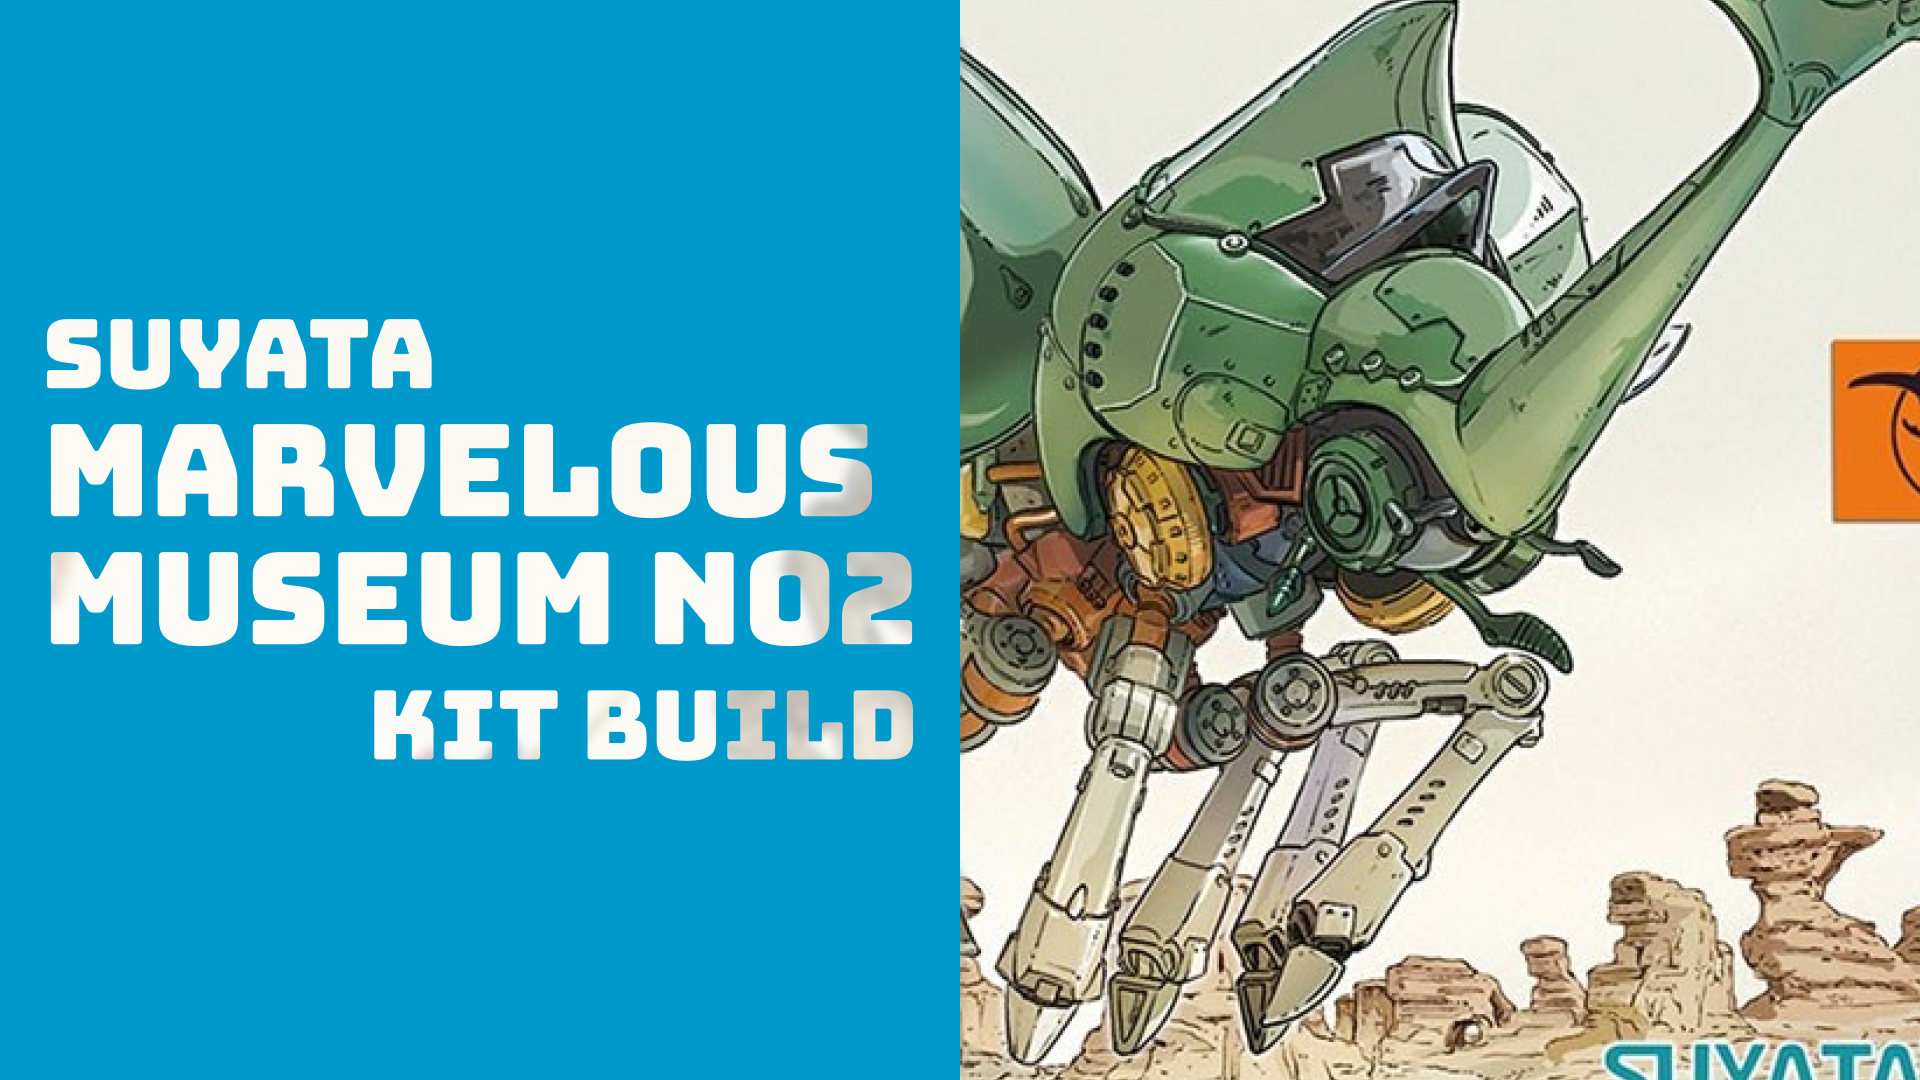
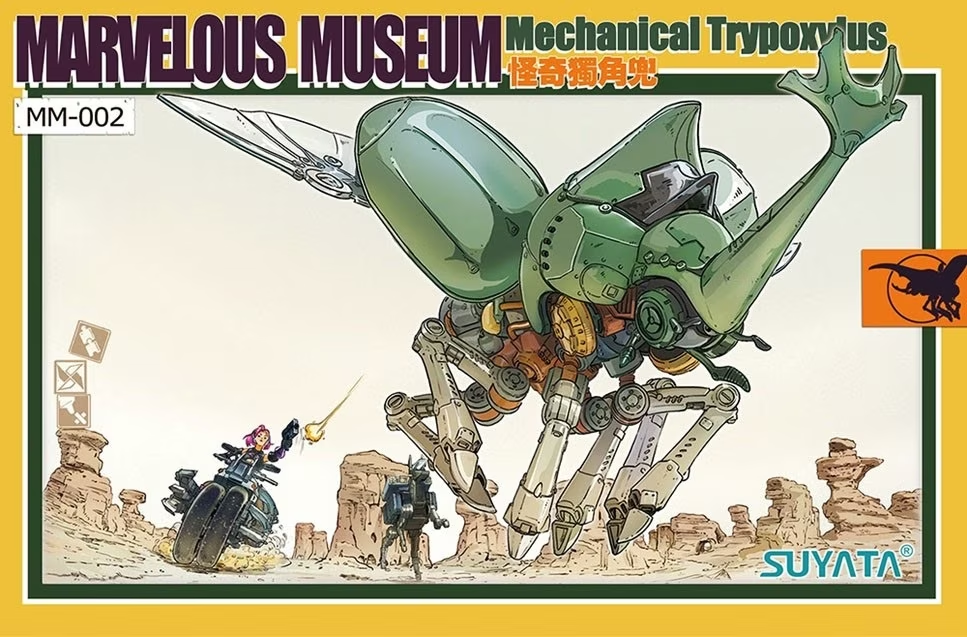
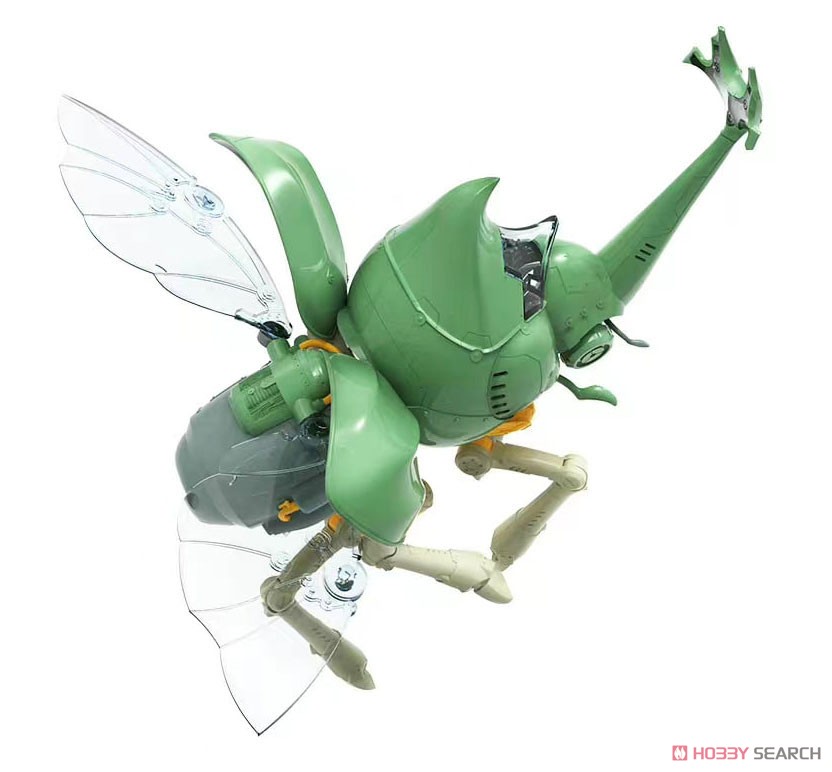
If you're wondering what the heck a Trypoxylus is - it's a Japanese Rhinocerous Beetle.
You may be familiar with the name Suyata as the maker of many sorts of models ranging from military to vehicles and other figure type kits. So it should come as no surprise that they also made a range of mechanical beetle kits under the set name of "Marvelous Museum".
At the time of writing, there are a total of 3, all sharing some common components but each unique in their own way representing their real life beetle counterpart. There were posts by Suyata about a 4th in the line in 2022, a King Crab type, but things seem to have fallen silent since then.
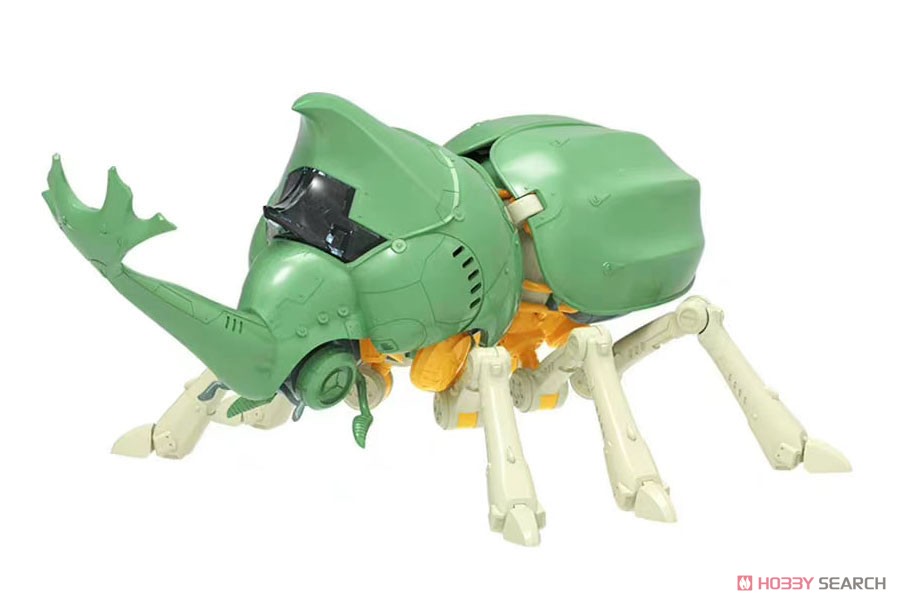
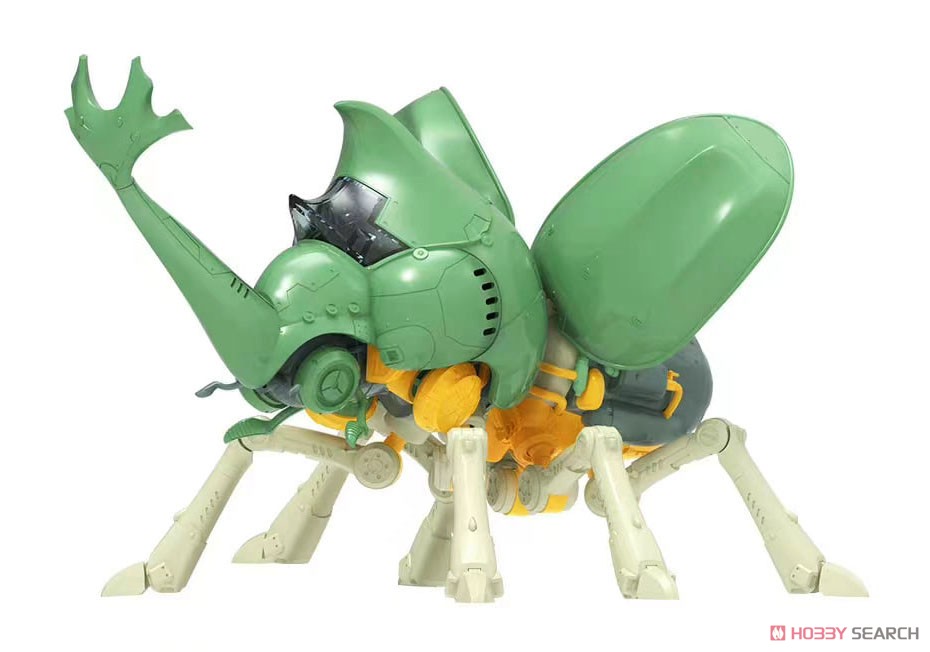
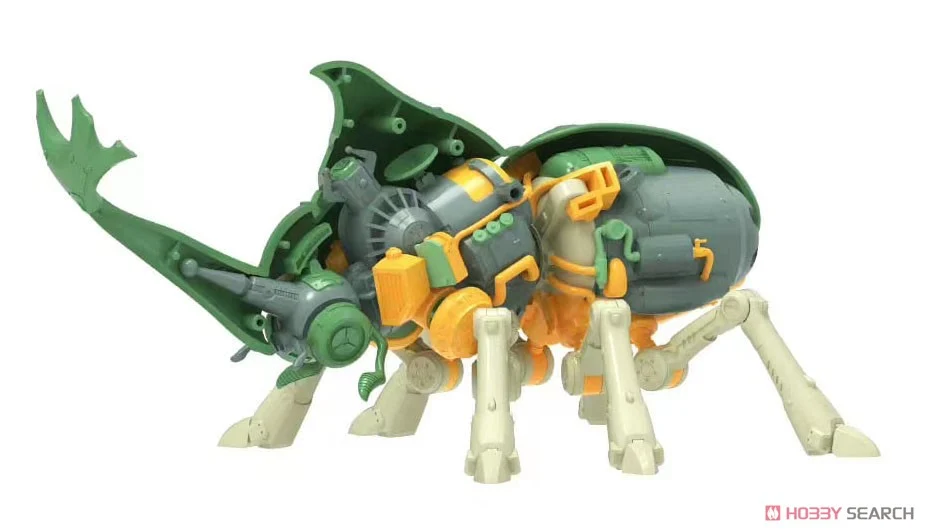
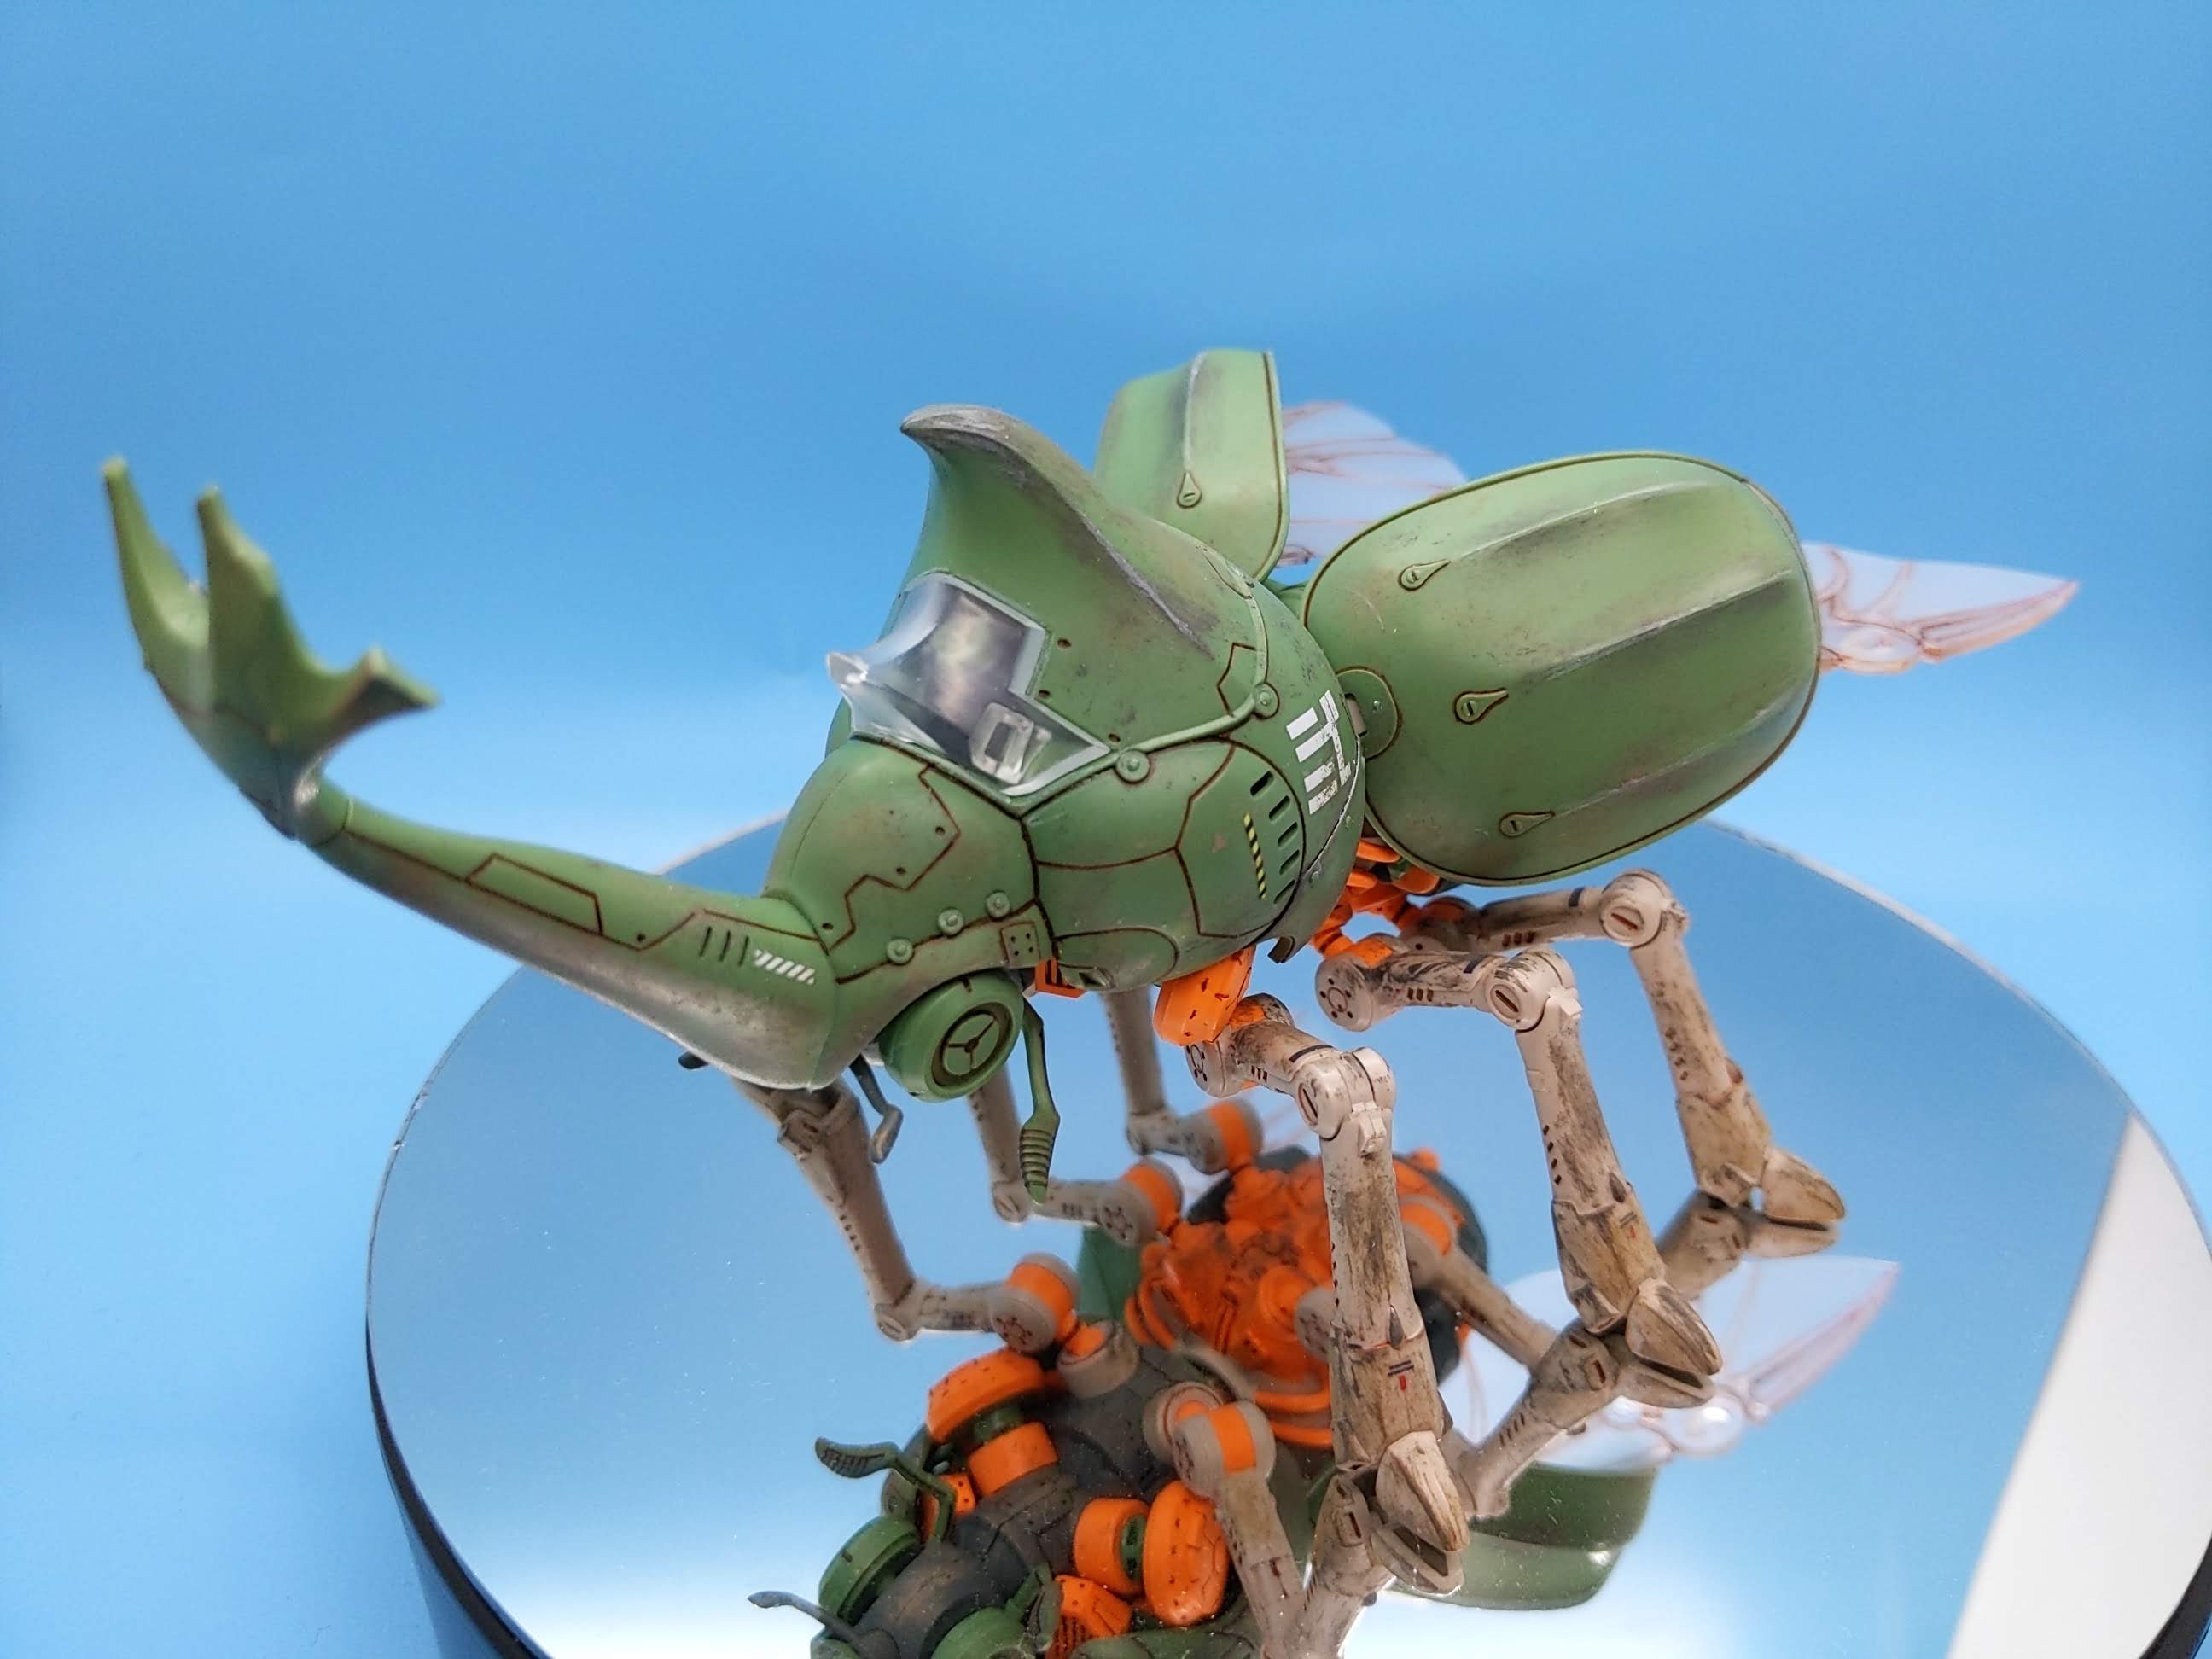
Overall I was quite happy with the whole kit. Very detailed inside, solid construction, and the colors are spot on meaning you don't really need to do any painting if you're content with the original scheme.
I forgot to take photos at various steps - sourced from Hobby Search (https://1999.co.jp/eng/10822332)
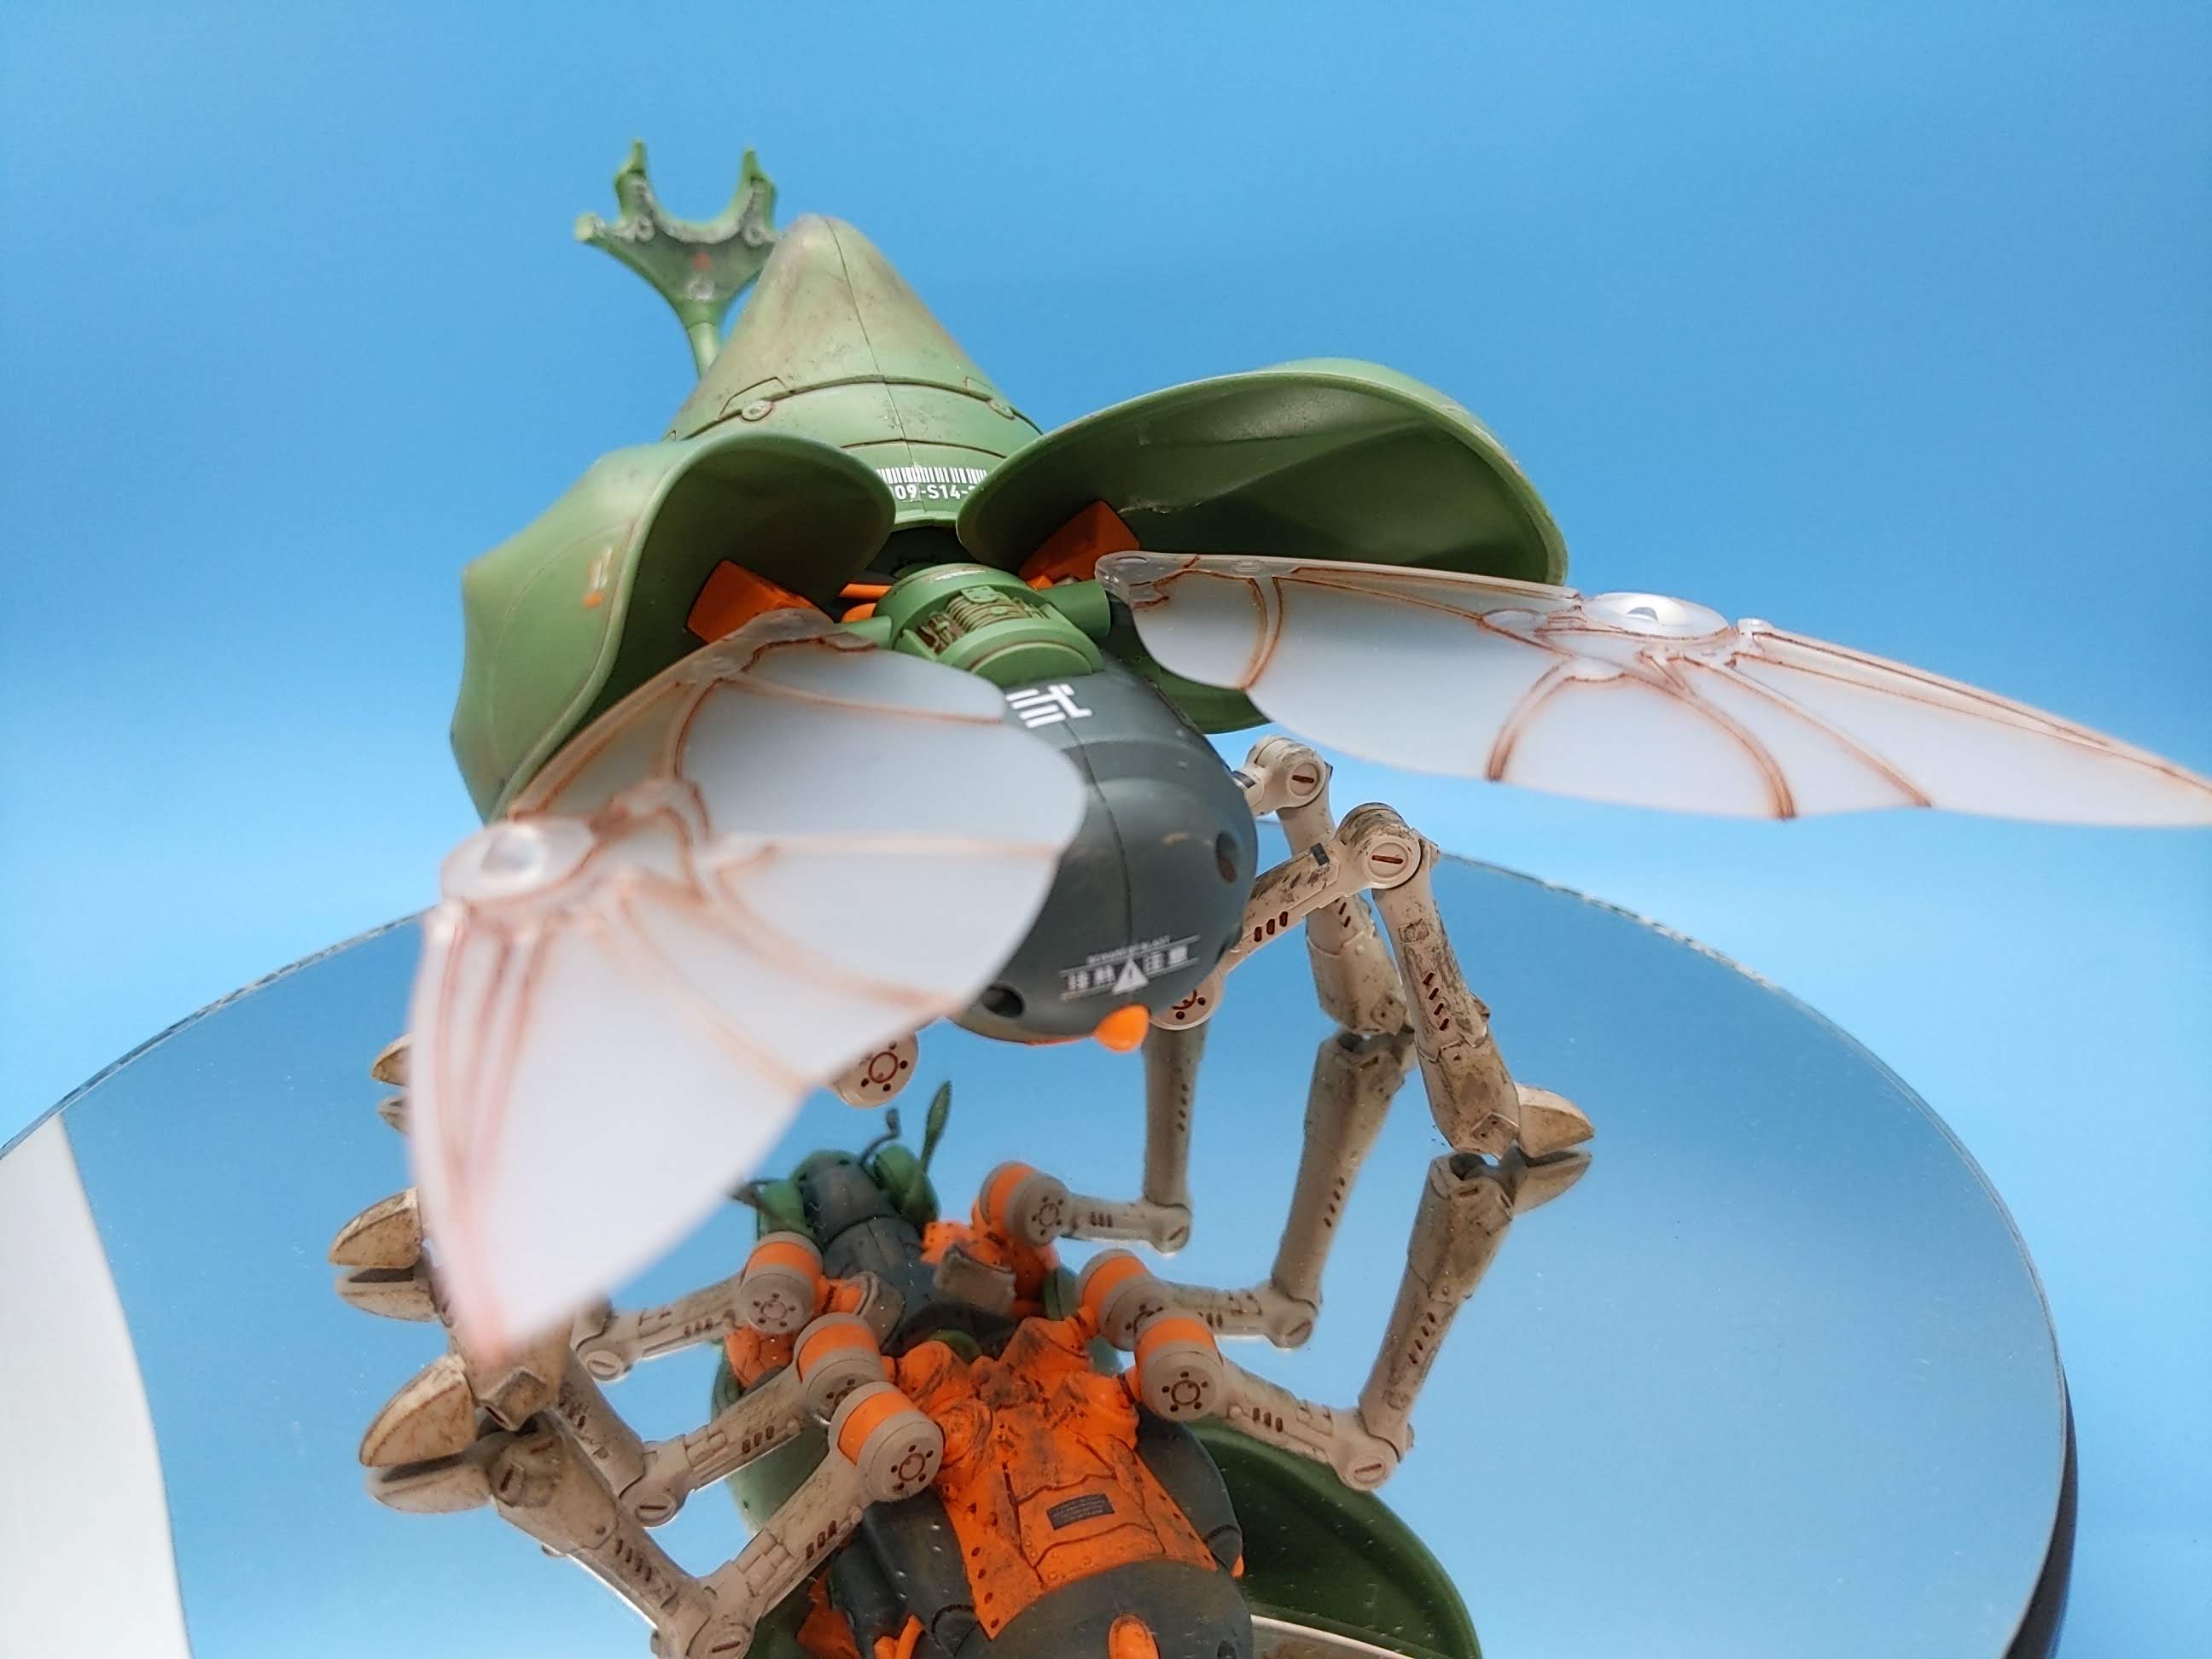
Given the content feeling of the out of box color scheme, my plans were leaning more towards focusing on the details and decals for this build. I also felt I at least owed it a bit of love to help ground it in the desert scene shown on the box with a touch of weathering.
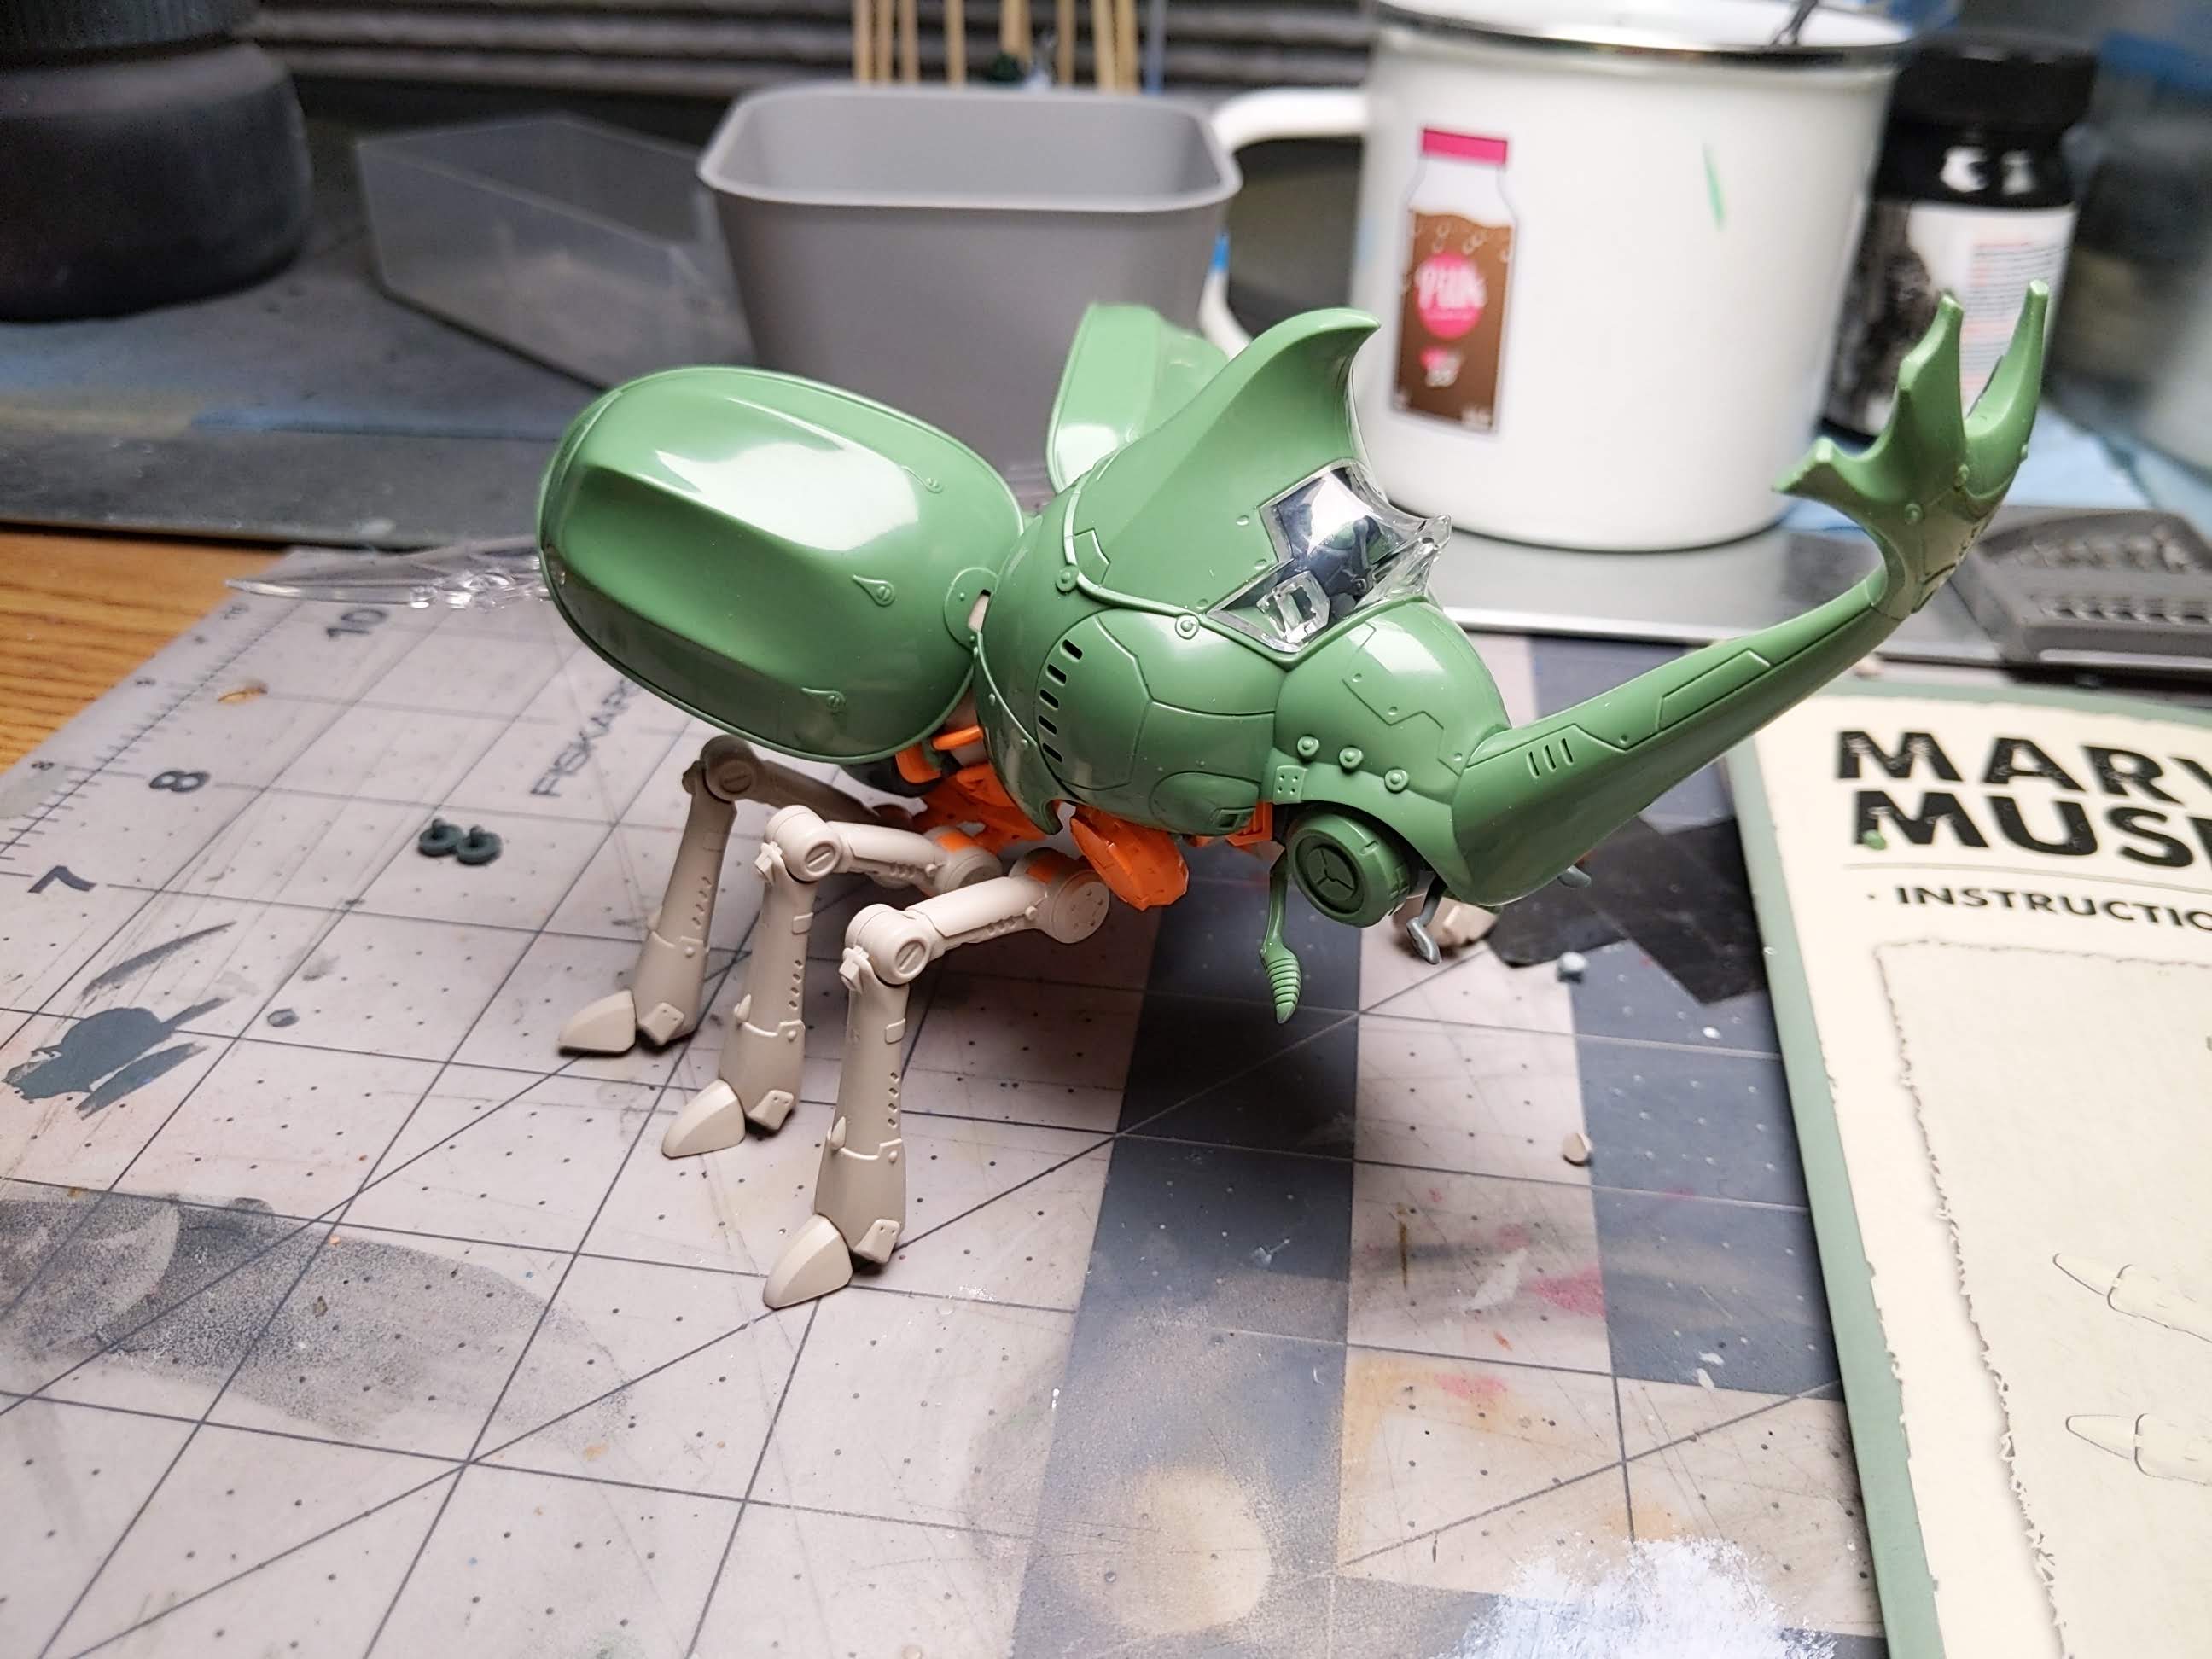
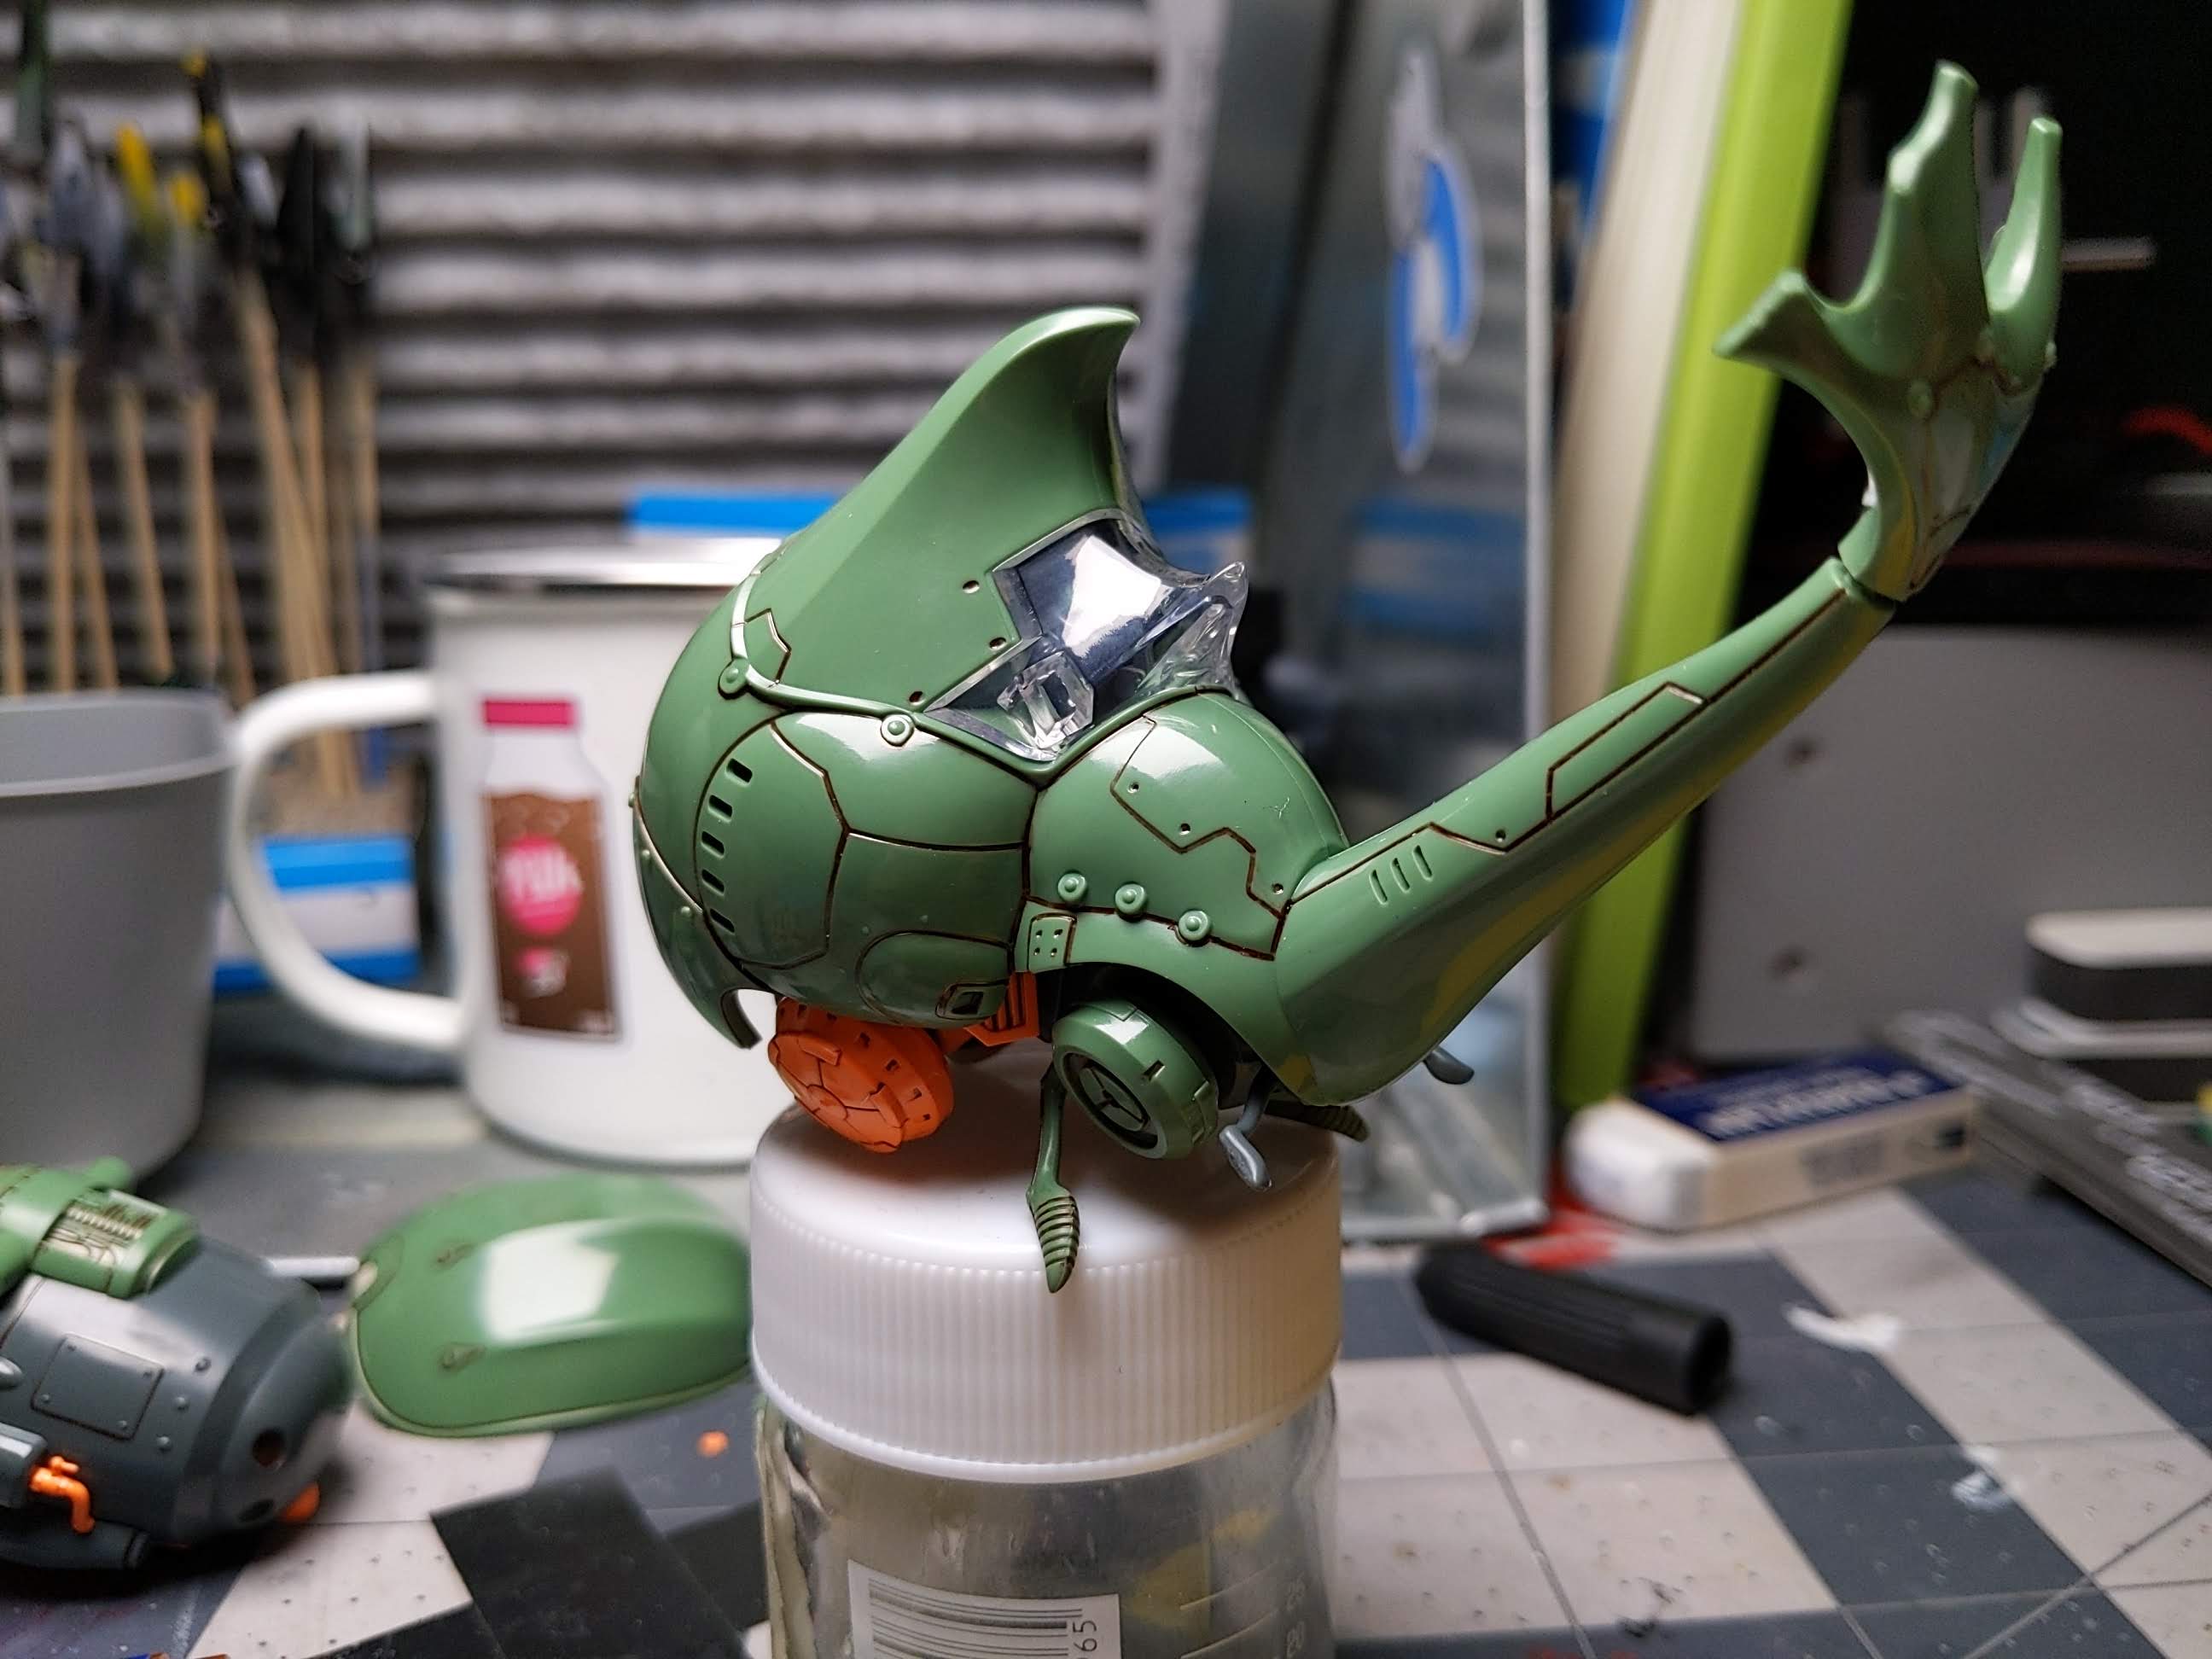
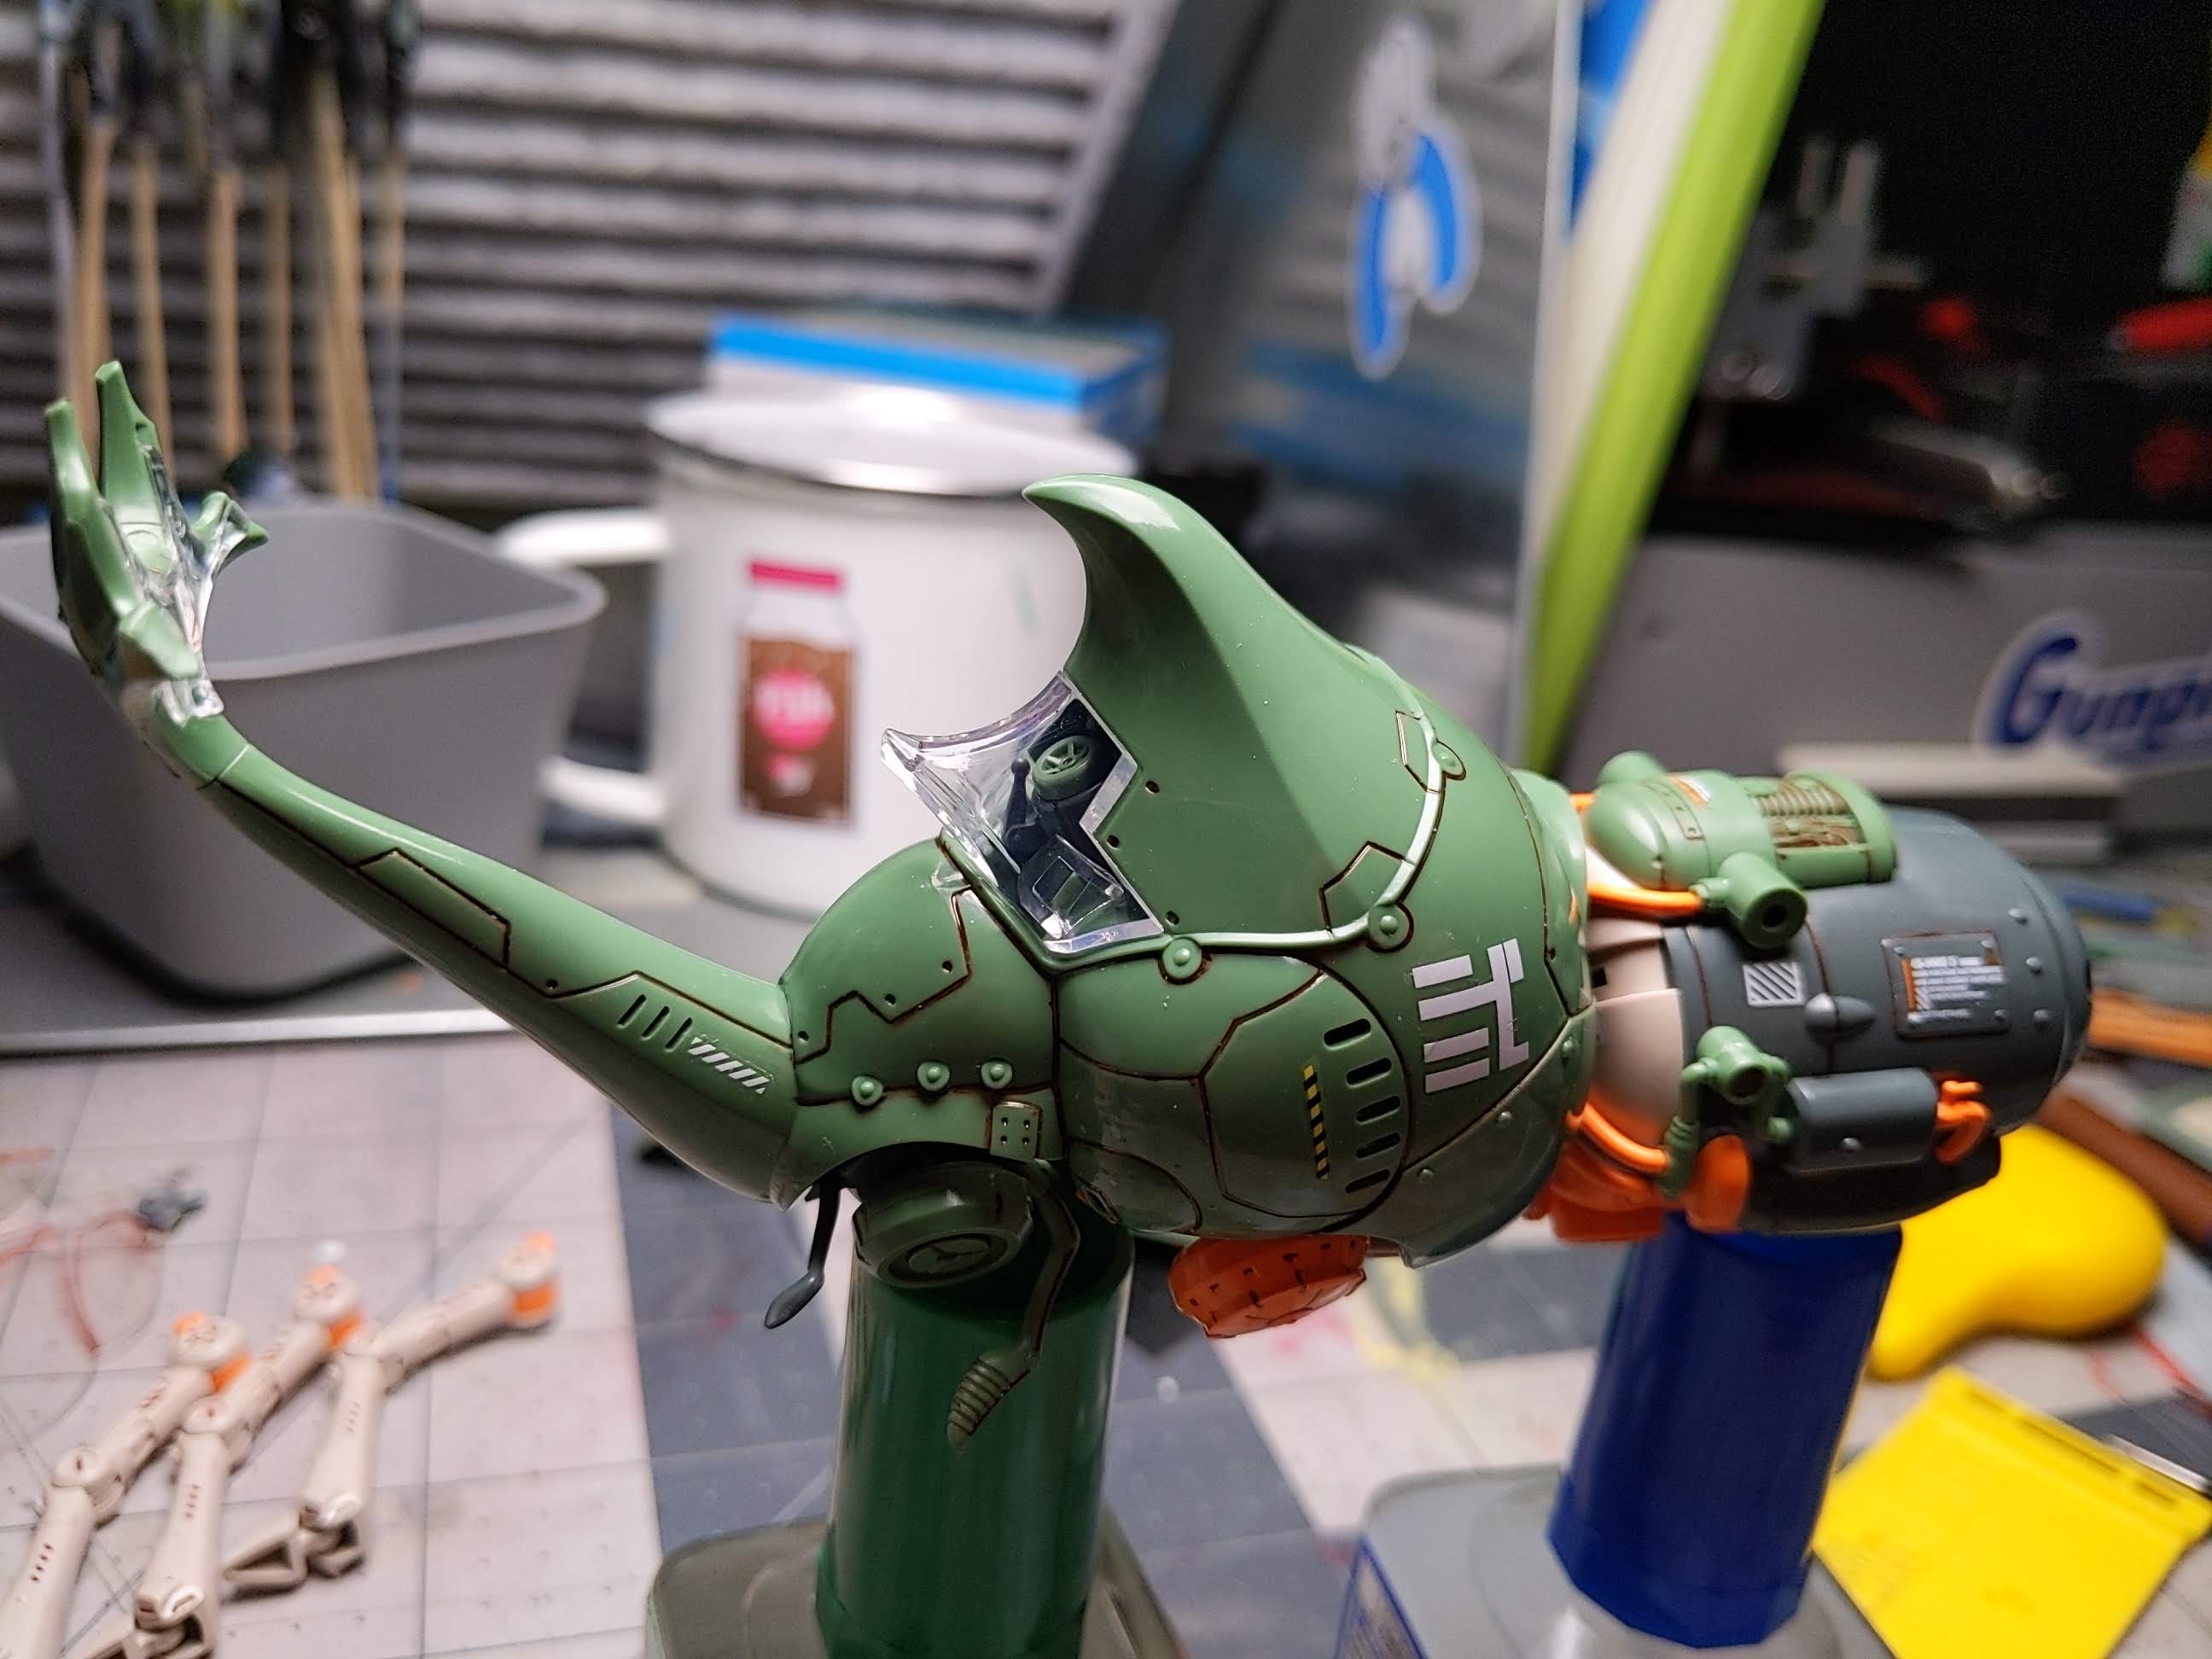
To get things started, I put my brown Gundam marker to use. I really liked how it plays against the green plastic. The decals I sourced from various sets I have amassed over time, particularly from HIQ parts and G-Rework. After cleaning up any excess panel lining, I moved onto giving it a semi-gloss coat to seal everything in and take away a bit of the glossy plastic. I probably should have removed the clear parts, but I liked keeping it all uniform.
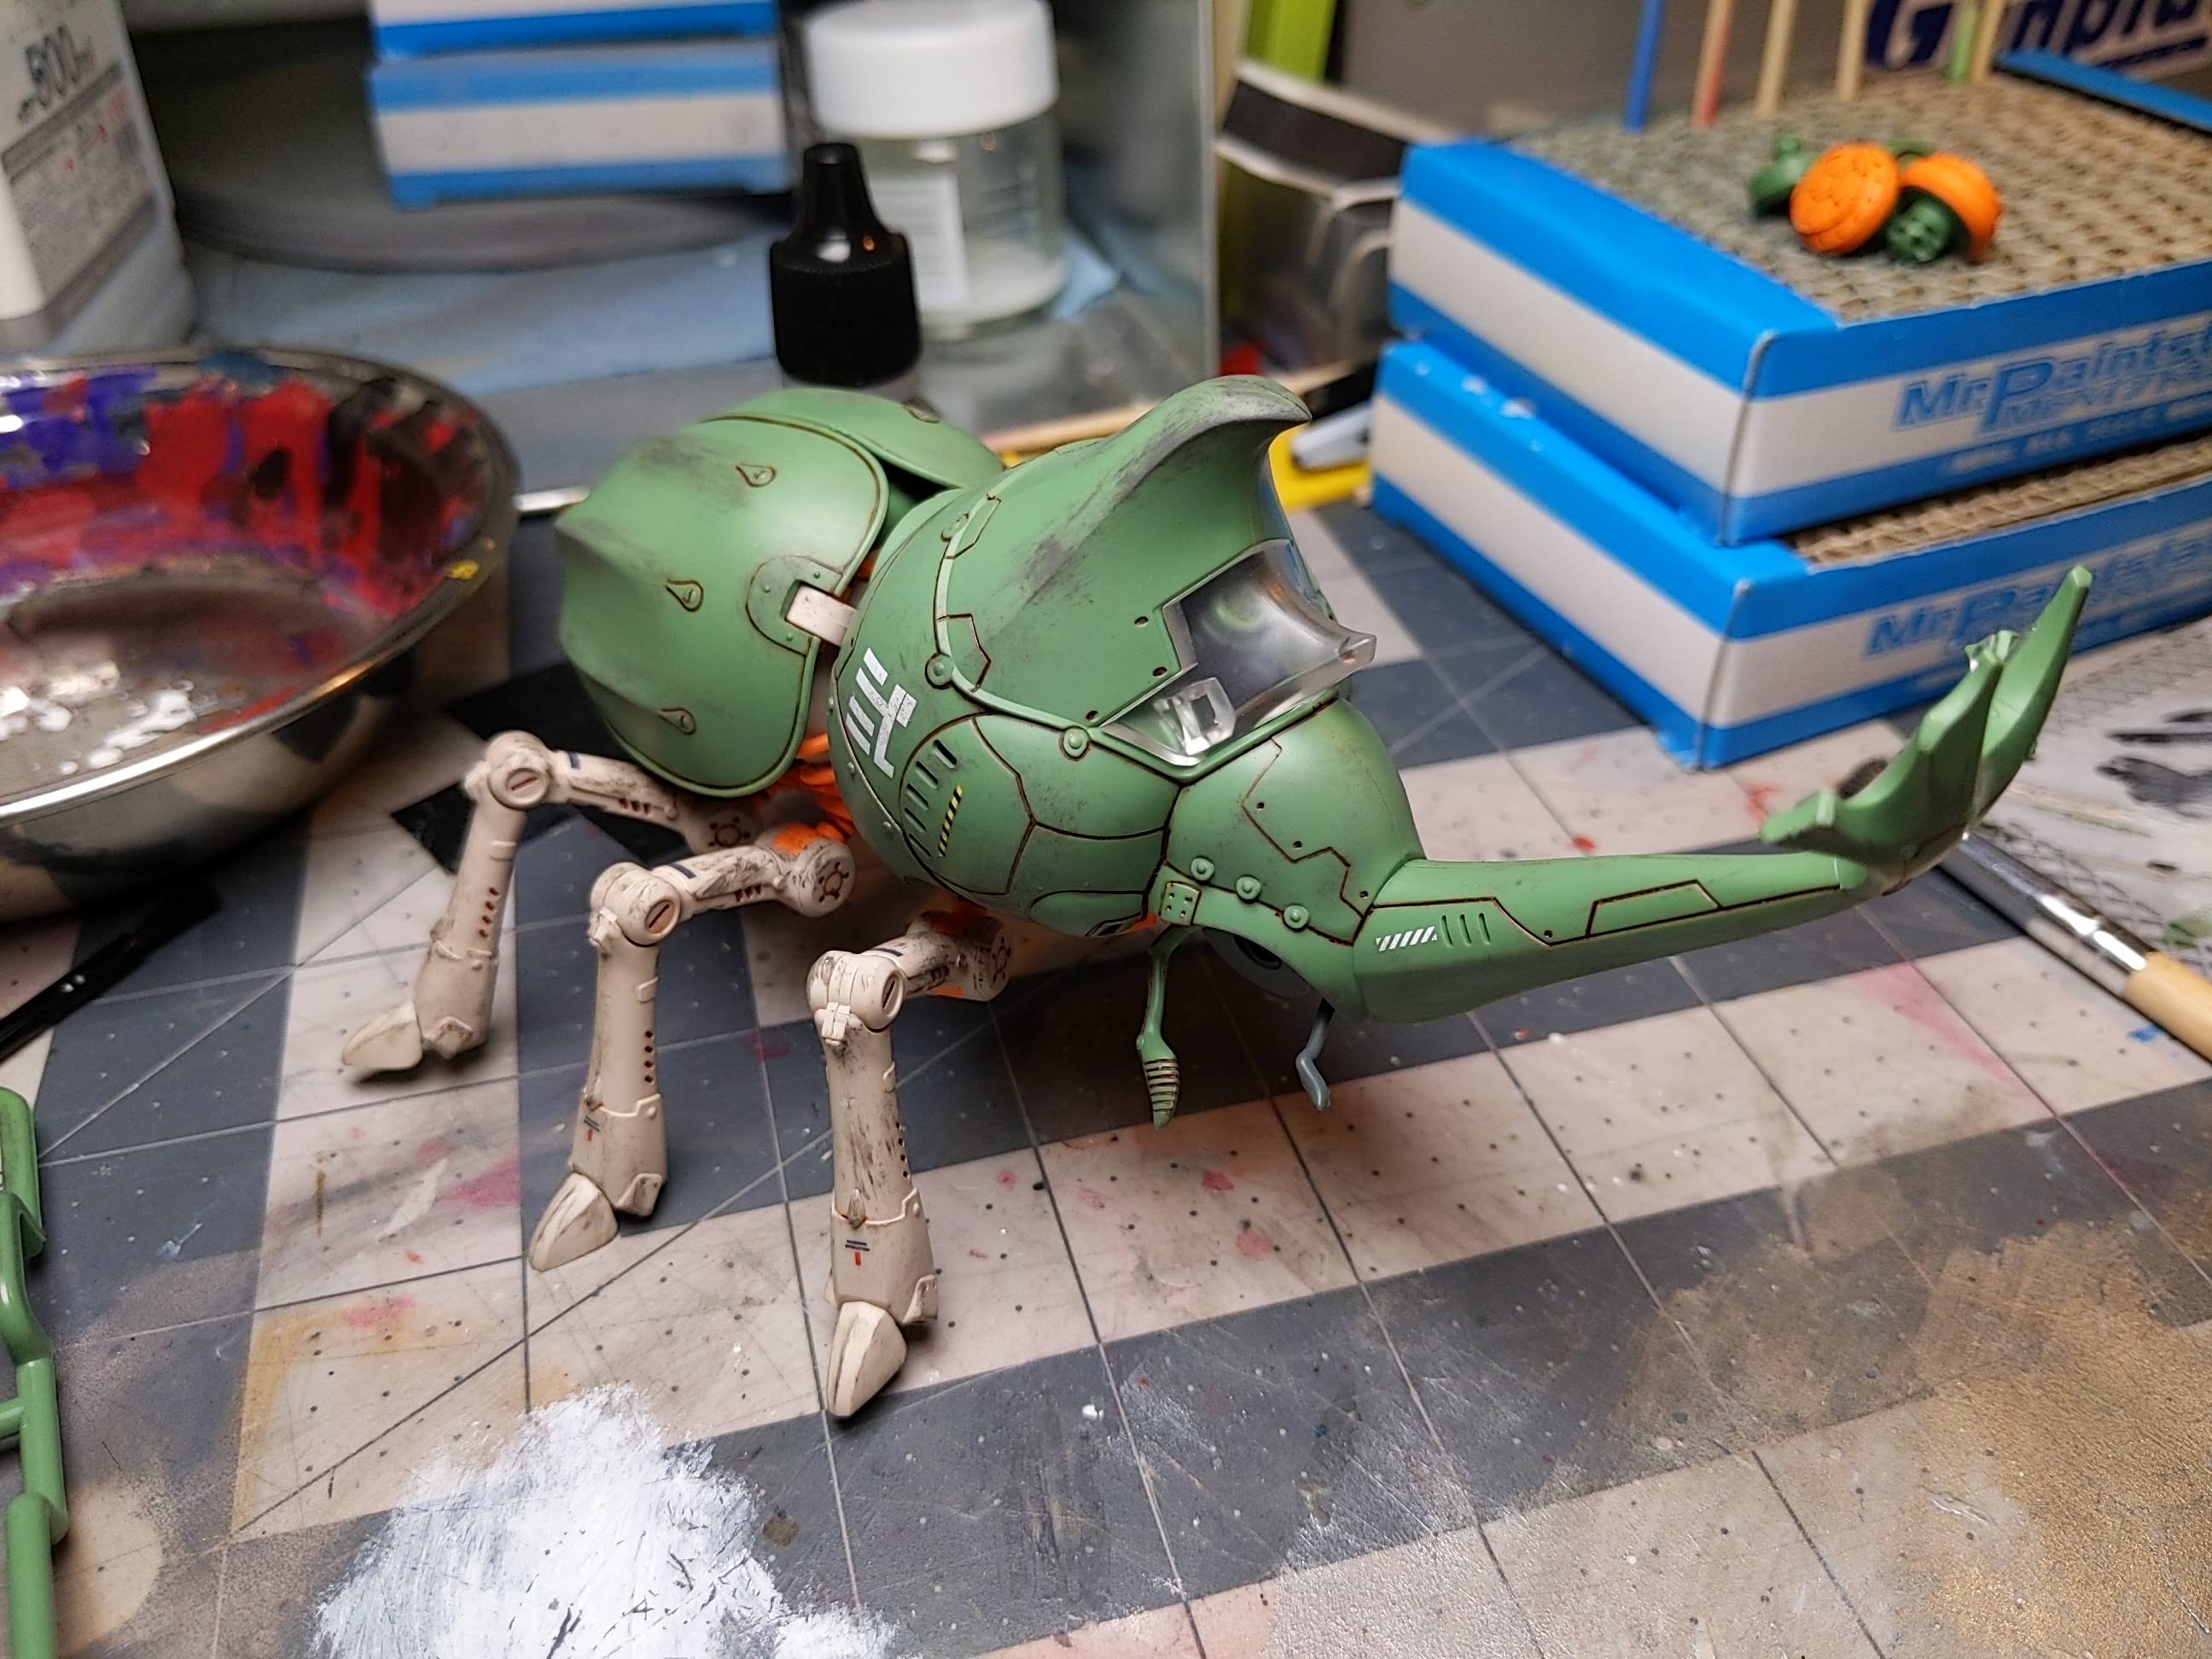
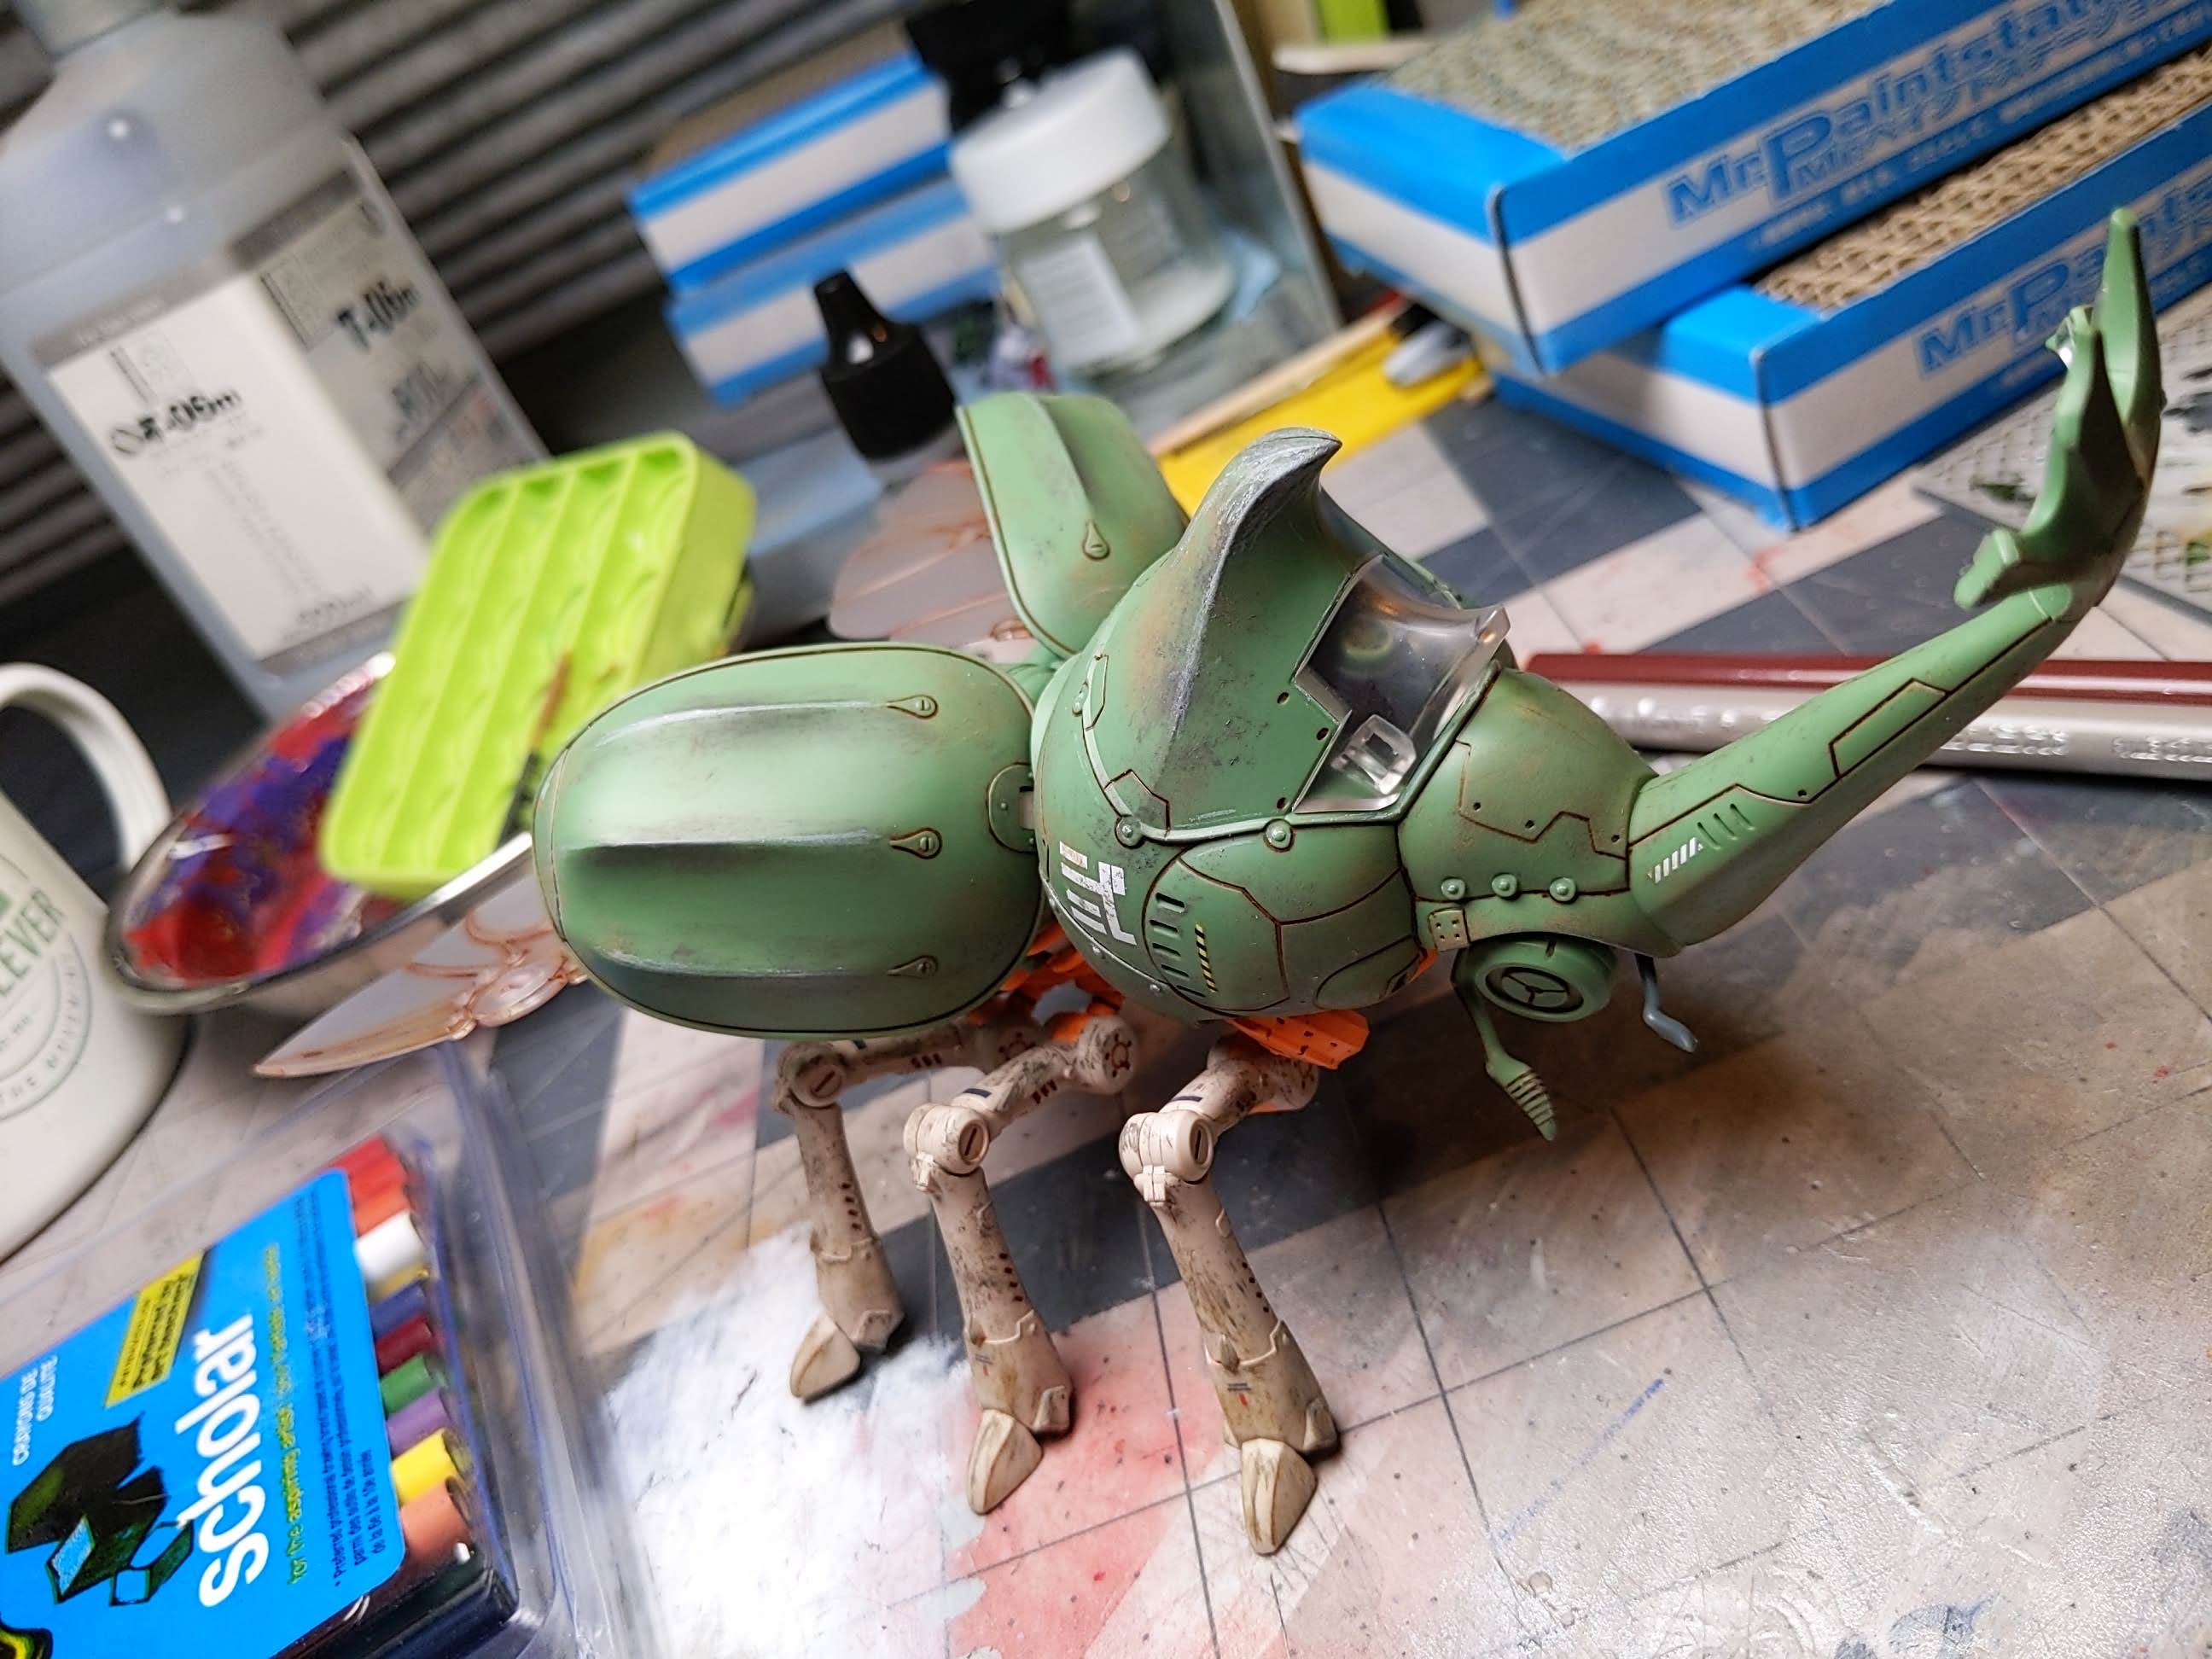
When weathering, I tried to keep things simple as it's easy to go overboard. I started by building up layers with a light gray acryllic dry brush particularly around the legs, fronts of the armor, and any edges I could see taking contact during combat depicted on the box as it flees. From there, I worked on adding on a light brown pass in a similar manner, sticking mostly to edges and using a technique of stabbing the dry brush to get less strokes and more of a stippled effect.
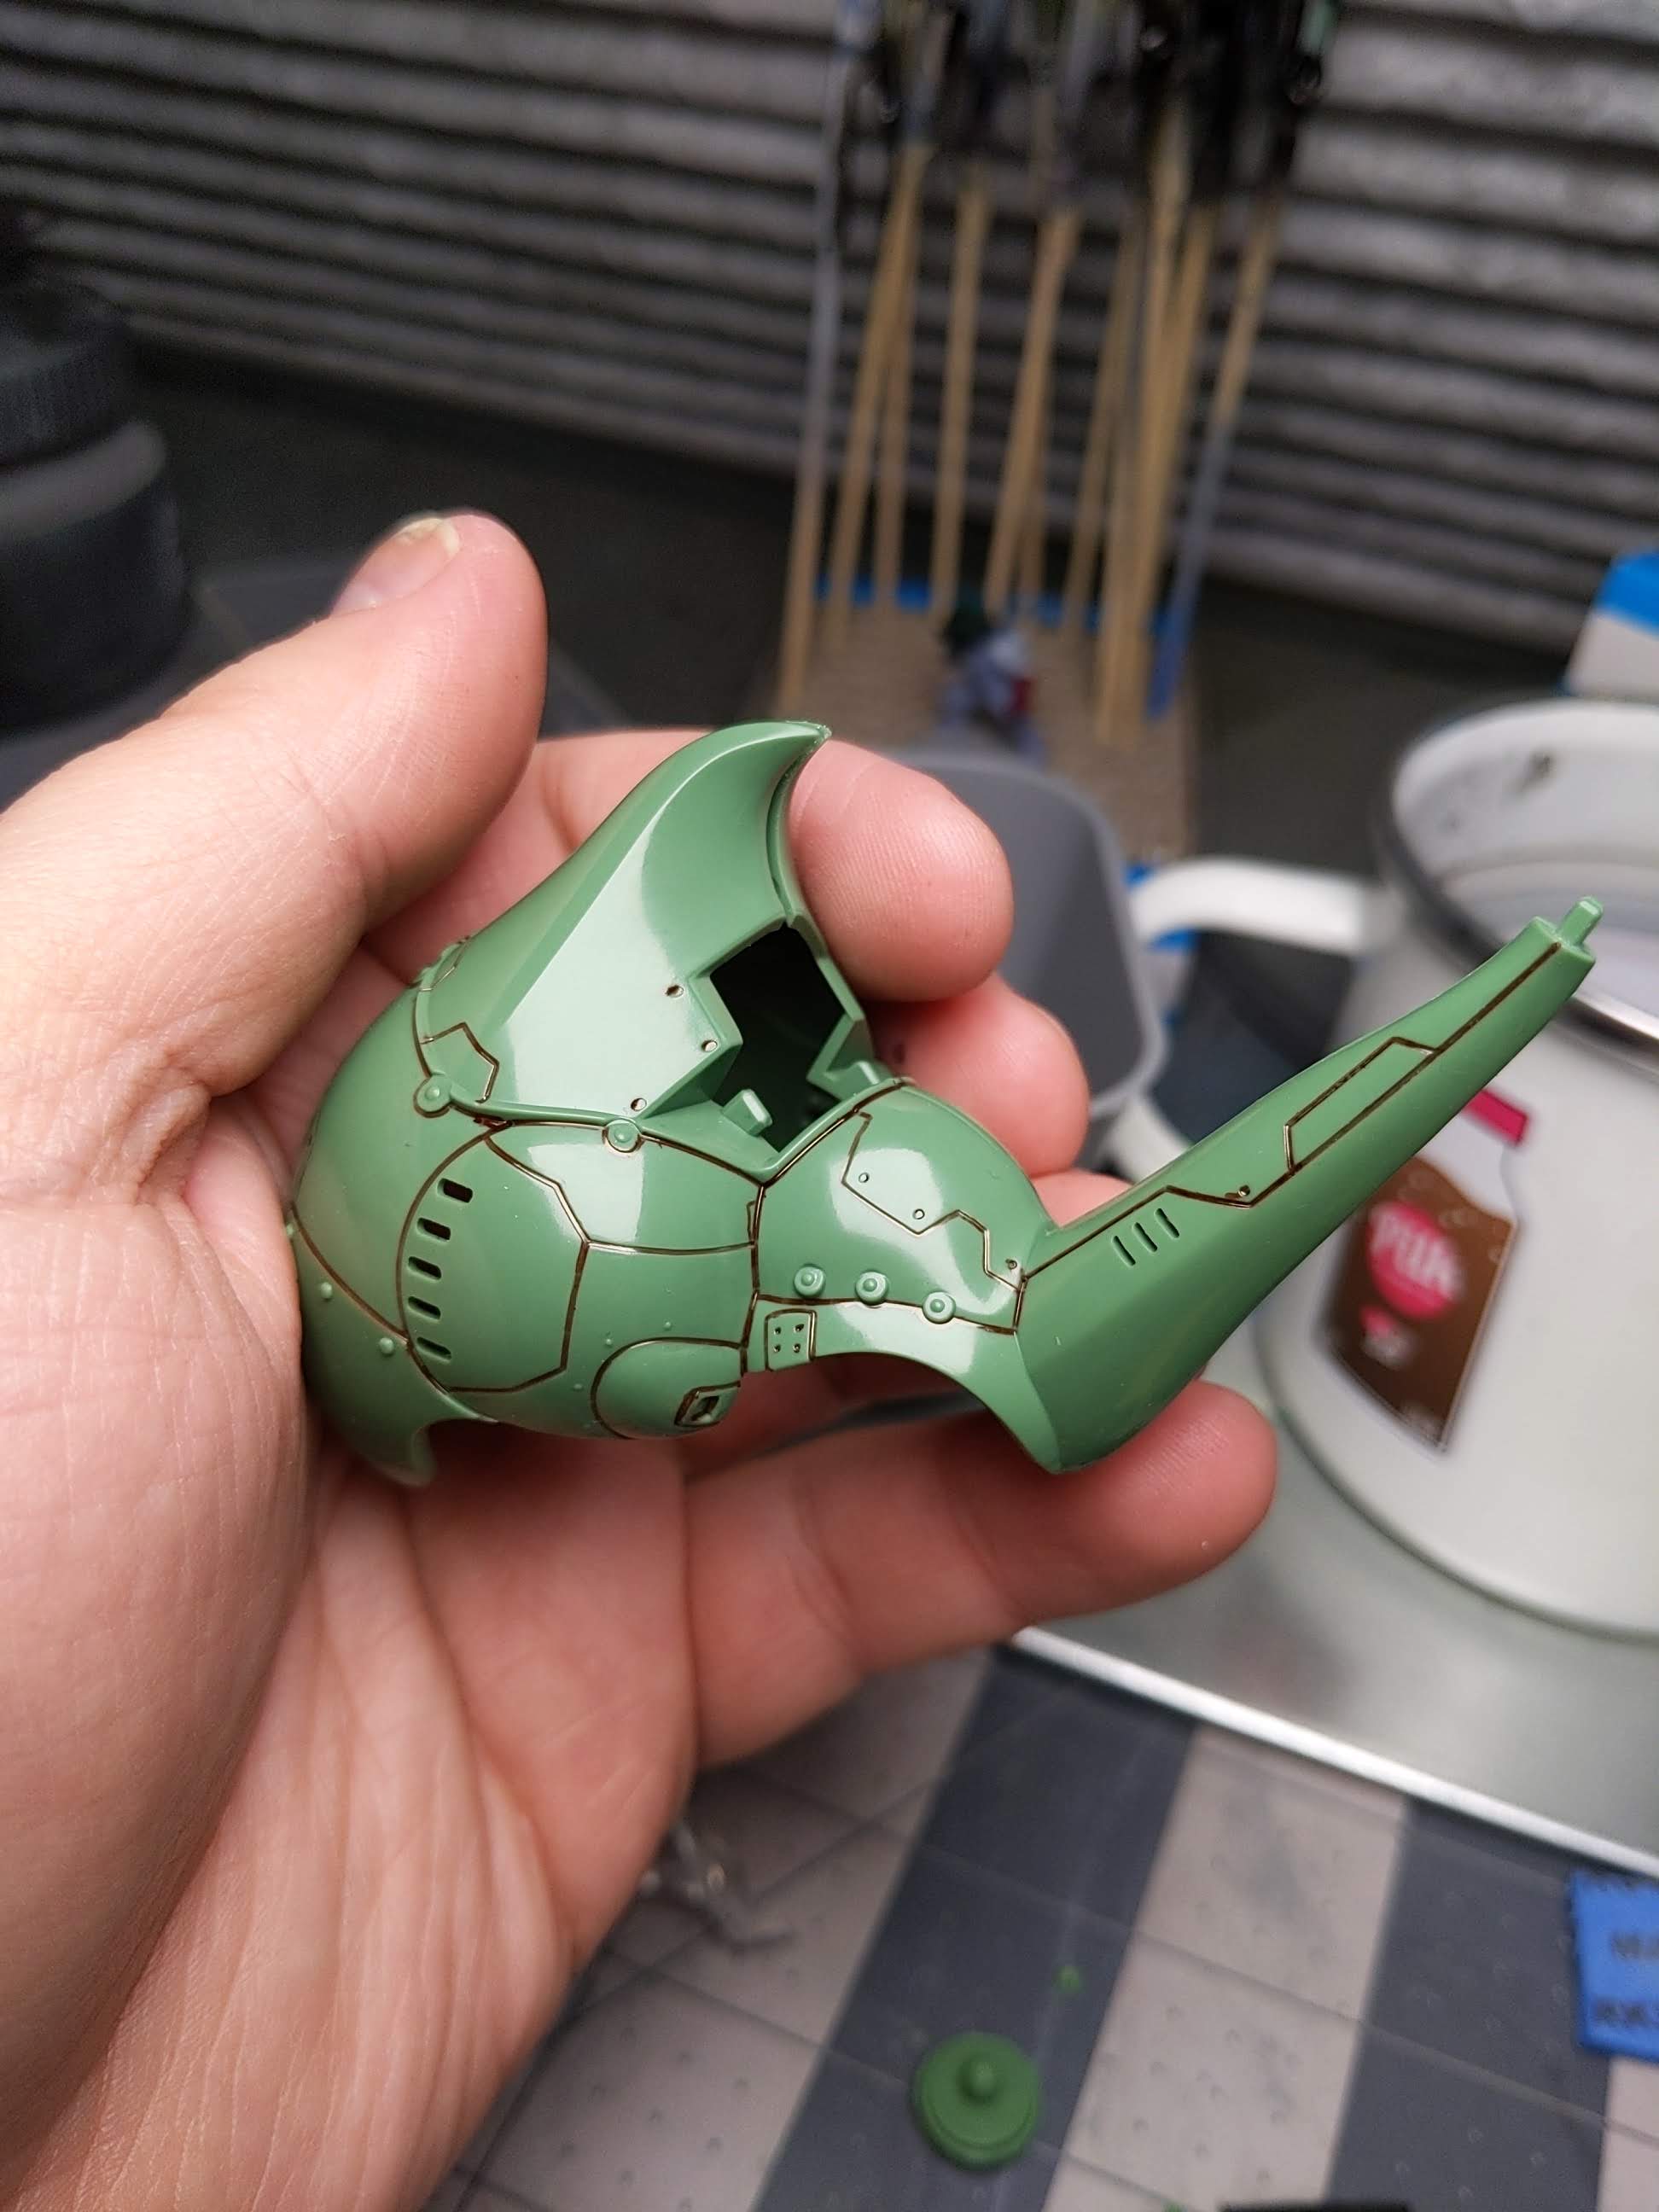
Once all that had enough time to dry, I made use of a gray colored pencil to work mostly around edges to give it a sort of worn metal feel. The colored pencils are great for precision with the fine tip and being able to smudge around and even clean up excess easier than paints.
Then I let it sit over night so I could come back with fresh eyes as I was worried in the moment I would go too far as I have with previous weathering builds, only to have instant regret. The best time to stop weathering is always 2 steps before you realized you went too far.
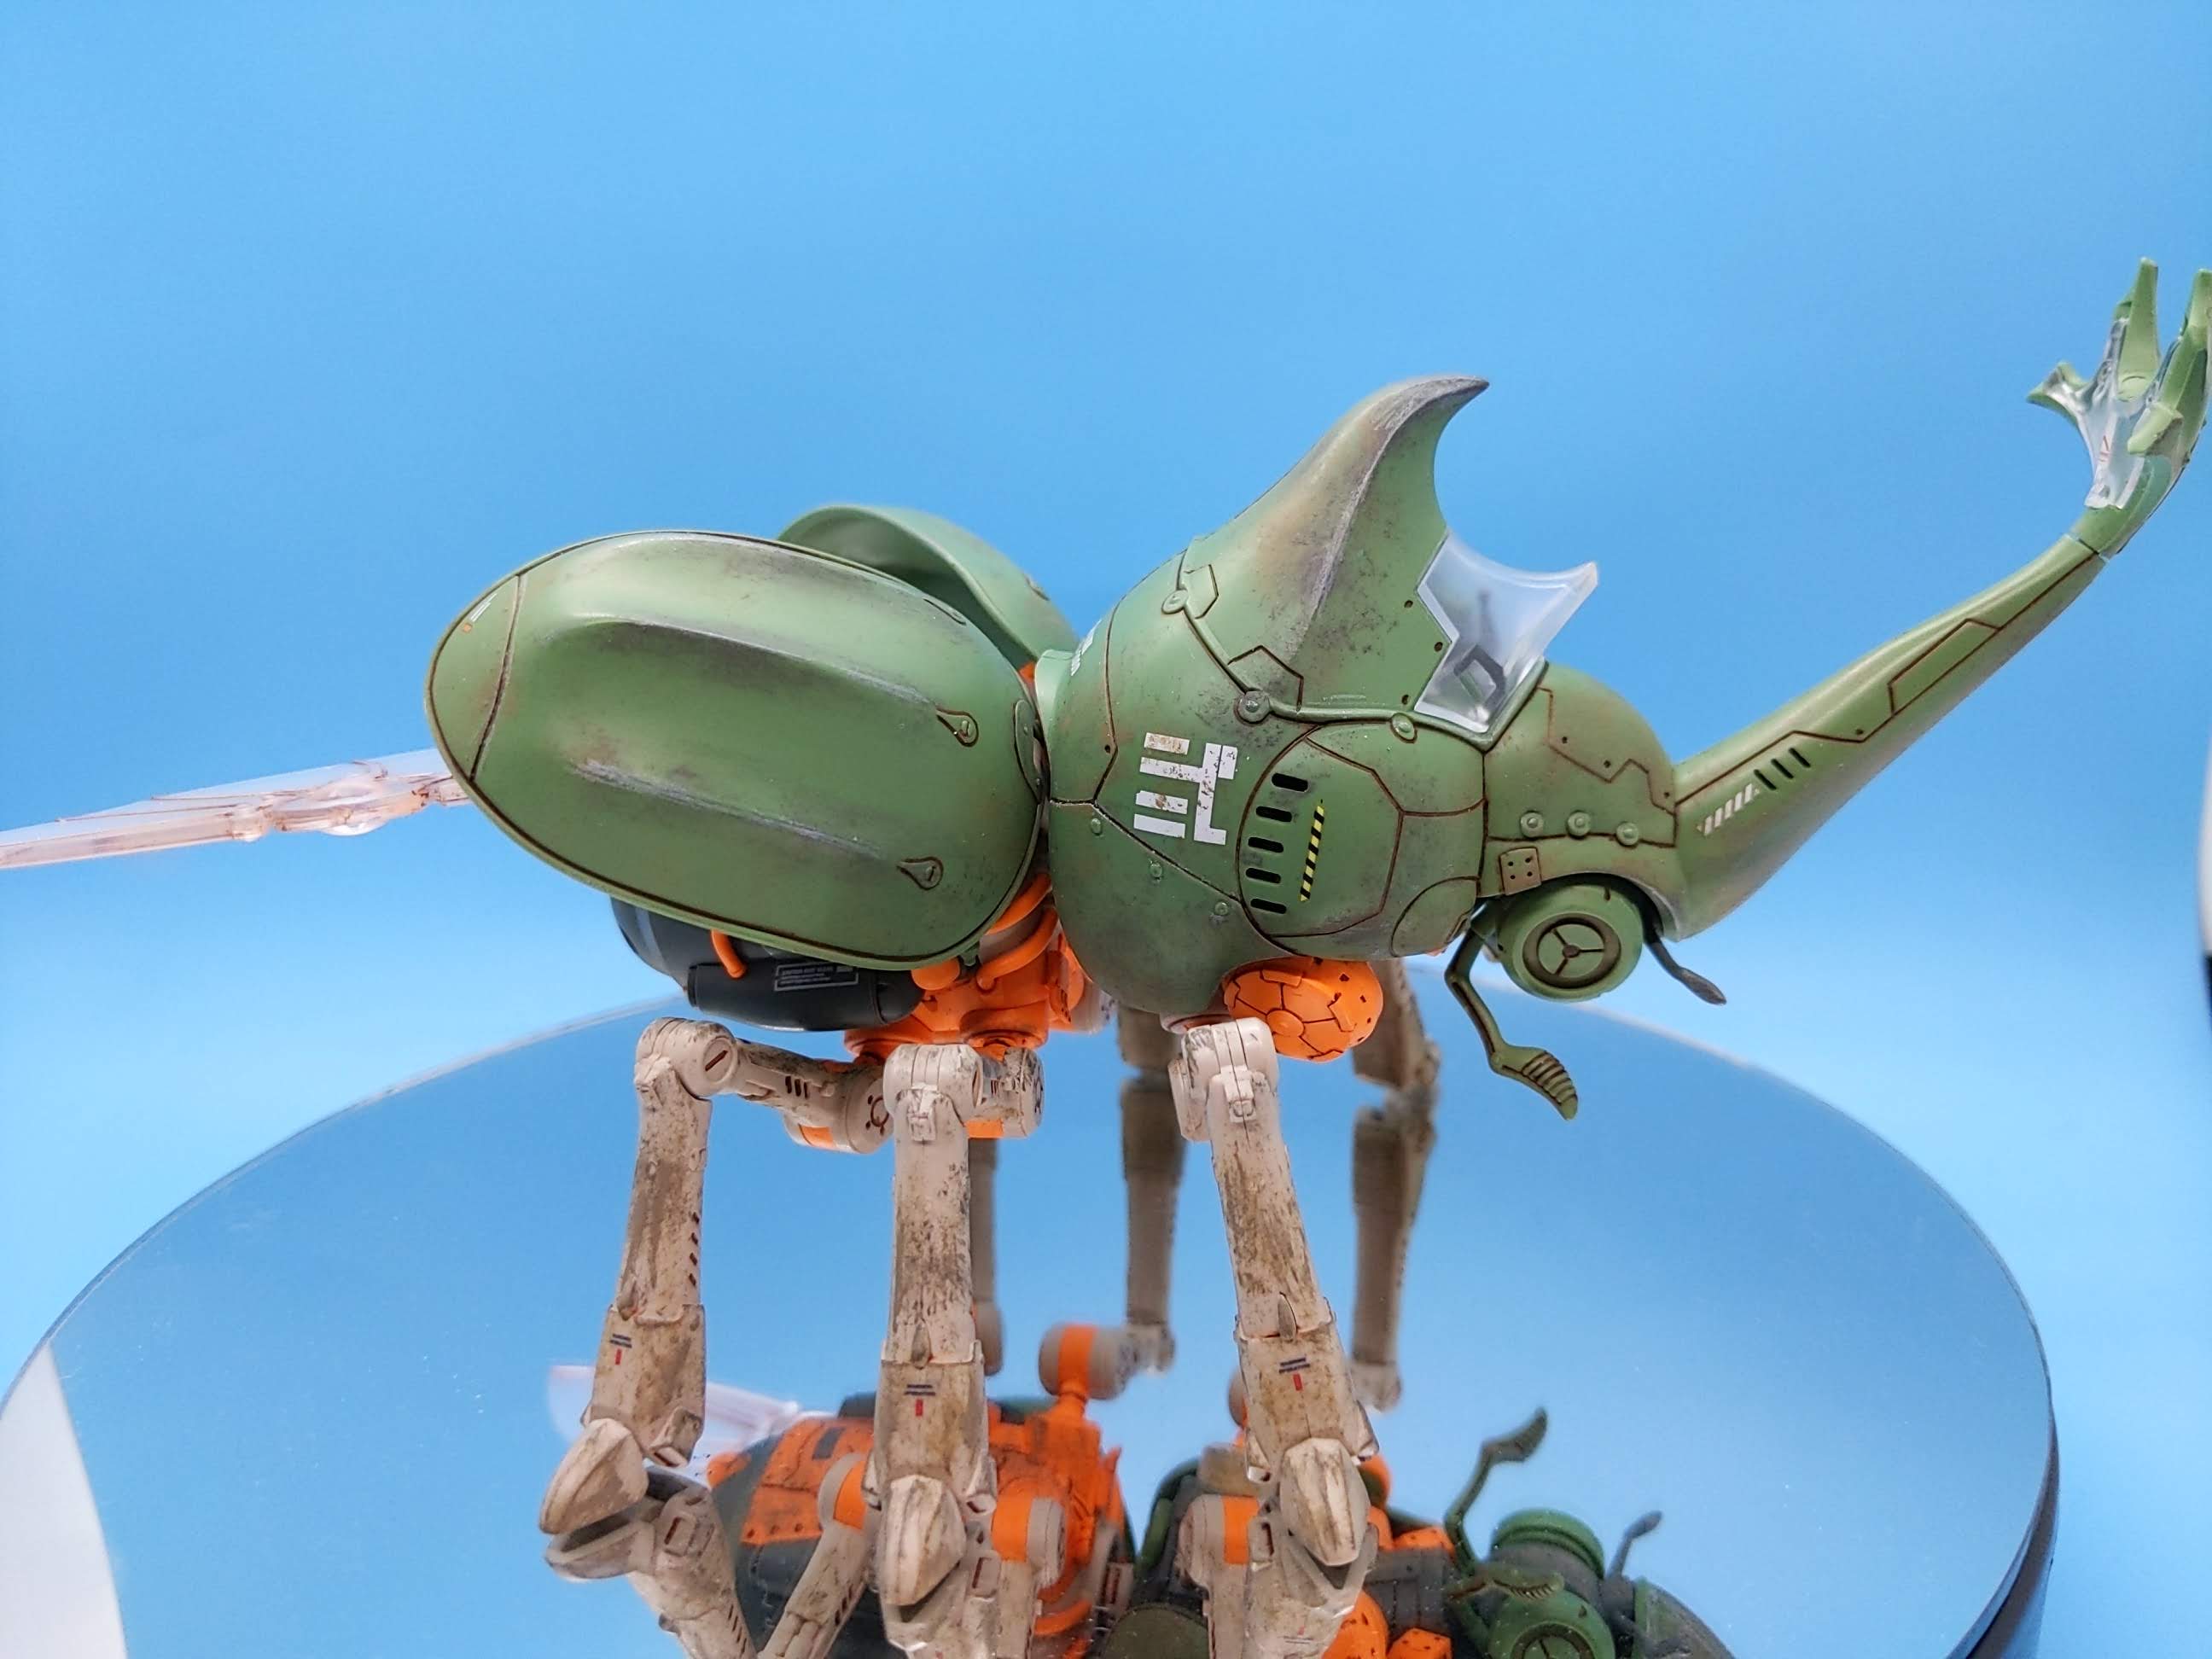
My beautiful buggy boy
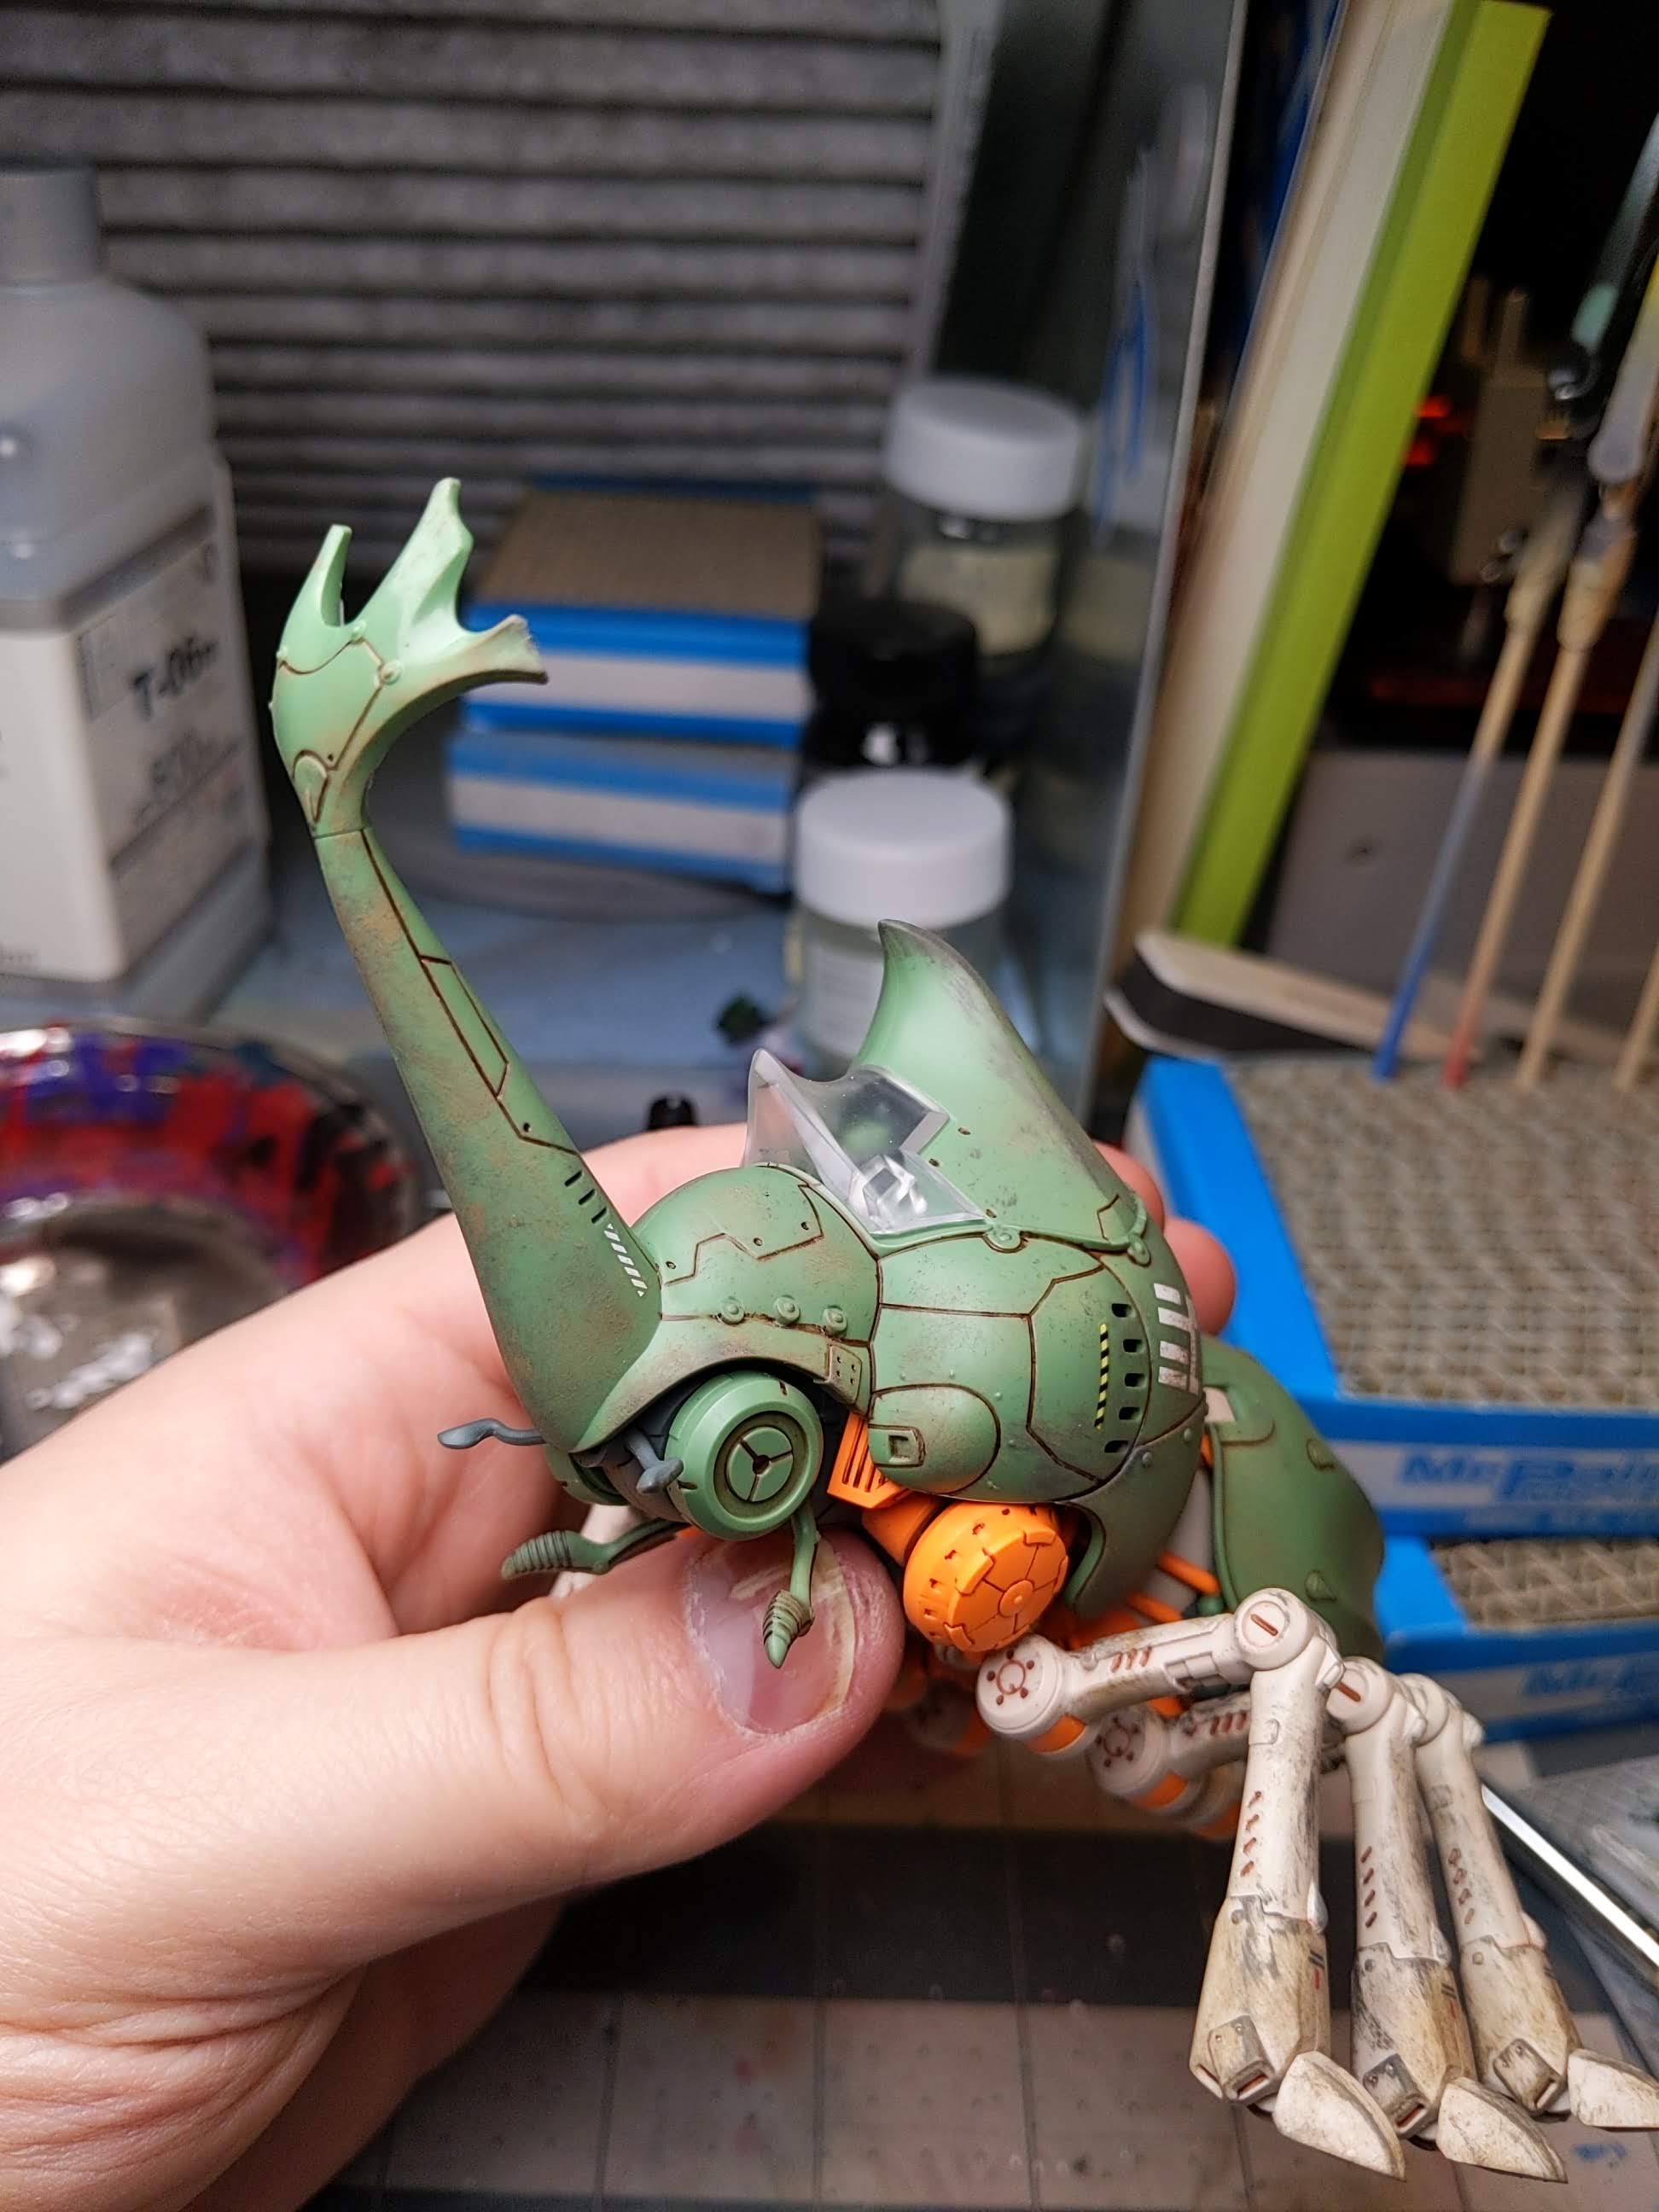
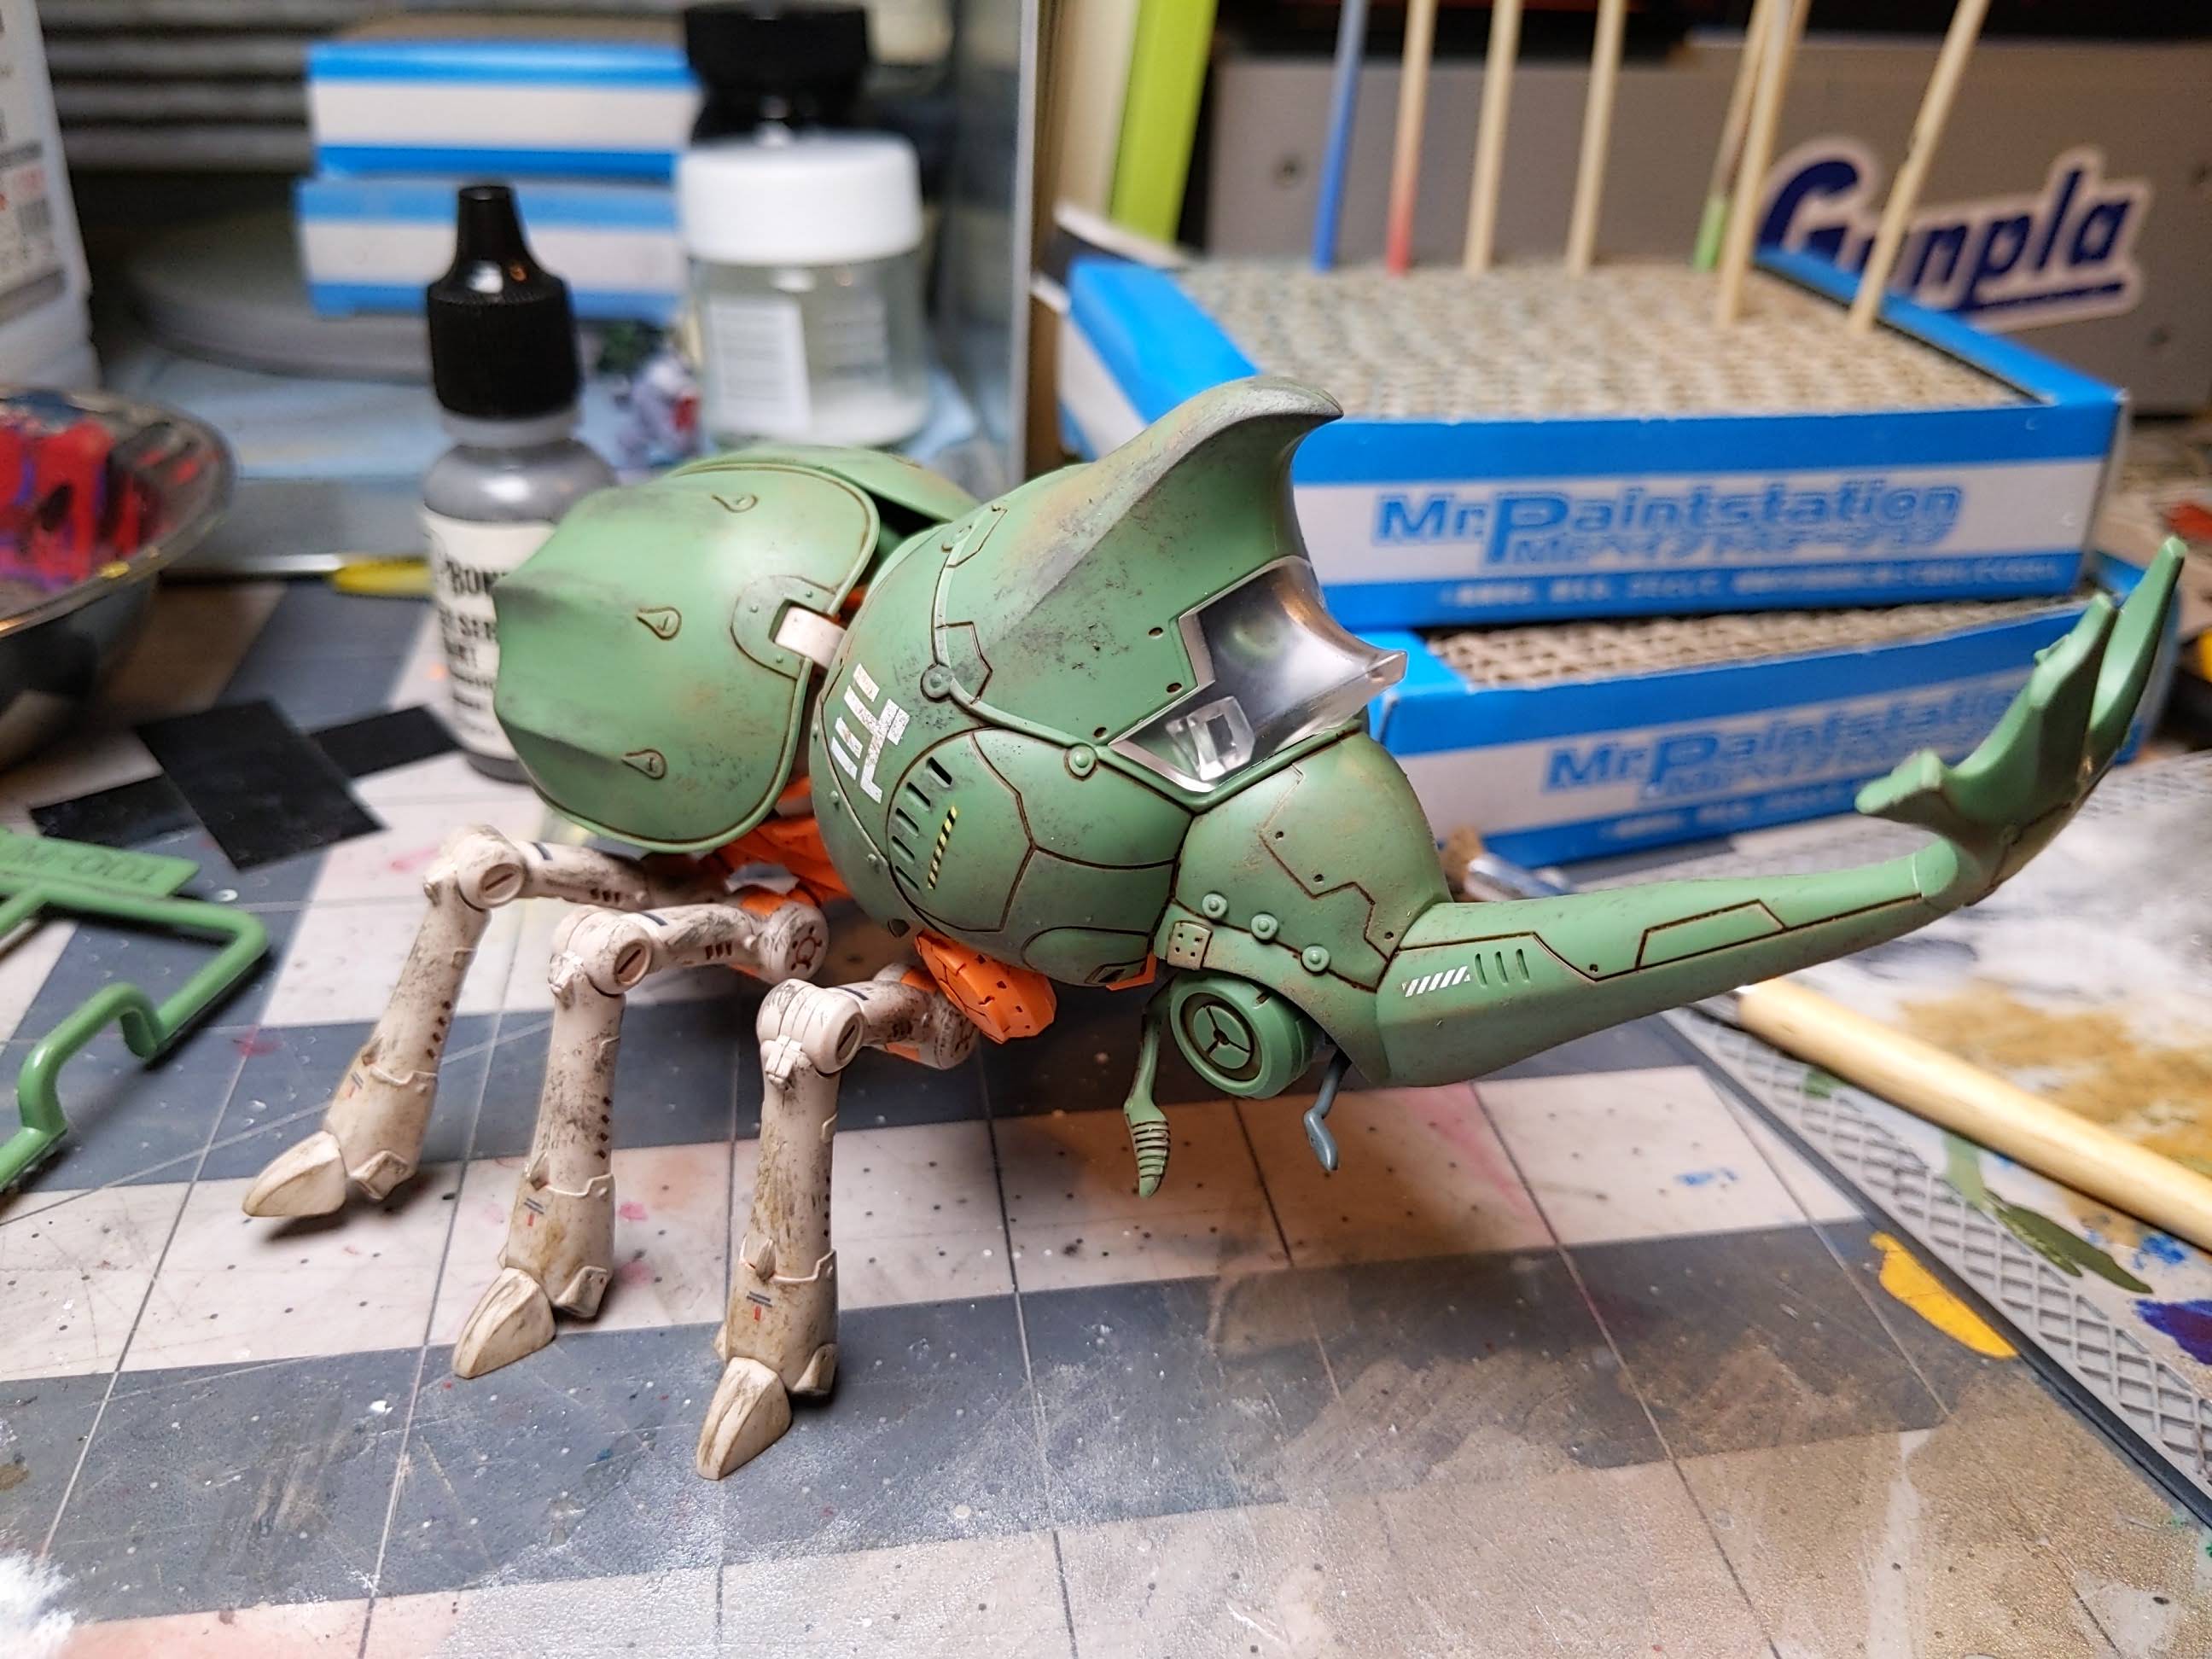
In the morning I gave it a look over and decided I needed to give it a pass with an even lighter brown, and luckily I still had some Tamiya Light Earth weathering stick. I stabbed that on sparingly and worked it in with my finger to blend. After that, I did a couple passes on the inside of the wings with the gray pencil again to give some scratches, but less dirt as the armor would typically have kept that protected.

This was a satisfying build and I'm looking forward to building the third entry in the line - the Atlas beetle. I would recommend grabbing one of these little buggers if you ever come across them.
Thanks for reading and happy building!