
The HG Gundam Barbatos F1 was a project that had spawned out of receiving the HG Barbatos as a birthday gift, but it came with a special request attached to kitbash it. So naturally I had to oblige. Initial work began in mid 2021, and wrapped up in early 2022.
Note: This post is an expanded version of the original shared on Gunpla Gallery.
Admittedly, the Gundam Barbatos was not one that was in my list of models to complete at first. I have seen many wonderful builds of the Barbatos, mostly those of Master Grade variant. Given this was gifted to me and included the challenge to kitbash it, I was more than happy to have it jump to an early spot in my backlog.
Iron-Blooded Orphan kits are often built off the concept of the Gundam Frame which can make things a bit challenging for kitbashing unless you have more parts from another IBO kit. In my case I recycled parts from the Barbatos itself, shoulders straight off the Astaroth from a different kitbash challenge, and leftovers from the AGE Titus.
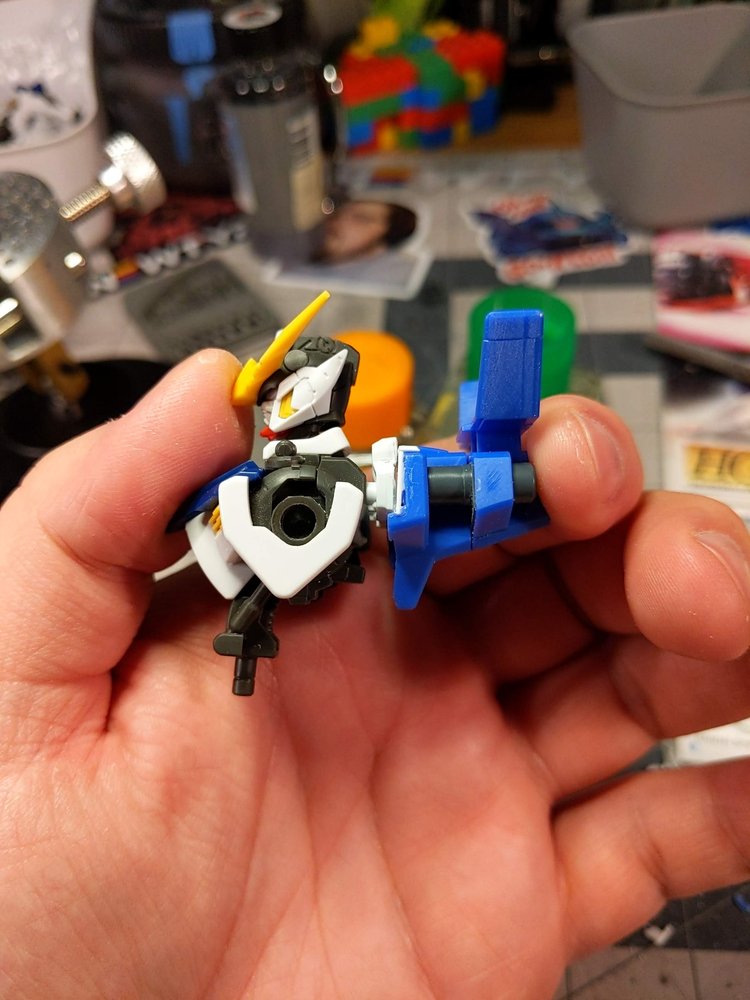
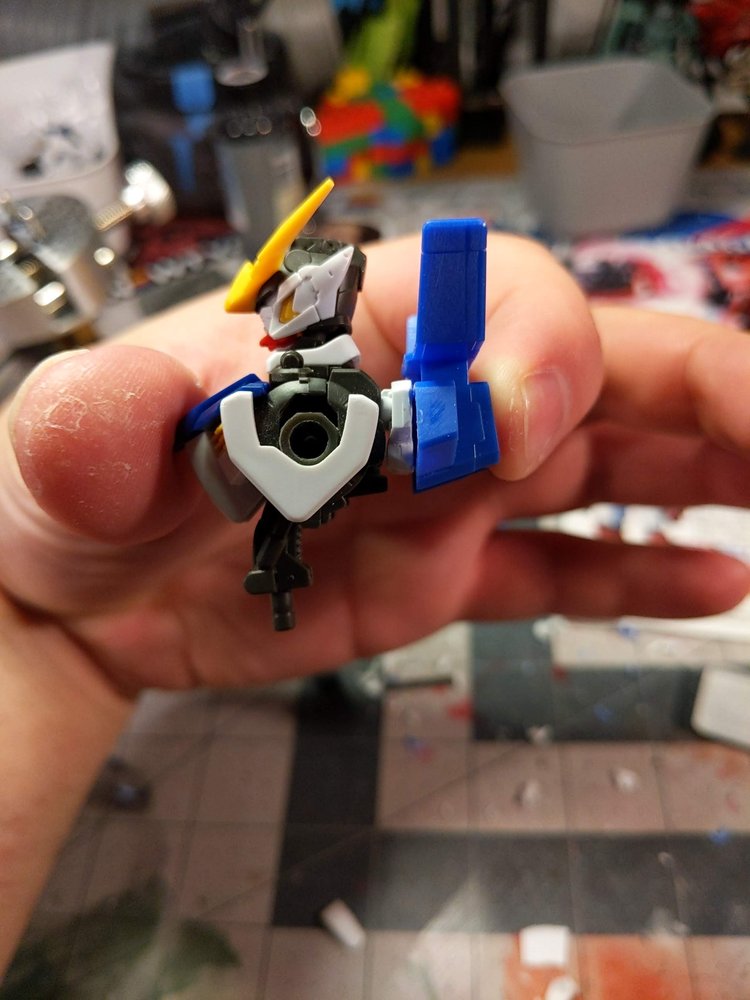
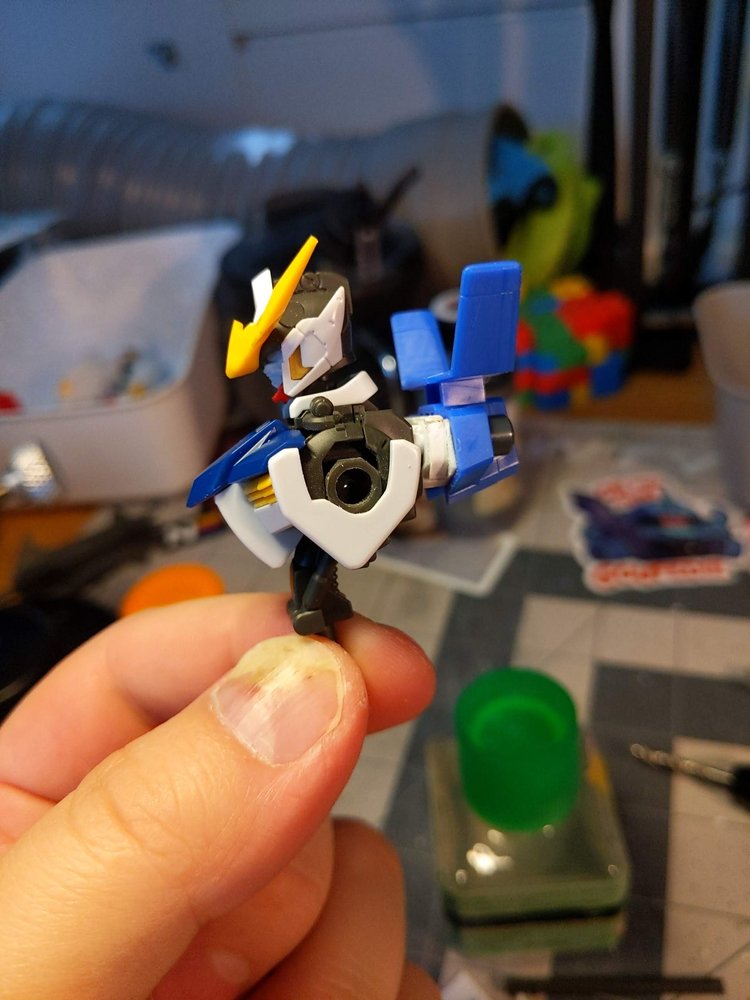
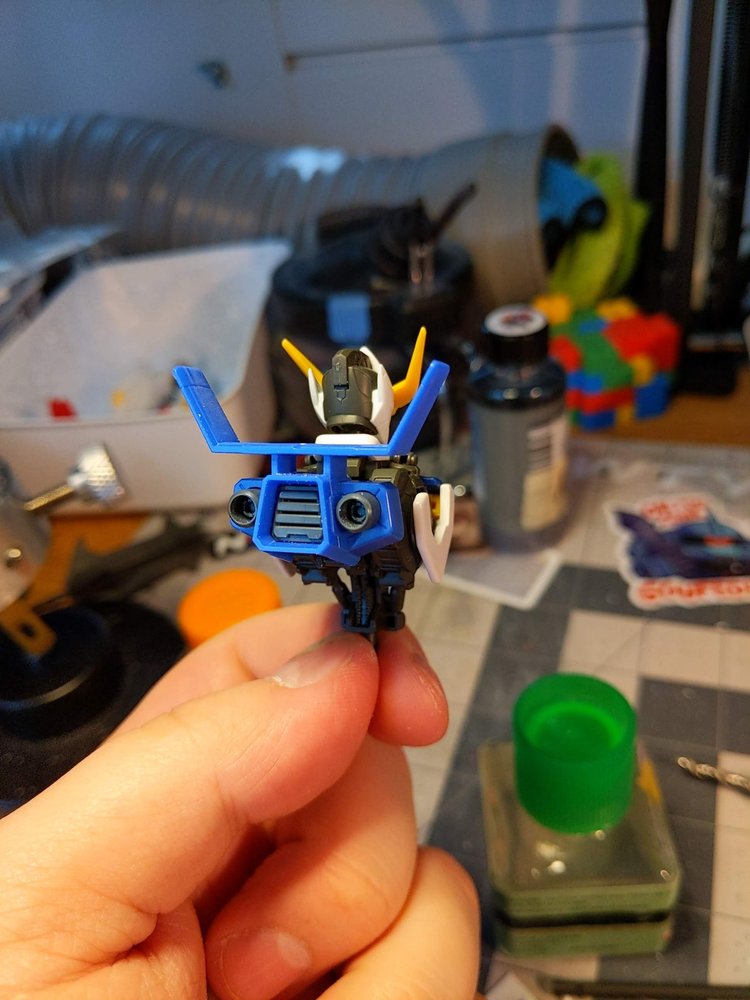
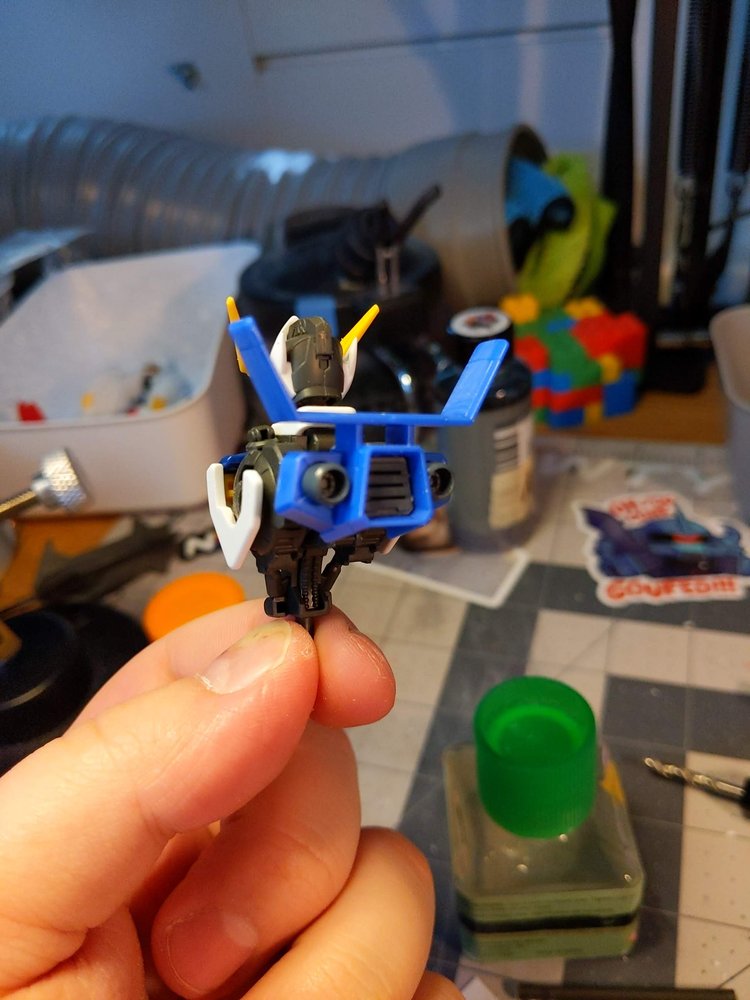
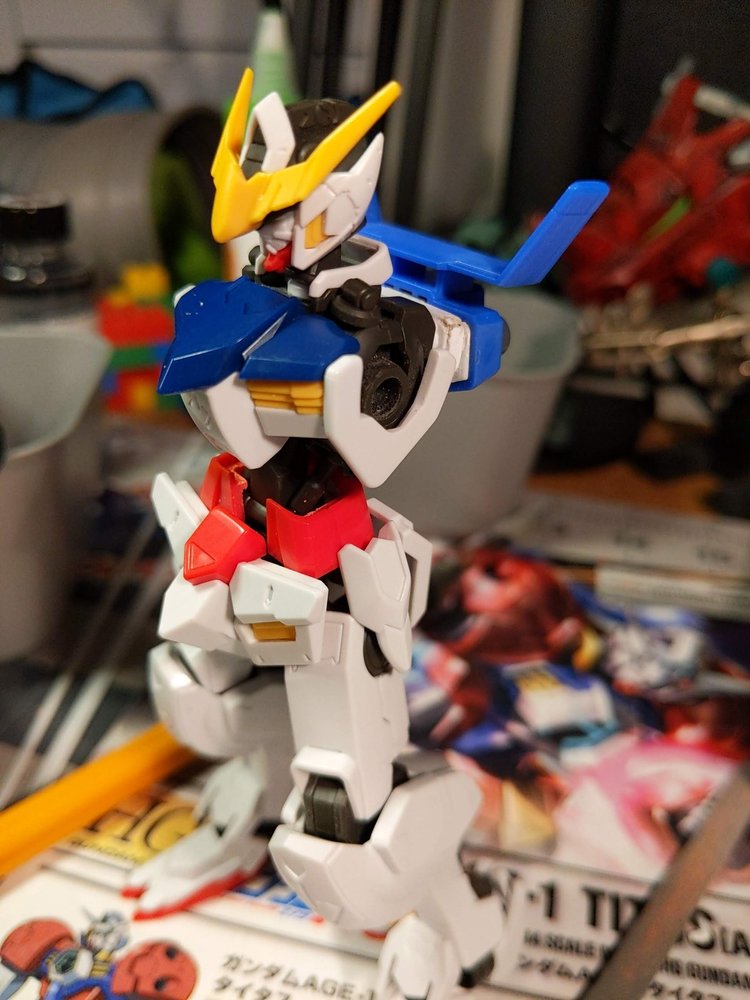
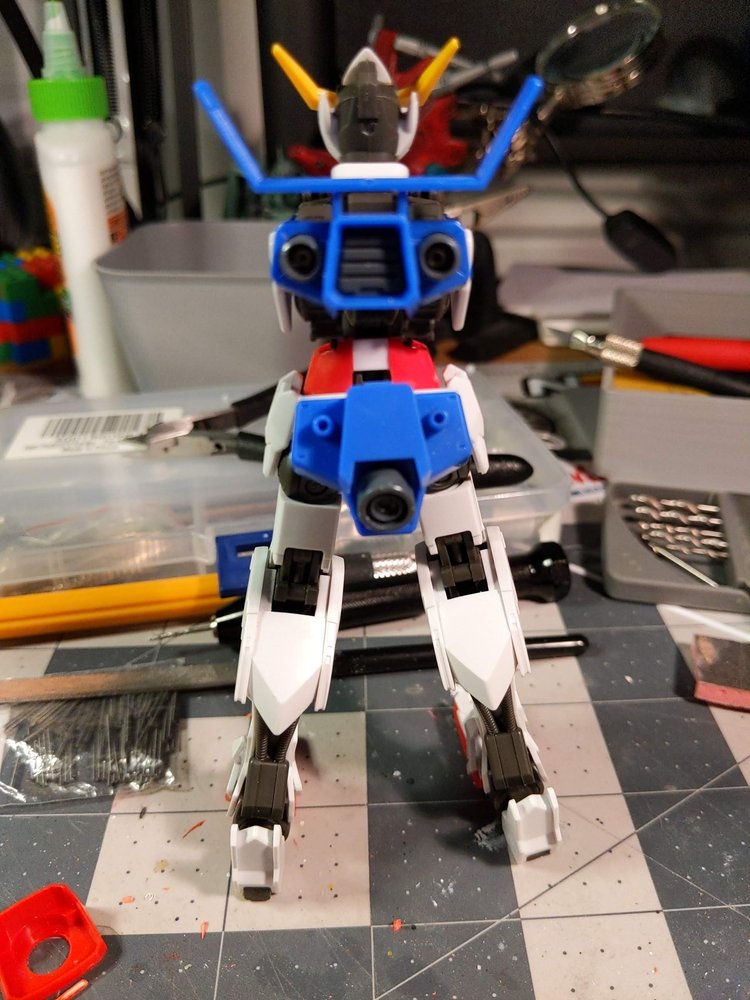
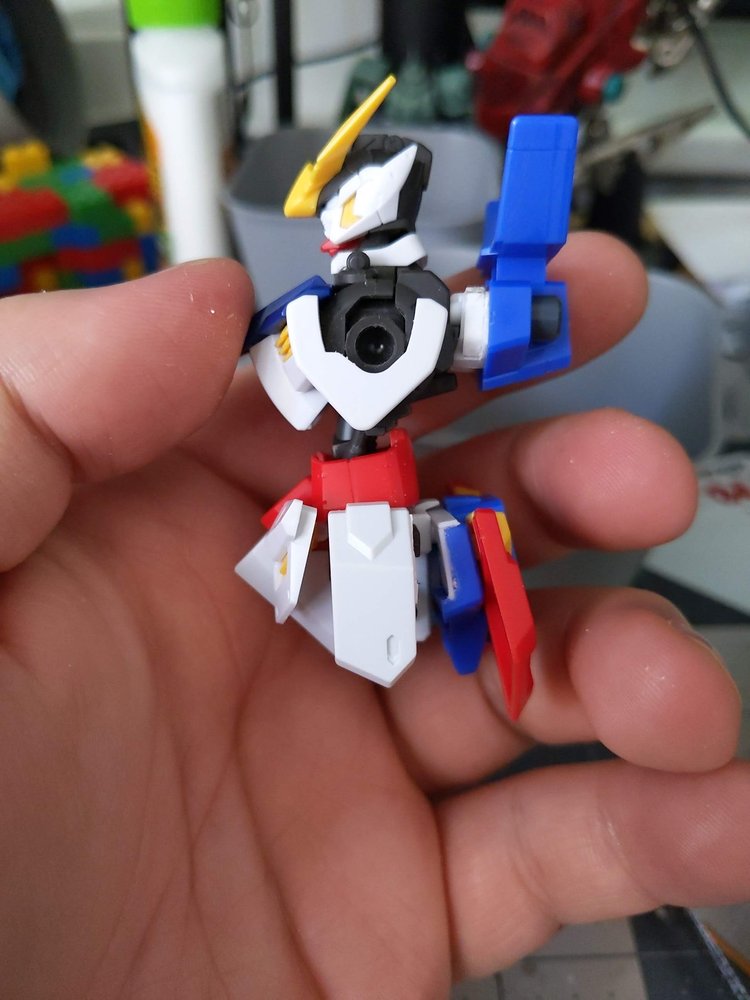
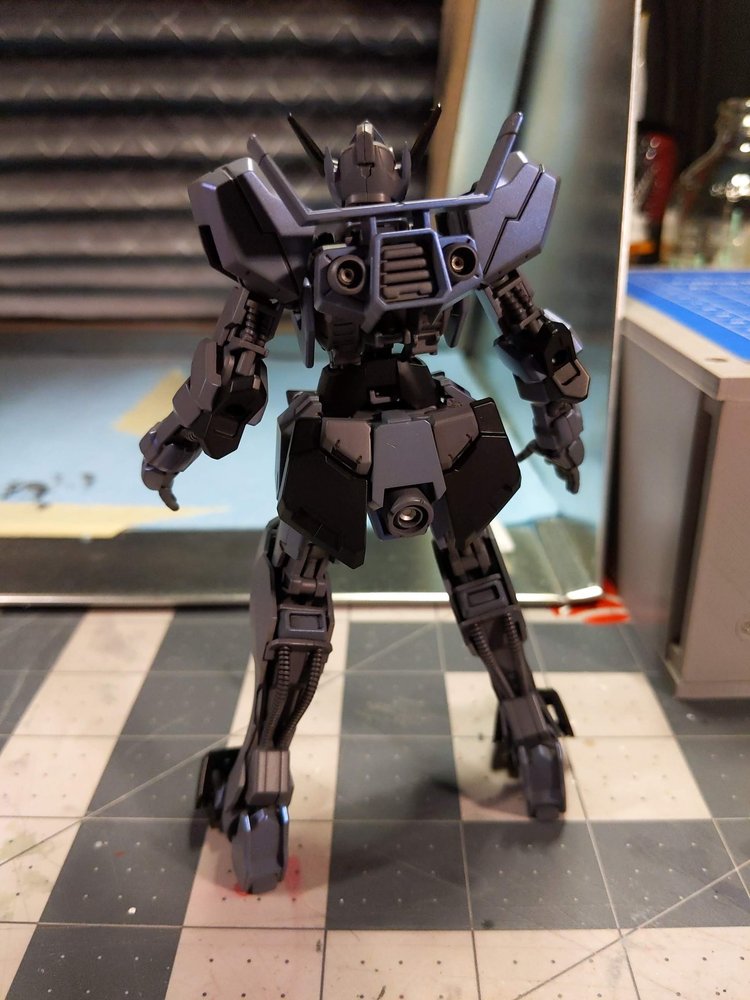
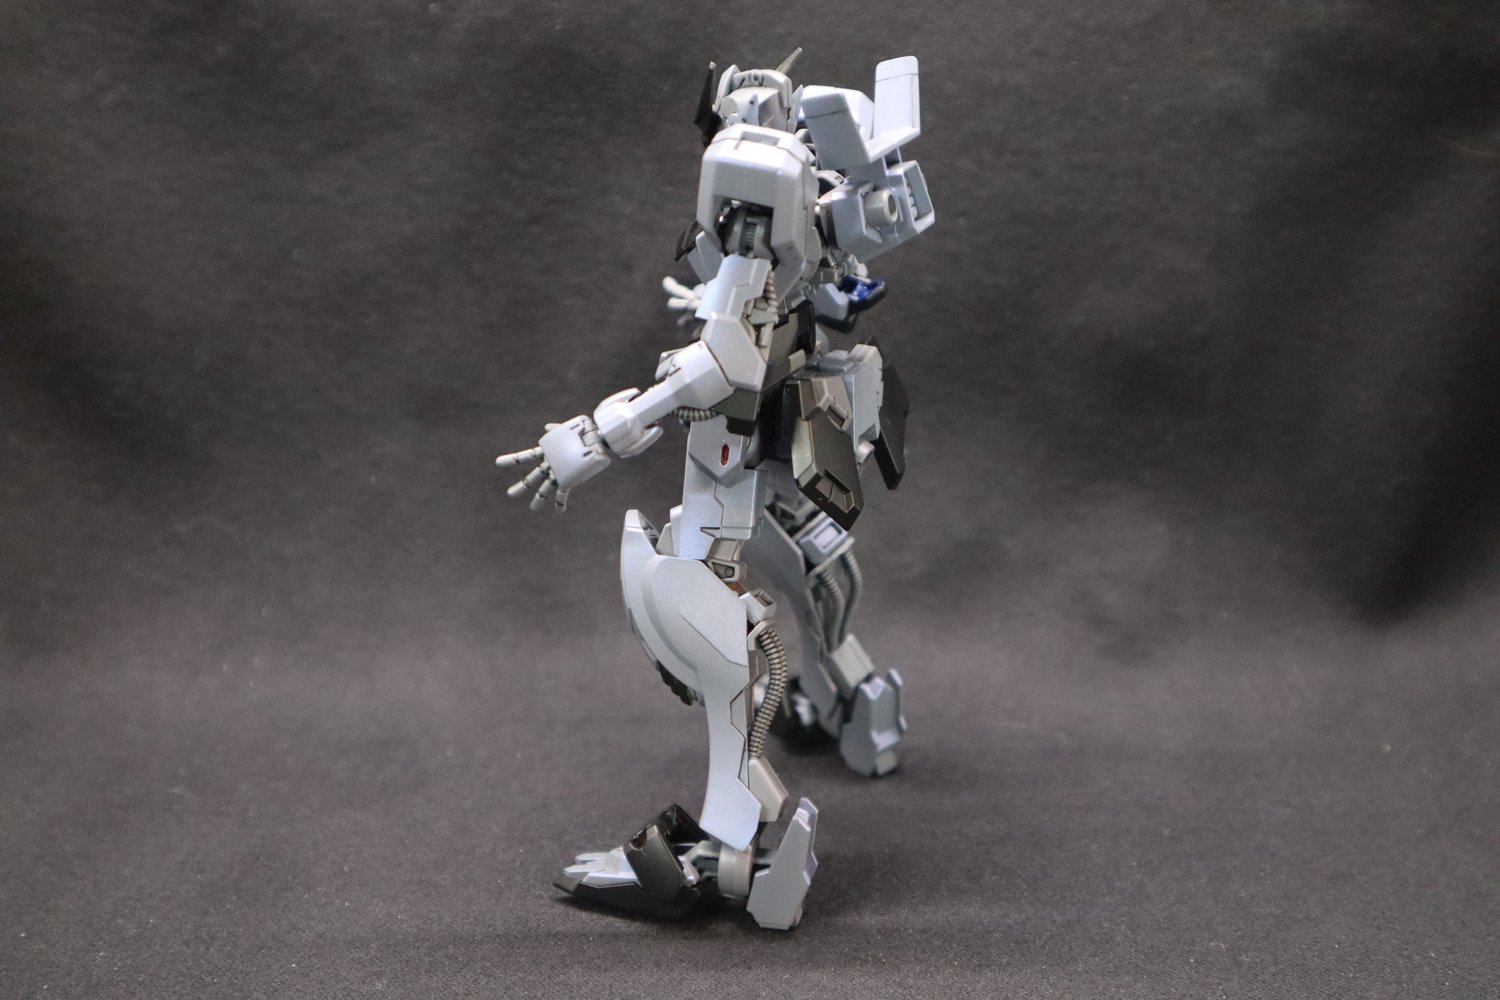
The first target I focused on was creating a backpack that was wholly unique. I really liked the idea of the giant spoiler from the Titus that ended up directing toward the automobile derived aesthetic. You can see where I tried to cram the entire back of the torso on, and then slowly worked towards the more streamlined version it ended with.
The backpack connector was made from the original Barbatos backpack filed to shape to match the spoiler component of the Titus. The rest of the gaps were filled in with a mix of plastic strips, Tamiya putty, and super glue.
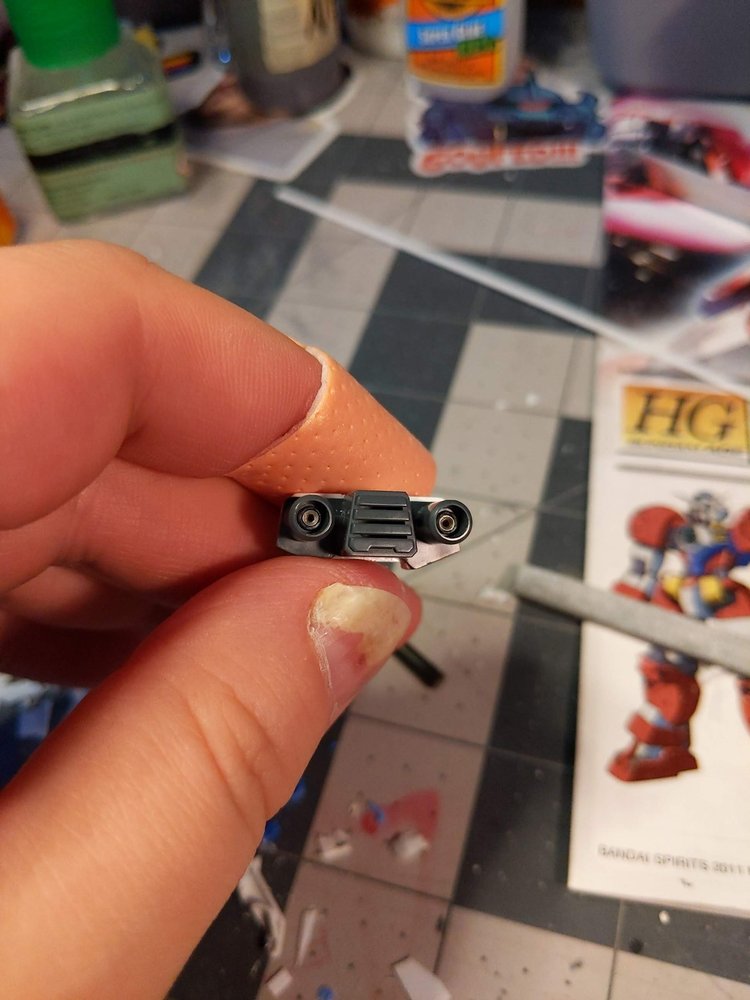
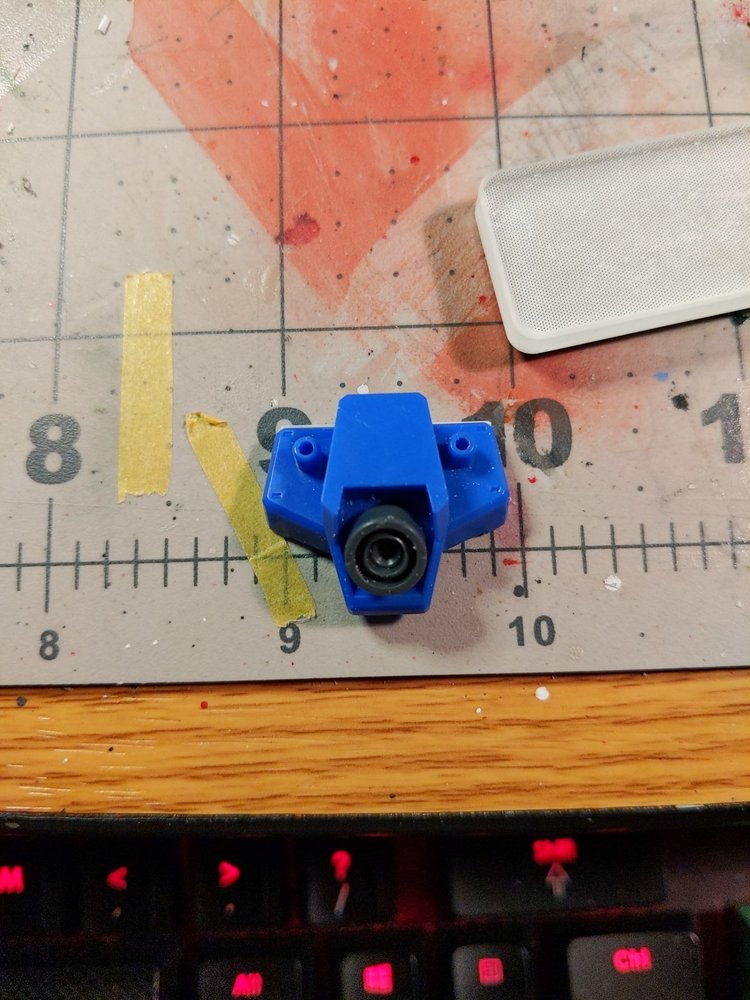
Additional details were worked in by boring holes into the thrusters of the backpack and gluing in IC sockets to get a metallic surface detail.
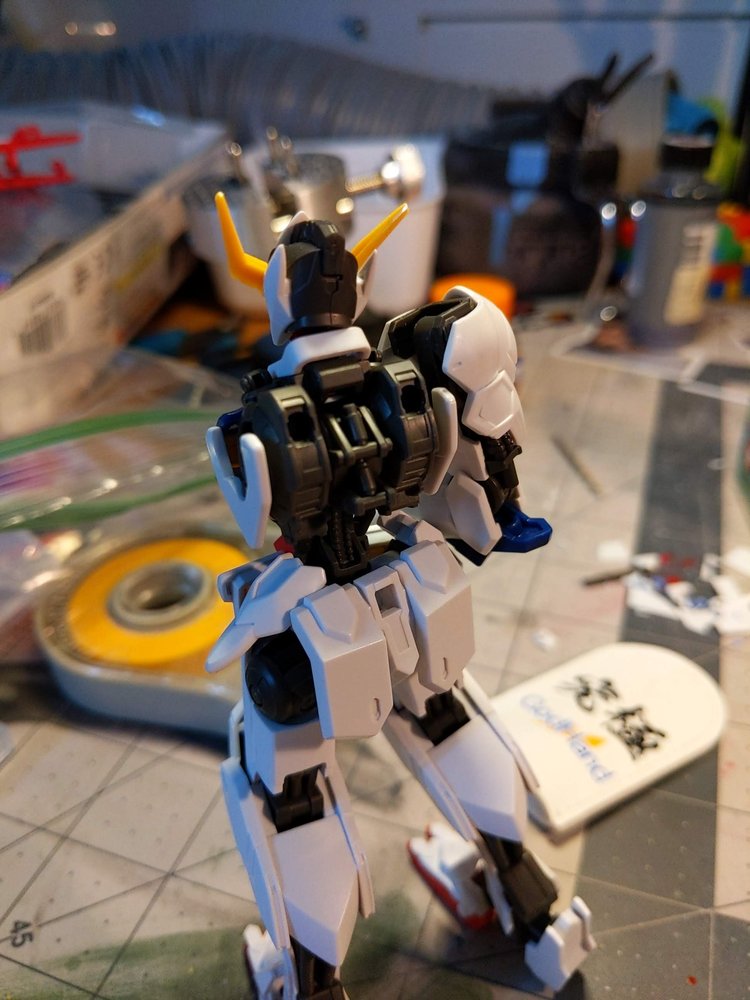
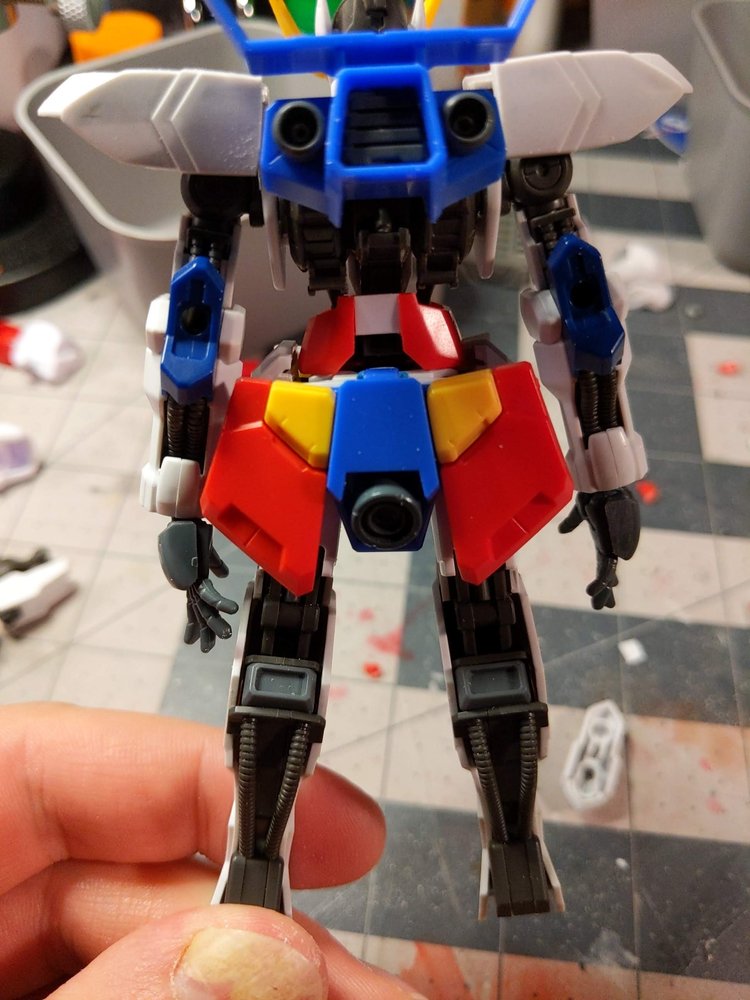
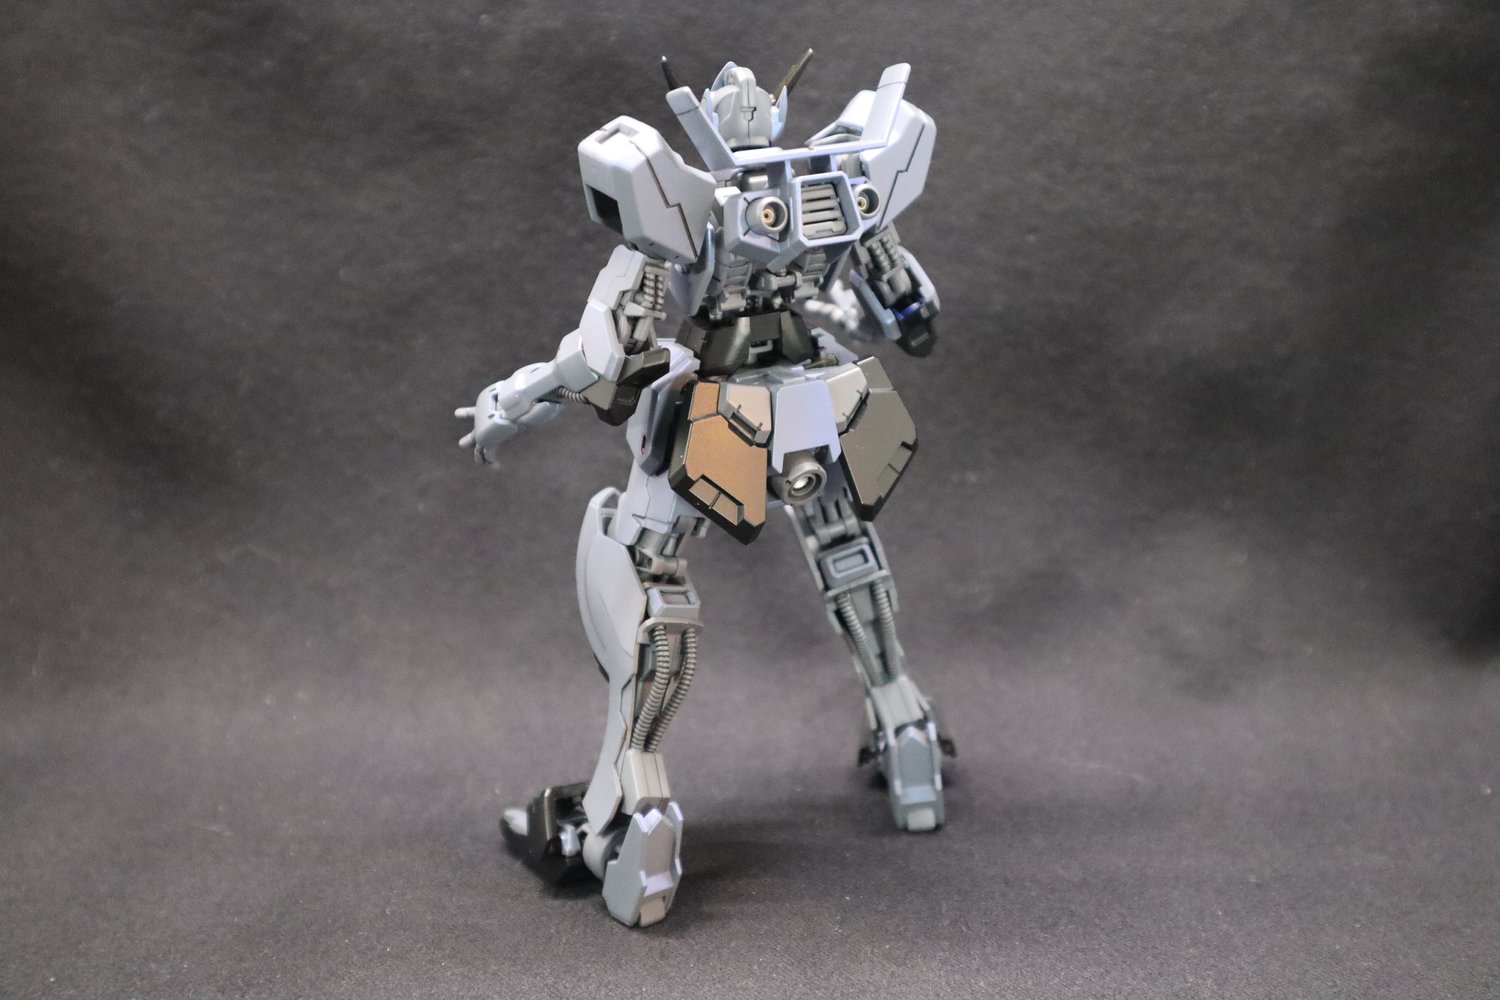
One aspect of the Barbatos I was not much a fan of was the very thin waist as a result of the Gundam Frame. I tried to rectify this by taking a segment of the Titus torso and modifying it to fit around the frame. It’s currently free floating in there but works out in the end since it doesn’t restrict movement for posing either.
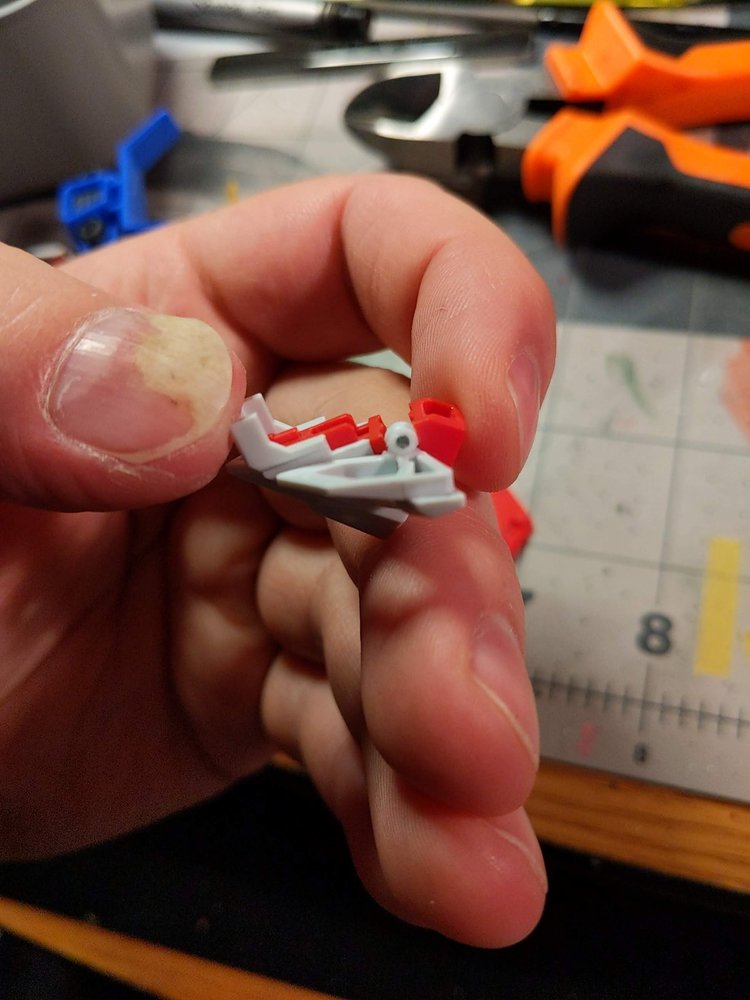

Due to adding the additional waist armor, I needed to offset the front skirt to make room. I cut off the original connectors and attached them to polystyrene rods with a metal pin secured through it to provide support for the new connection. The attachment is offset by 3mm to let the skirt rest slightly forward without looking too off from the original.
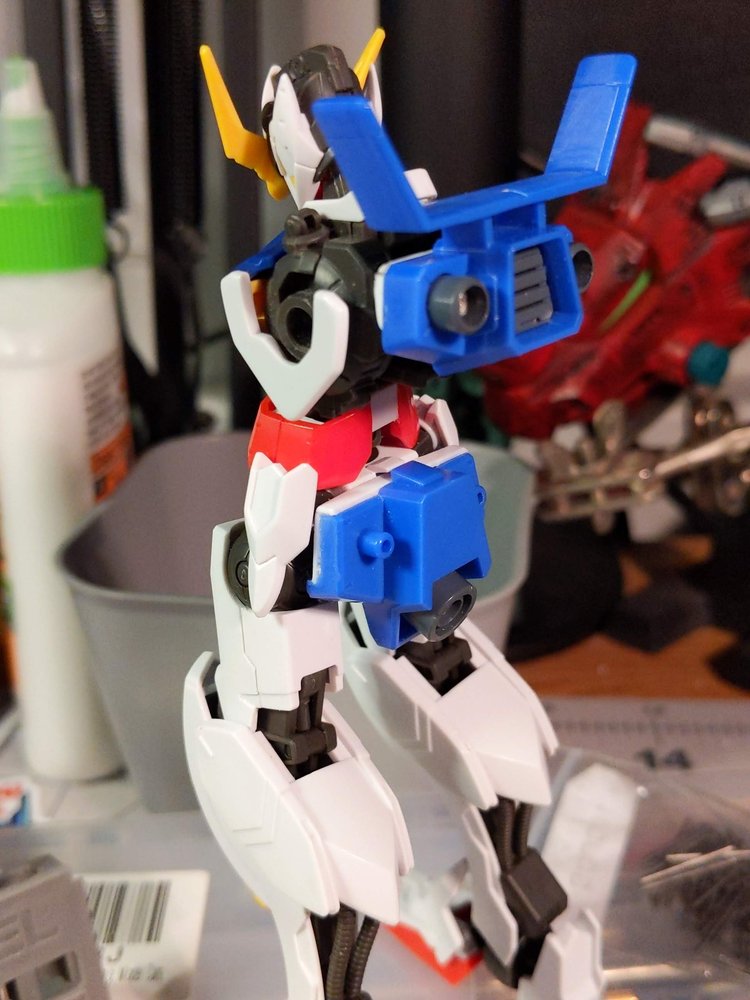
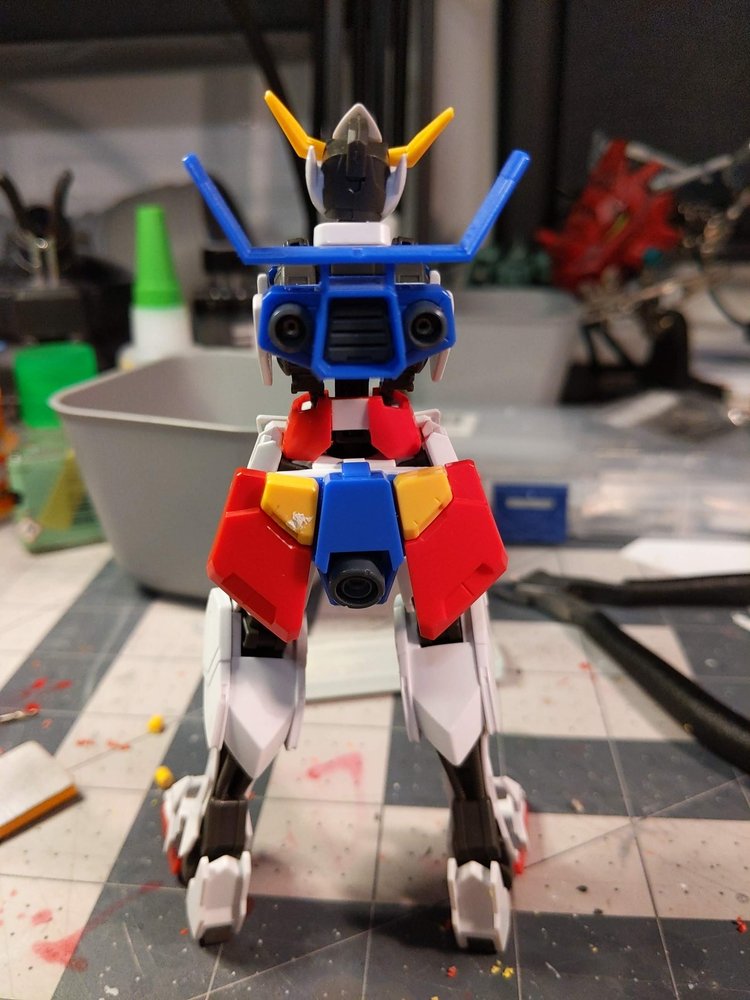
The rear skirt is an adaptation of the rest of the Titus torso, leading to a feature that was referred to as the “butt thruster”. The open gaps were filled in with polystyrene plate, and then the Titus rear skirt was modified to fit onto the pegs.
The side skirts is the original Barbatos rear skirt, split into two pieces.
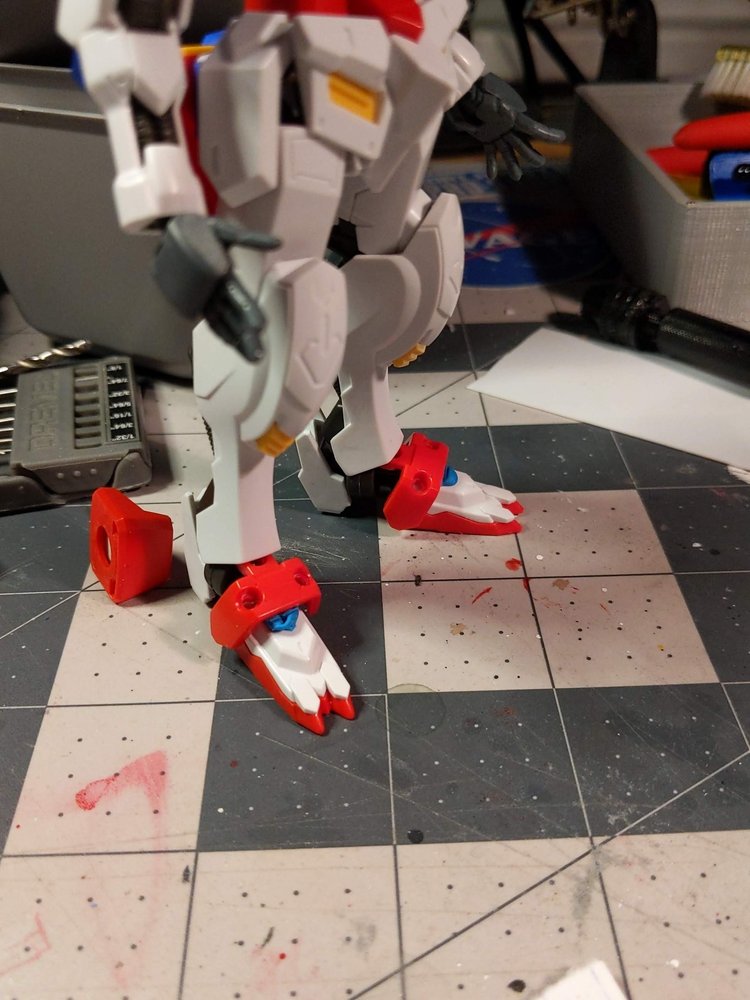
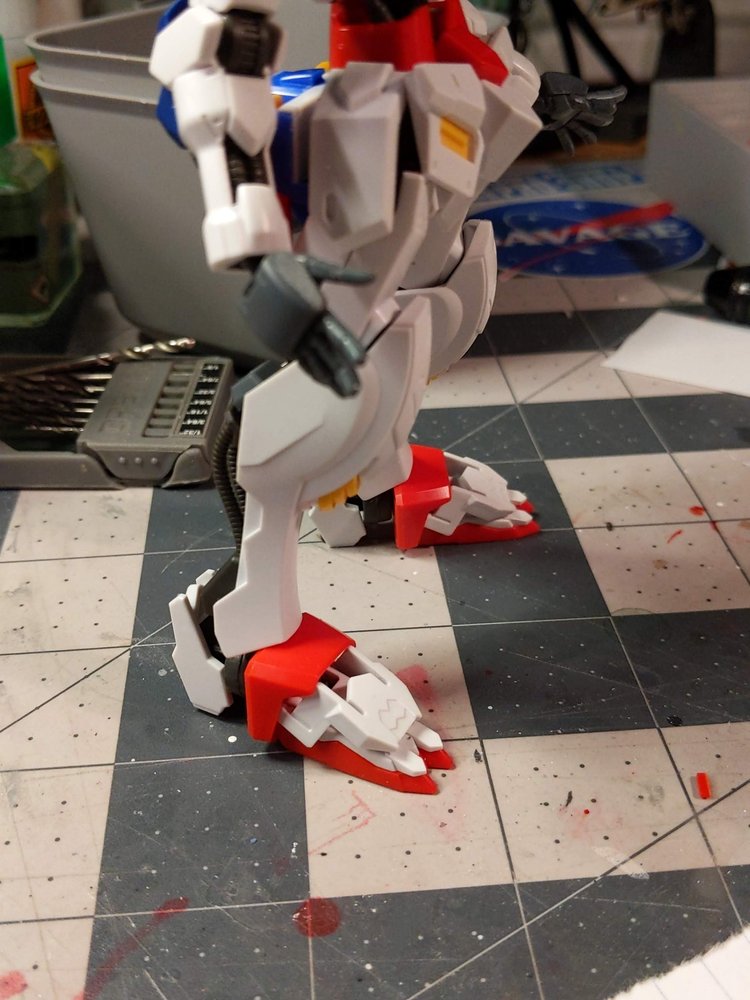
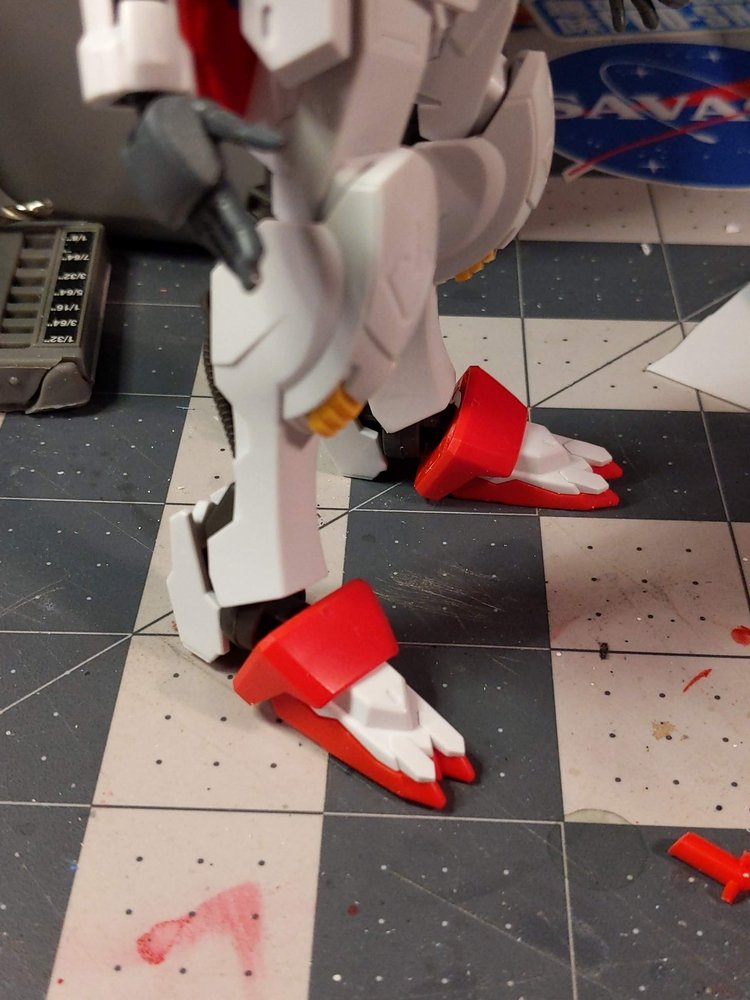
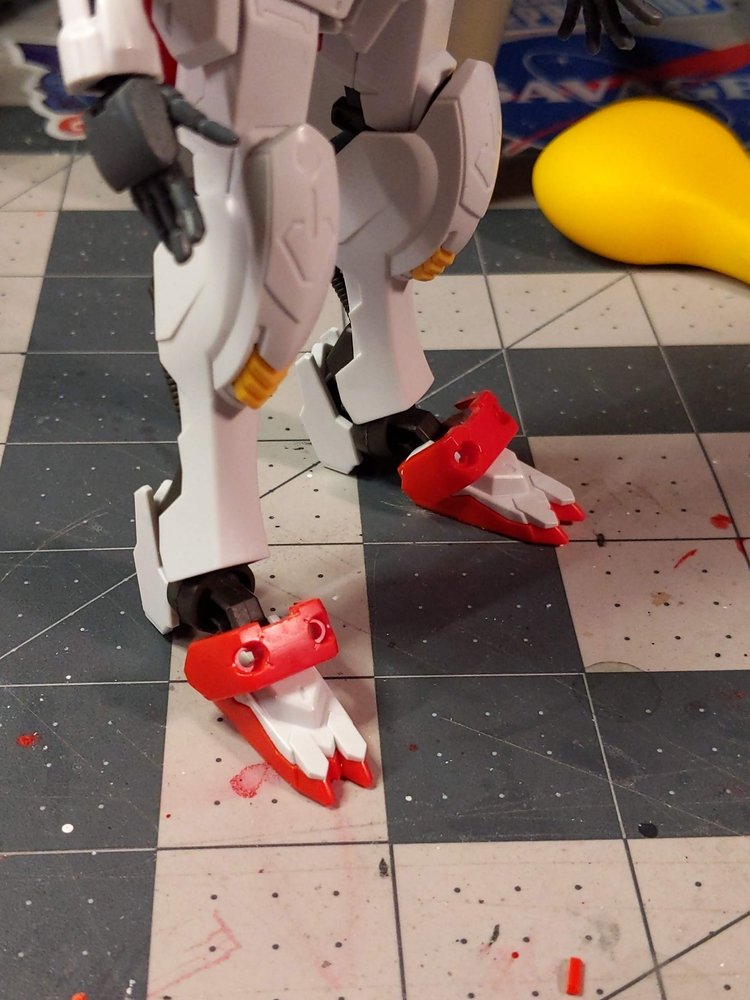
The foot armor was replaced with knee components from Titus. I had gone through a few different iterations until I landed on the combination of the connectors from the original and a trimmed down knee armor piece.
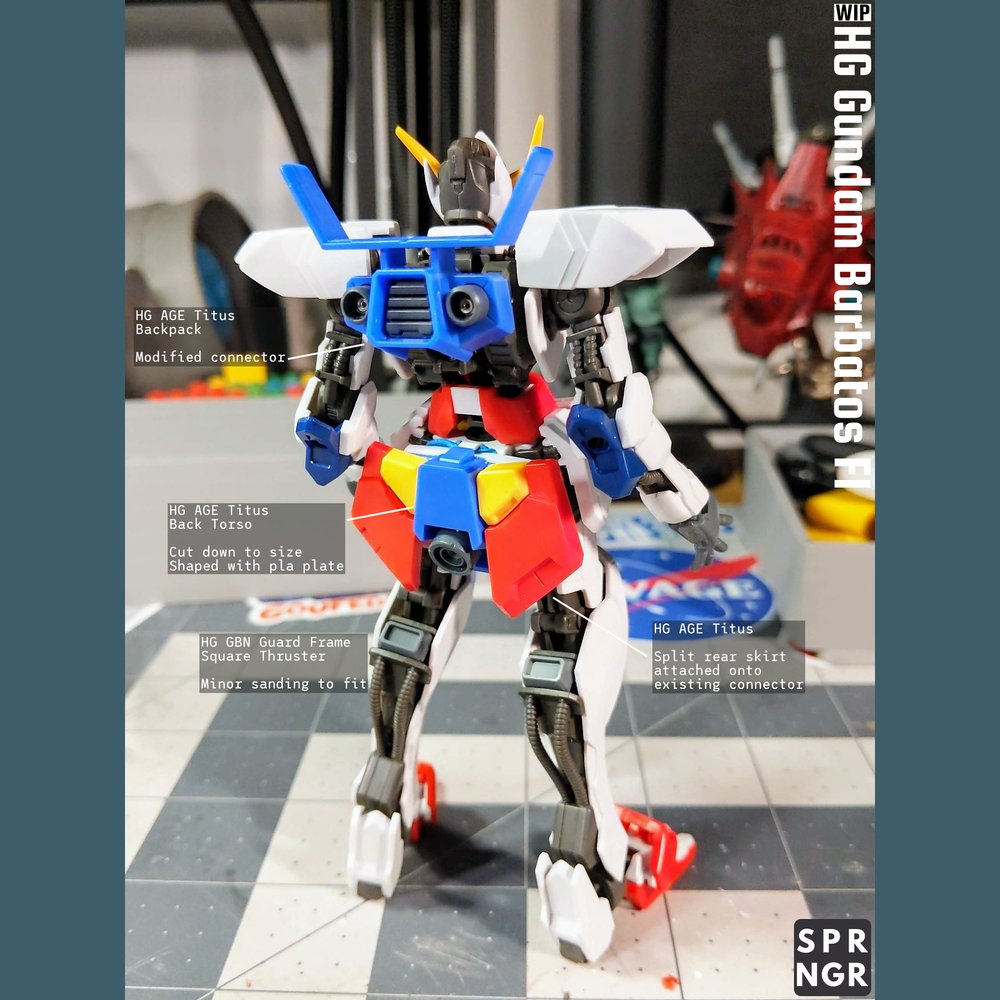
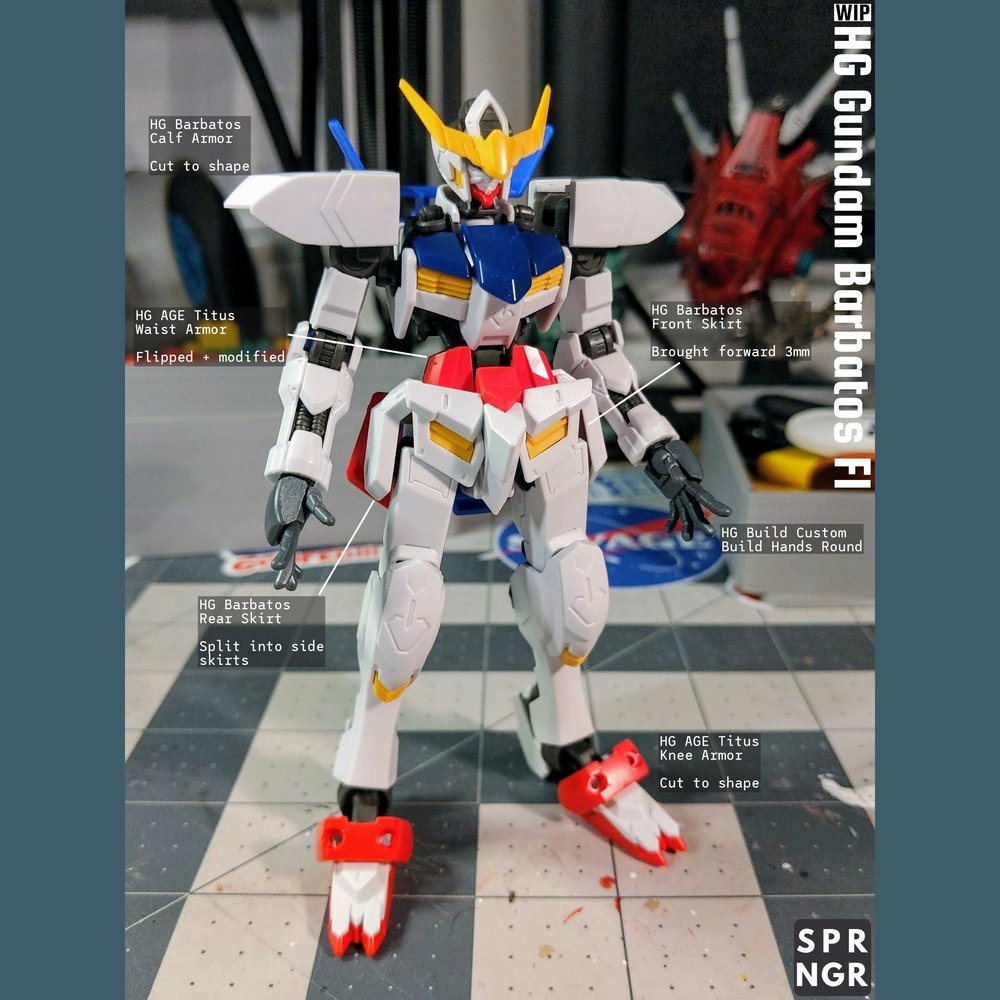
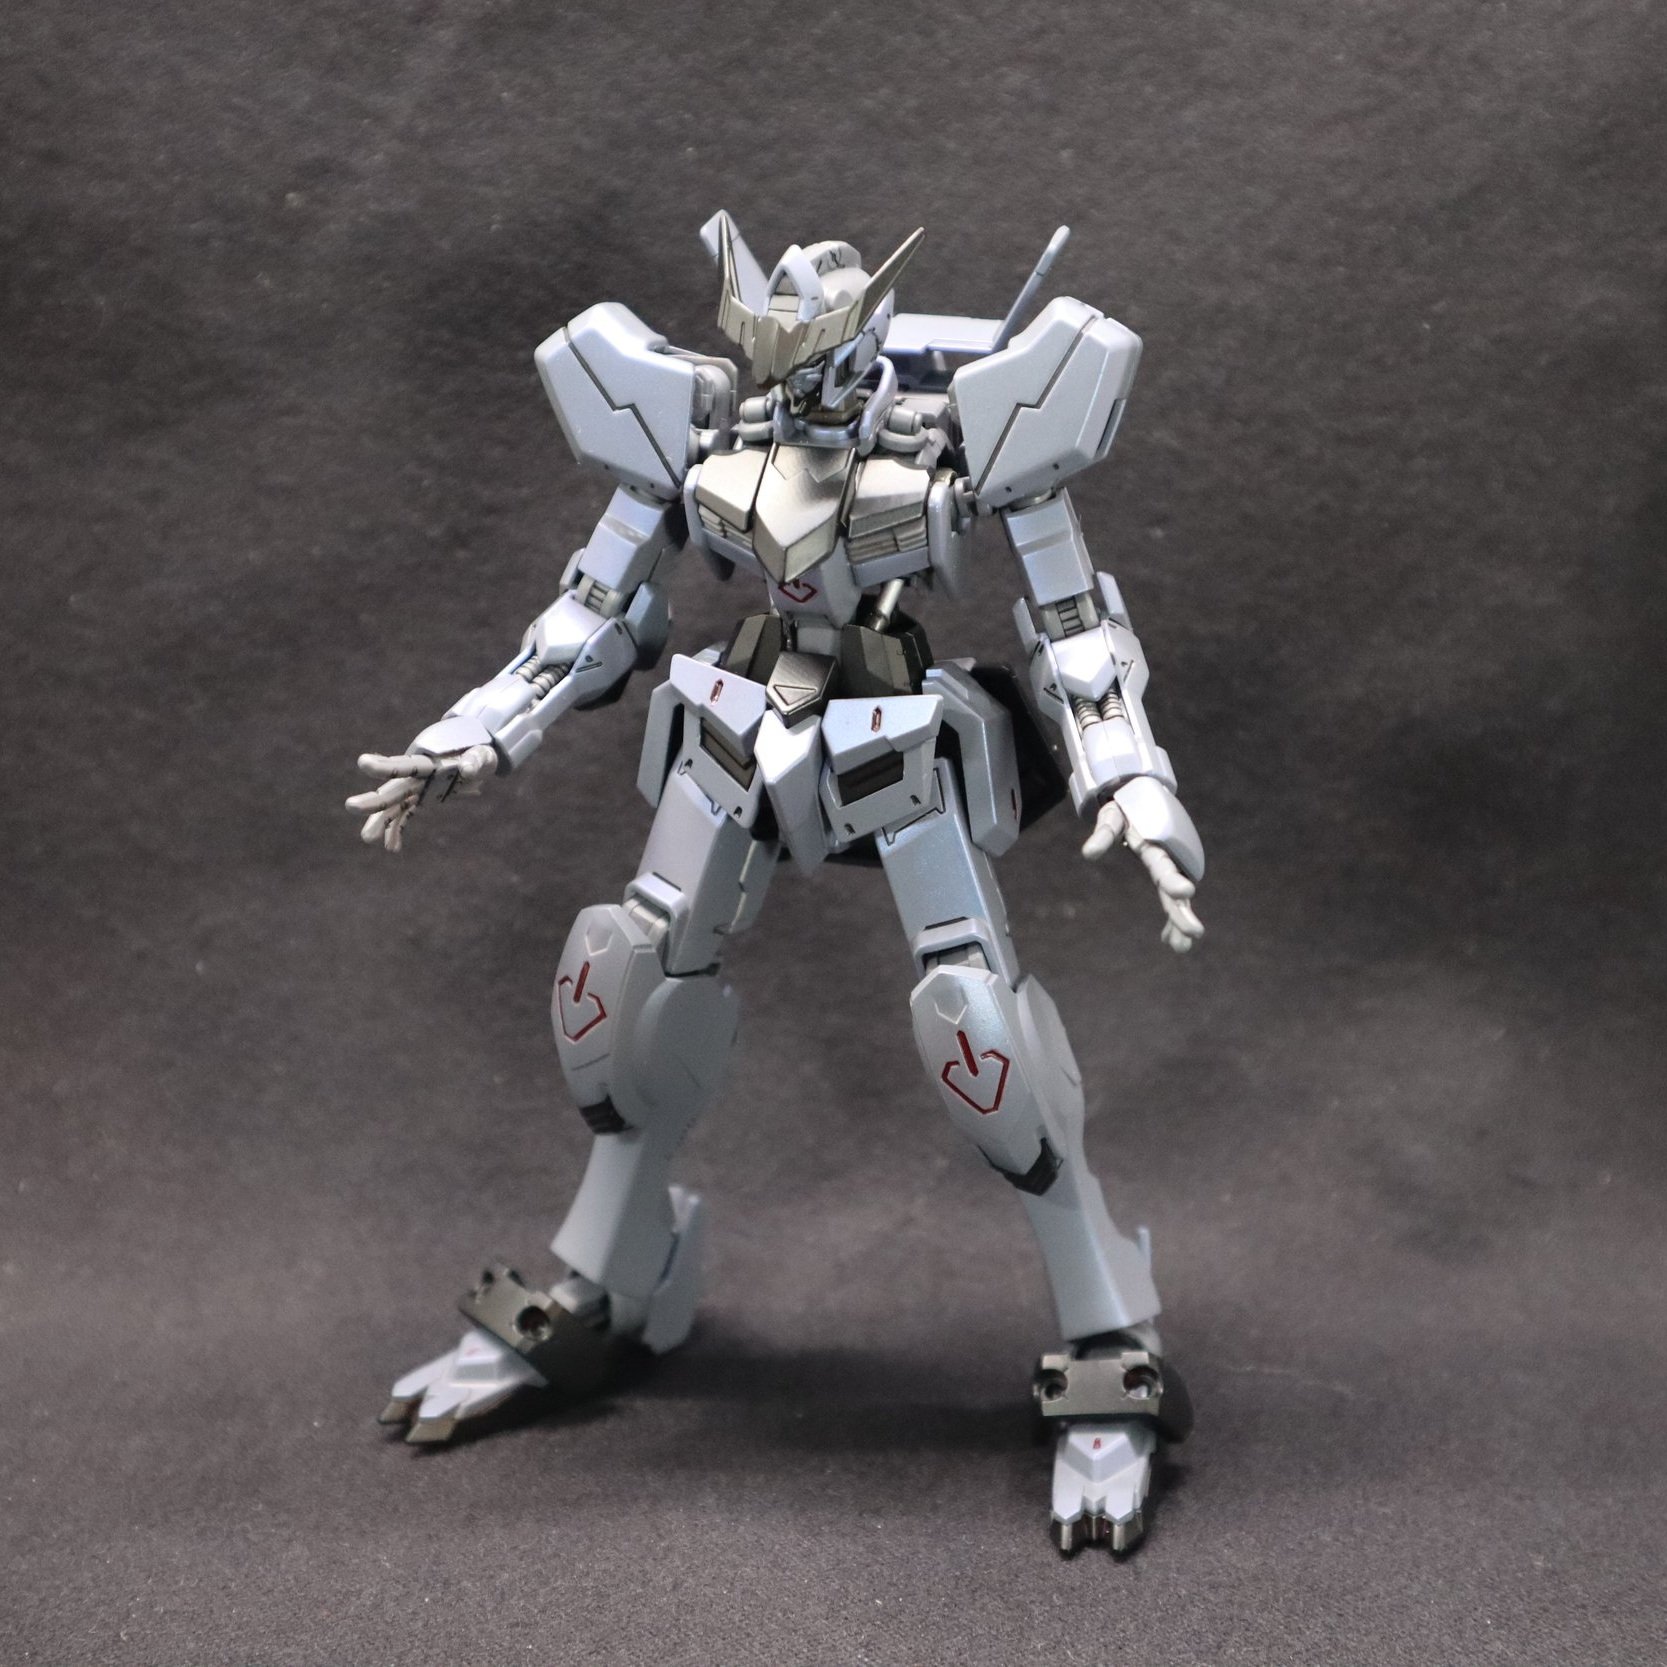
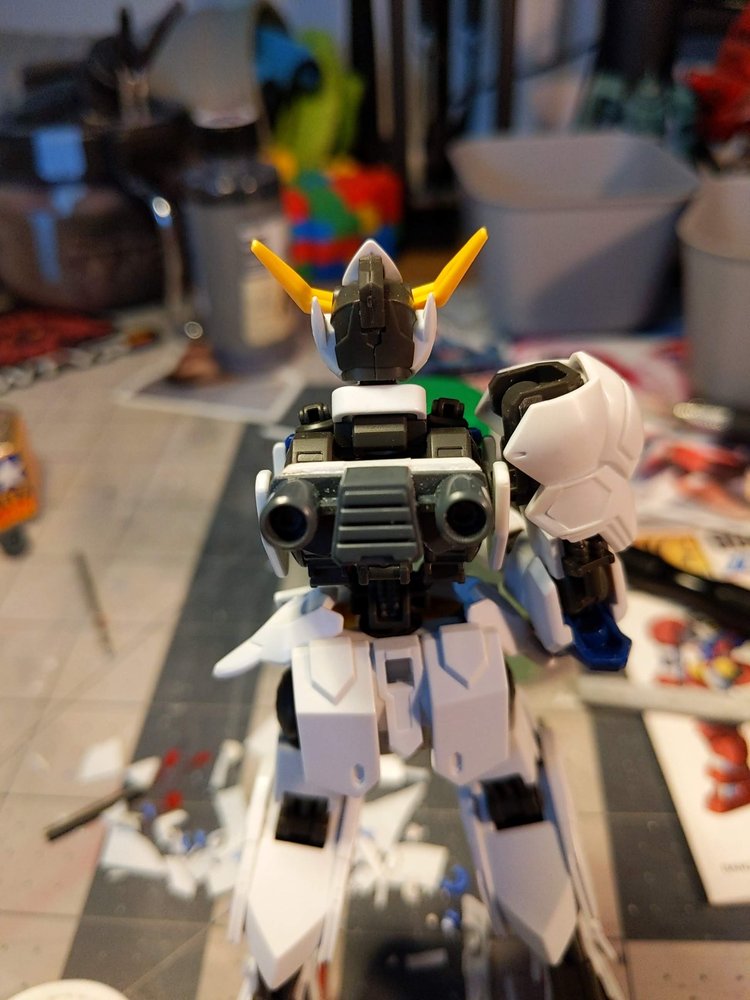
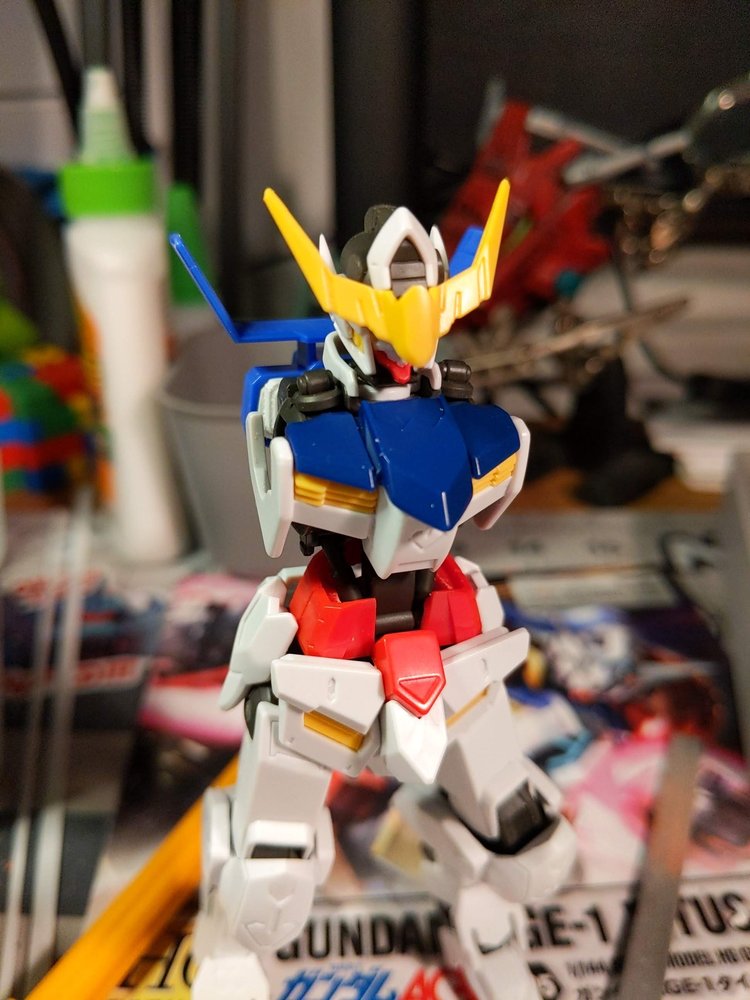
At one point I had shared a visual breakdown of the changes I’ve outlined above. The one core difference between this and the end result was the change of using Astaroth shoulder armor as opposed to the calf armor I had attempted to reshape to fit. I think the Astaroth armor played much better in the end with the Titus backpack’s spoiler.
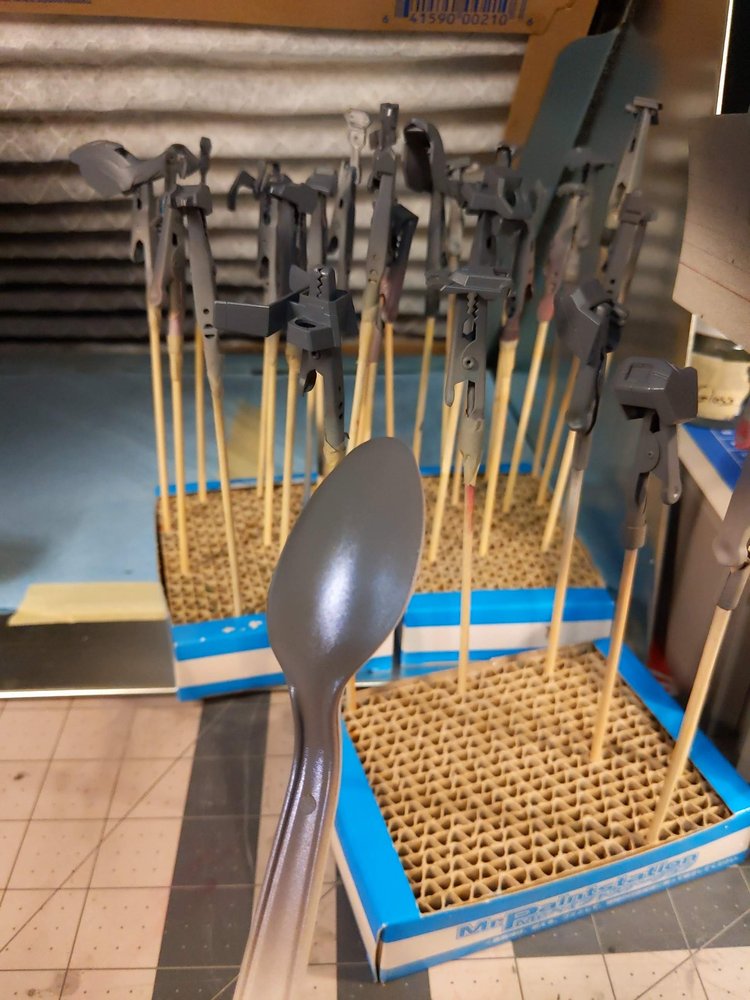
Coincidentally when I began this project I had traded in my long time car for a more current model, which happened to be a newer Honda Civic in Sonic Grey - depending on the lighting conditions it can be seen as a light blue. Given this and the ability to acquire custom paints based on car paint codes from Splash Paints, I decided to use a scheme inspired by it. The spoiler from the backpack further cemented this decision as well.
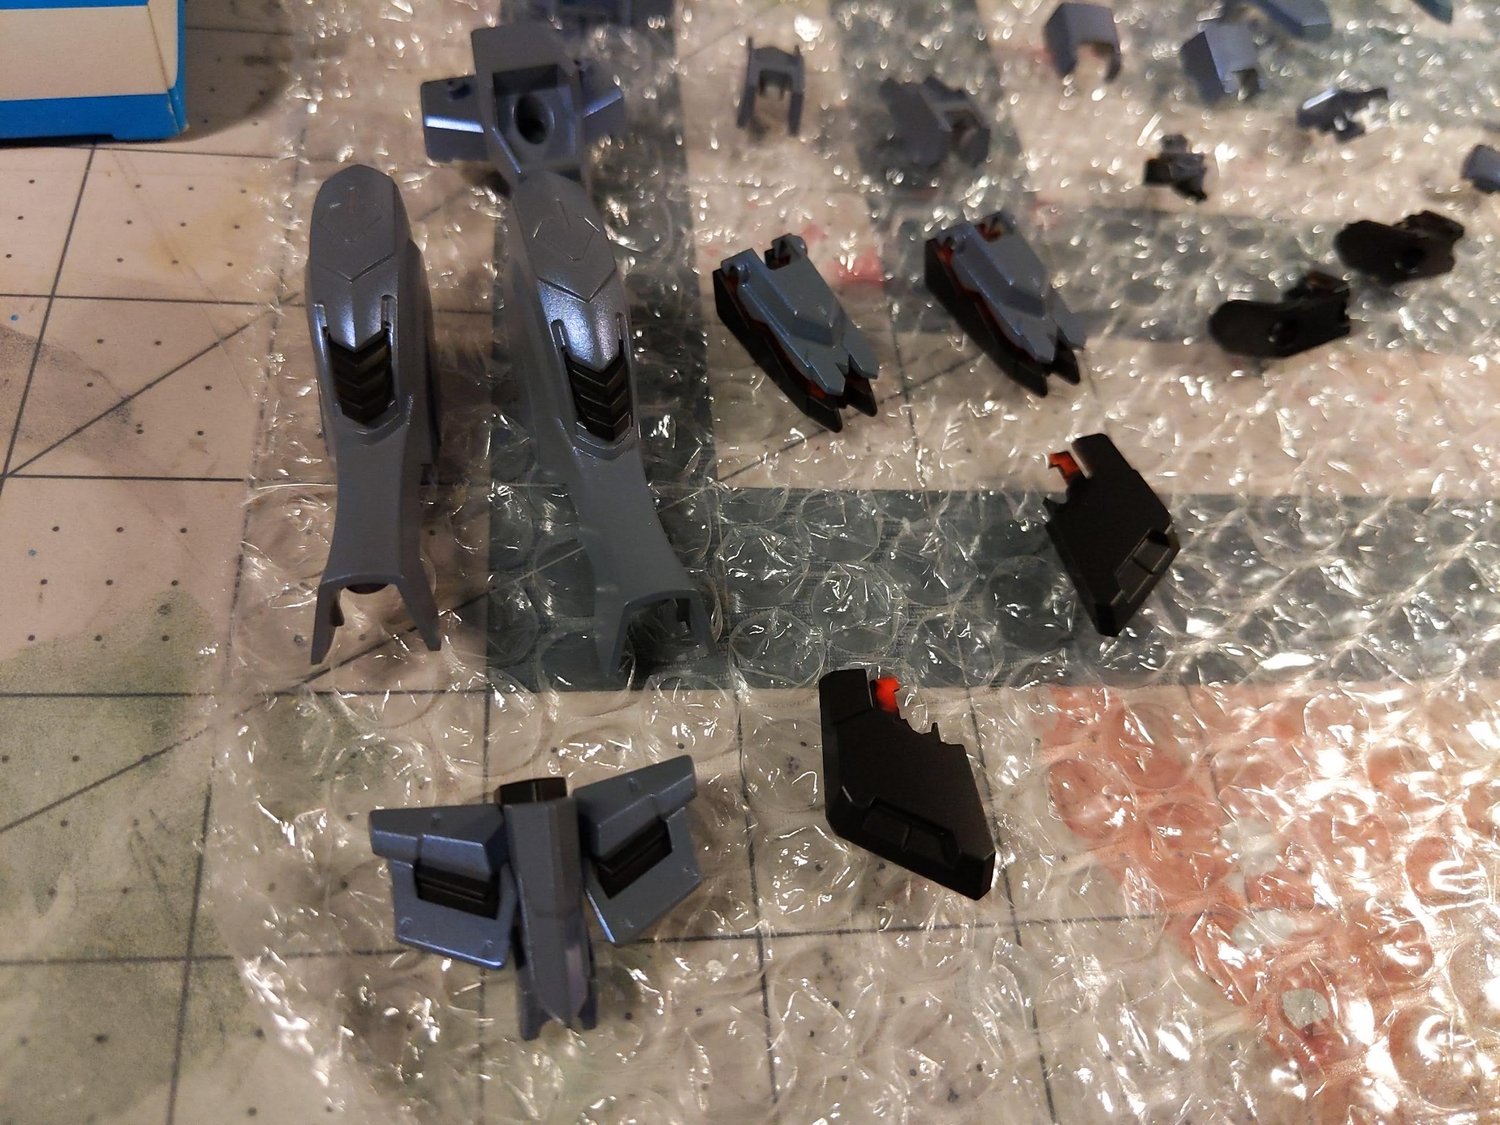
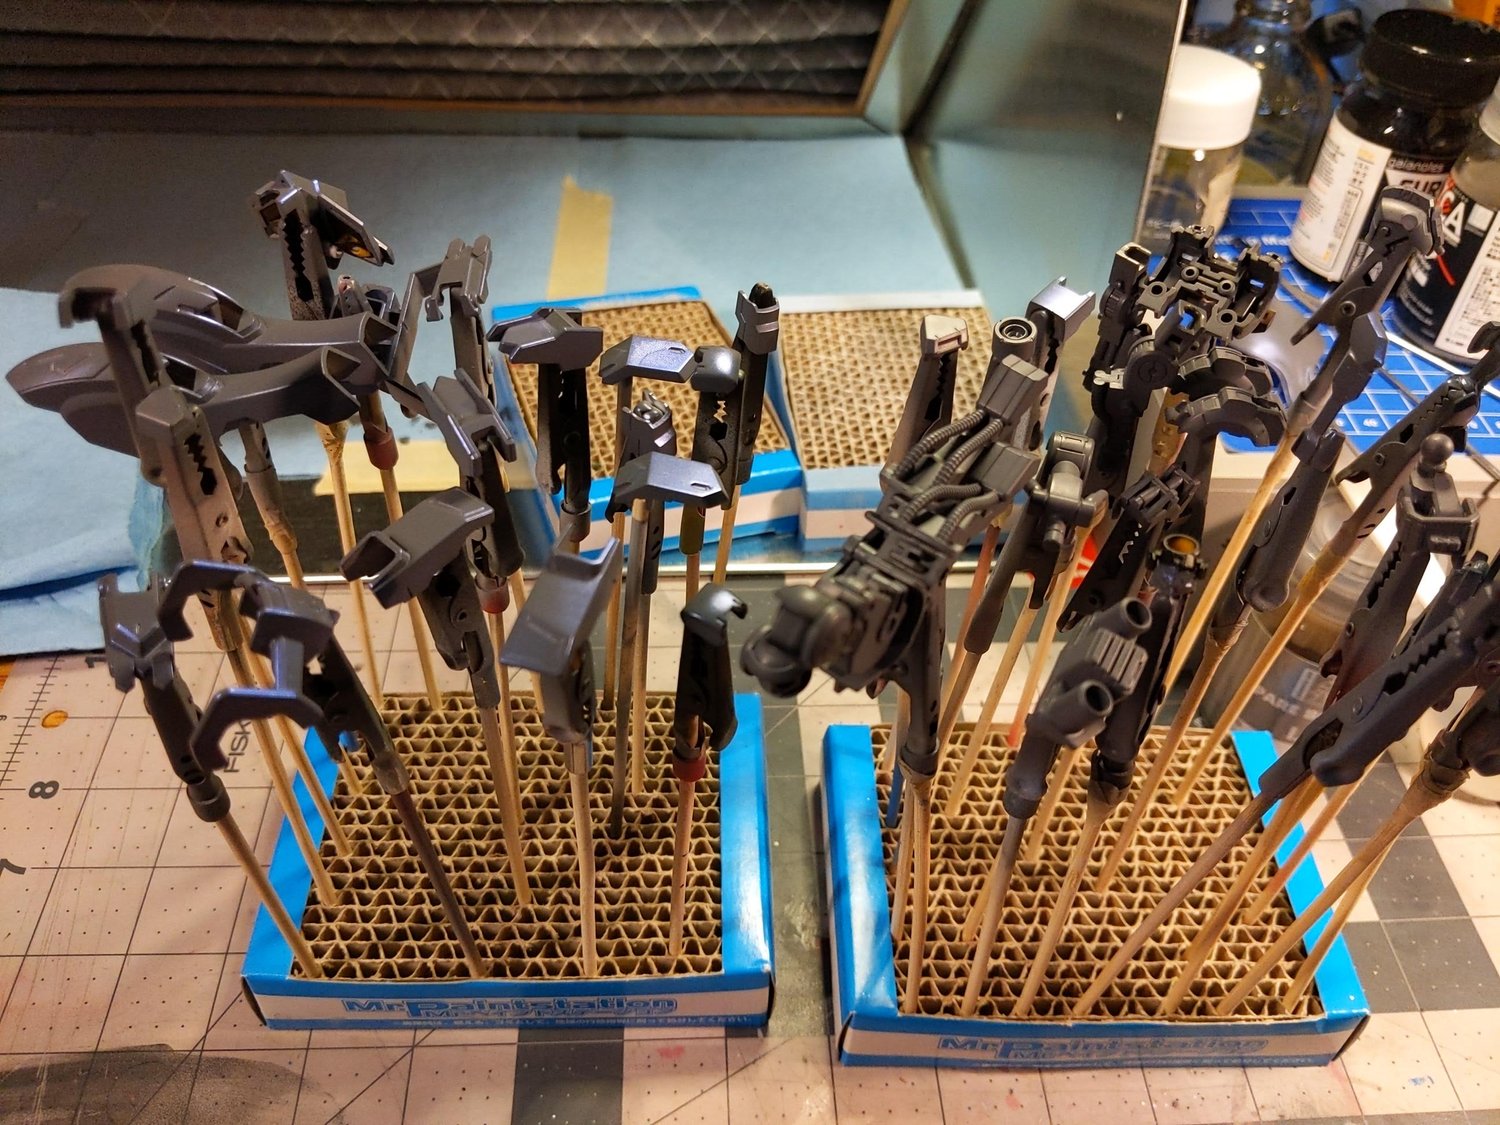
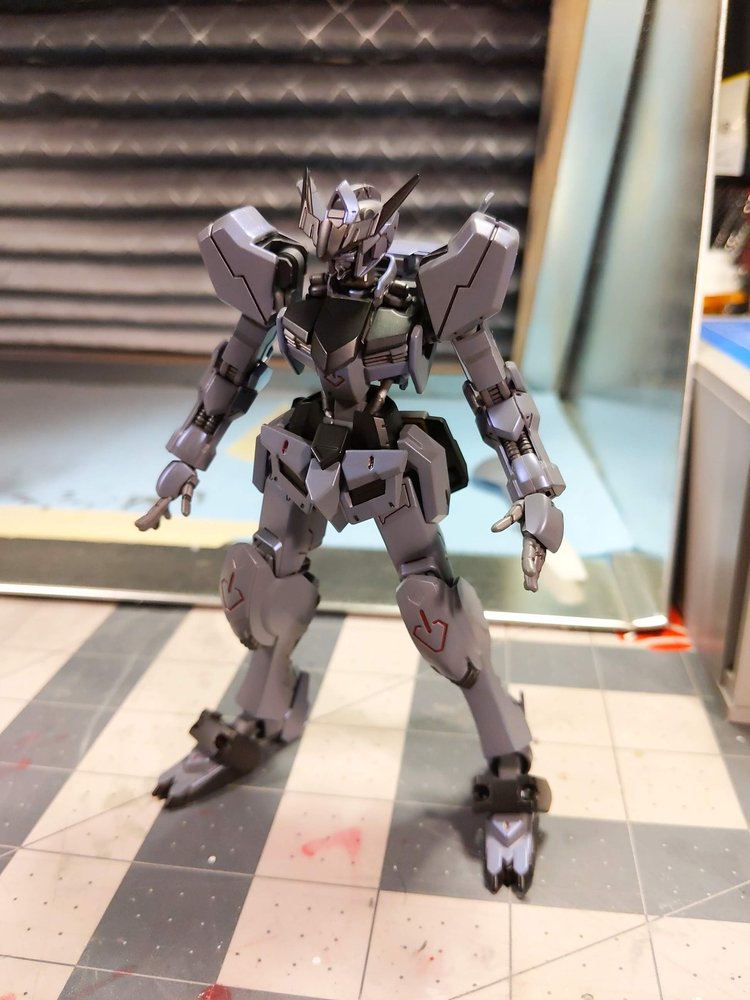
The majority of the armor was done with the Sonic Grey & Kitten Blue applied over top. The reason for the addition of a Pearl coat came after recognizing that they are often used in automotive finishes to give that quality luster and further my experiments with mixing layers as opposed to just colors. The rest of the pieces were treated with Evo Black and Nazca Heavy.
The finish applied to the Grey/Blue & Black was a semi gloss to further play up the modern vehicle aesthetic while the exposed inner frame components were given a matte finish to accent to the gloss finish. Normally I’m not one for gloss finishes, but it made a lot of sense here especially when contrasting against the matte coated parts.
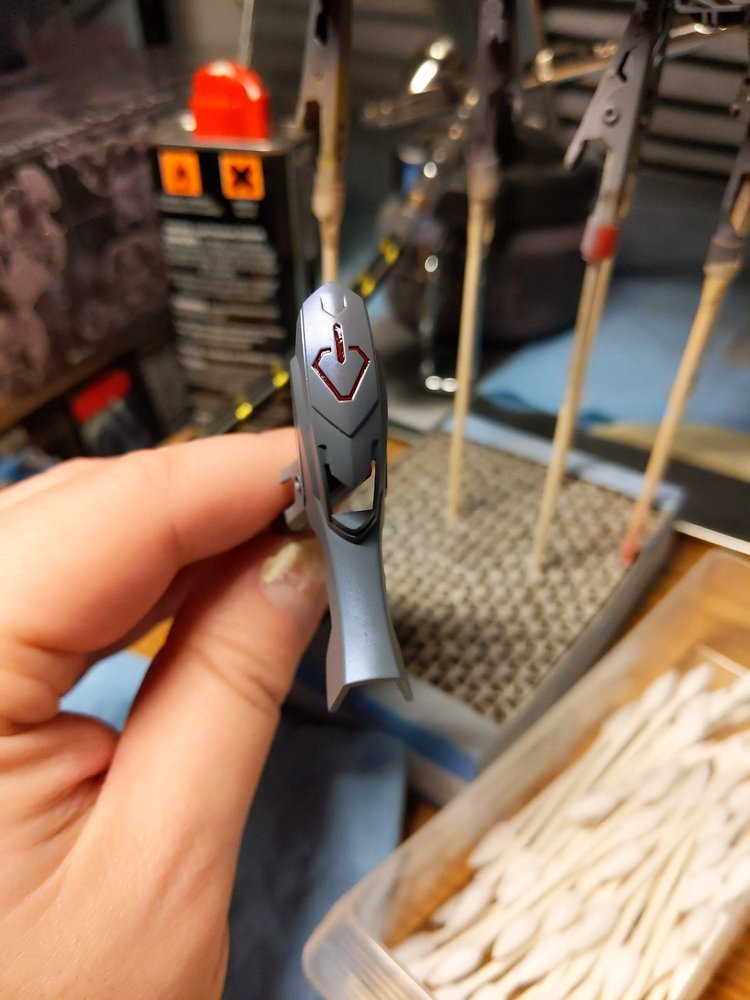
Red enamel details were used to contrast against the Grey/Blue finish and refer back to high visibility reflectors. Other enamel details were used as well around the waist, though some are not visible after it’s been assembled.
Supplies Used
All paints thinned with Mr Color Leveling Thinner unless otherwise noted.
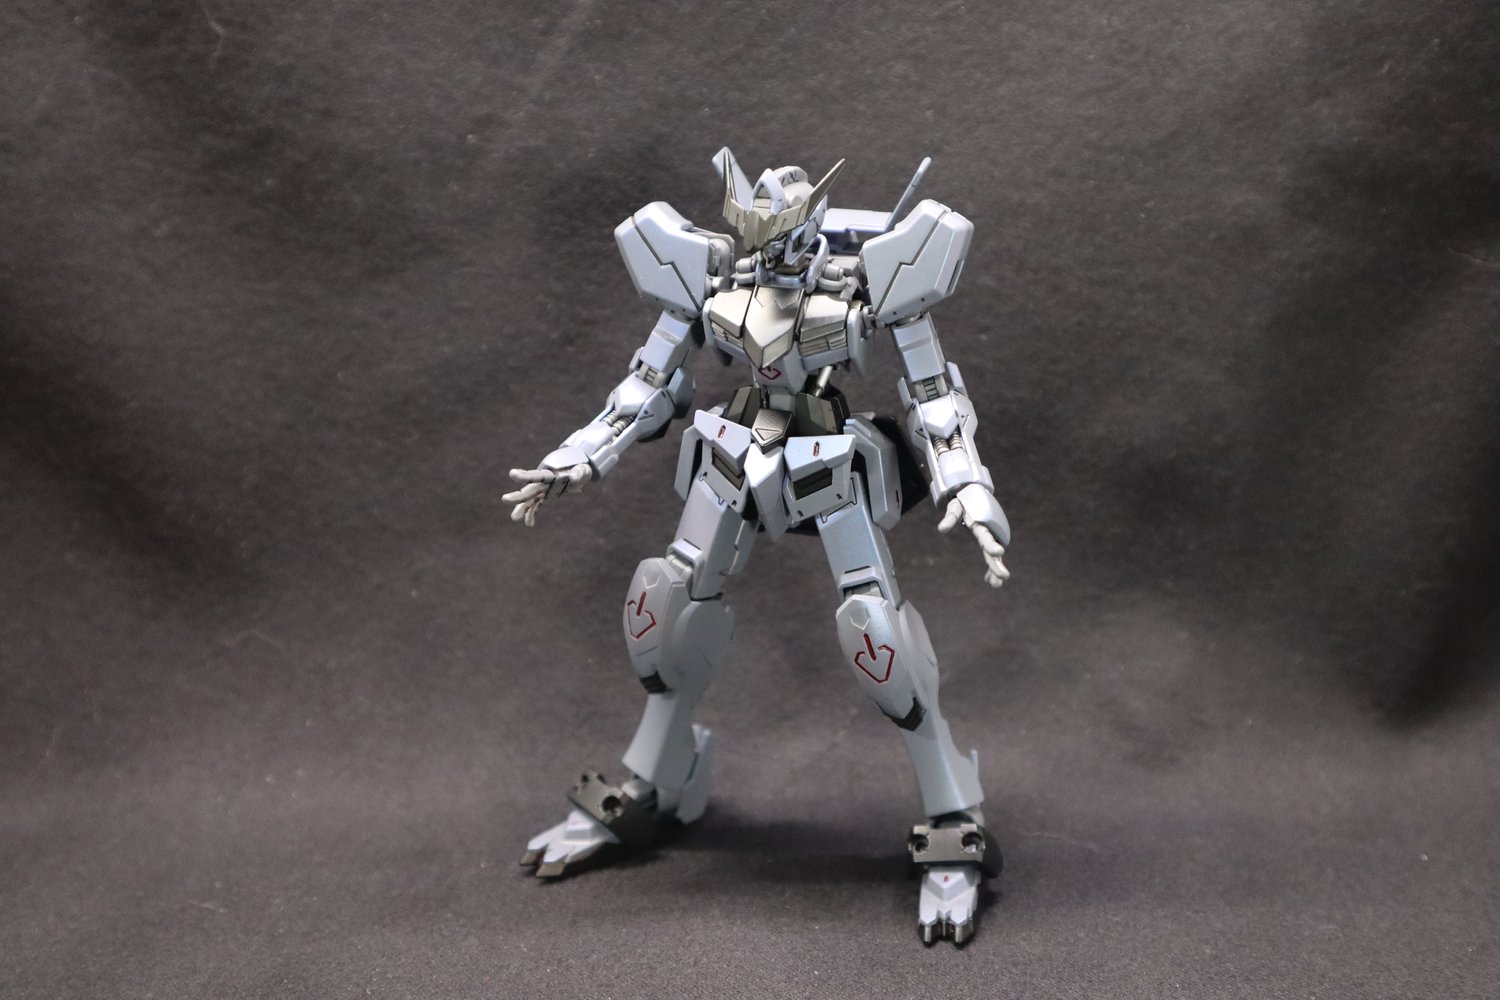
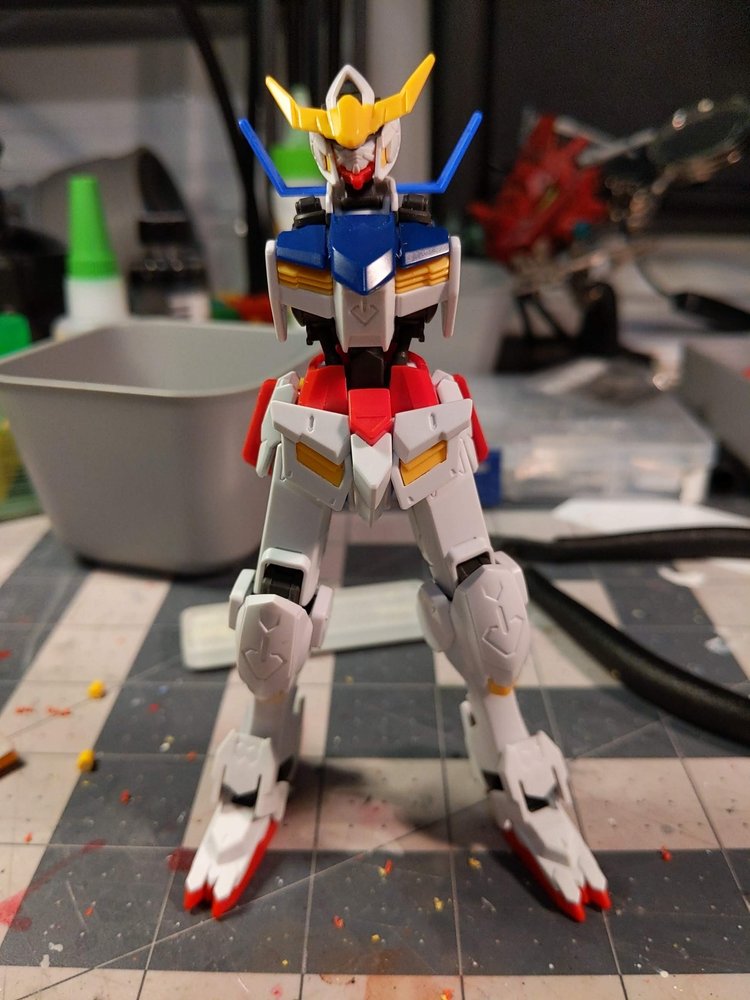
Overall I’m really happy with the results. The colors came out better than I expected, the mix of different finishes and contrasting surface details all play well together and is something I need to experiment with more in the future.
The shape of the build really came together in the end. I had considered trying to push further with modifications but am glad I had set some degree of limits to my pool of what I worked with.
I am a bit frustrated the effect of the pearl coat doesn’t come through as well in the photos as it does in real life, but I am happy with the versions you are able to see with varying lighting conditions.
Thank you for reading my build breakdown and please look forward to the next one!