This is the final chapter of a journey that has spanned approximately a year. If you want to catch up, check out the first two work in progress posts before continuing.


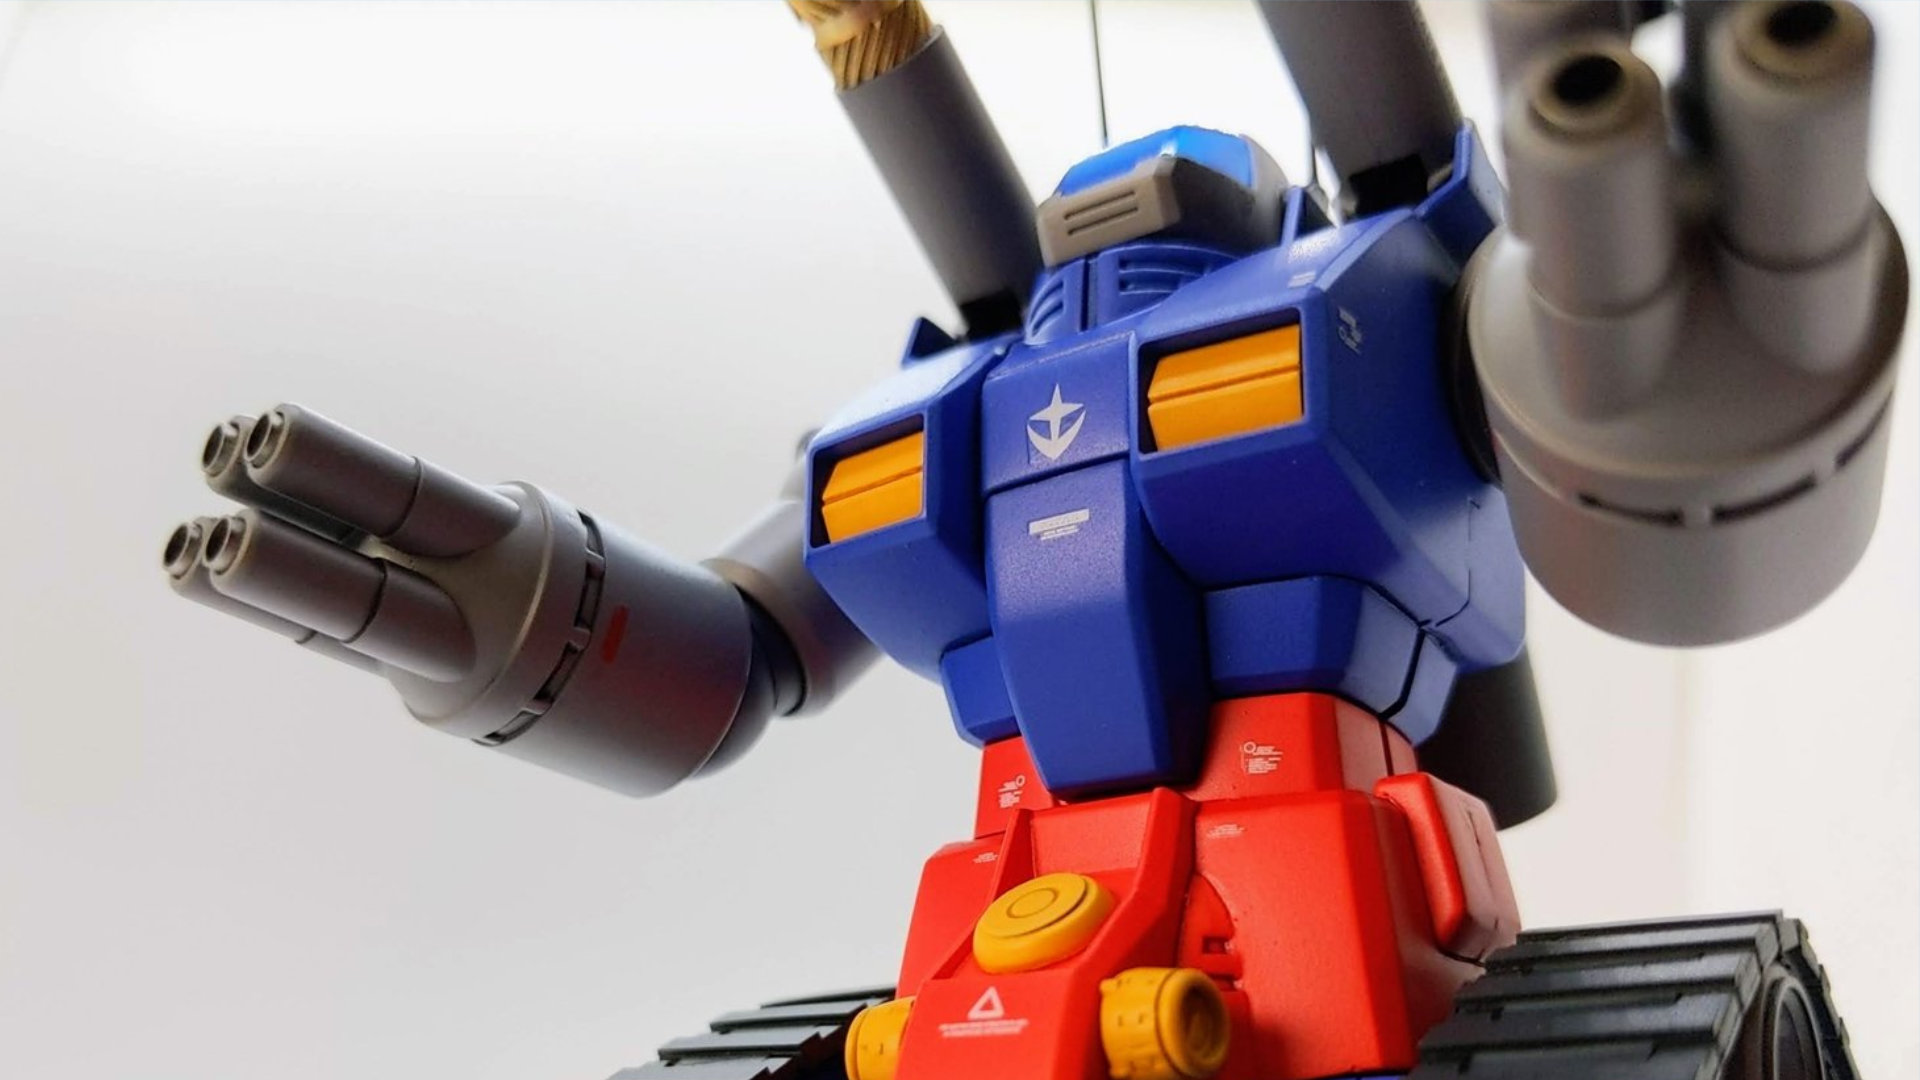
As mentioned in the end of Part 2, I applied panel lines made up of a mix of the standard Tamiya Black panel line and colored panel liners made up of thinned enamels. For blues, I used Tamiya X-23 Clear Blue; Tamiya X-24 Clear Yellow for yellows; and Tamiya X-27 Clear Red for the red.
The resulting effect makes a much more subtle shadow in the recesses as opposed to using black as the default color. This is a technique I have tried out before on a snap build and was really glad to see how it worked here especially with the strong saturated colors for the blues and reds.
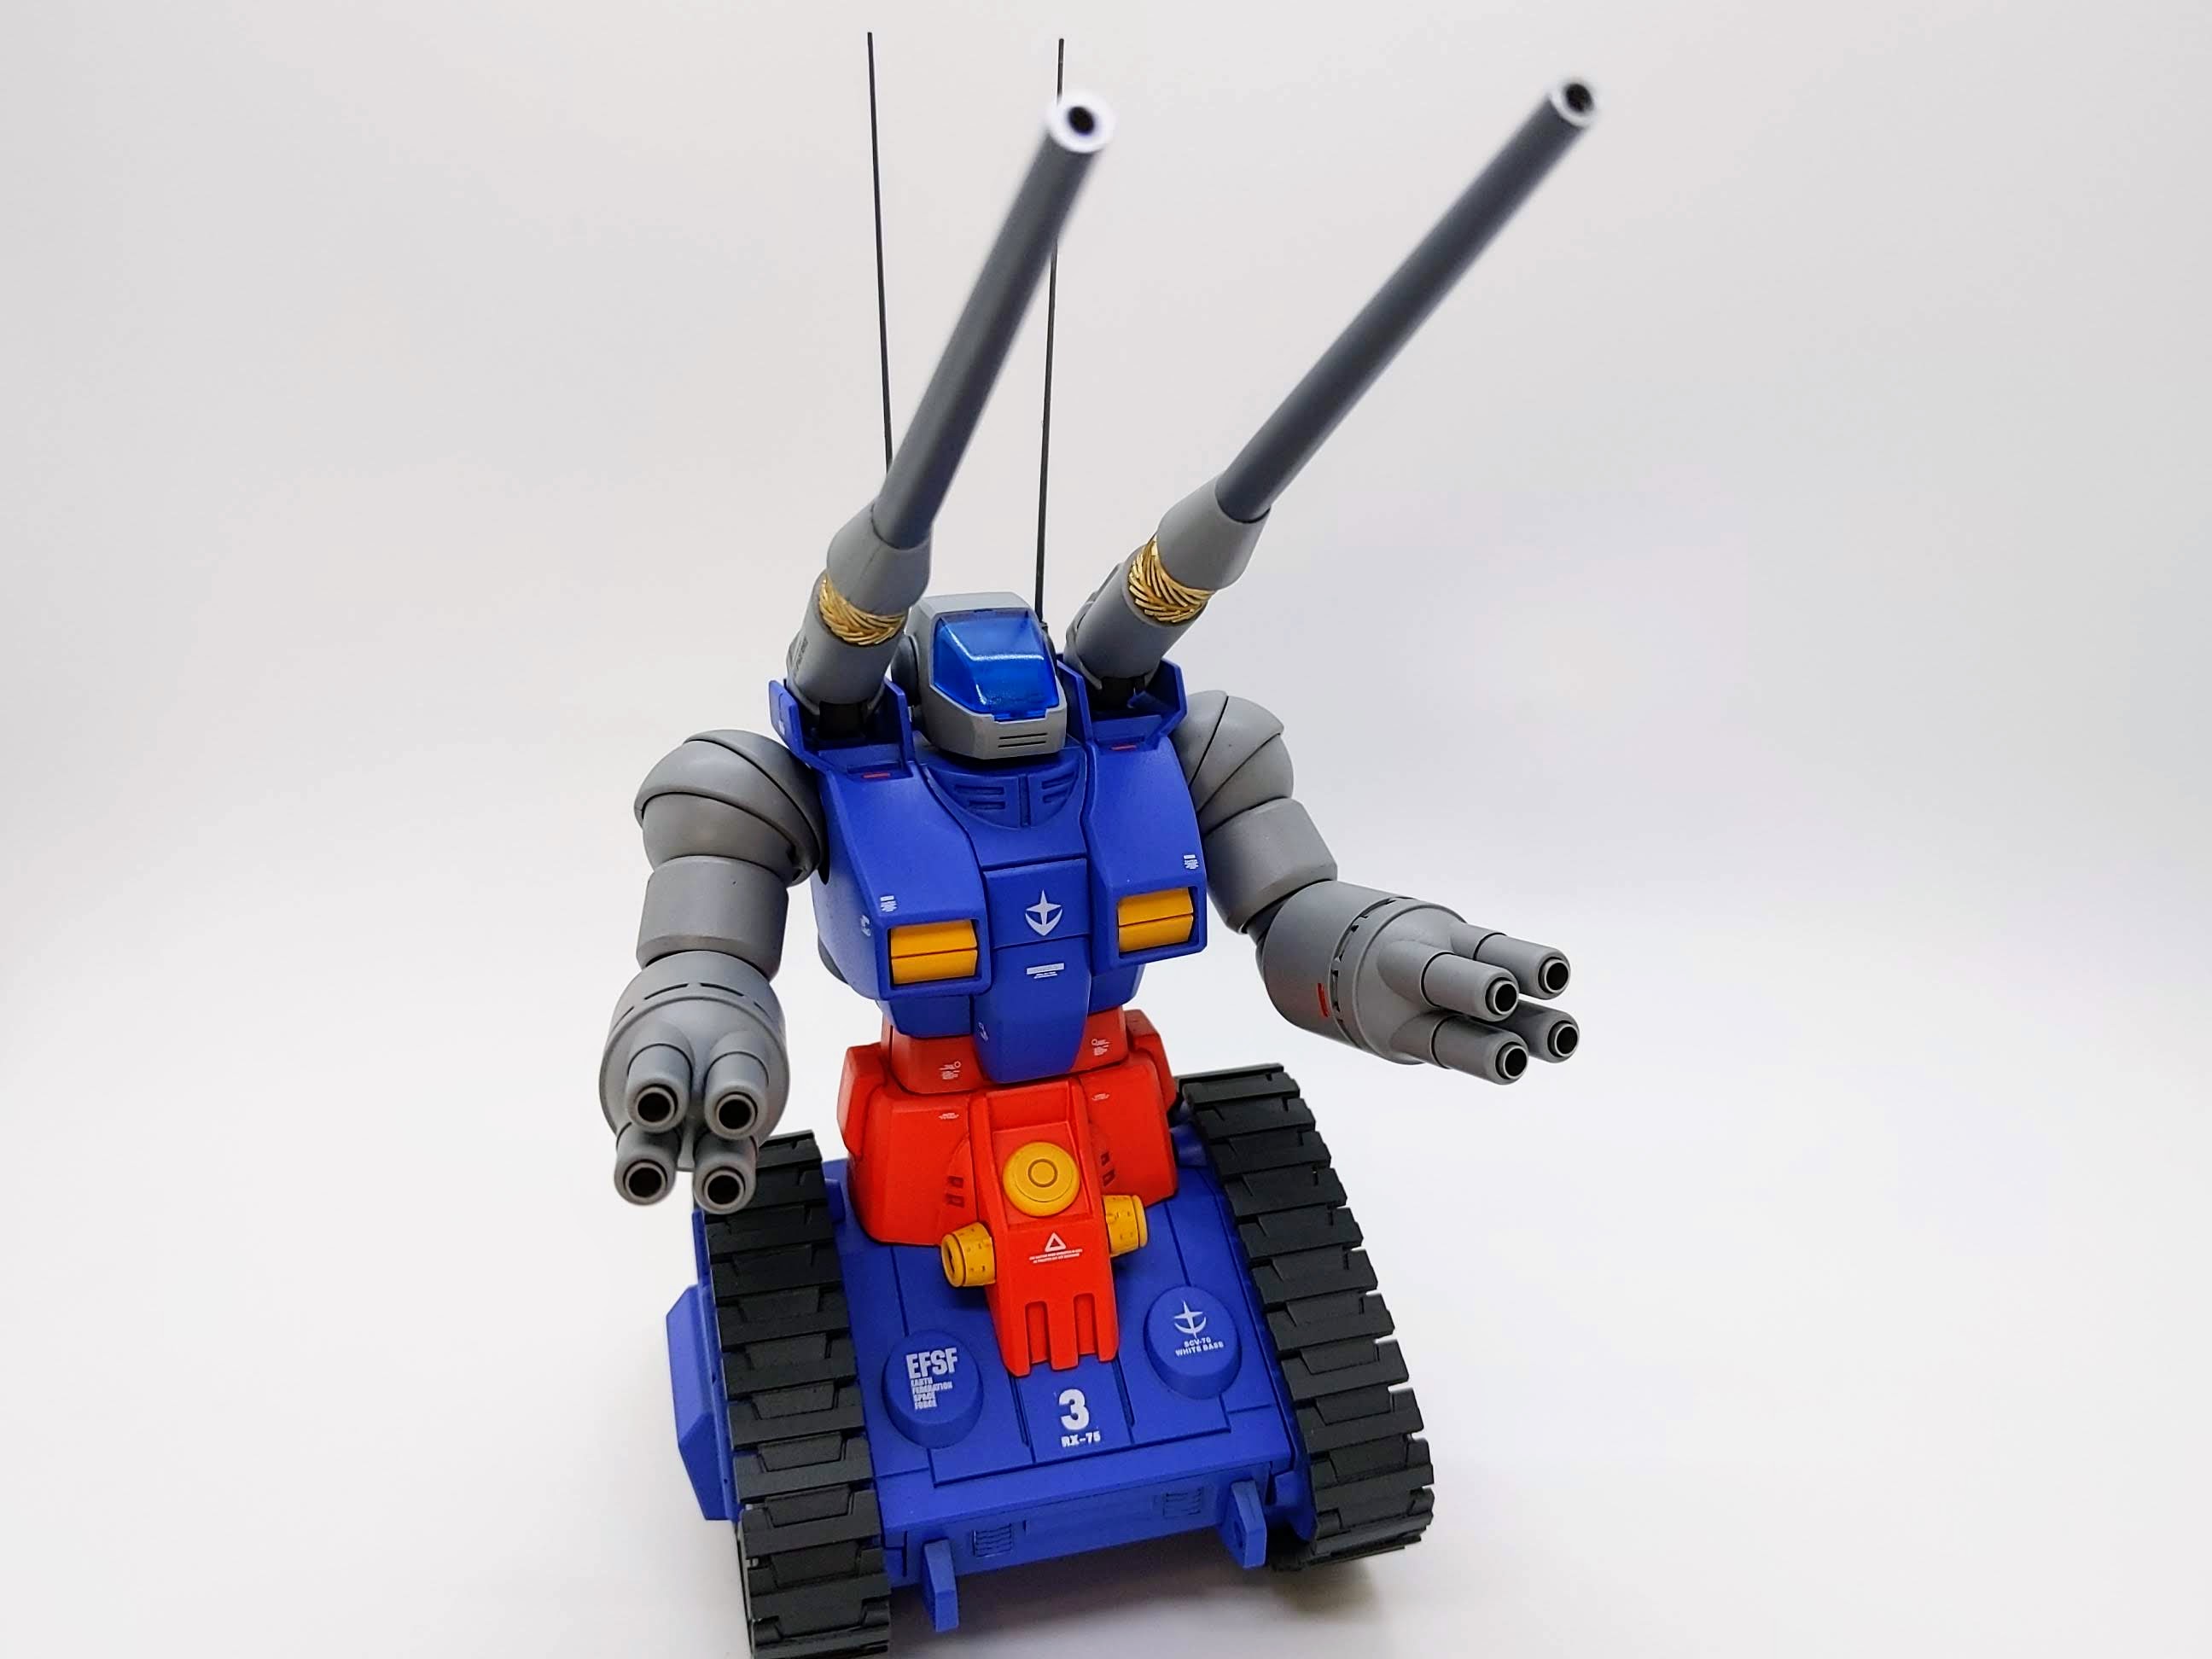
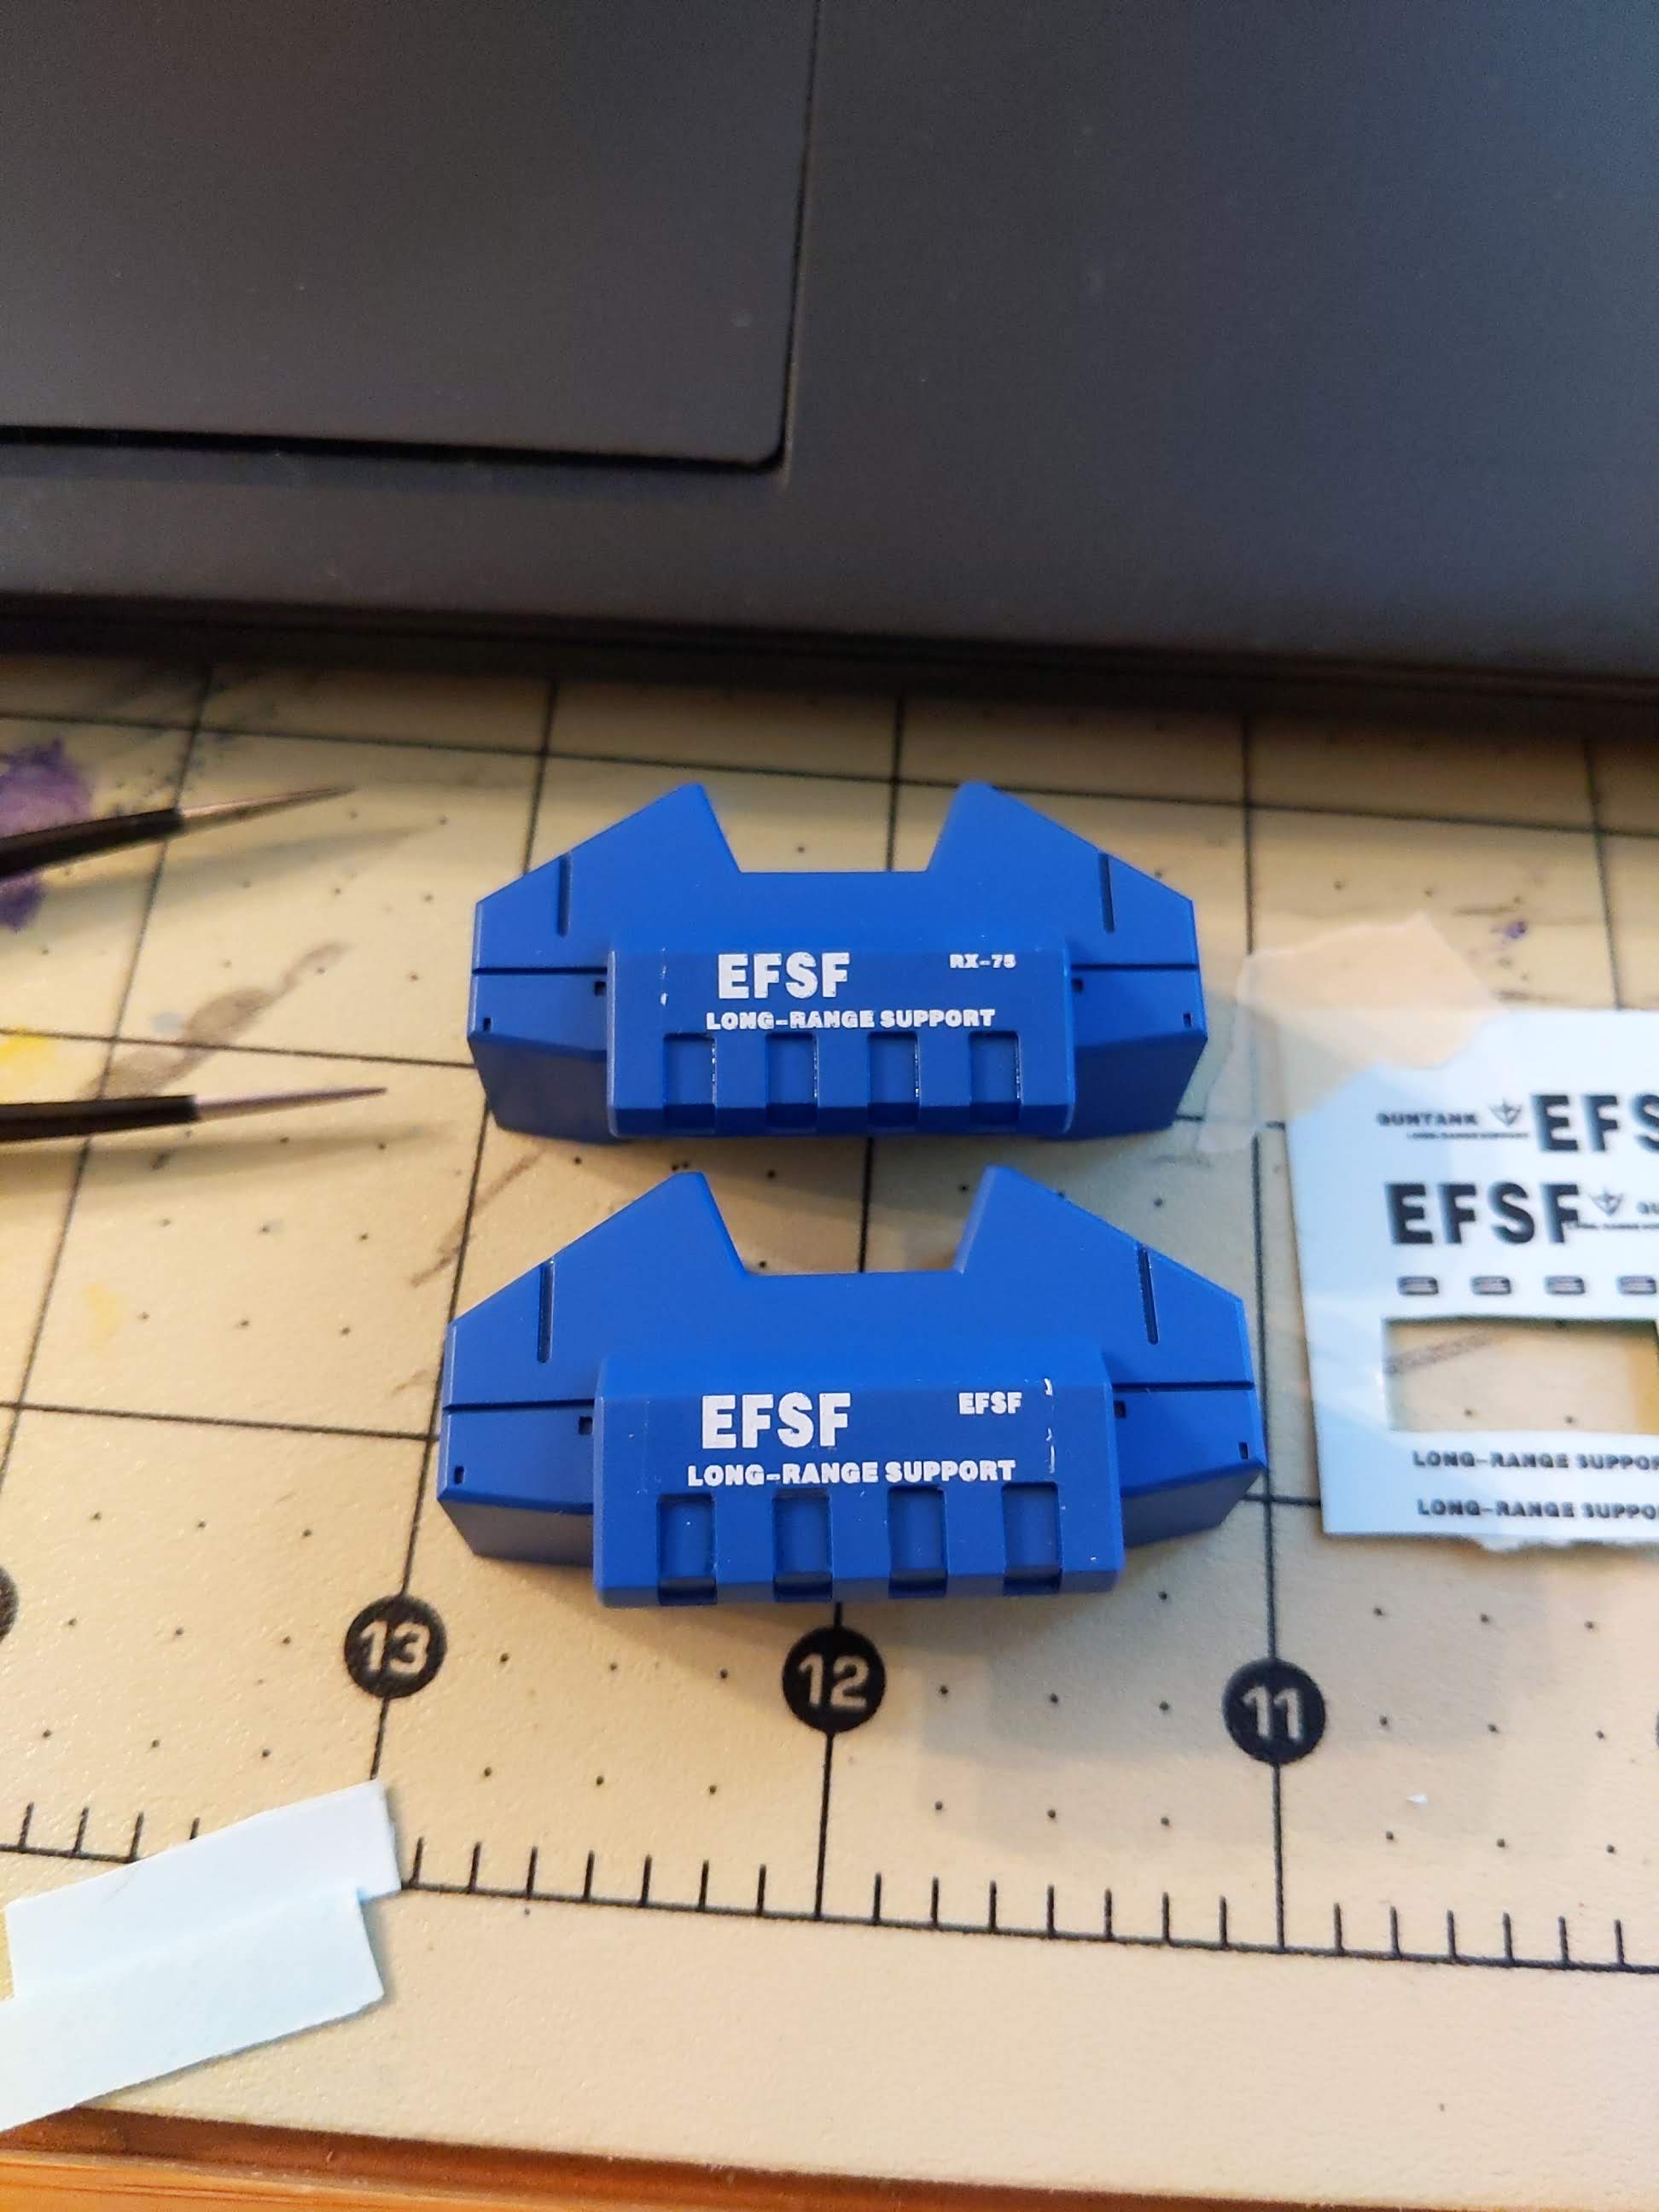
Next up was the decals. For this phase, I tried to reference layouts used on the Master Grade variant but ended up winging it for the most part. I had acquired a sheet that was a water slide recreation of what appeared to be the MG decals scaled down. What I had not realized was the decals were not separate on the sheet like I have grown accustomed to. Ultimately this became a lesson in patience through usage of a hobby knife and more importantly the tiny scissors on the Leatherman Style PS I keep in my toolbox finally getting its time to shine.
One drawback I was able to mostly minimize from the full sheet decals was any edges being a bit egregious, luckily a little decal setter and top coats helped unify it in the end. My recommendation here if you find yourself in a similar scenario is to cut out as large an area as you can and trim the paper back down to minimize silvering.

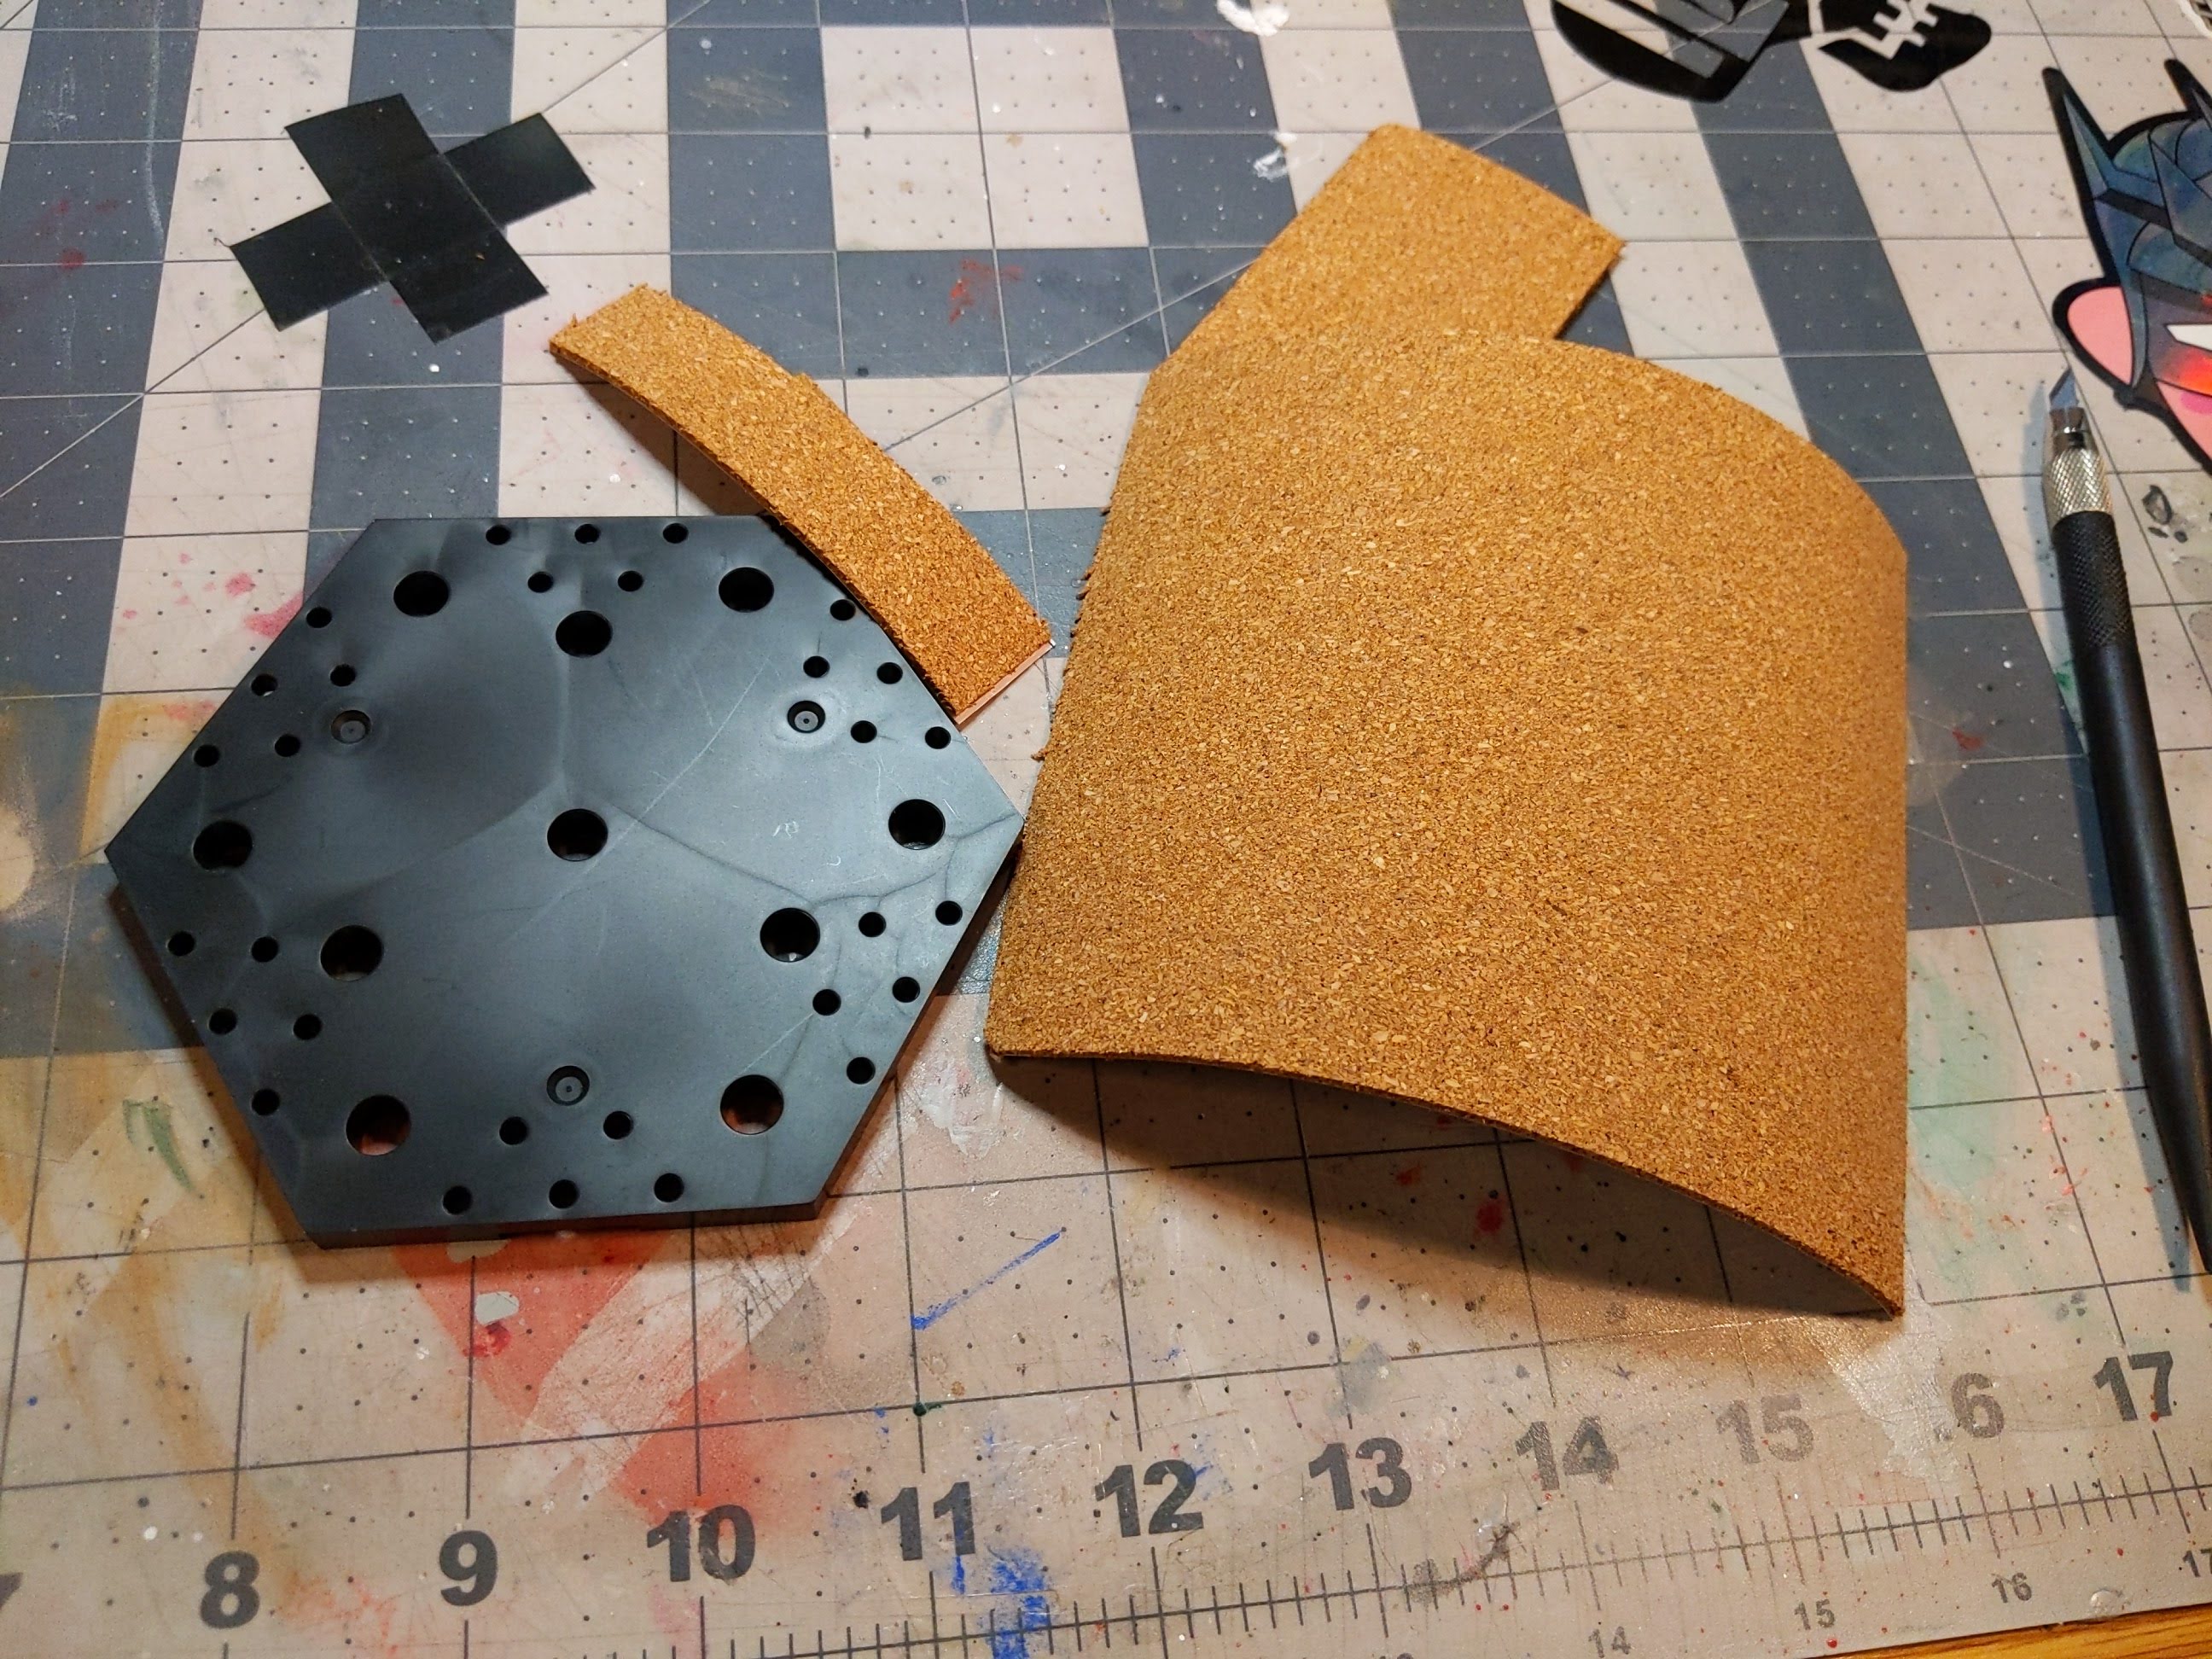
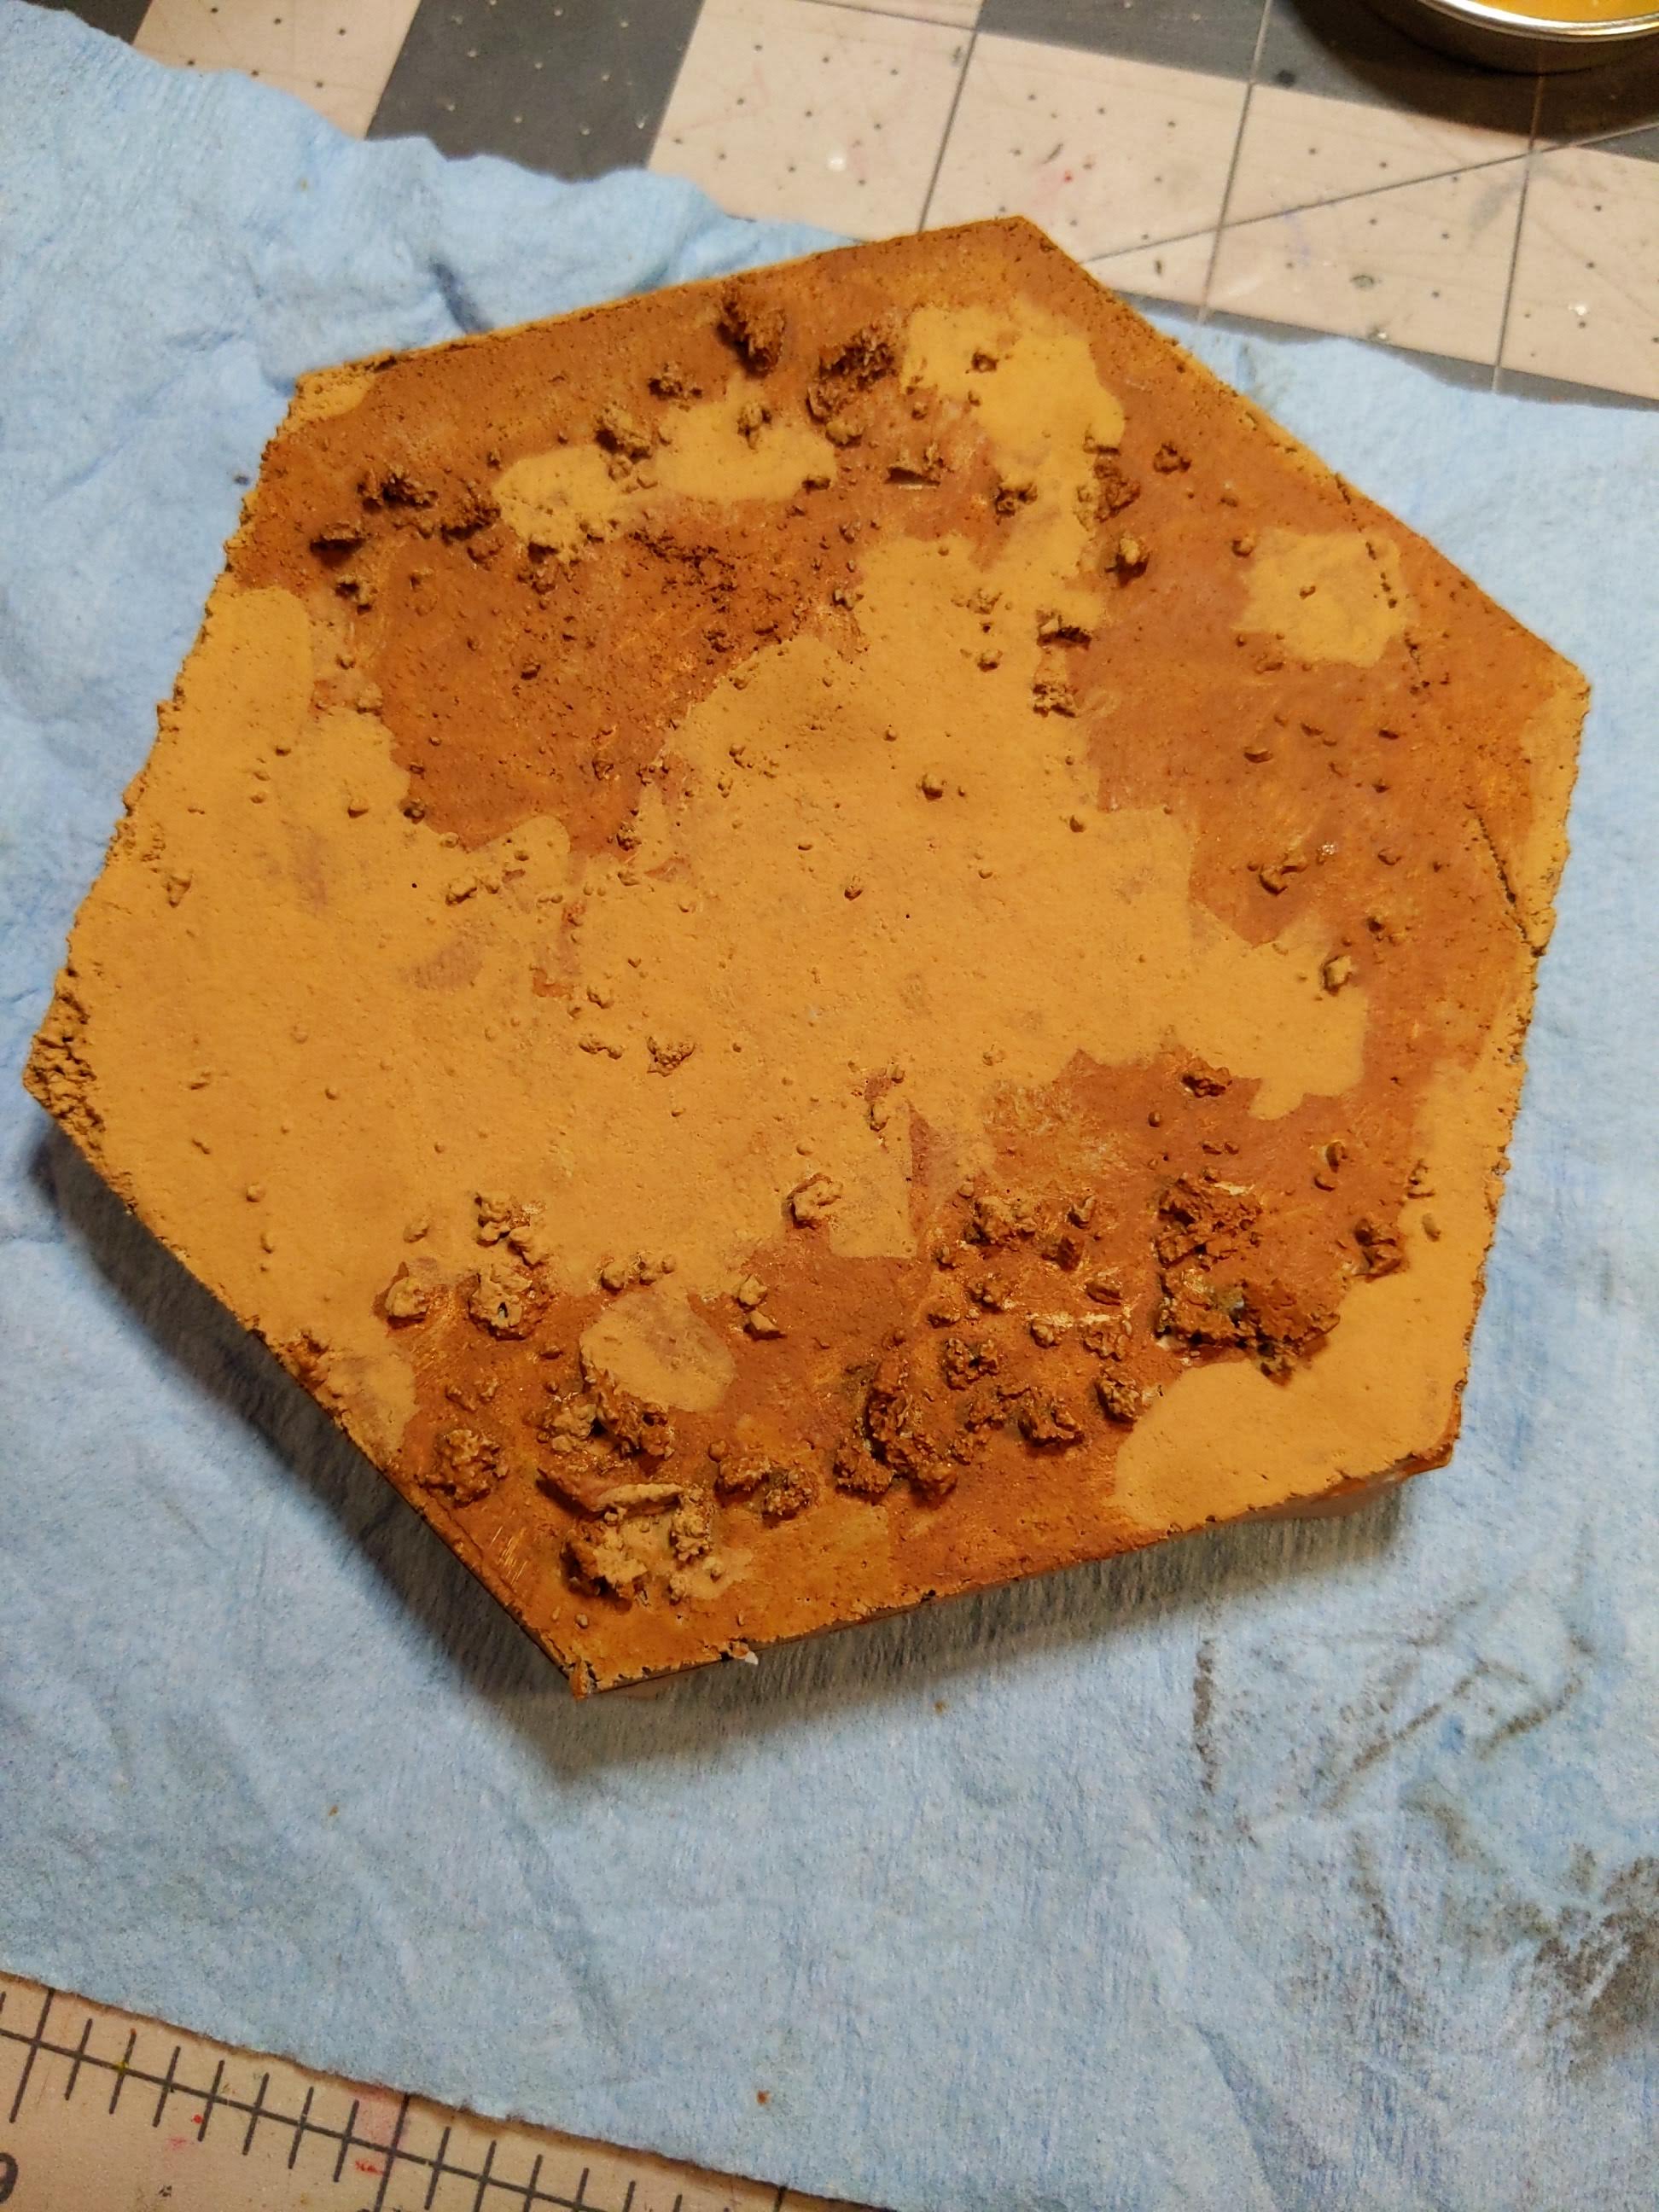
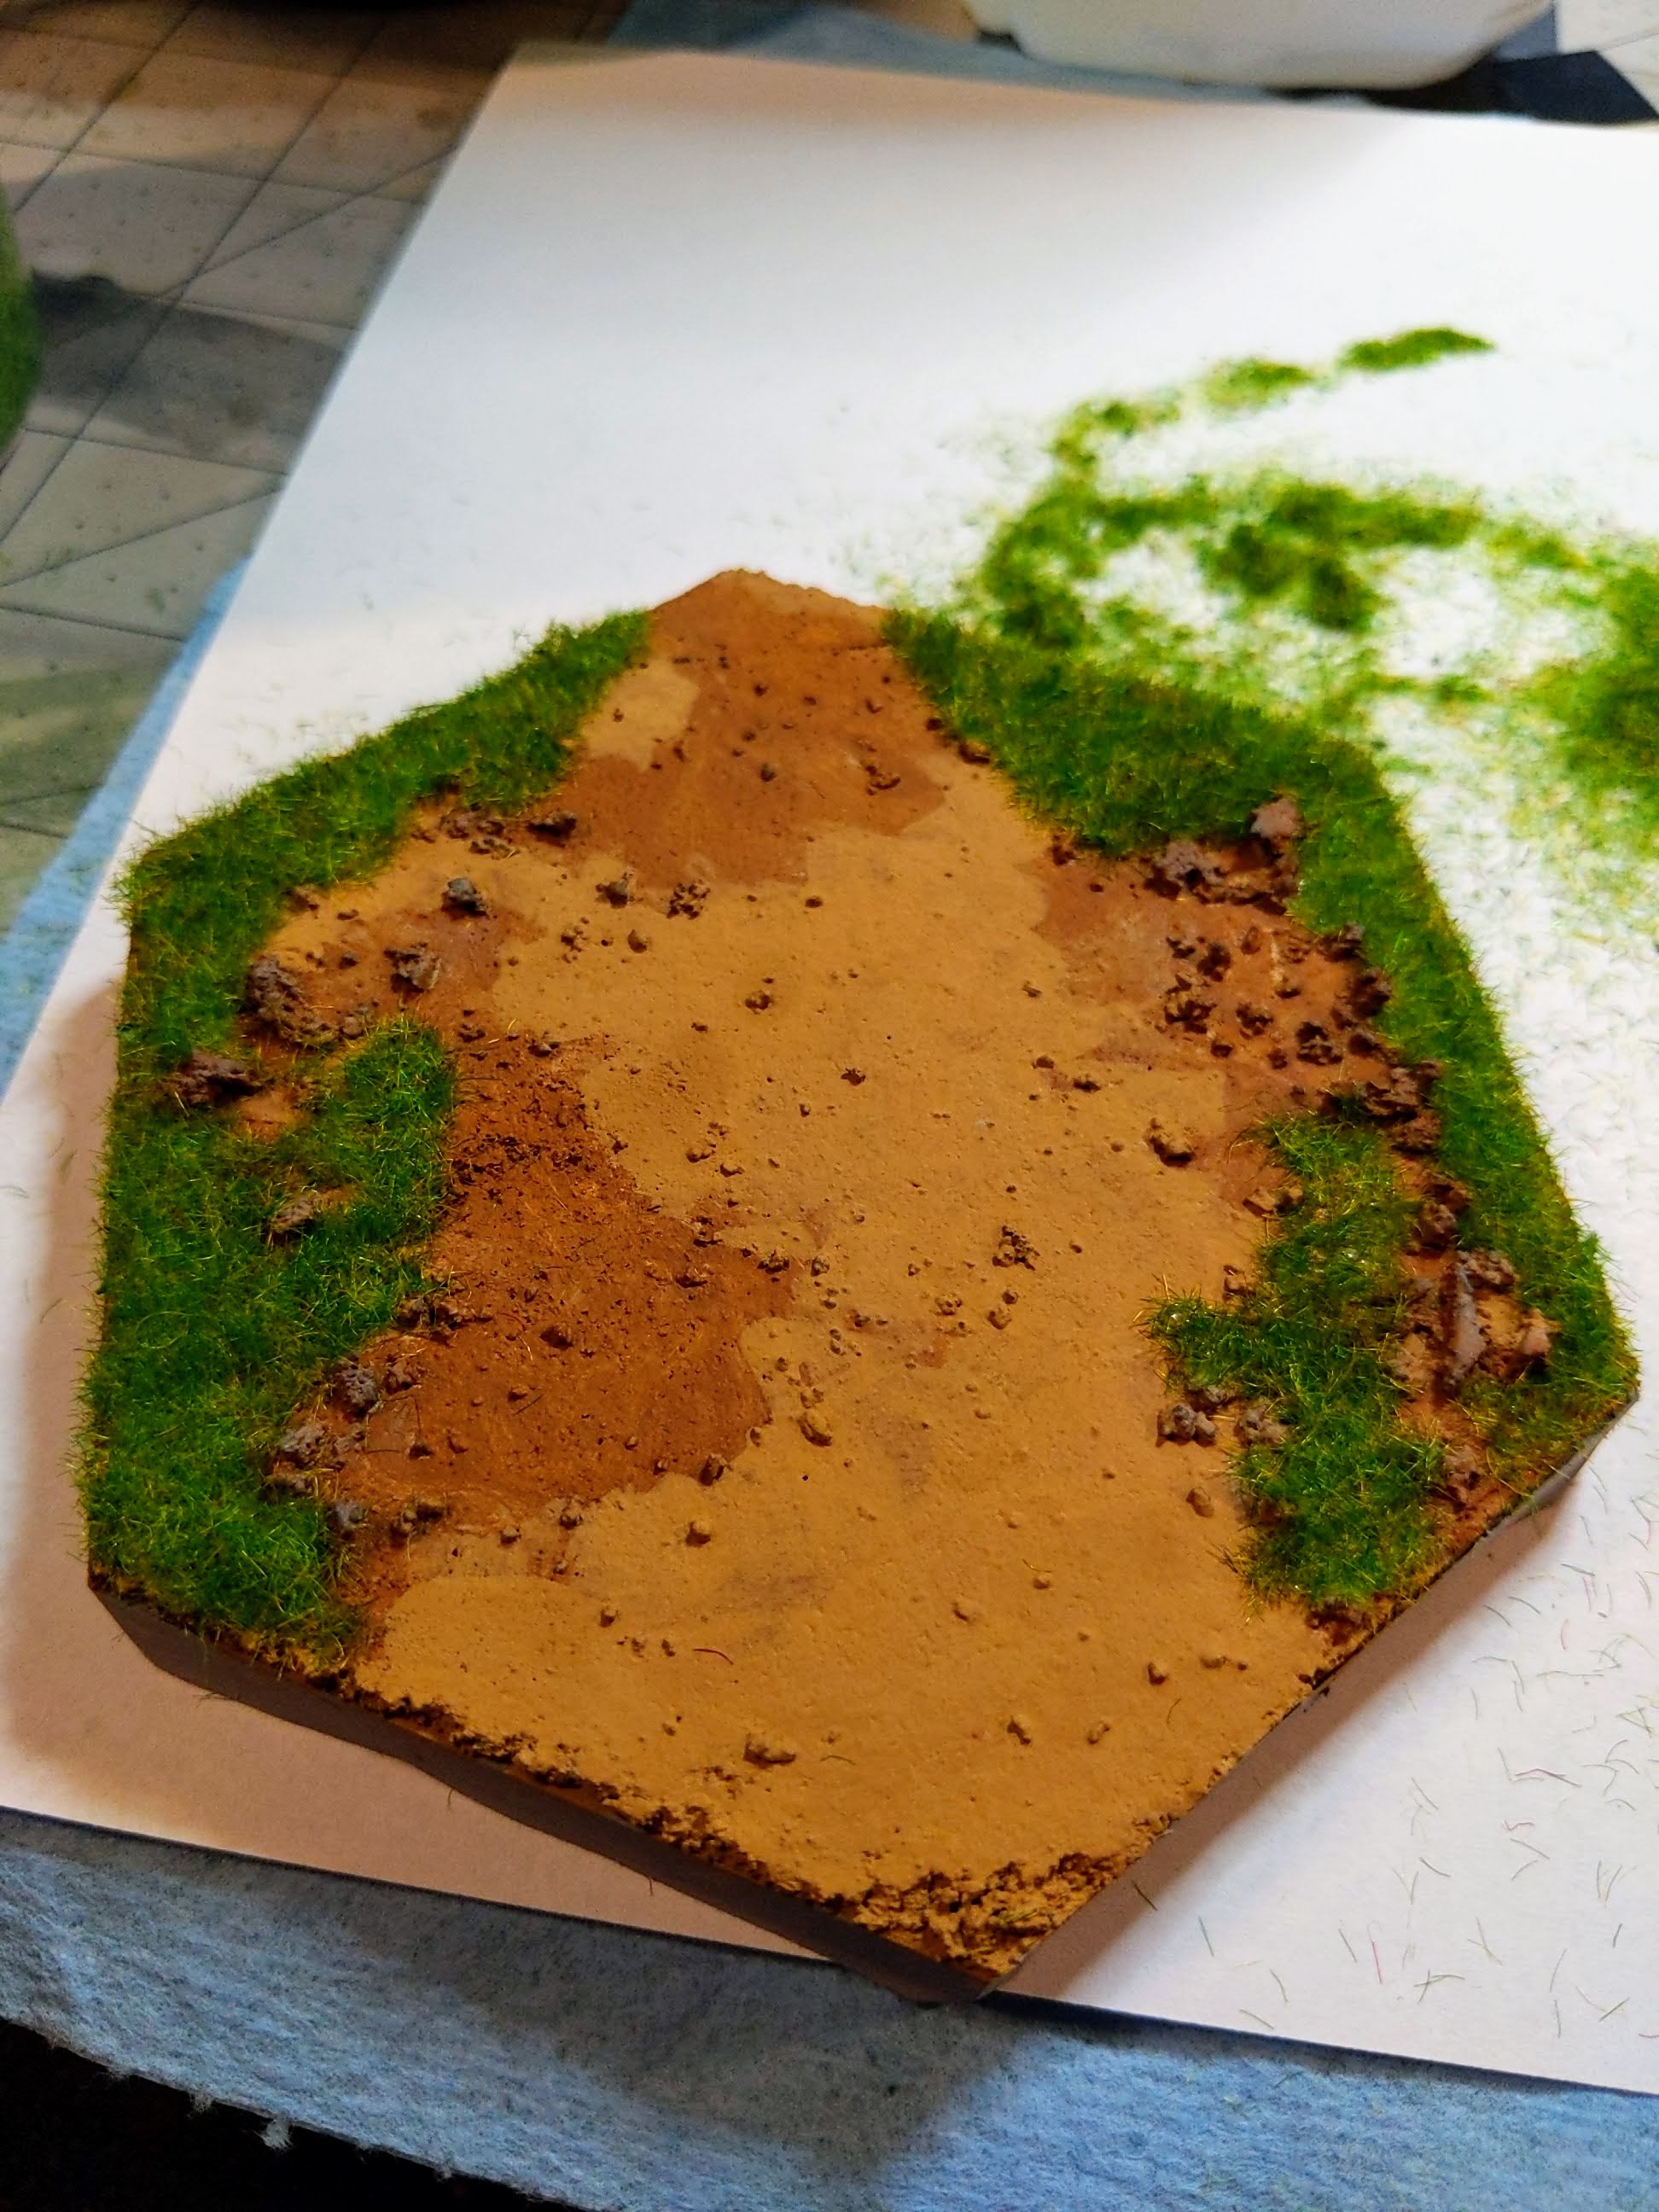
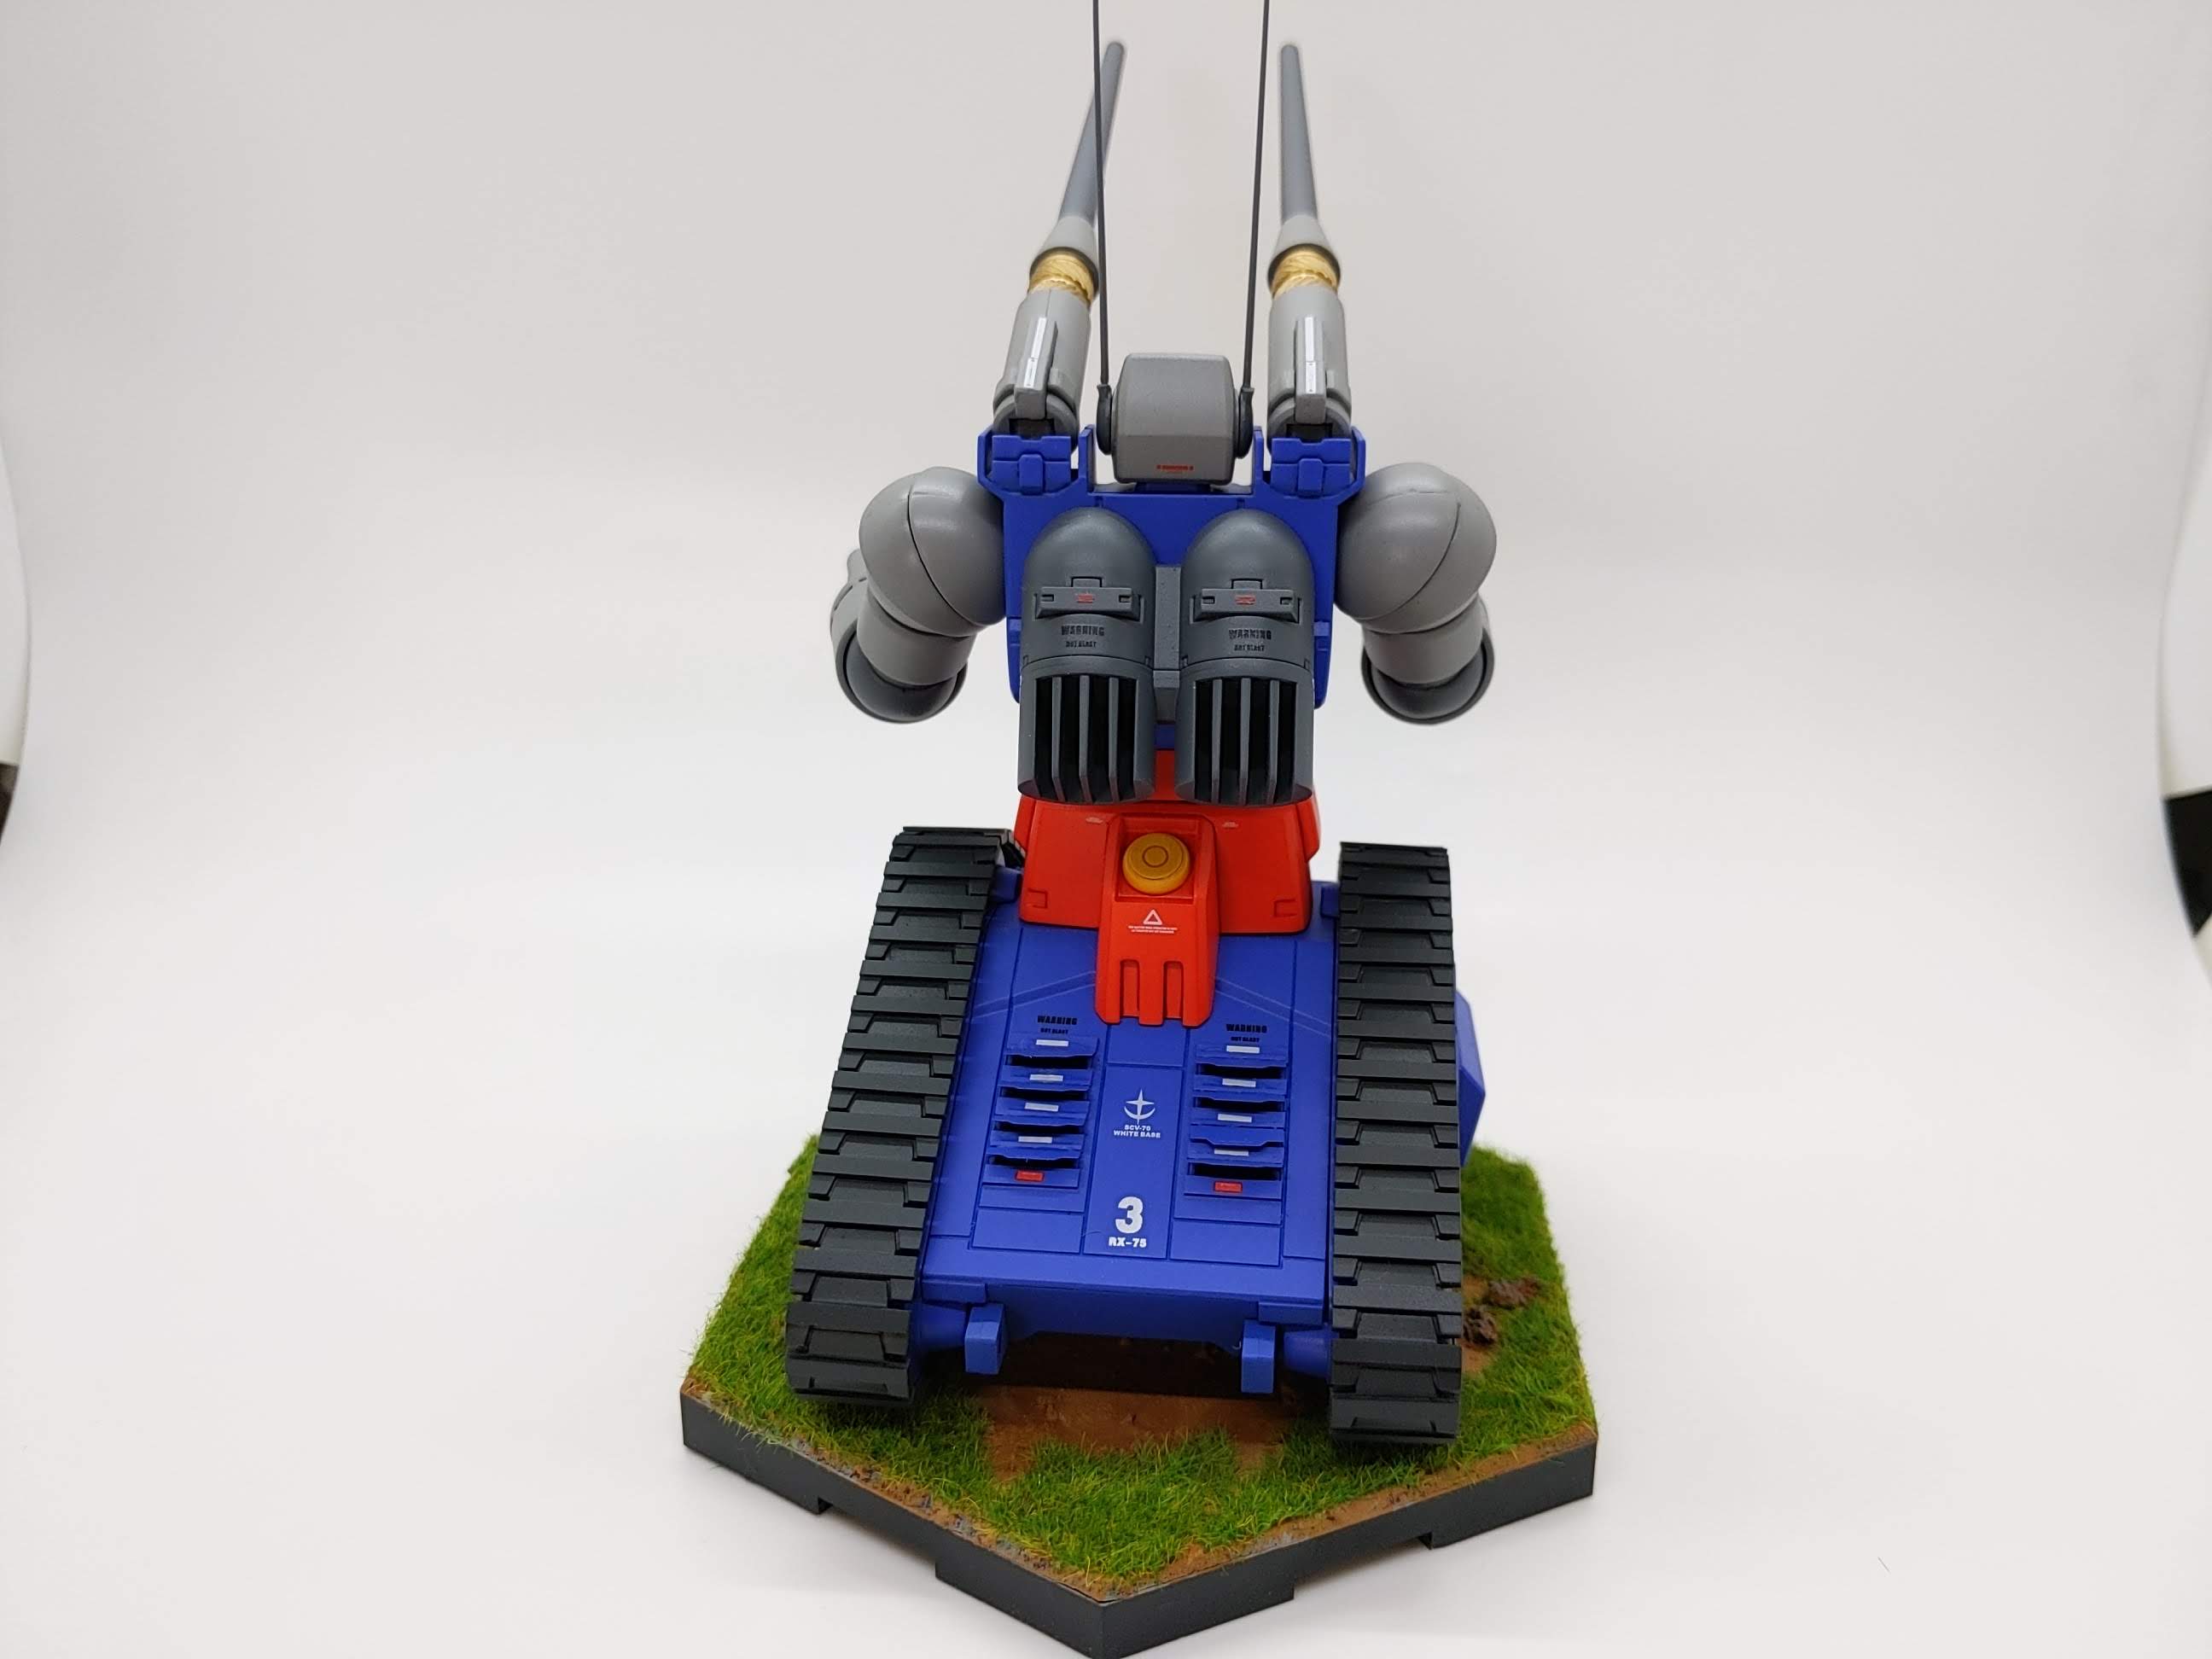
While my original plan was to make this part of a diorama, figuring this can always be approached at a later point, I felt like this build wouldn’t be complete without at least a proper display base.
Briefly assembling the hex from an action base and other materials, I was able to put together a suitable display piece. A future write up will be provided on my approach here working with cork, acrylic washes, and static grass. Minimal effort in the end but really ties the whole thing together.


Thank you for following along with my project, hopefully you were able to gain something from the whole ordeal. I like to think I managed to end this having expanded my skill set quite a bit in regards to customizations.