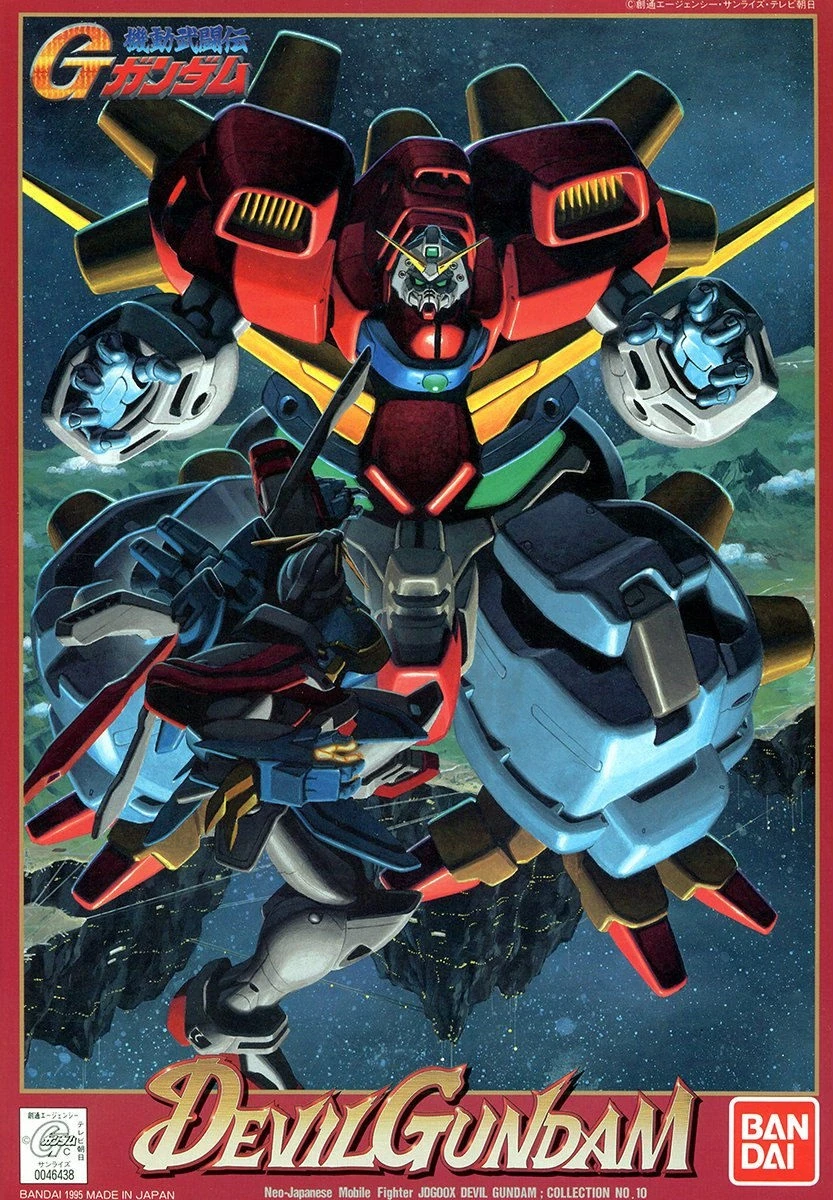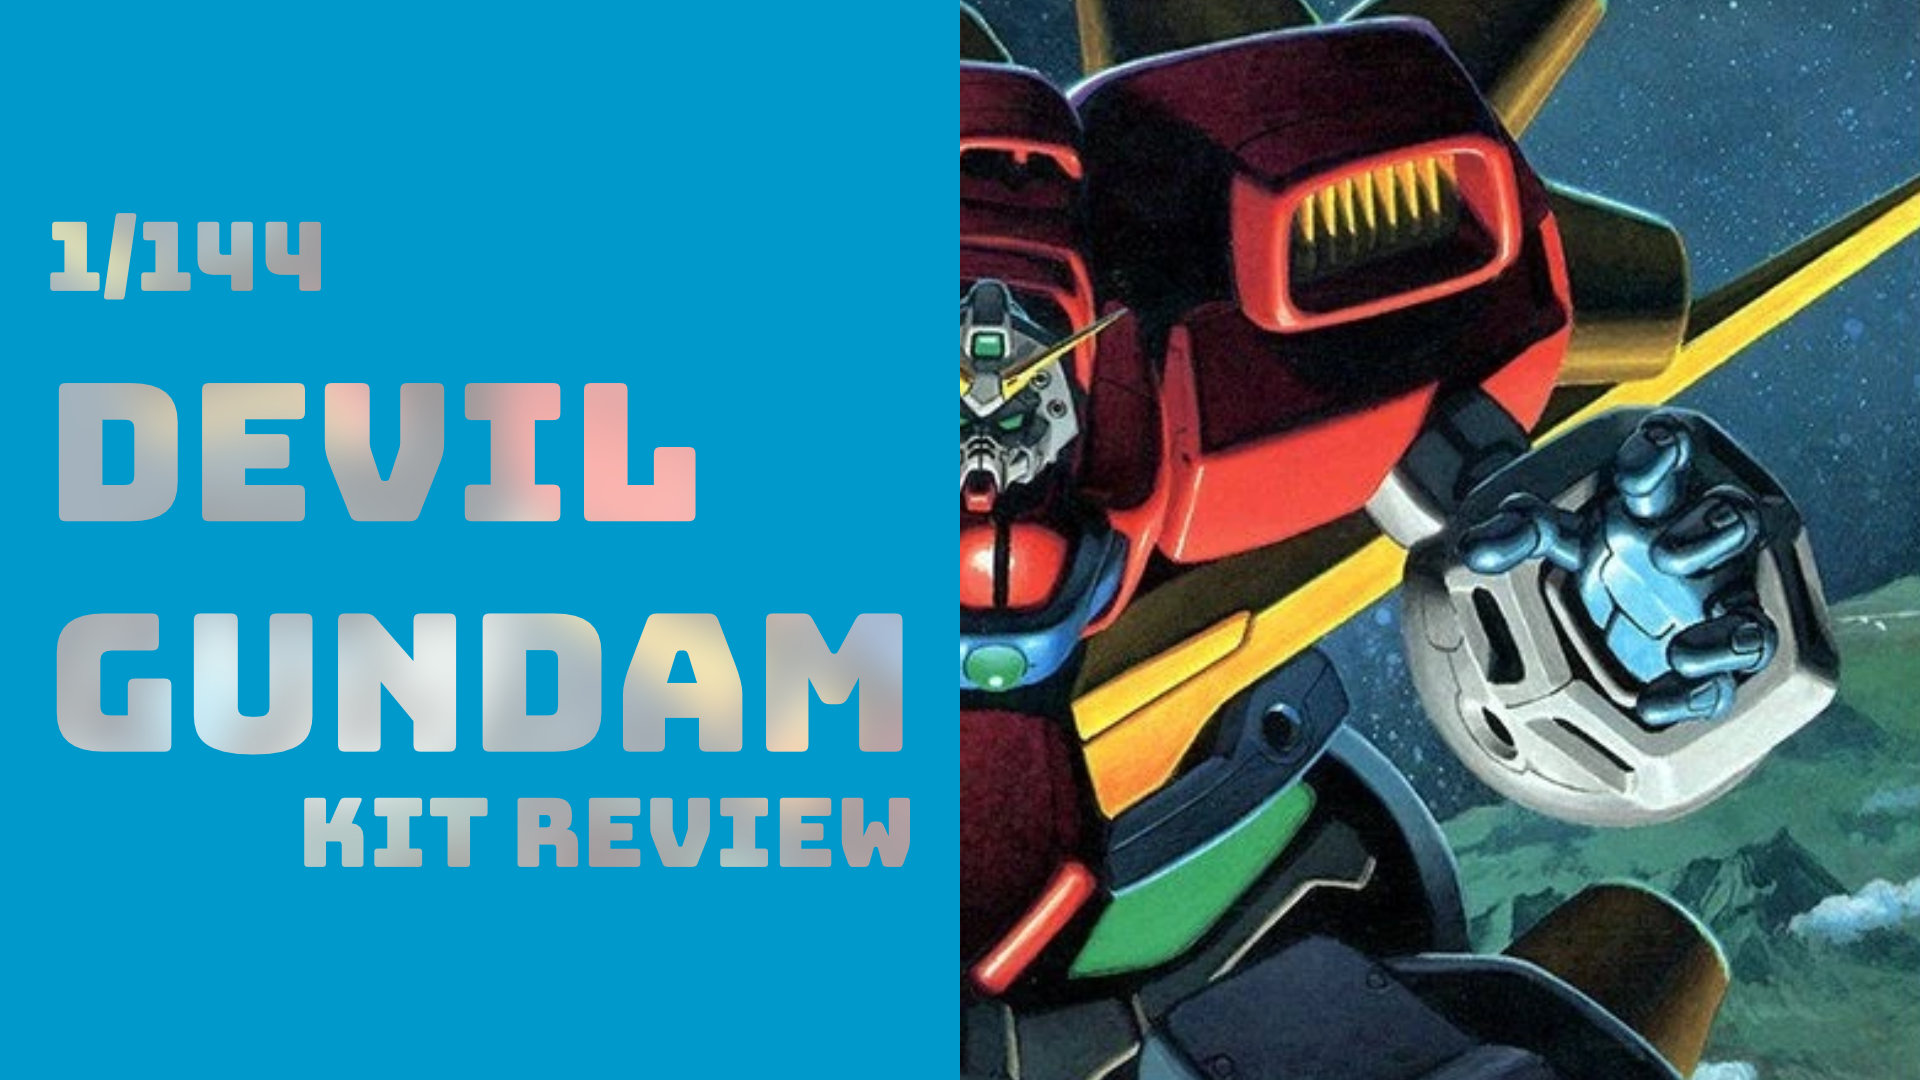
The Devil Gundam (known as Dark Gundam in the English dub) is a Mobile Fighter (not Mobile Suit) that plays a pivotal role in Mobile Fighter G Gundam, introducing a unique twist to the Gundam universe. Acting as a major plot point with its exceptional technological abilities, it alternates between antagonist and plot driver, infecting the world with unexpected twists.
This is one of the Gundam series I grew up watching, initially confused as it was a big departure from what I was used to with Gundam Wing and 08th MS Team. Years later it is still in my watch rotation as it never gets old.
Please watch G Gundam. It is a masterpiece, every episode is a good one.
About the kit
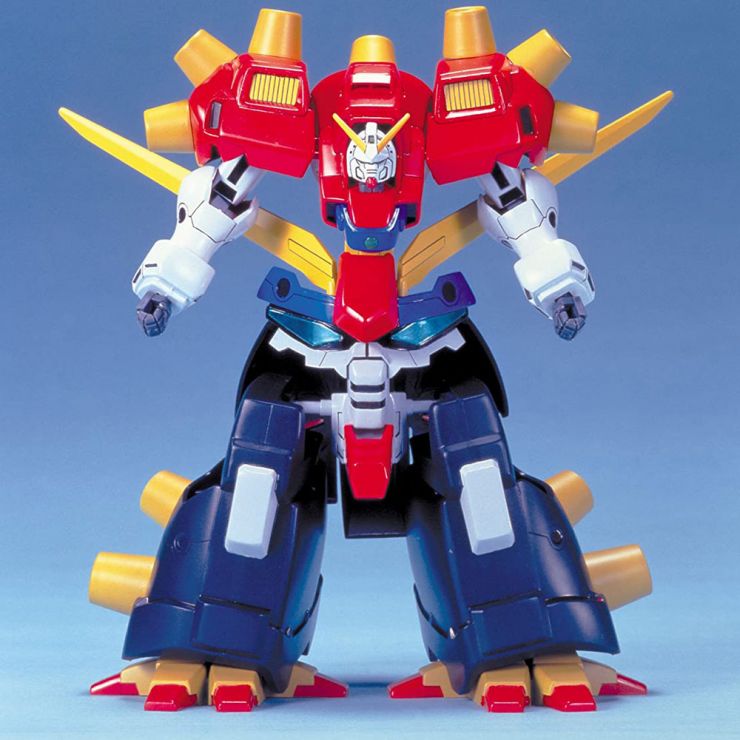
The 1/144 Devil Gundam is a scale model kit of its anime counterpart produced alongside its contemporaries from the series, and has not seen a newer release since then (not counting the P-Bandai clear reprint using this same tooling).
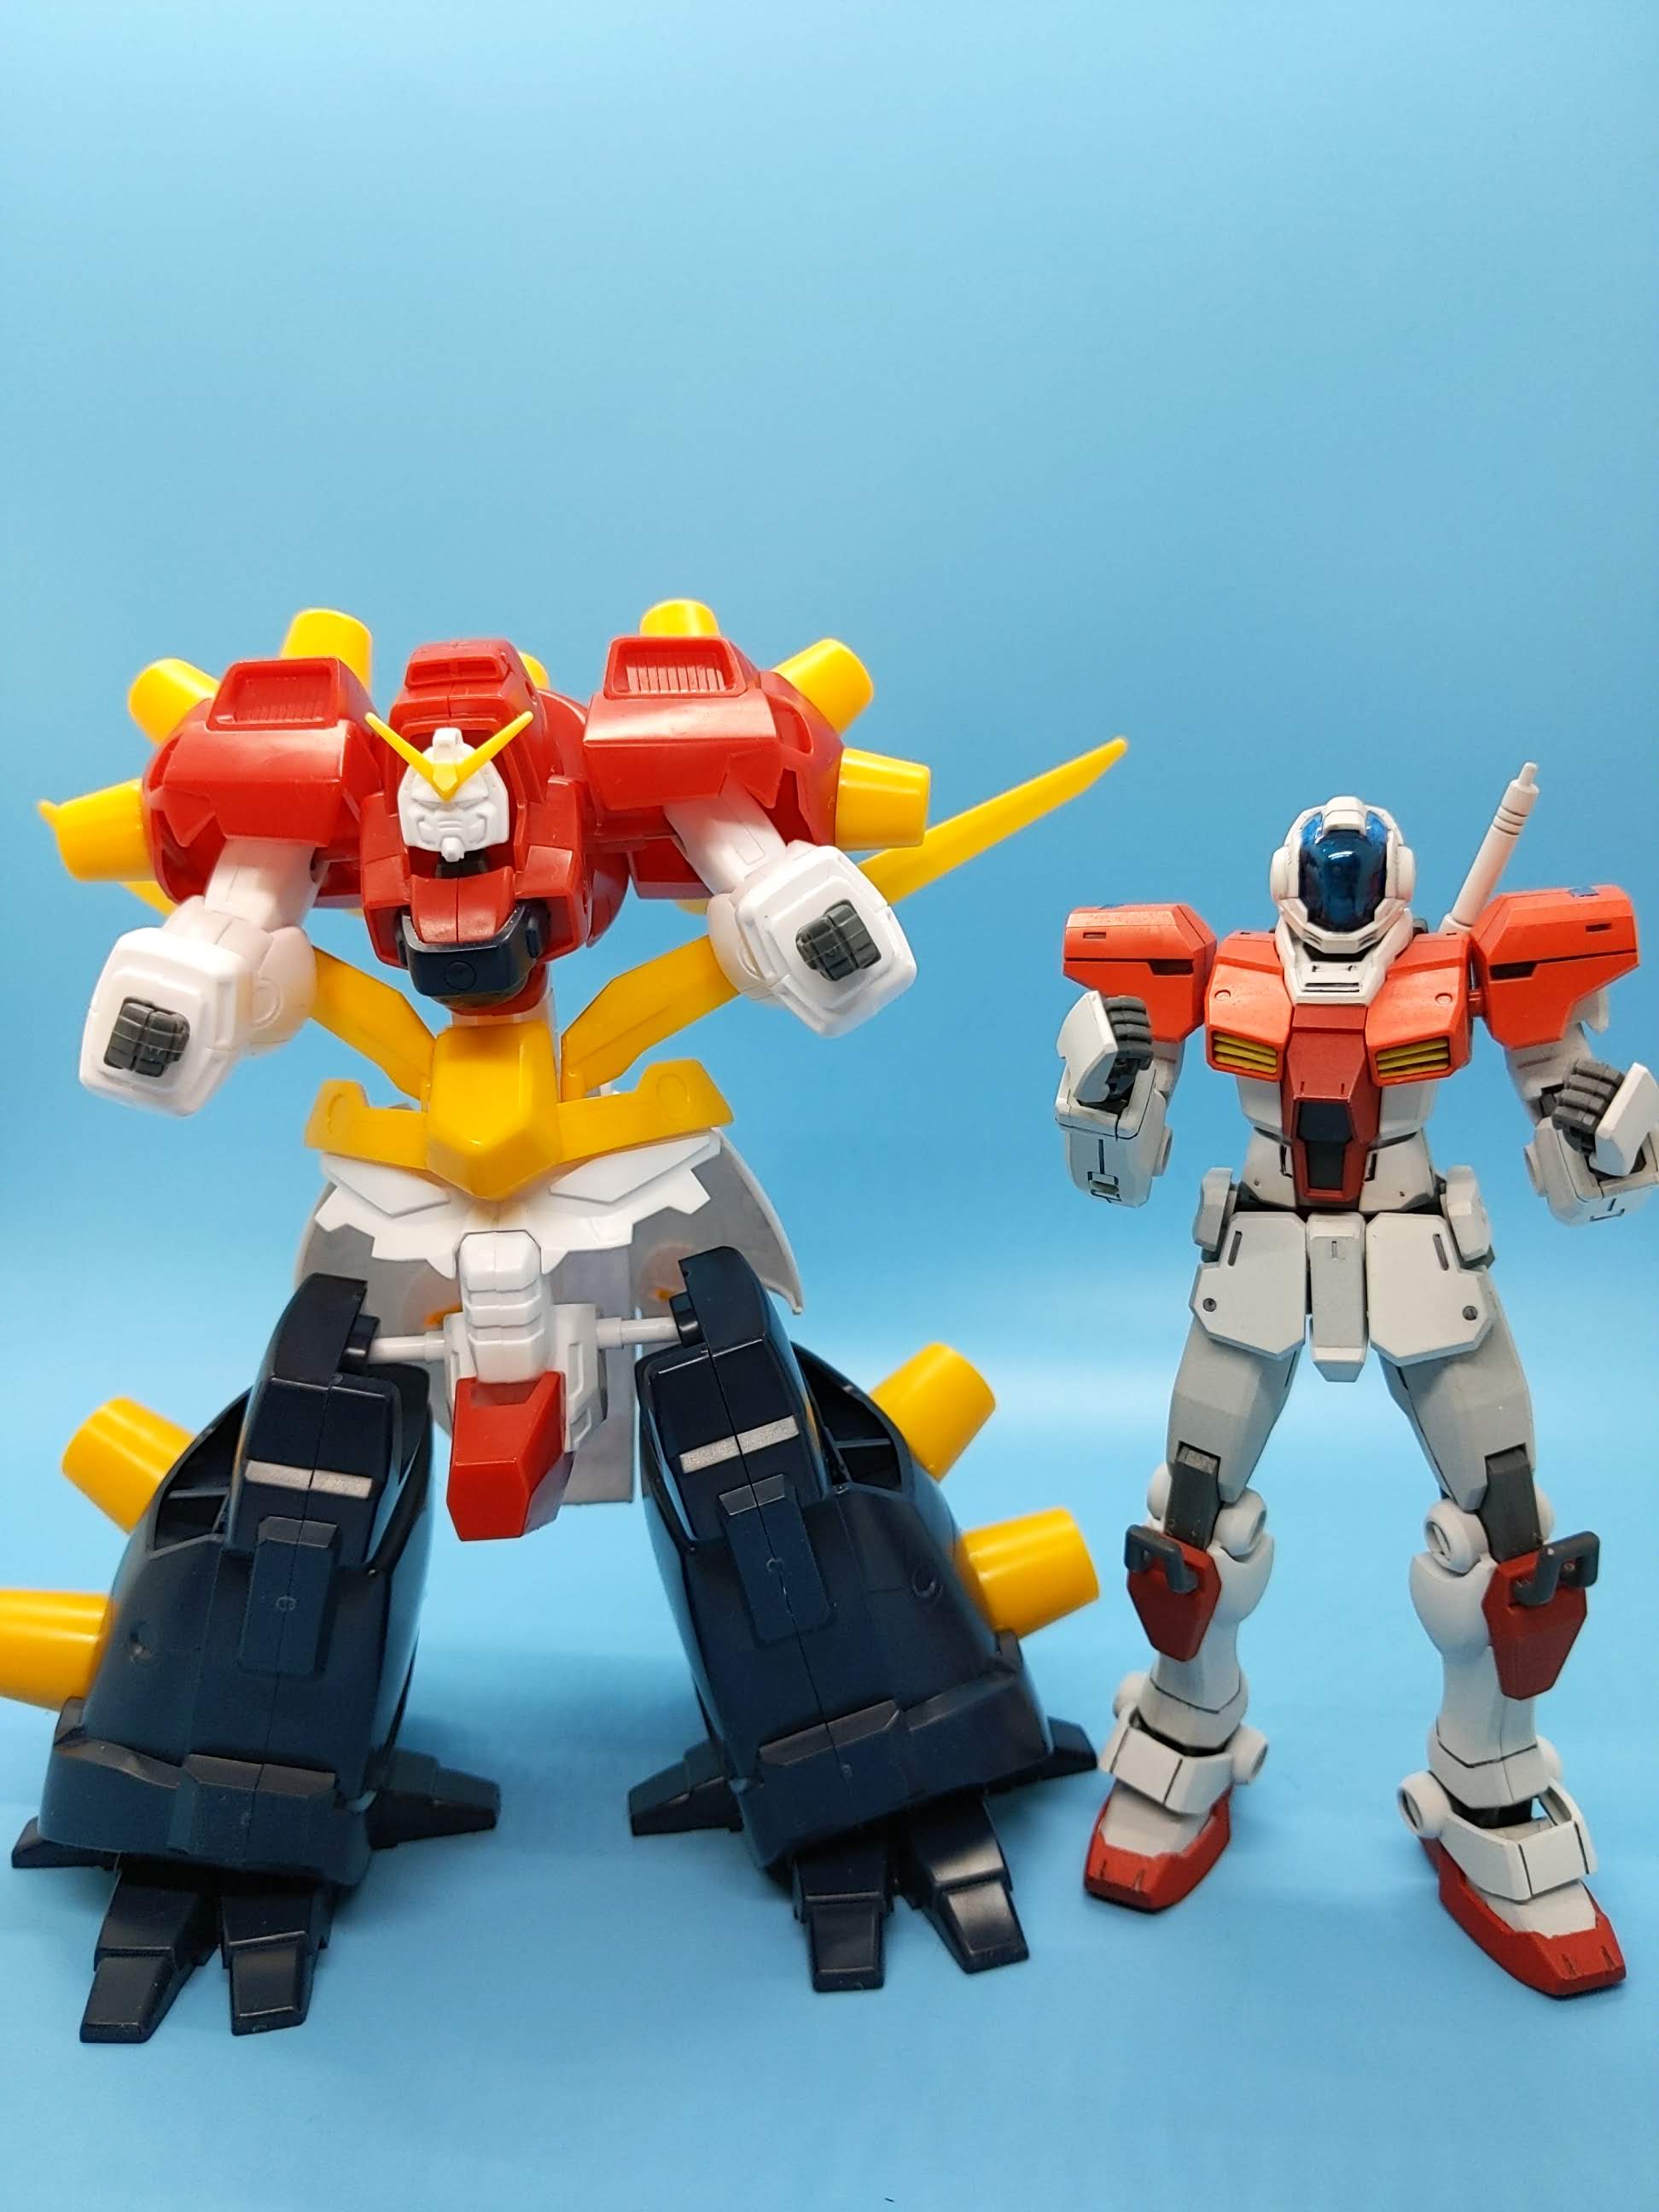
Please note that these were produced at a time where the scaling is inconsistent with what it is today, so modern releases at 1/144 scale makes this seem smaller than you'd expect. I imagine if it were to be retooled with modern approaches, it'd be slightly larger all around.
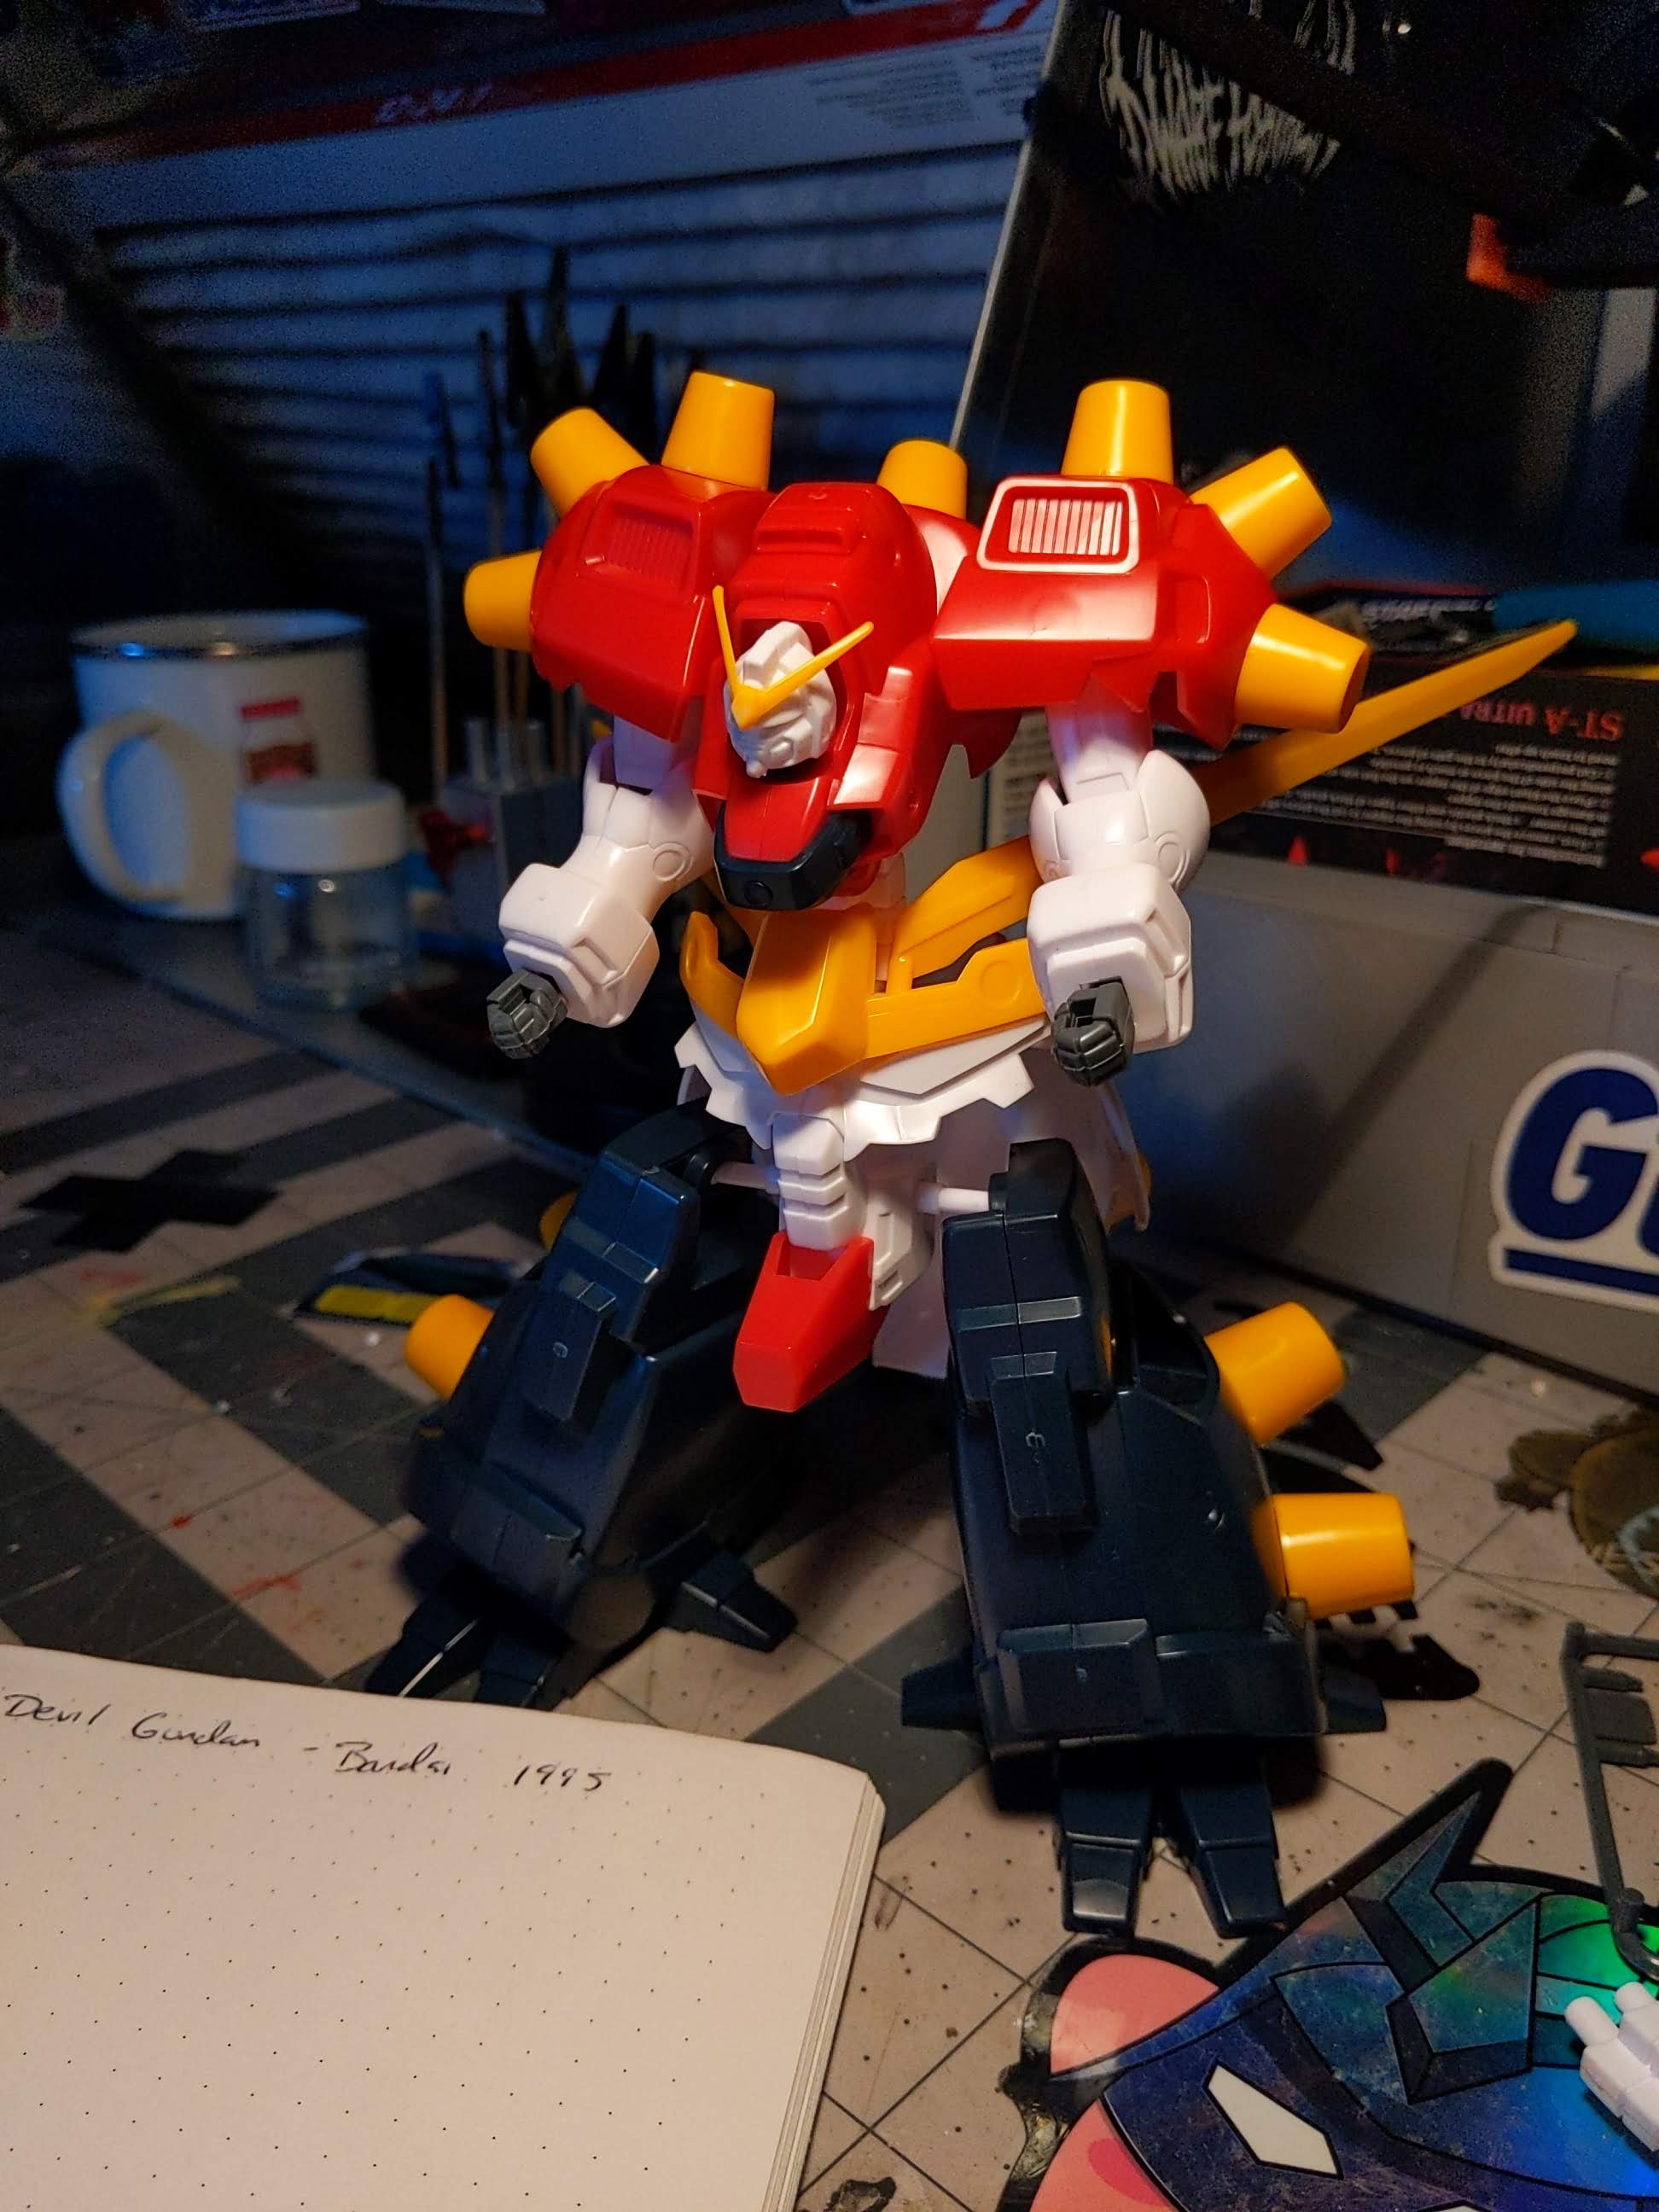
The kit comes premolded in 4 colors - a dark blue, white, red, and yellow. It comes on 4 runners, with one polycap runner that was standard for the G Gundam kits during this release. Color molding is mostly accurate, thanks to part separation it'll be easy enough to resolve with painting where necessary, and stickers provided for things such as exhaust vents on the shoulders, both sets of eye markings, and one for the jewel on the chest. This kit also comes with a transformation gimmick from Mobile Fighter into Mobile Armor mode with just two pieces giving you a bit more option when it comes to displaying your final work.
If you're new to kits from this era, color accuracy was usually a best effort approach. A lot of production decisions relate to tooling limitations of the time, many parts lack detail where we have come to expect it. Given the age of this kit, newer reprints have experienced tool slip and some degradation in parts, I have a second reprint I intend to double check for discrepancy. Nothing a little sand and putty can't fix. All that being said, it is a simple assembly which means more time for the fun parts like customizing, detailing, and painting.
Build Breakdown
I put together notes & thoughts about each of the components in this build, especially regarding as to some considerations you may want to take with this design to make it your own. The design fulfills the role of a general shape of Devil Gundam, but there are a lot of areas in which one could find room for improvements with their own build. This is not an exhaustive list but my own findings and suggestions based on experiences and what I've seen others do with this kit.
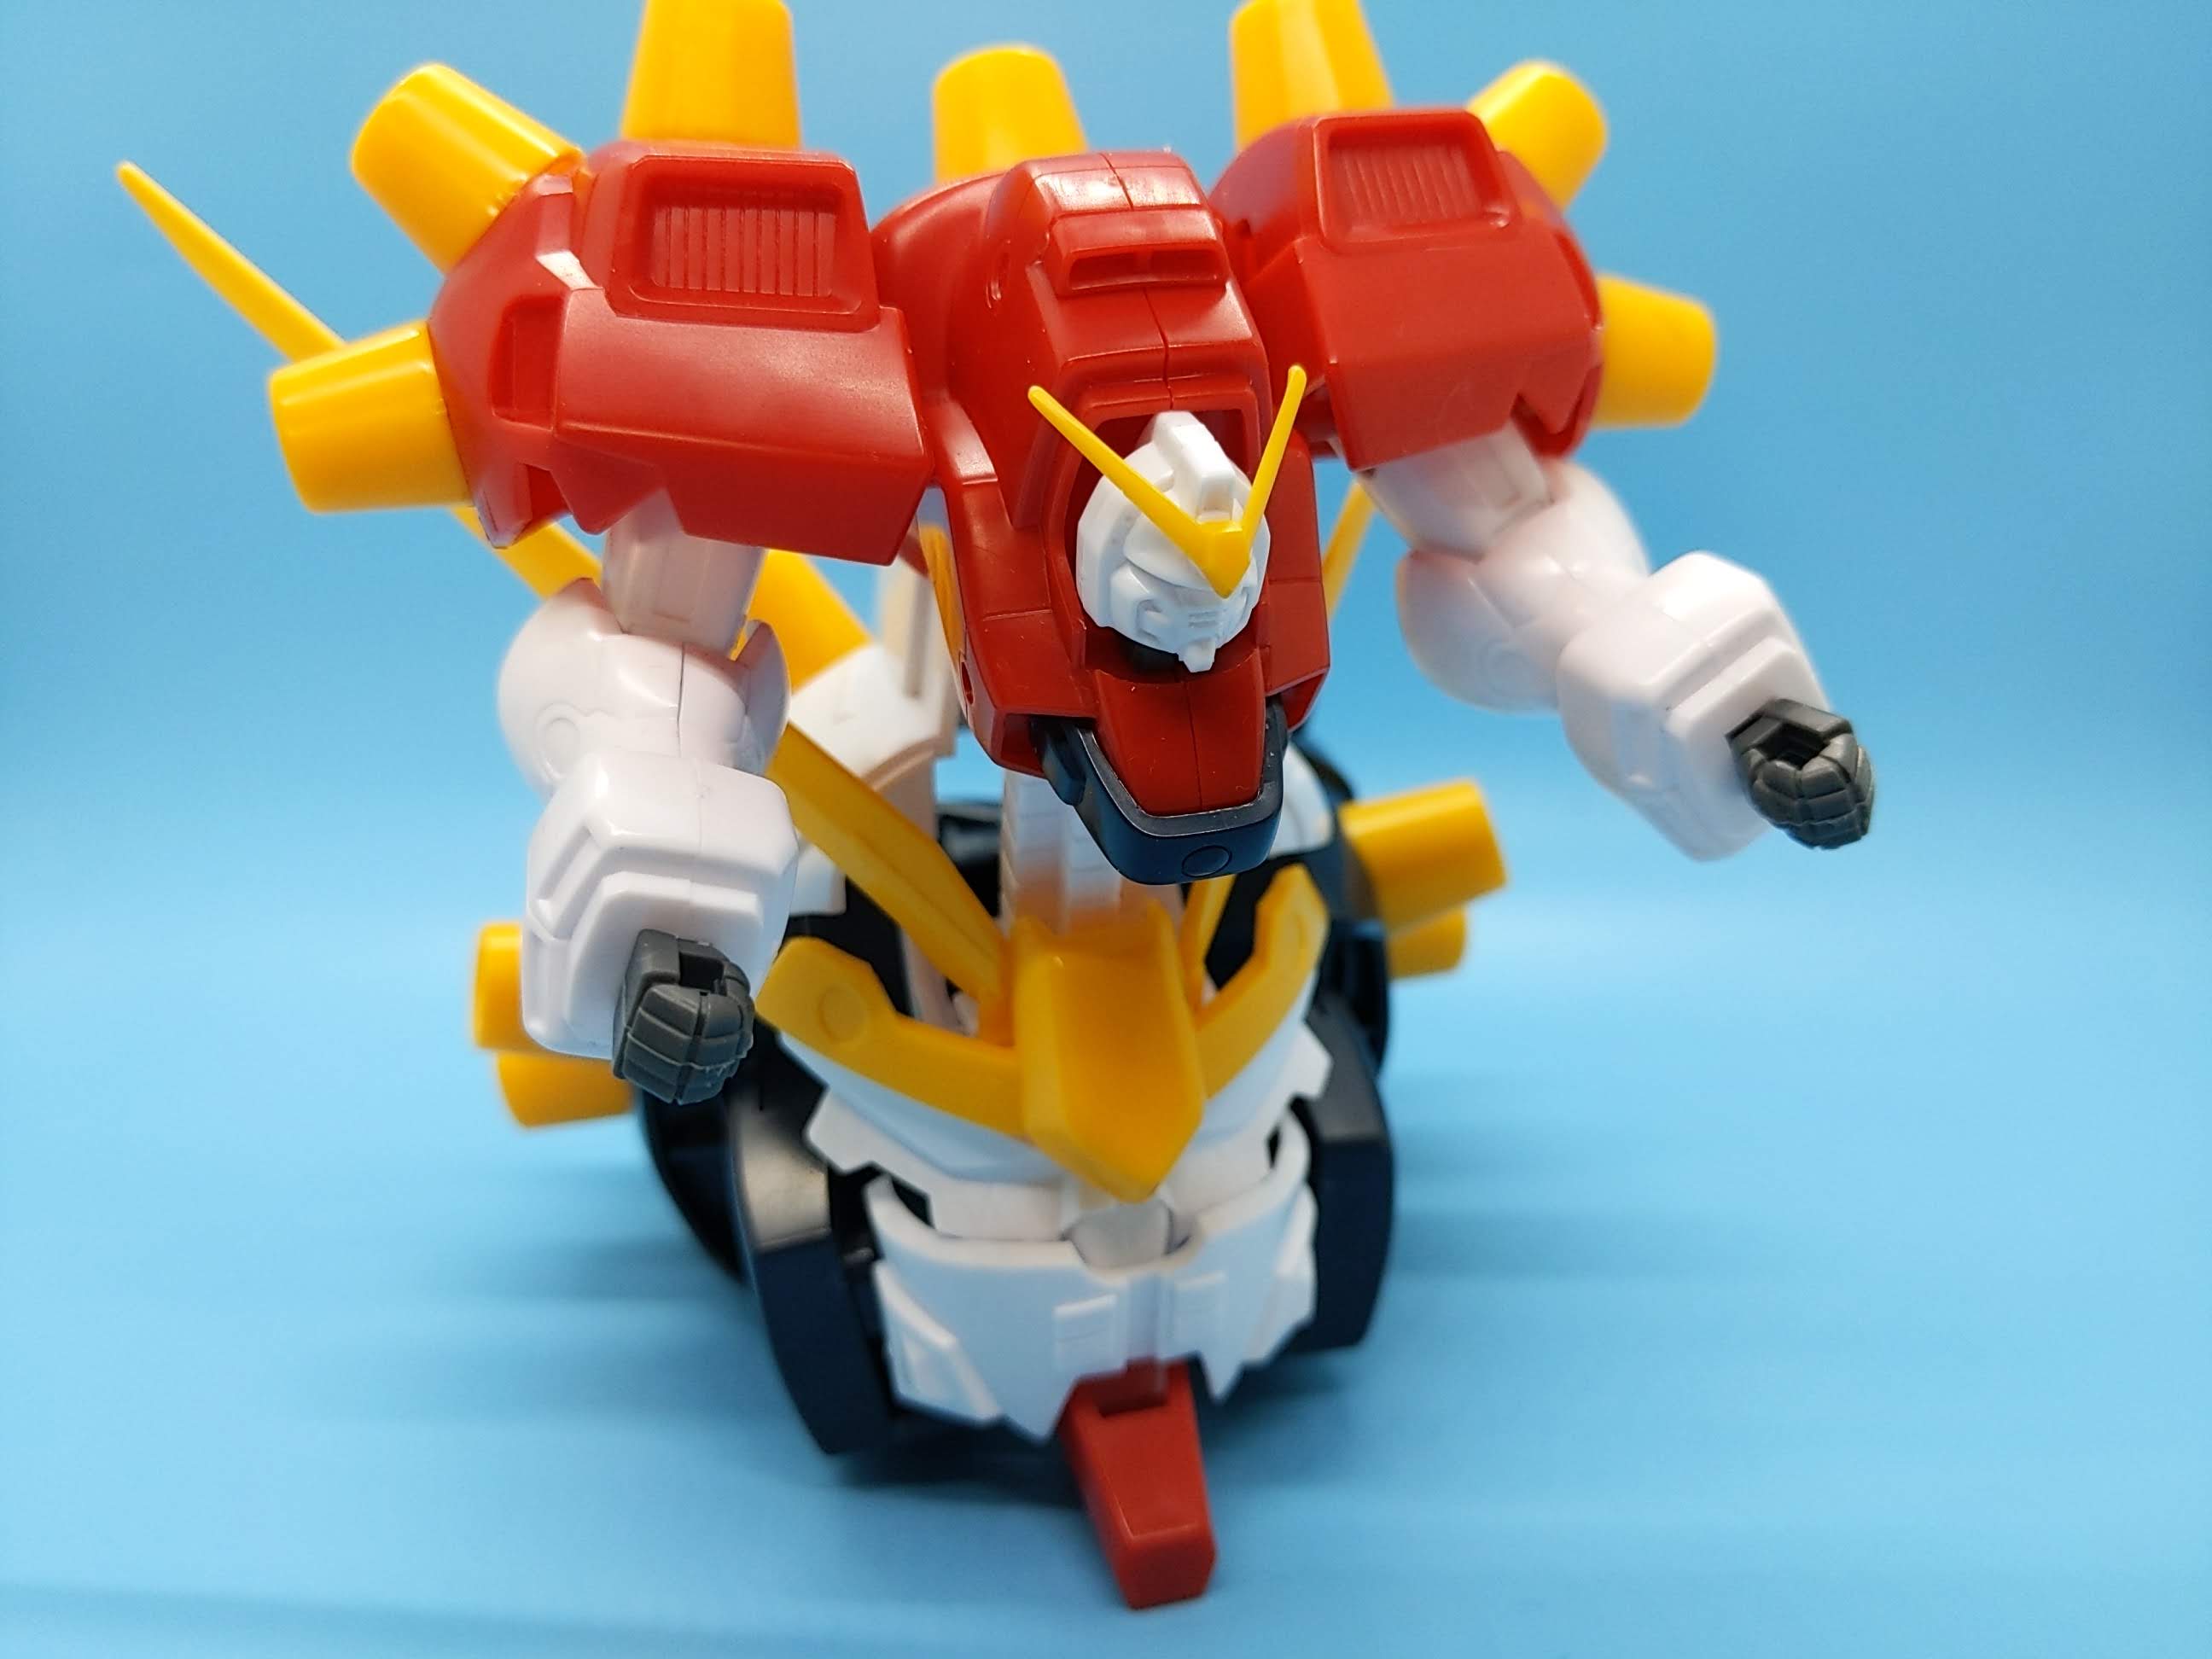
Head
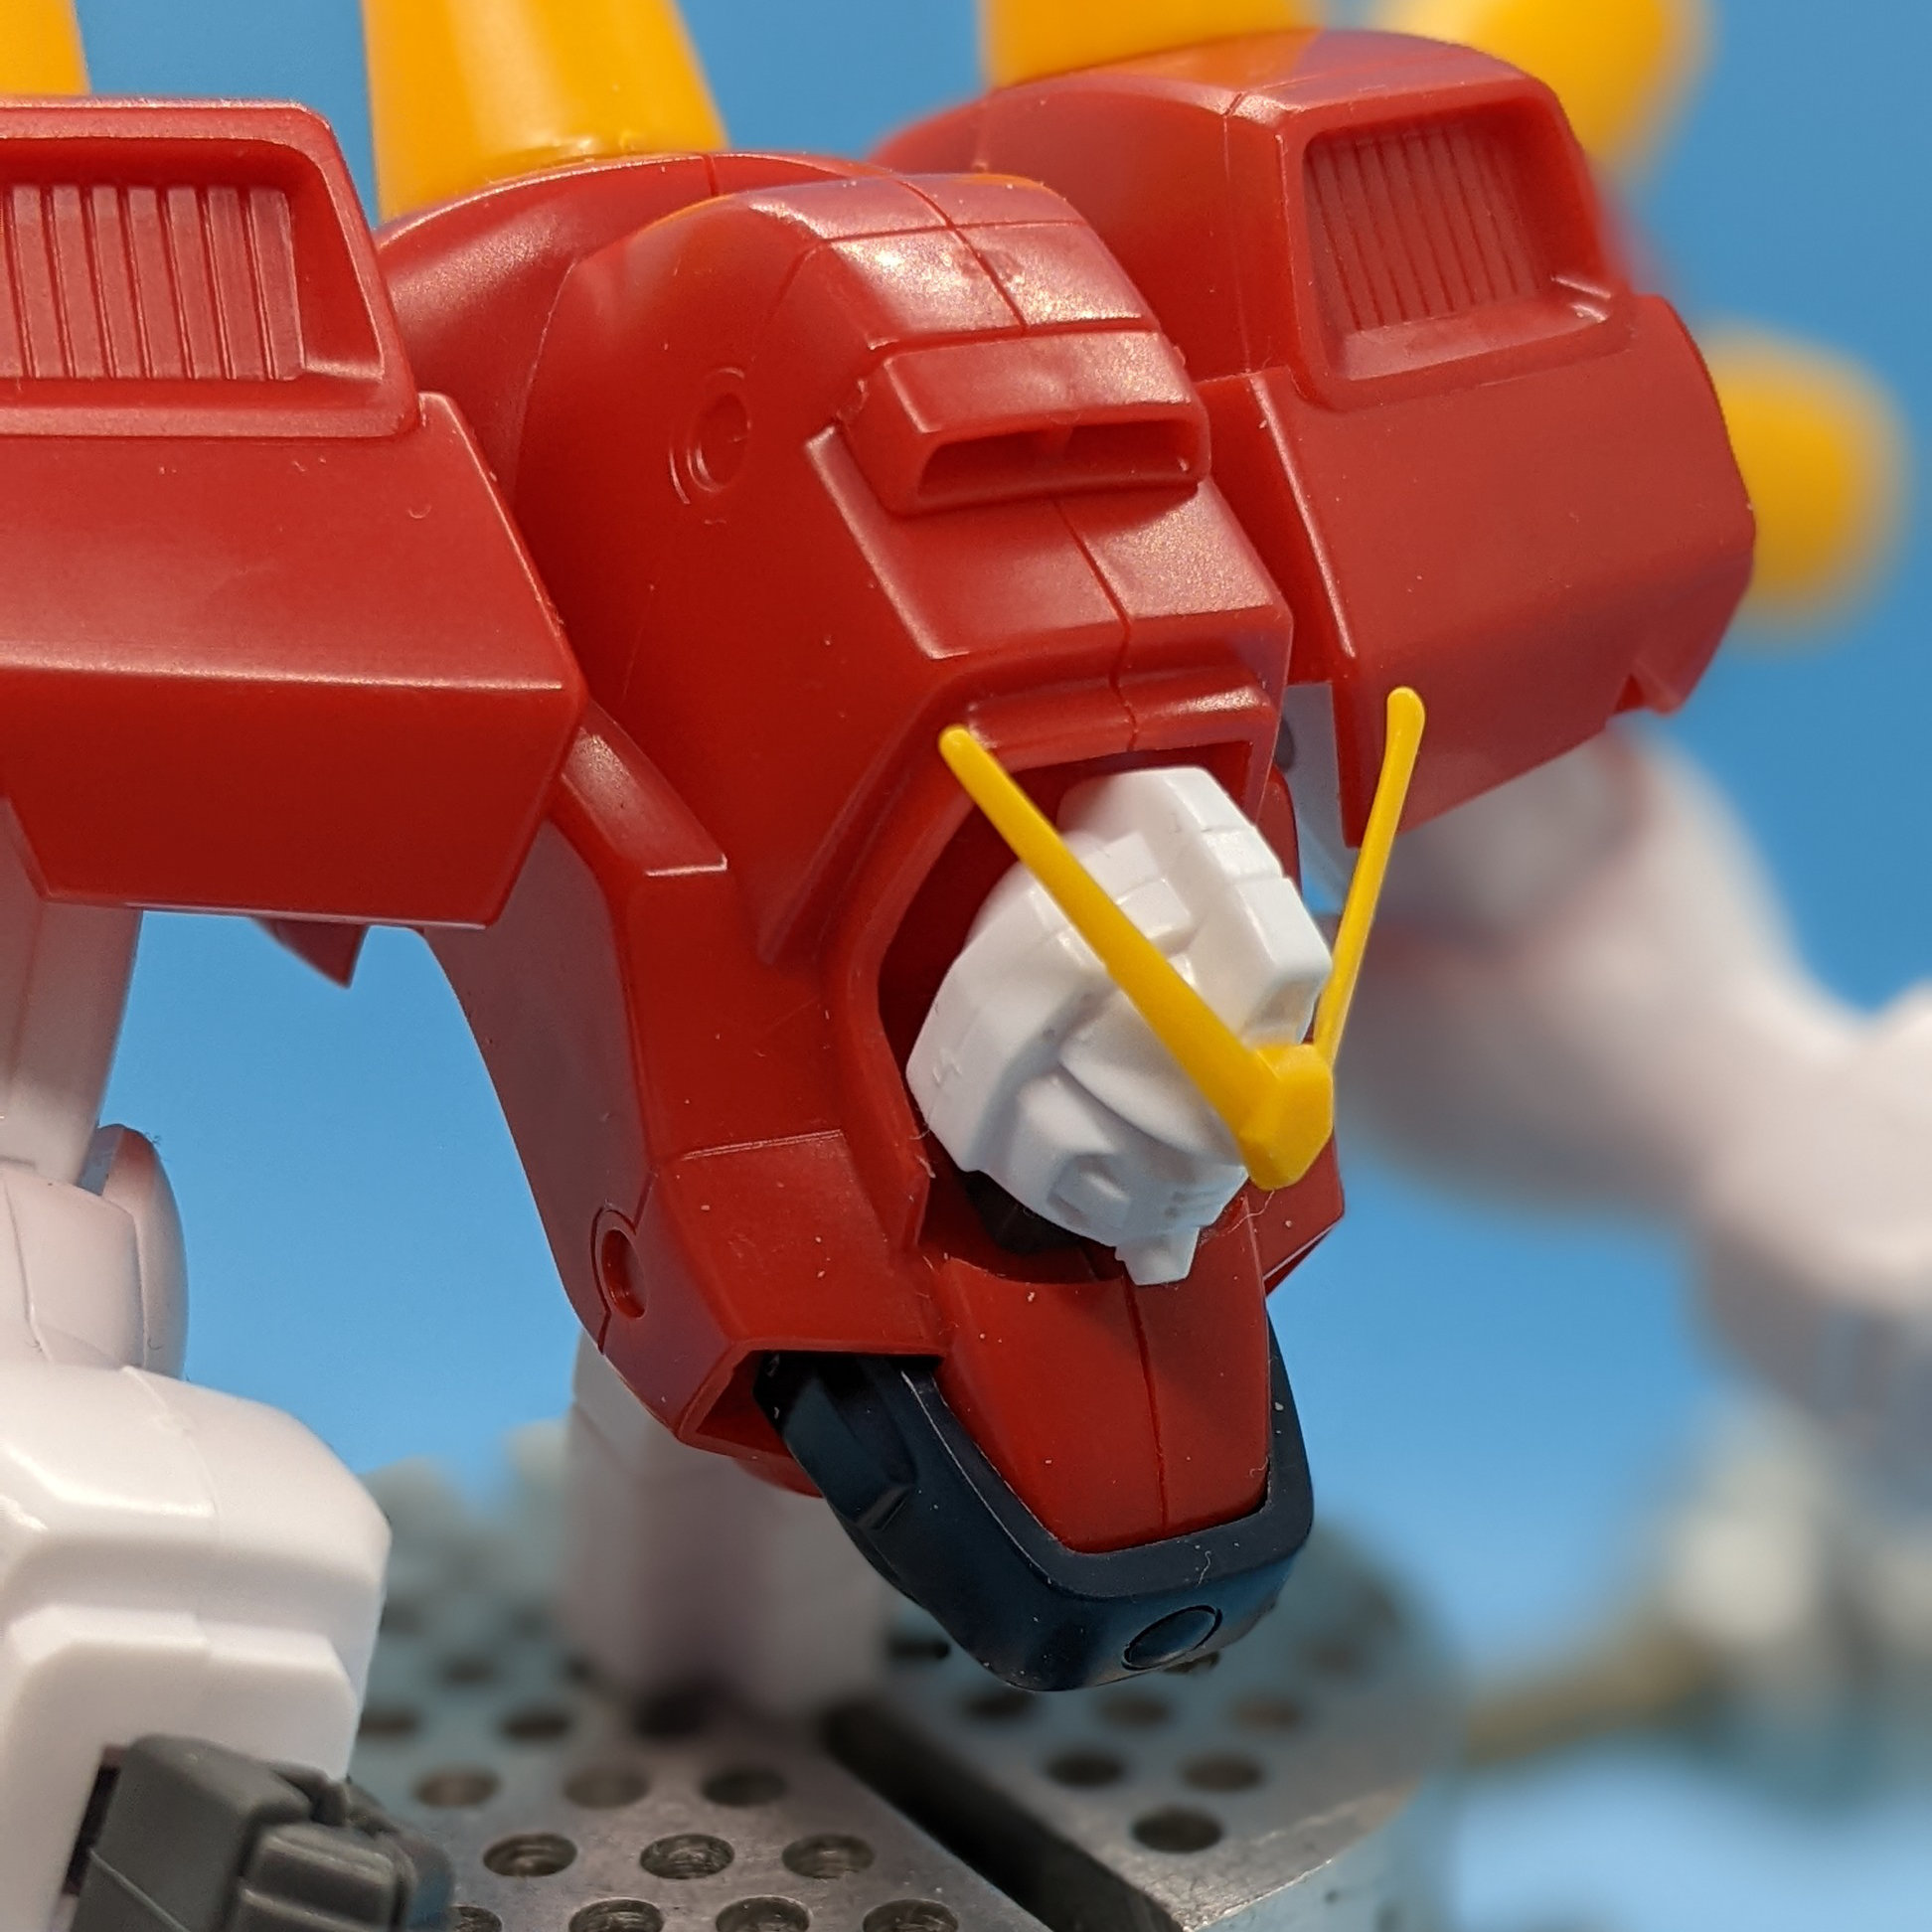
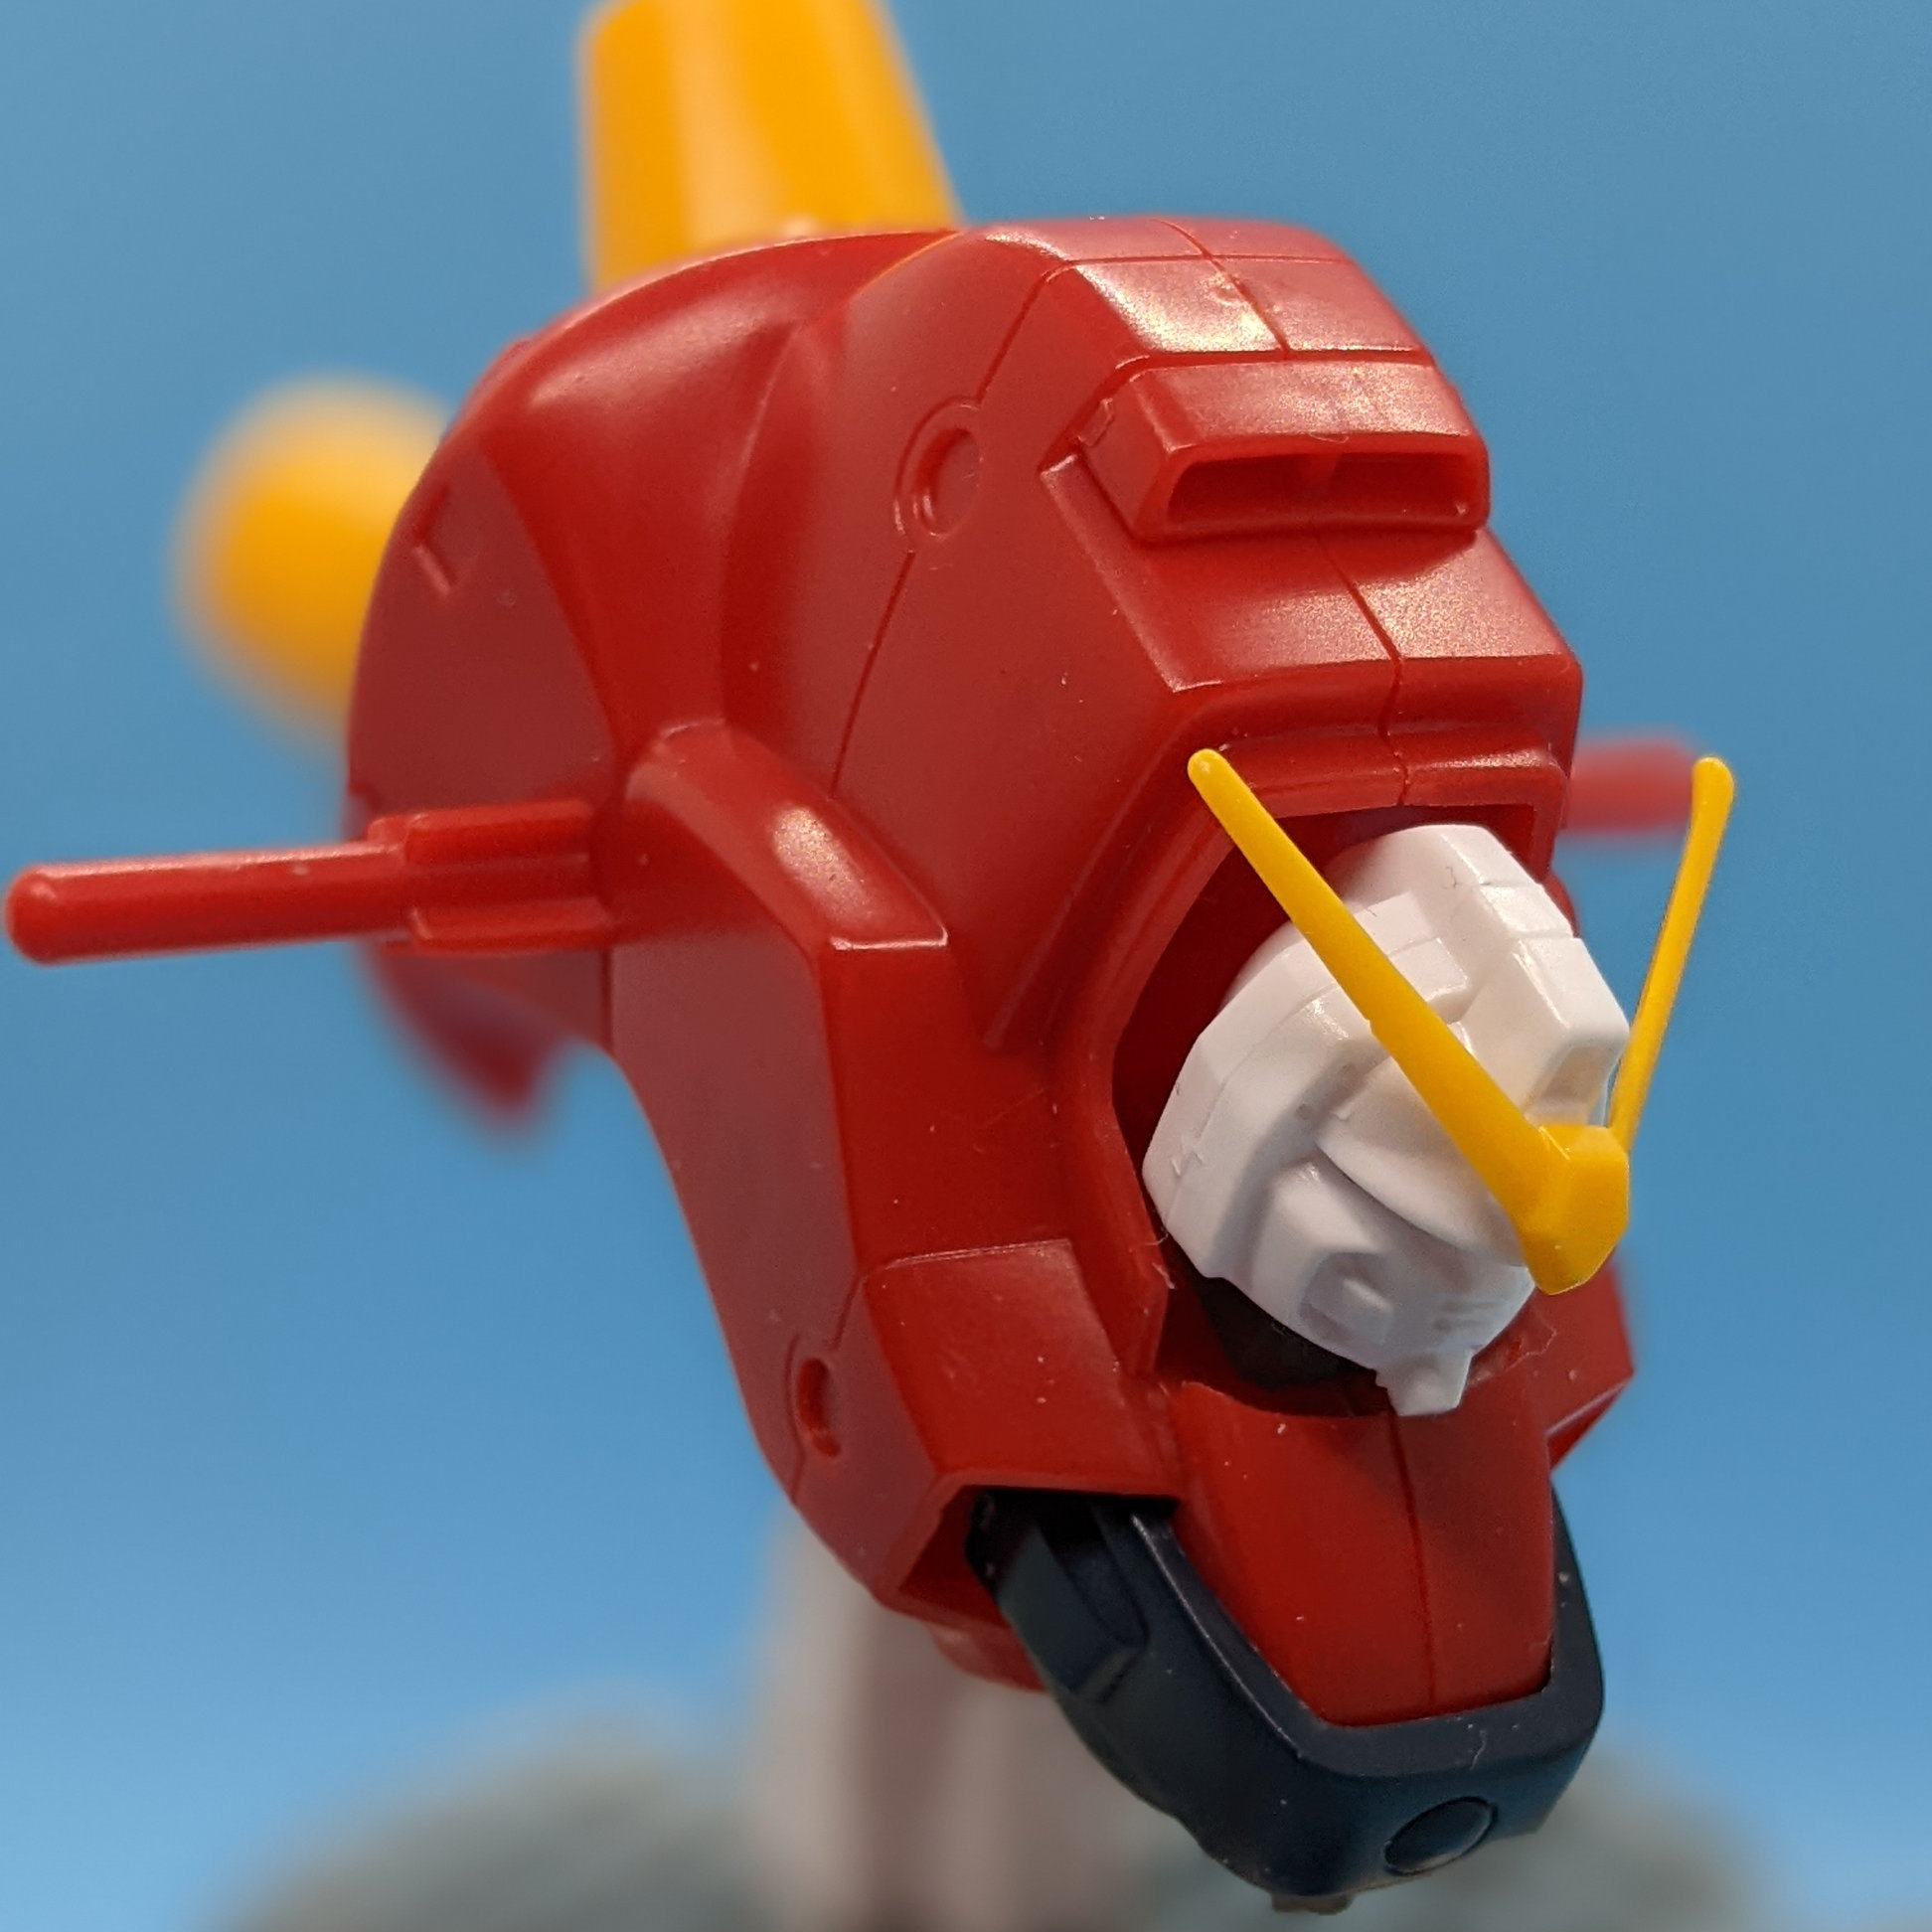
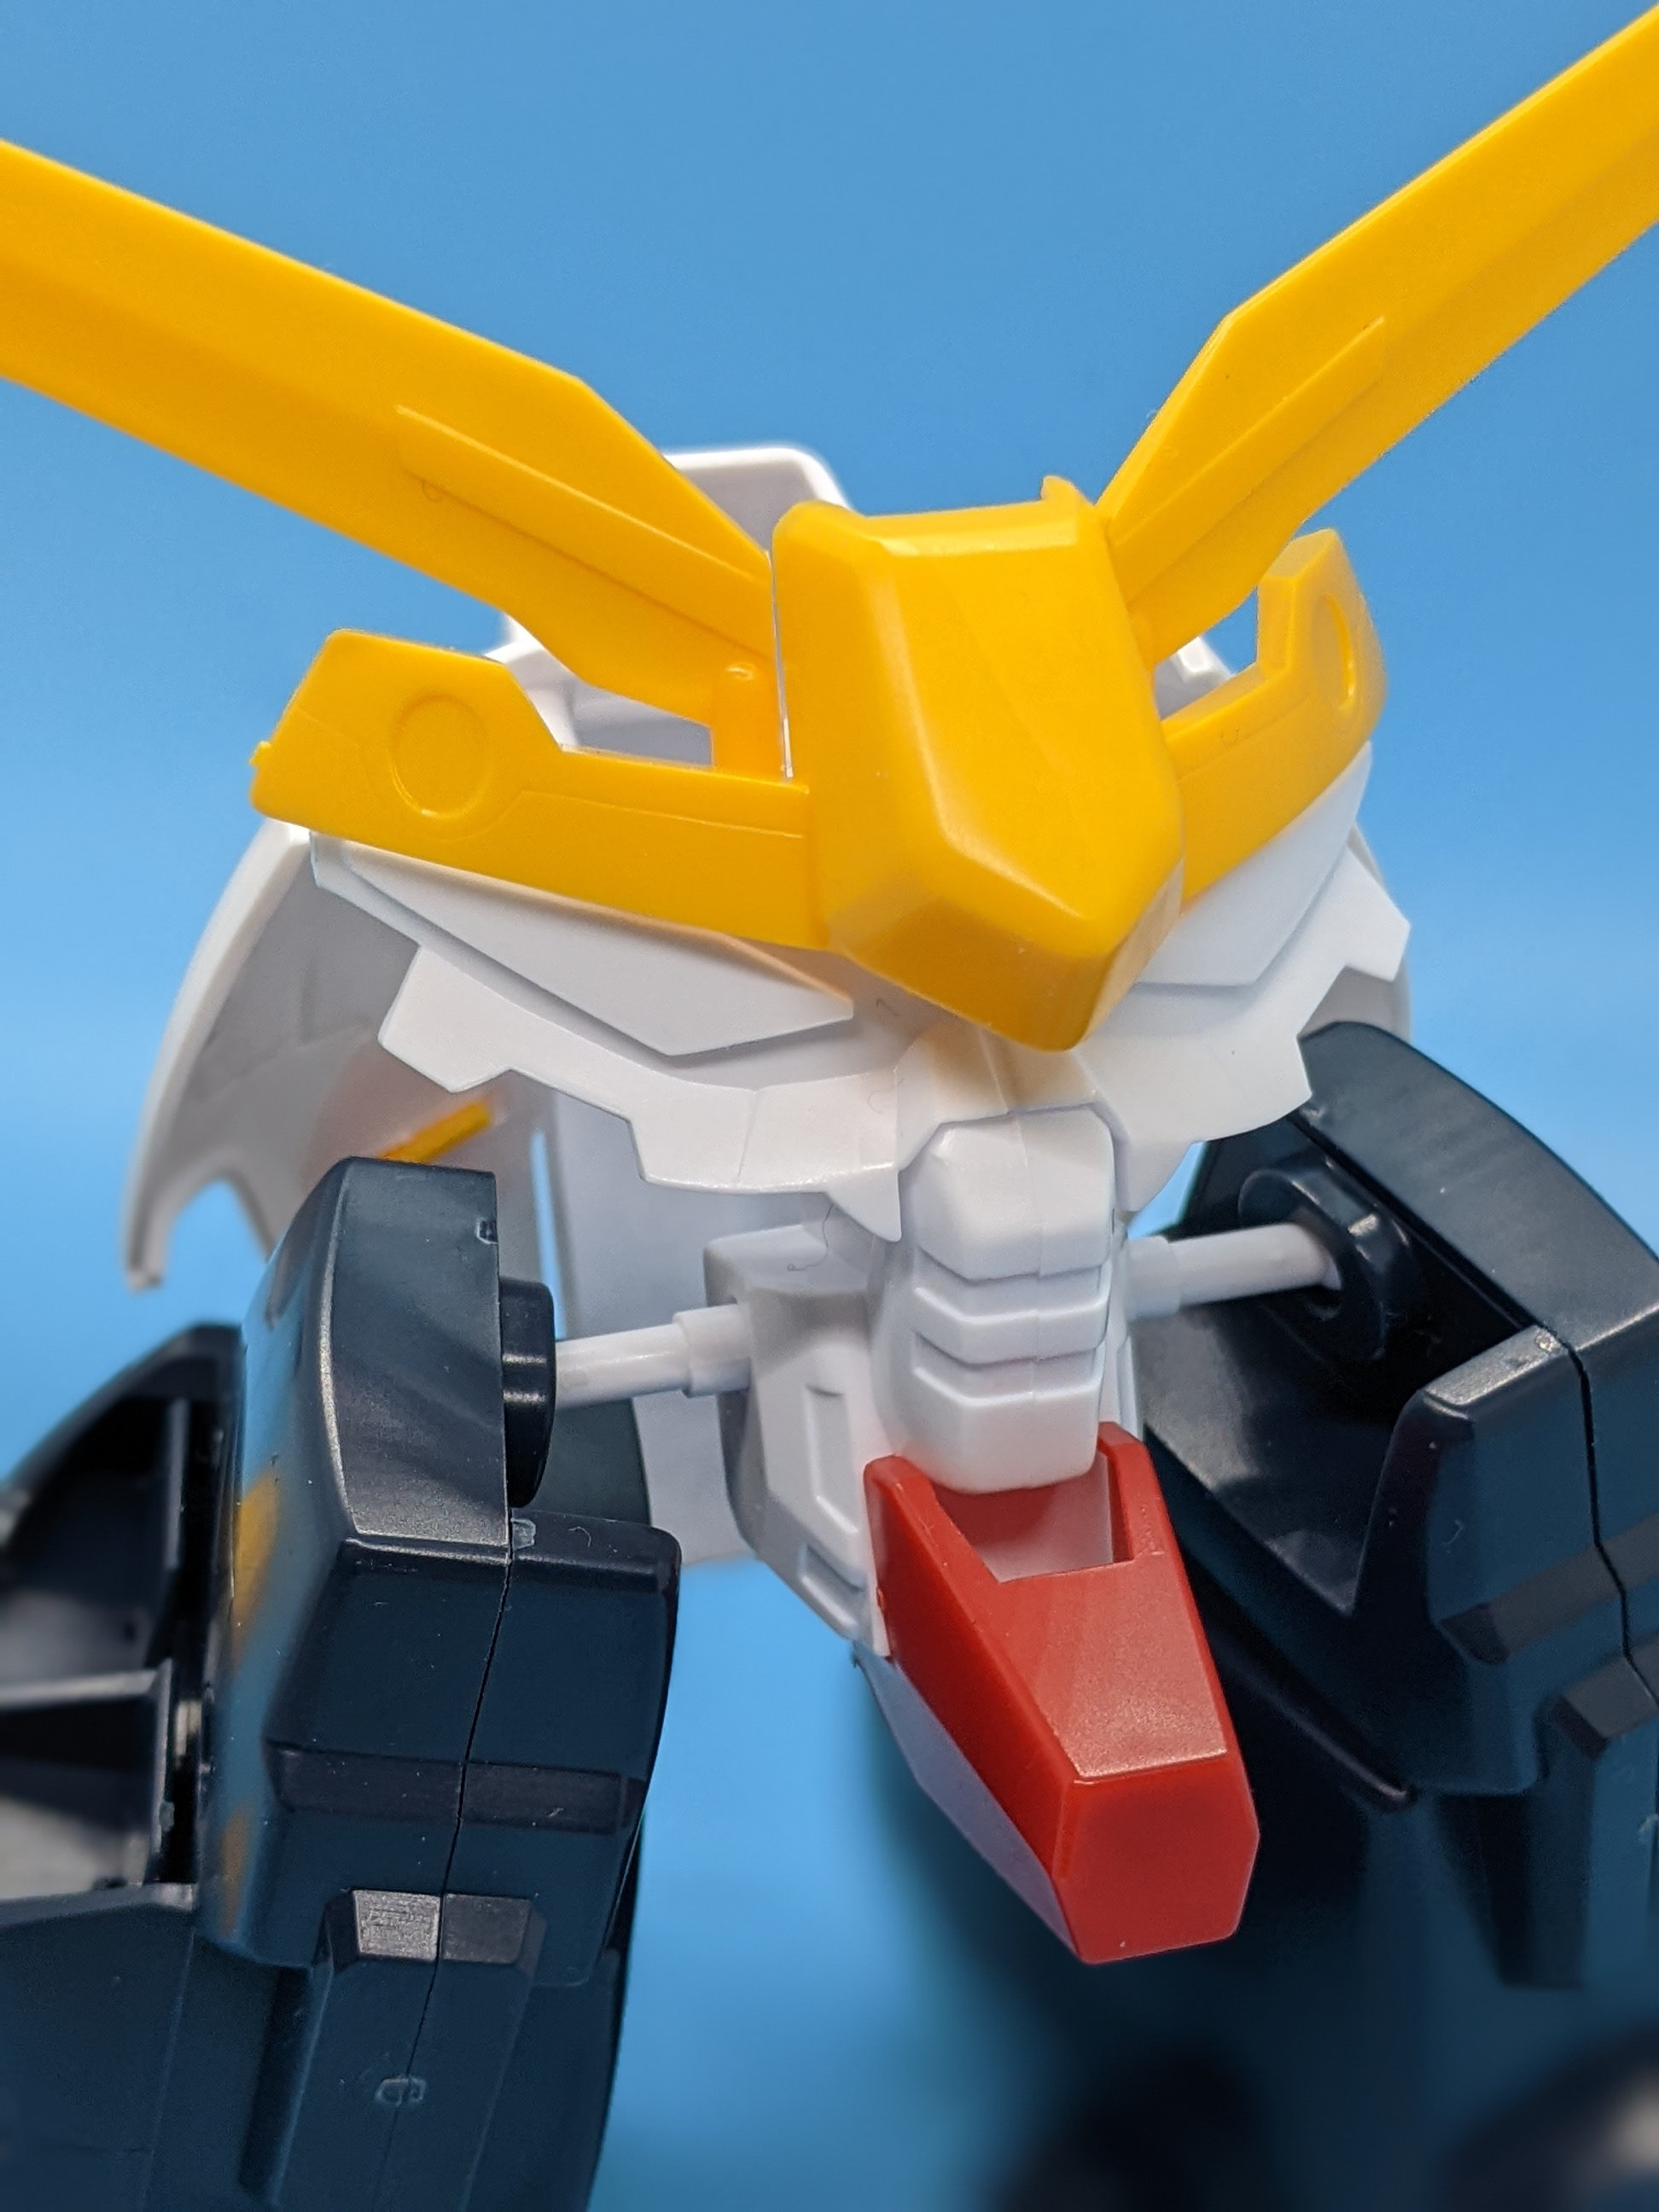
The head is a bit of a potato. It is molded from 3 separate parts and the head fin, mostly providing an accurate representation of the design. The assembly will actually lend to giving access to painting details, which is nice. Most of the surface details are in need of enhancement and mine had suffered from a bit of tool slip requiring a bit of surface treatment to even out the finish.
The head vulcans are just little dots in the molding. Personally I'd look into drilling them out and replacing it with a piece of tube, resin, or even metal bits to provide some sort of surface detail. You could even go the route of adjusting the overall head sculpt to match closer to the original design a bit with pla plate and putty, depending on your skill level.
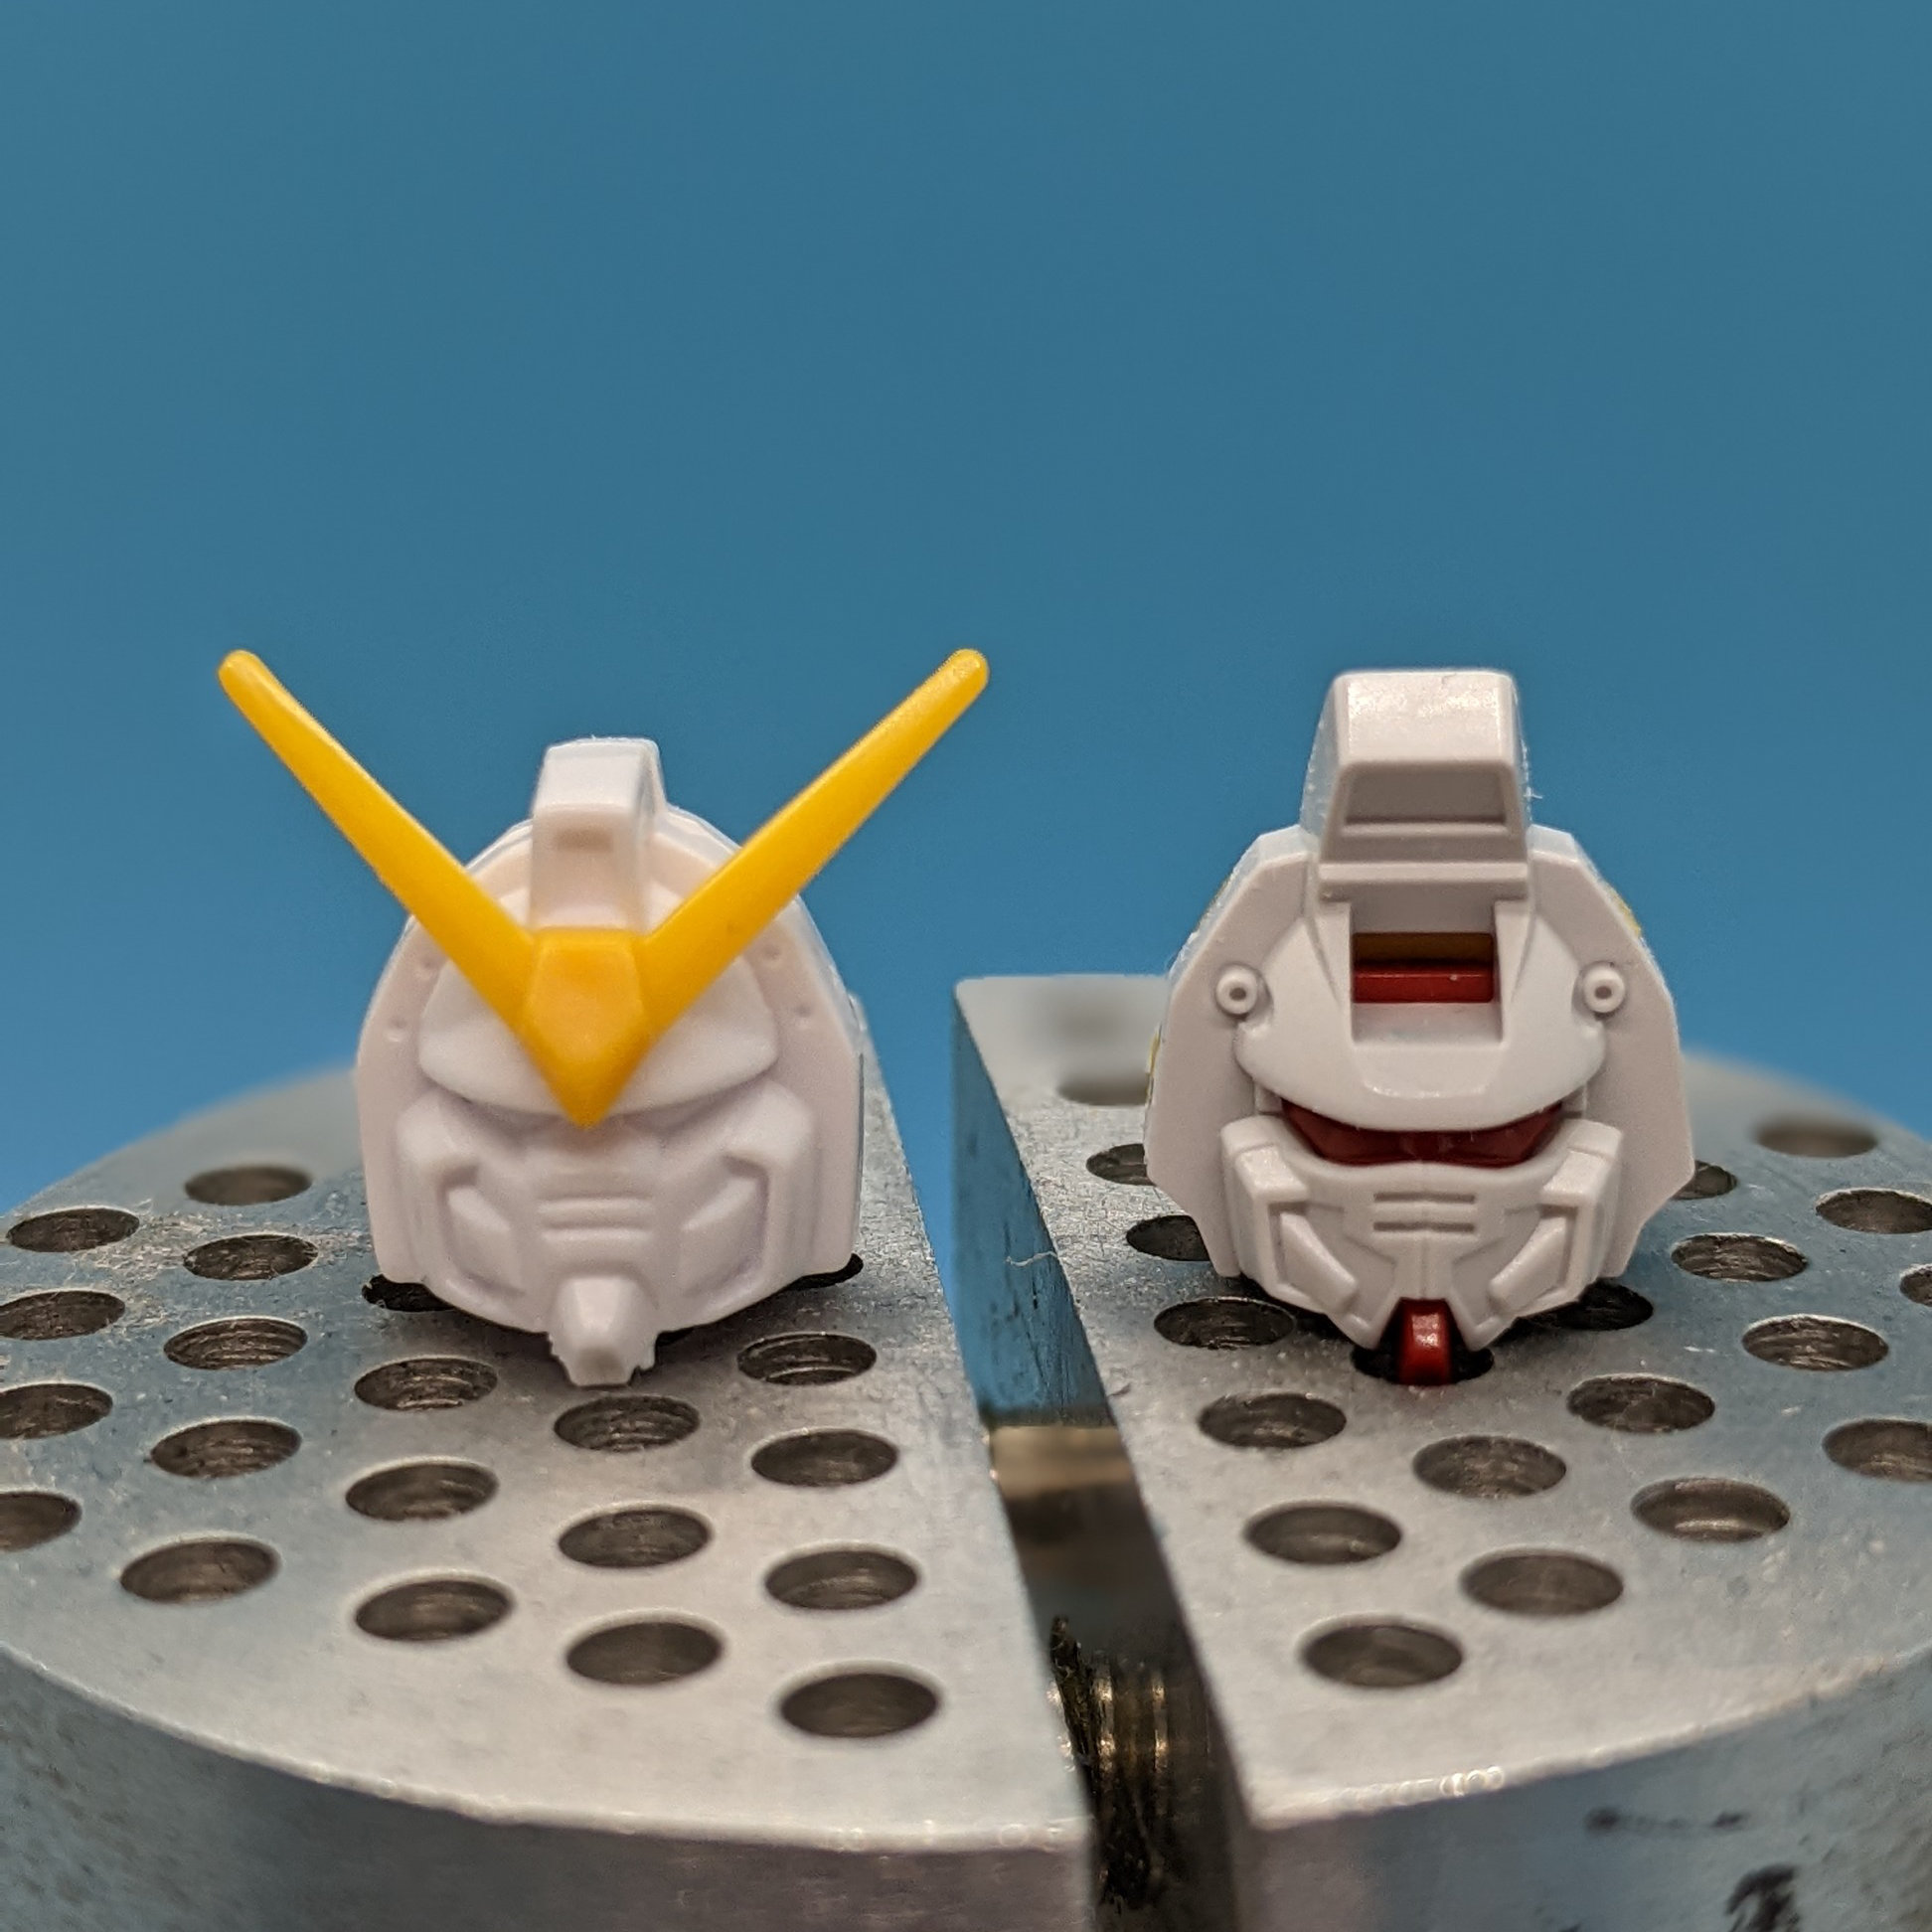
Otherwise, you can look into replacing the head completely with something more modern. The design is a bit unique to the G Gundam line and oddly shaped however the HGFC Shining gundam has a similar design as a starting point. However this isn't without its own differences that will require a bit of elbow grease to to something similar depending on how hard pressed you are for maintaining accuracy.
Another note is I find the head to sit a bit high, though this relates a bit more to common parts used to save on tooling and the narrowness of the torso.
Torso
The torso is a bit narrower than expected, could just be due to relativity to the scaling. The torso itself is made of a 2 piece sandwiched together with static pegs sticking off for connecting arms through the shoulders, additional parts slot in place before sandwiching together like a polycap in the bottom for the spine connection, the neck joint connector, or the vent on top.
The neck connector sits a bit high and when using the out of box head it has a bit more of a gap than expected, it seems to fit better when using a modern 1/144 head but you may need to mind the clearance on the sides. Depending on how much articulation you want here, you may need to replace the connector with something to provide improved movement.
The chest piece of the torso is plugged in with the press fit connector, definitely has room for additional surface detailing. Similar in design to that used on the Shining Gundam, if you want to make use of the more modern molding of the HGFC Shining Gundam it will require structural changes to support the size differences but may be worth your time and efforts. I know that's the route I'm going to attempt with my own custom.
Relating to the shoulder connection pegs, if you are not content with the positioning out of the box you could scratch build an adapter to give a bit more movement to help with your posing options.
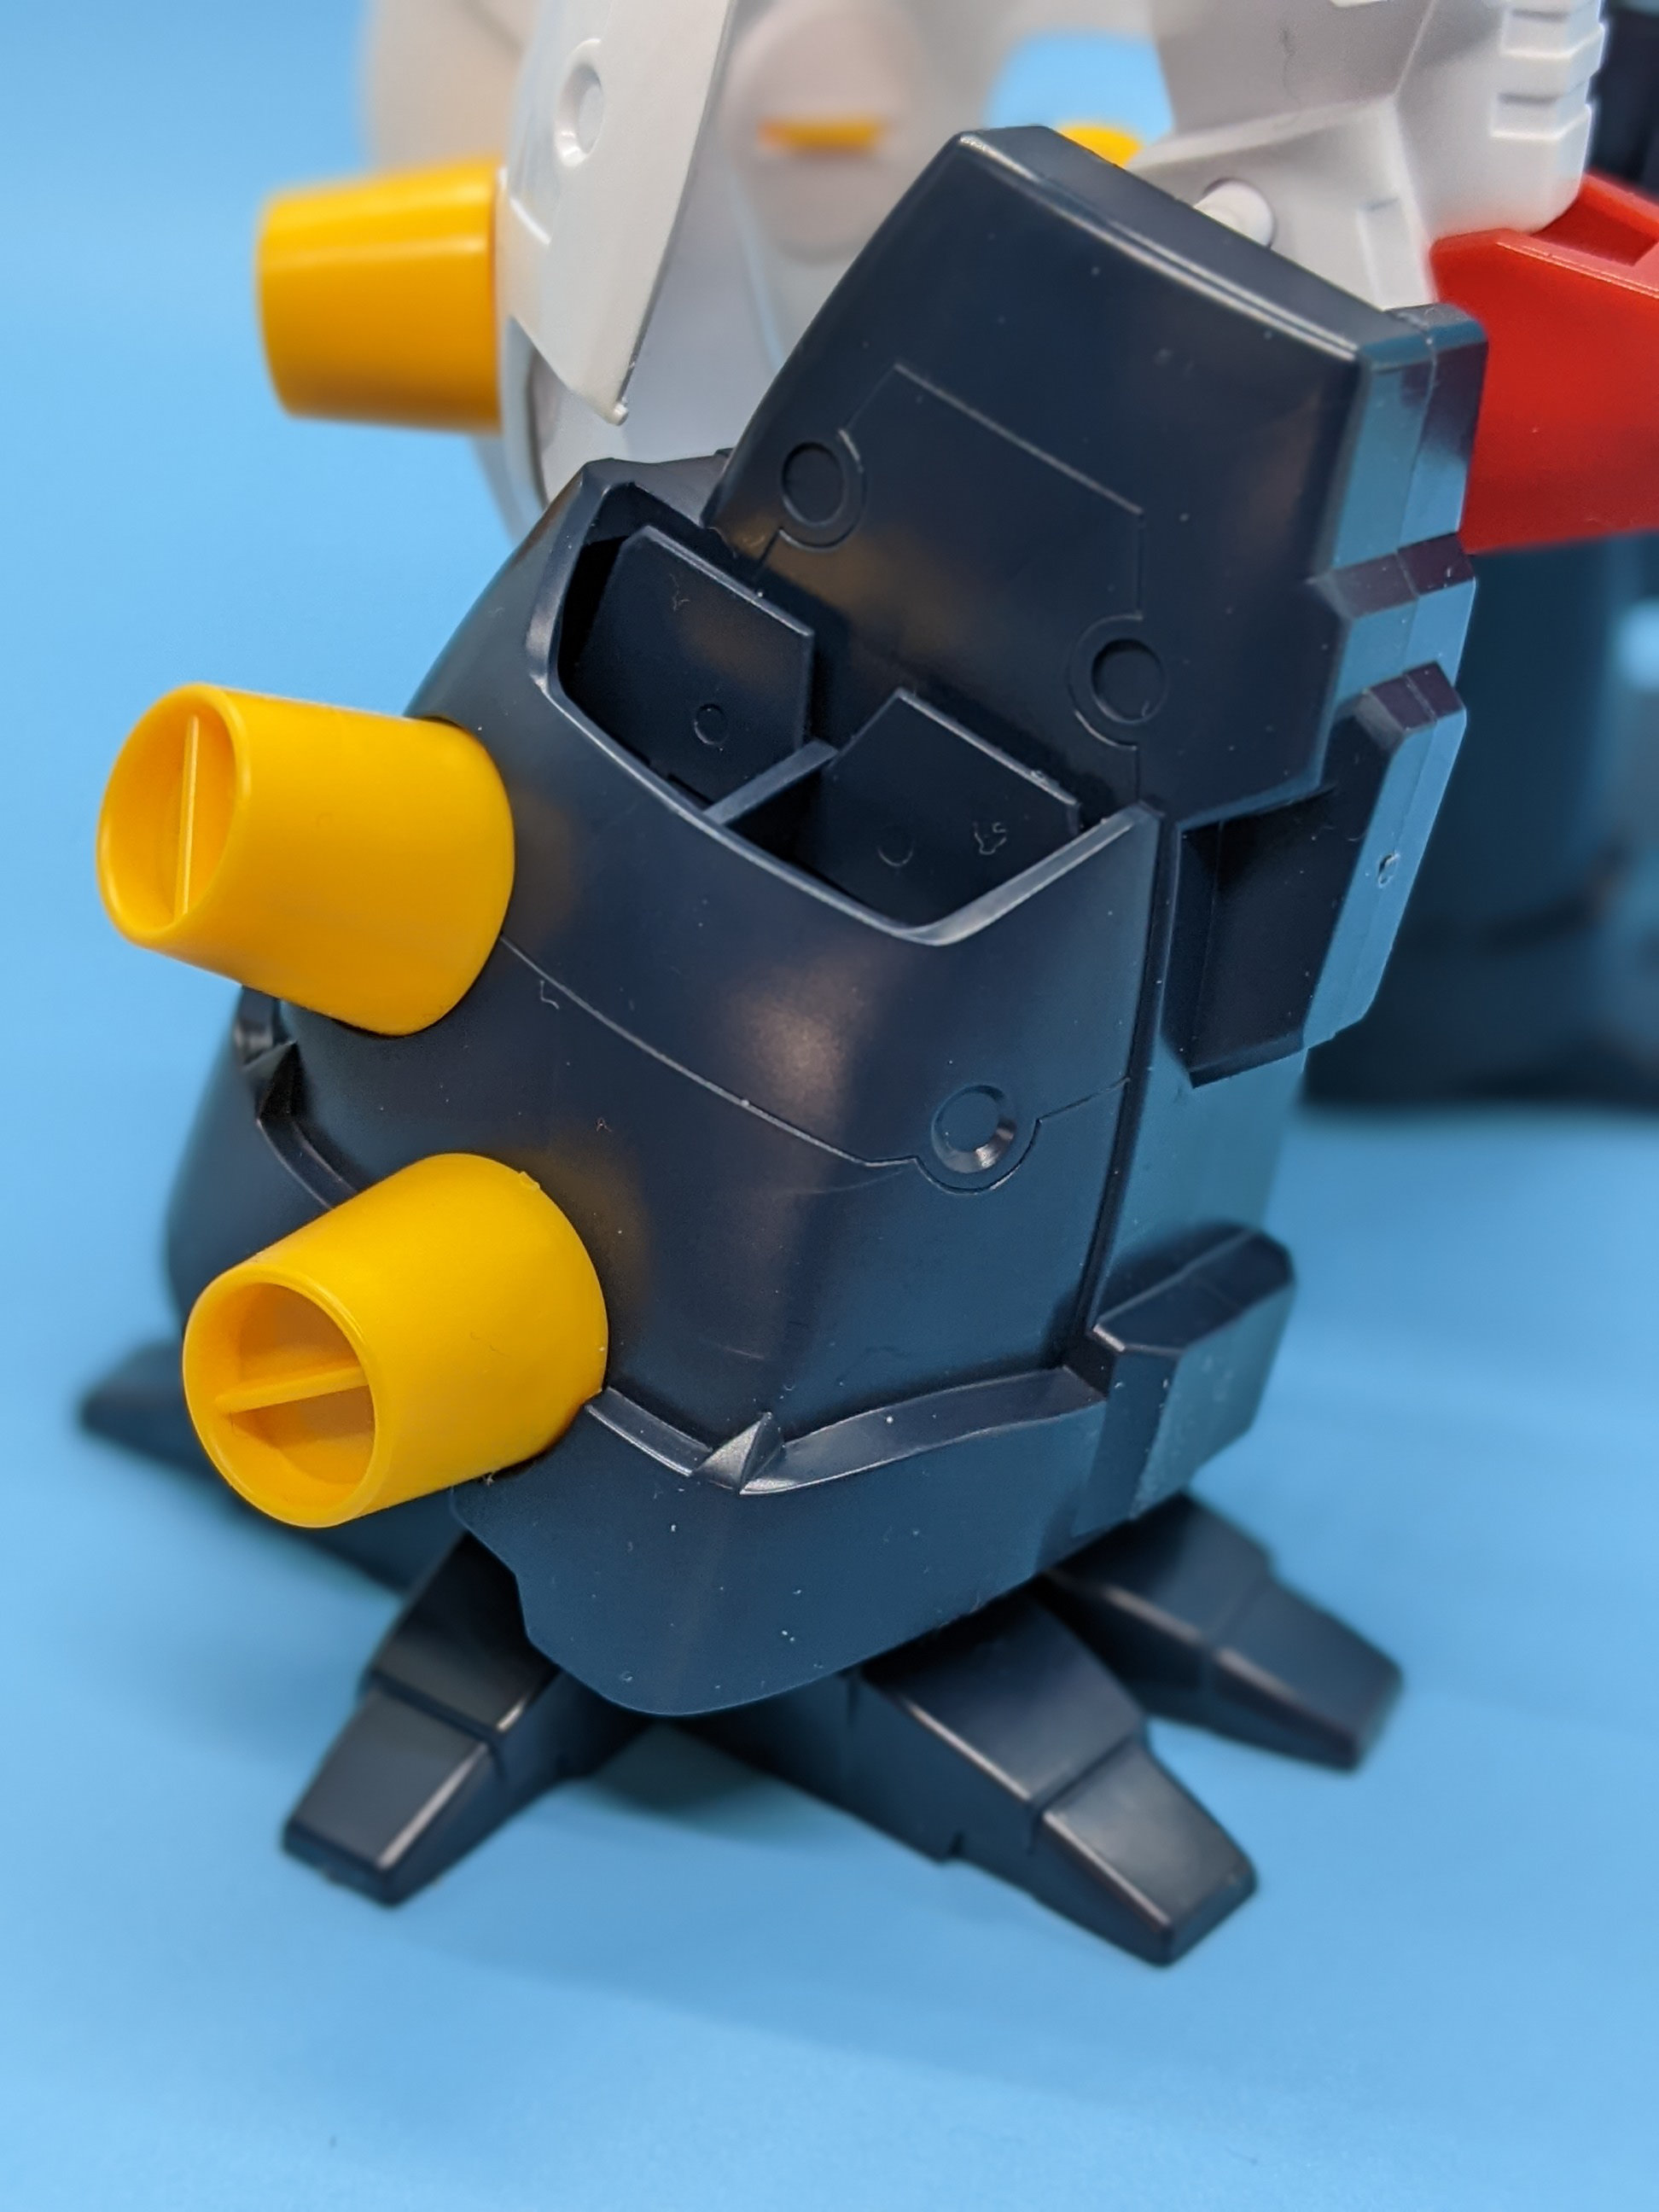
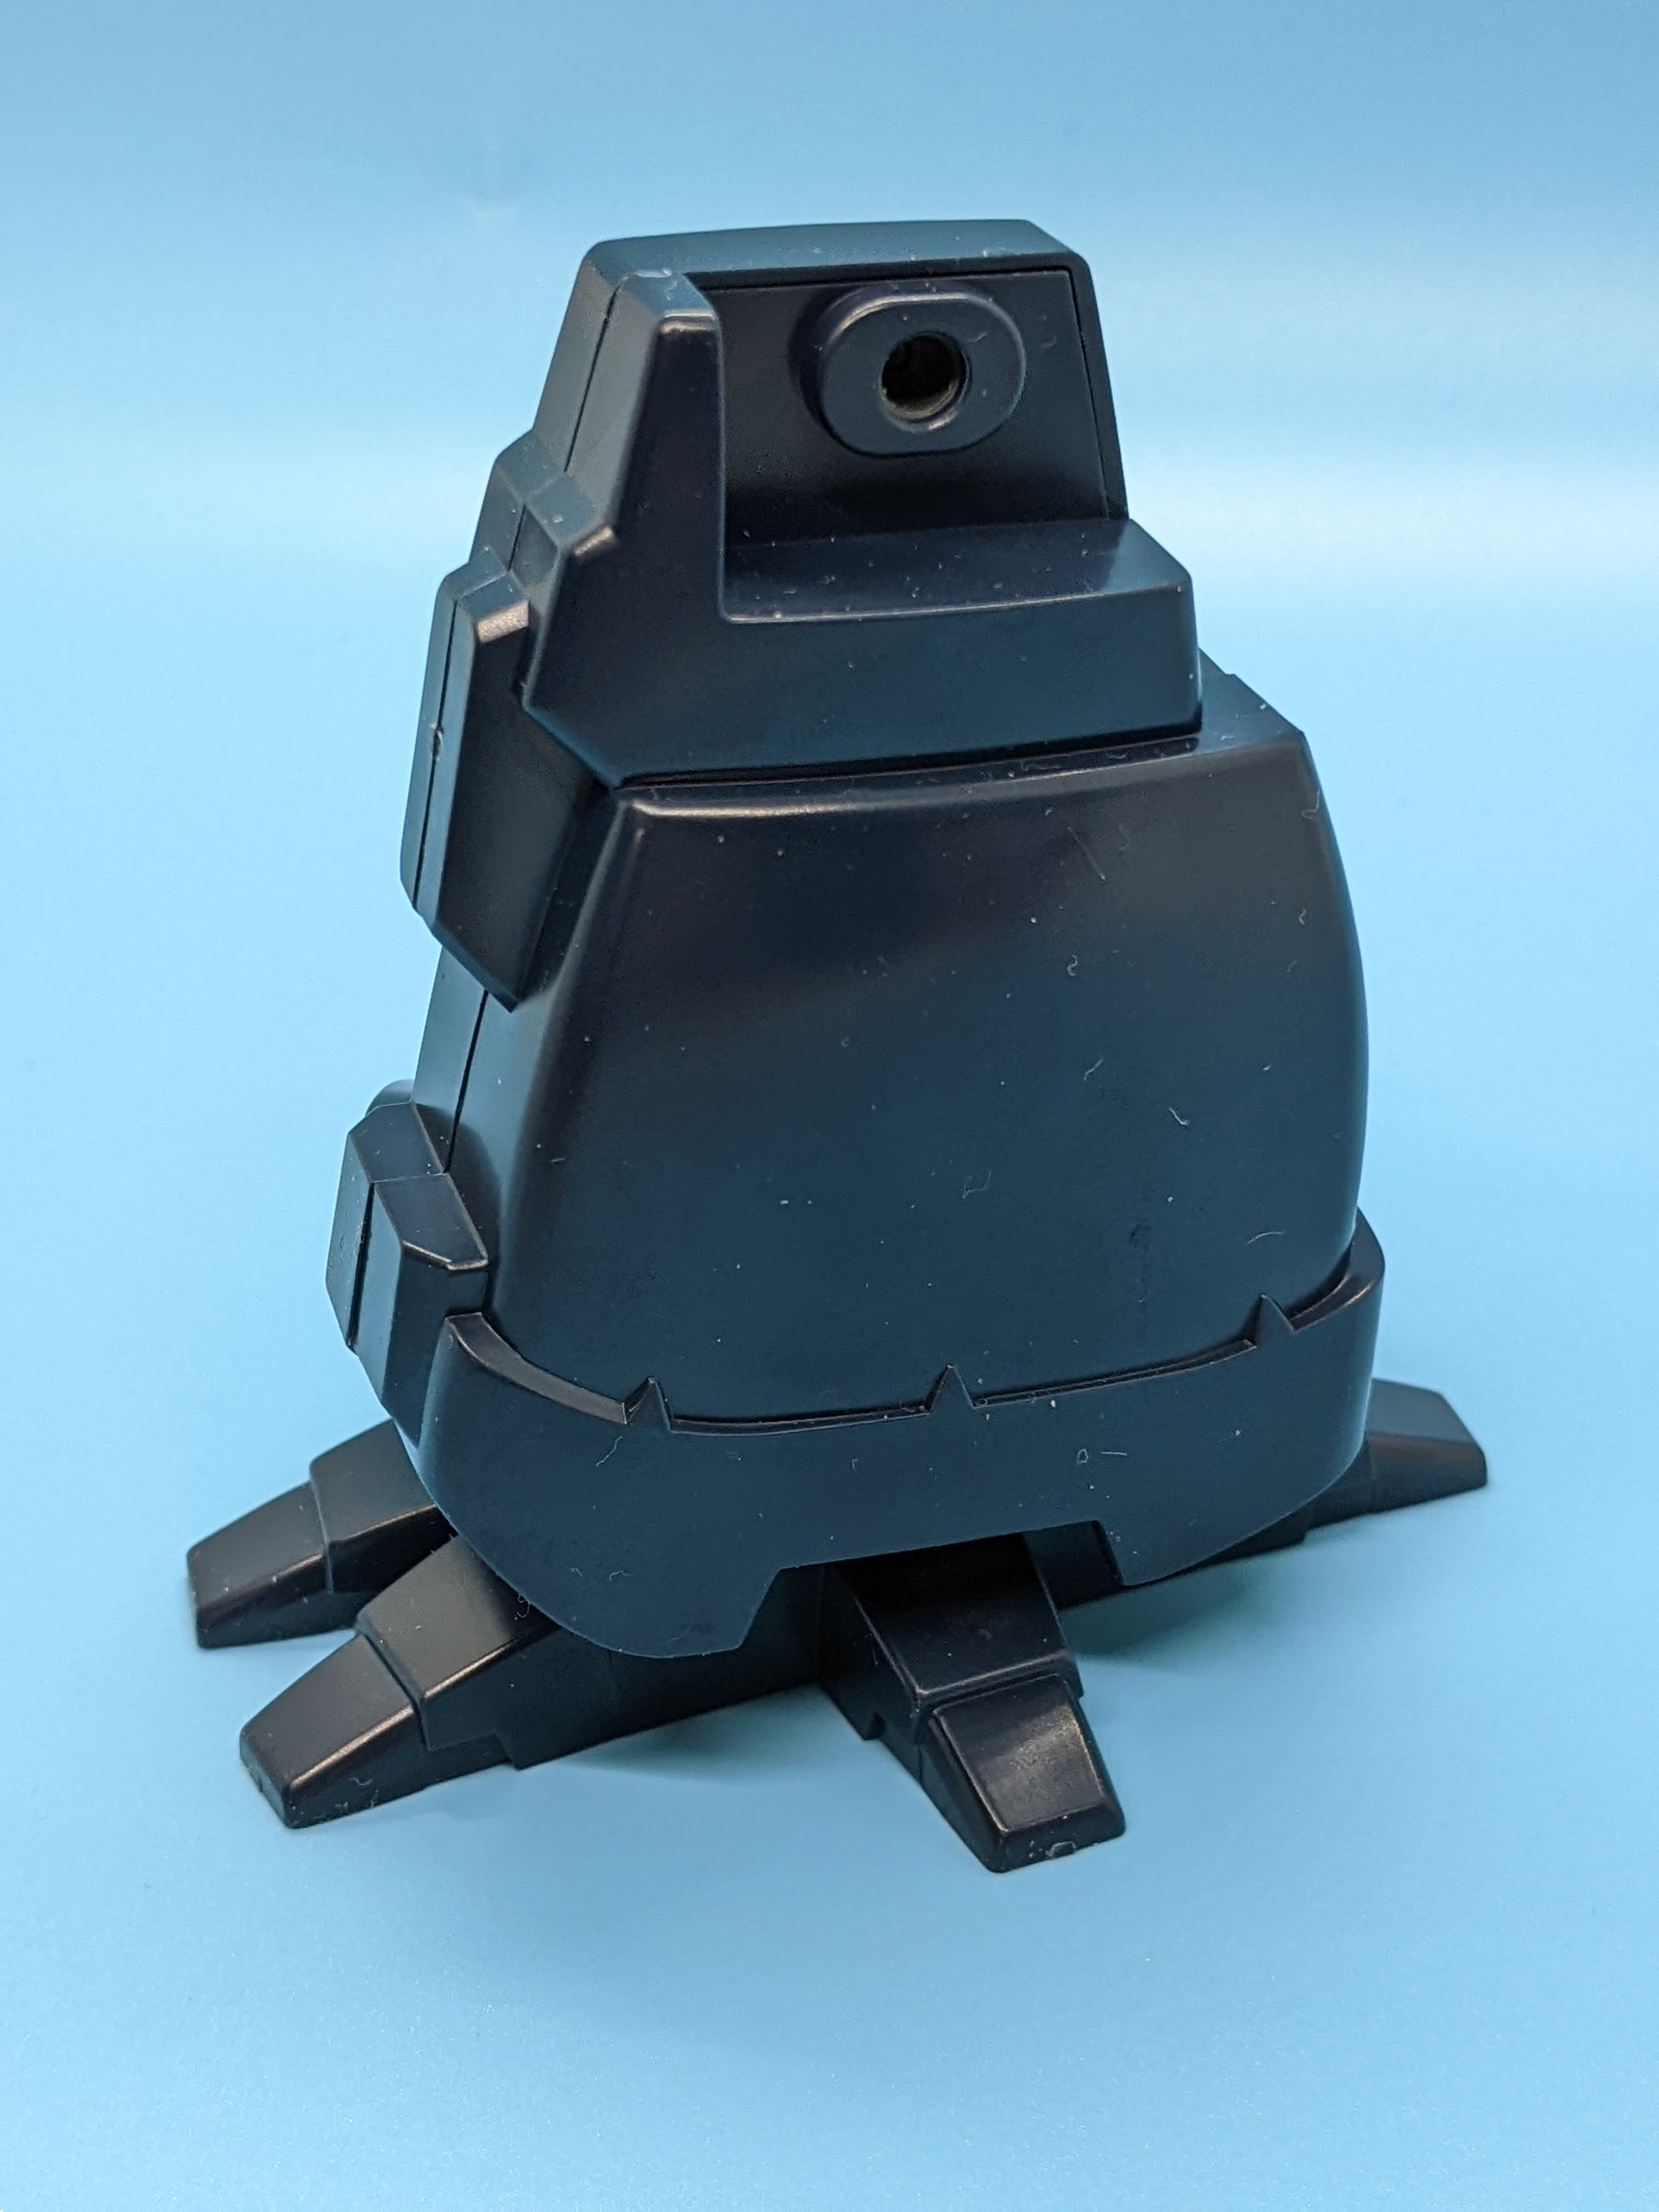
Shoulders
The shoulders are big and devoid of any detail underneath, which could be improved upon by layering in polystyrene pieces or other greebles just to give a bit of interest when viewed.
If you wanted to enhance premolded details - you could rescribe them to give a bit more depth or layer over additional pieces. Also a great opportunity to do some chisel work.
The vents are a really good opportunity for this sort of enhancement to make use of a scratch built or detail up type part to give it more depth and make painting the separate colors easier if you didn't want to use the provided stickers.
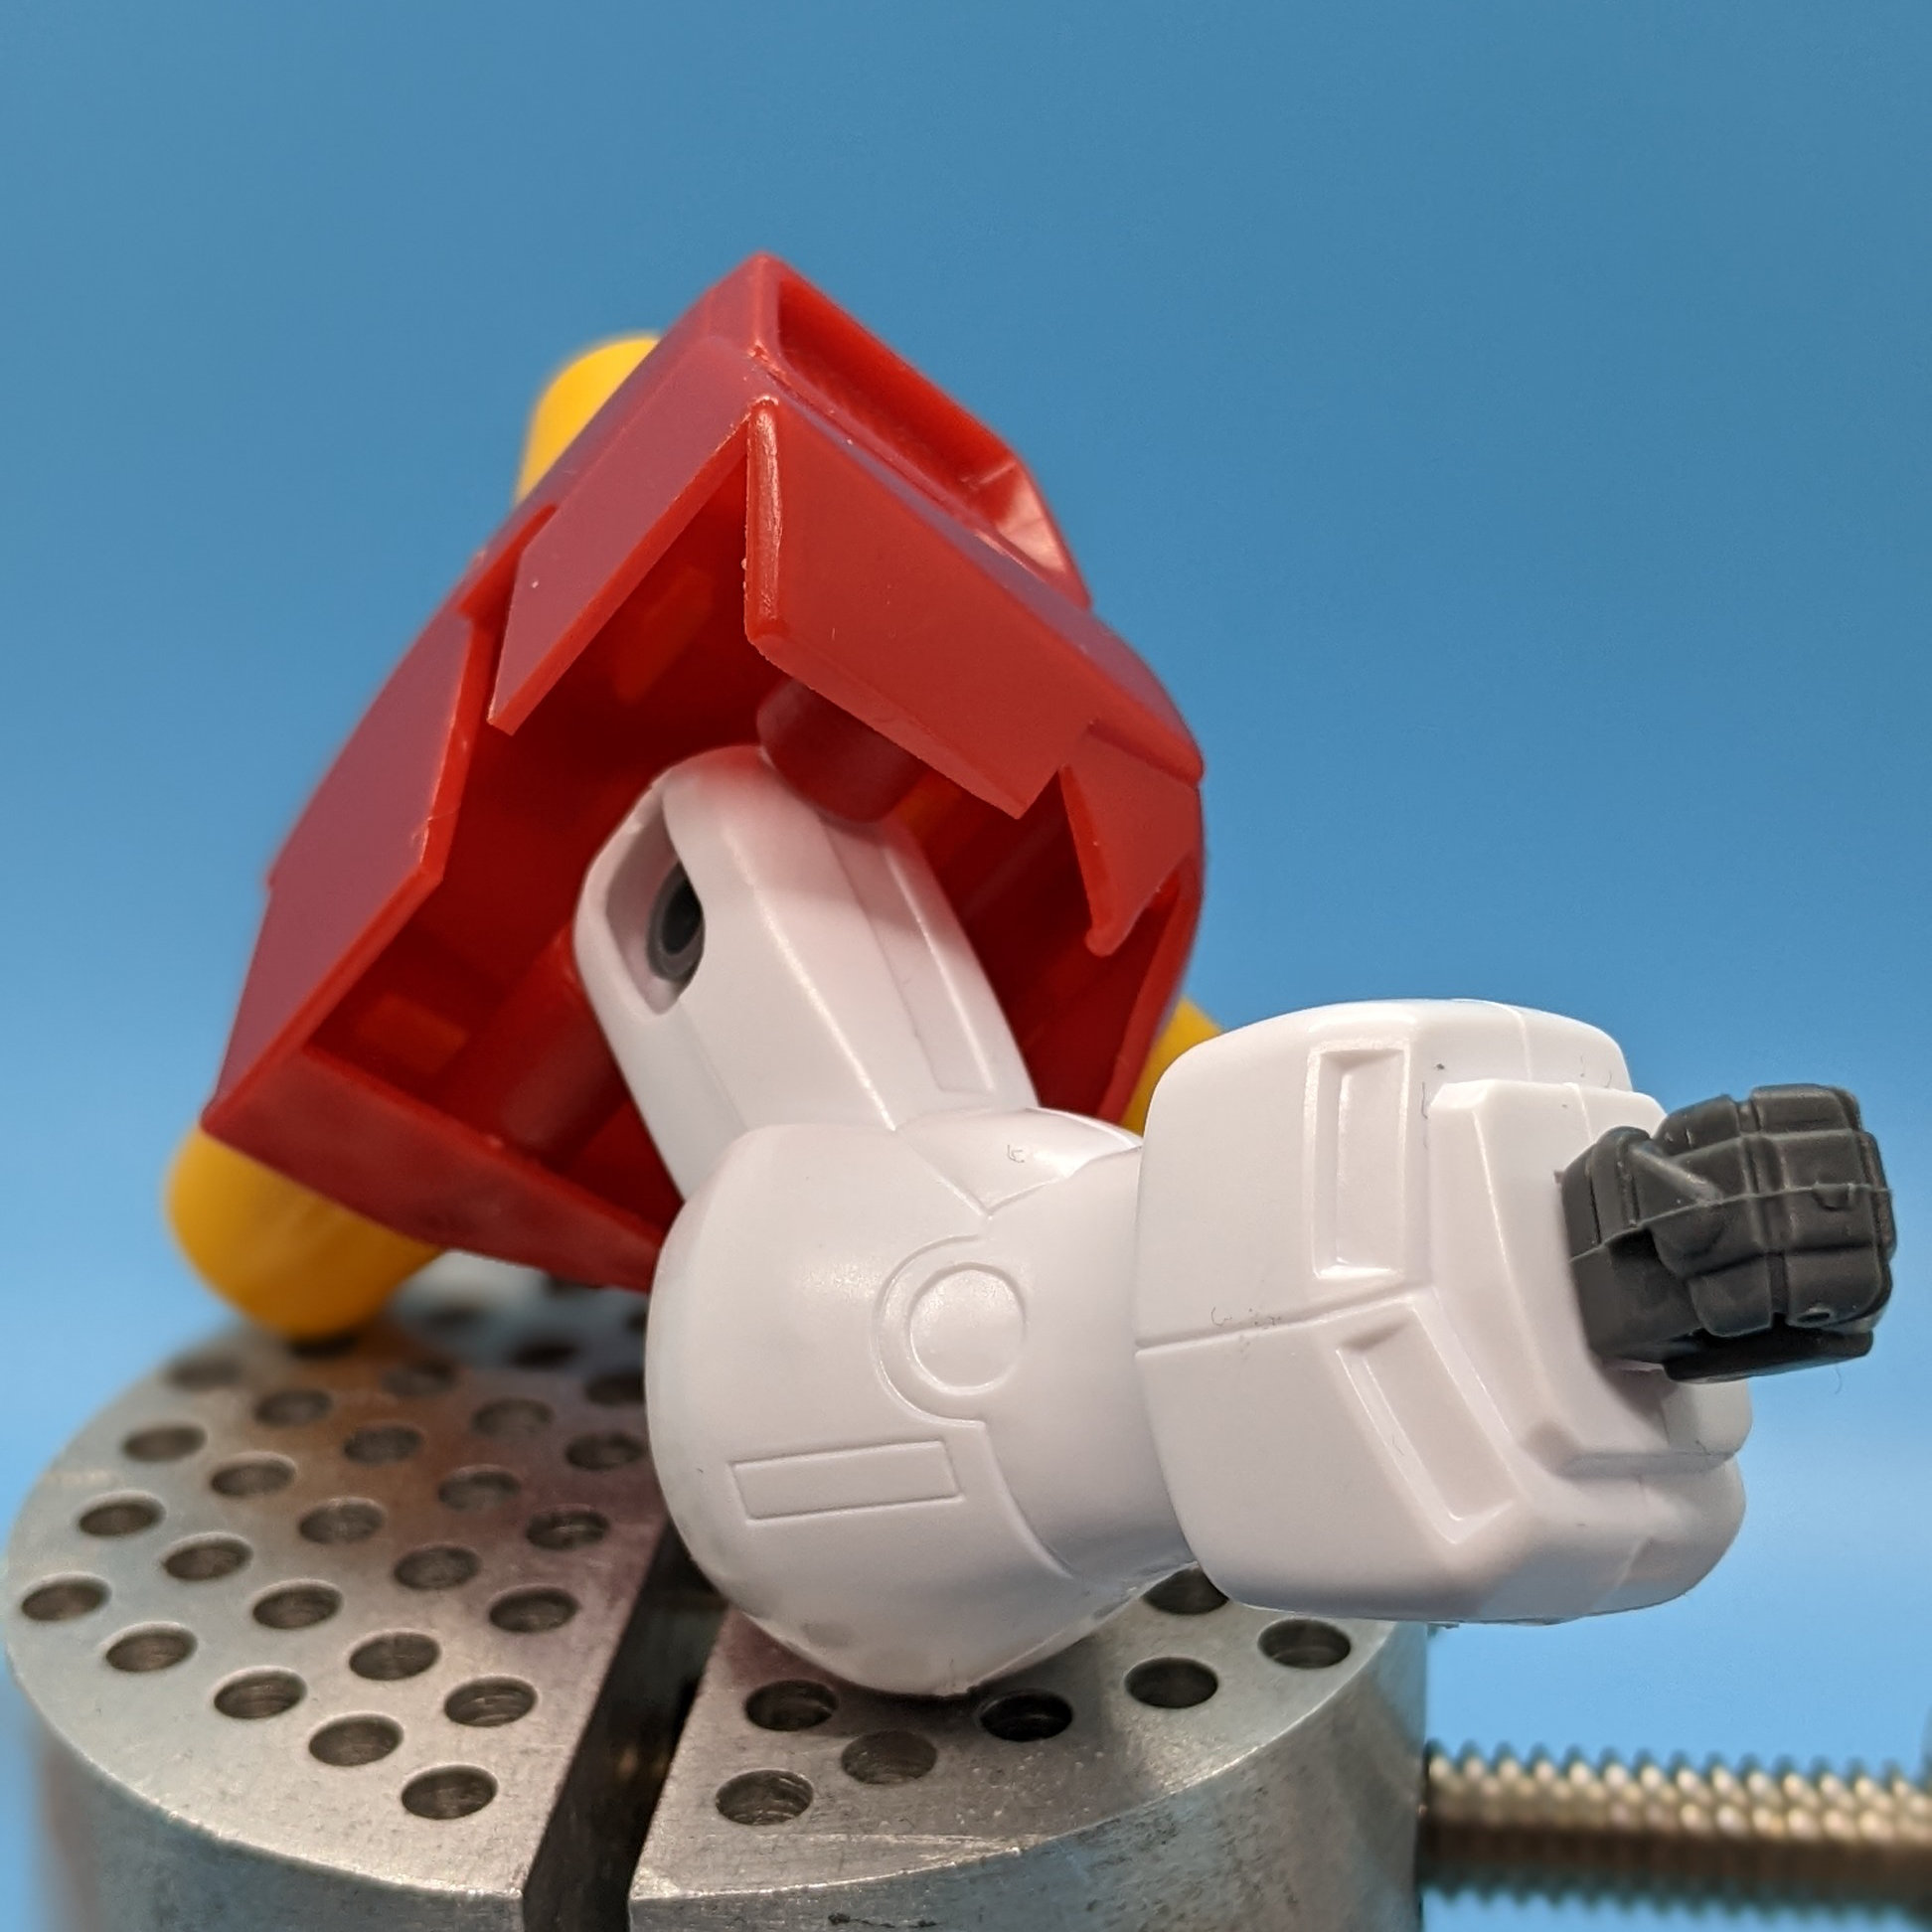
Arms & Hands
The arms have restricted movement, they can flex and move side to side but not swivel at the bicep as the movement is restricted by the shoulder.
An improvement I've seen done is to introduce your own modification of the bicep part to allow rotation as seen in this custom by building a new shoulder connection joint, and this one cutting the bicep in half and applying a similar technique to allow it to swivel.
The rest of the forearms are sandwiched together, you will likely want to improve some of the panel line details if you opt to seal it together. The molding on mine left a larger than desirable gap so it'll also require a bit of filling anyway.
It may be desirable to scribe around the wrist part as it appears to be colored different from the rest of the arm and can help with masking.
The hands are a standard polycap from the set of G Gundam kits at the time, so they look a bit small for the monstrous machine. The ball joint is actually more in line with the sizing for a 1/100 scale hand meaning if you want to replace them with something more size appropriate, you could try to modify a larger 1/144 or similarly sized hand, and give it a 1/100 scale connector to fit the original with minimal modifications to the structure. You could also give it a standard 1/100 scale hand or some truly oversized hands and just have fun with it. It ultimately depends on what you're after with the build.
Spine
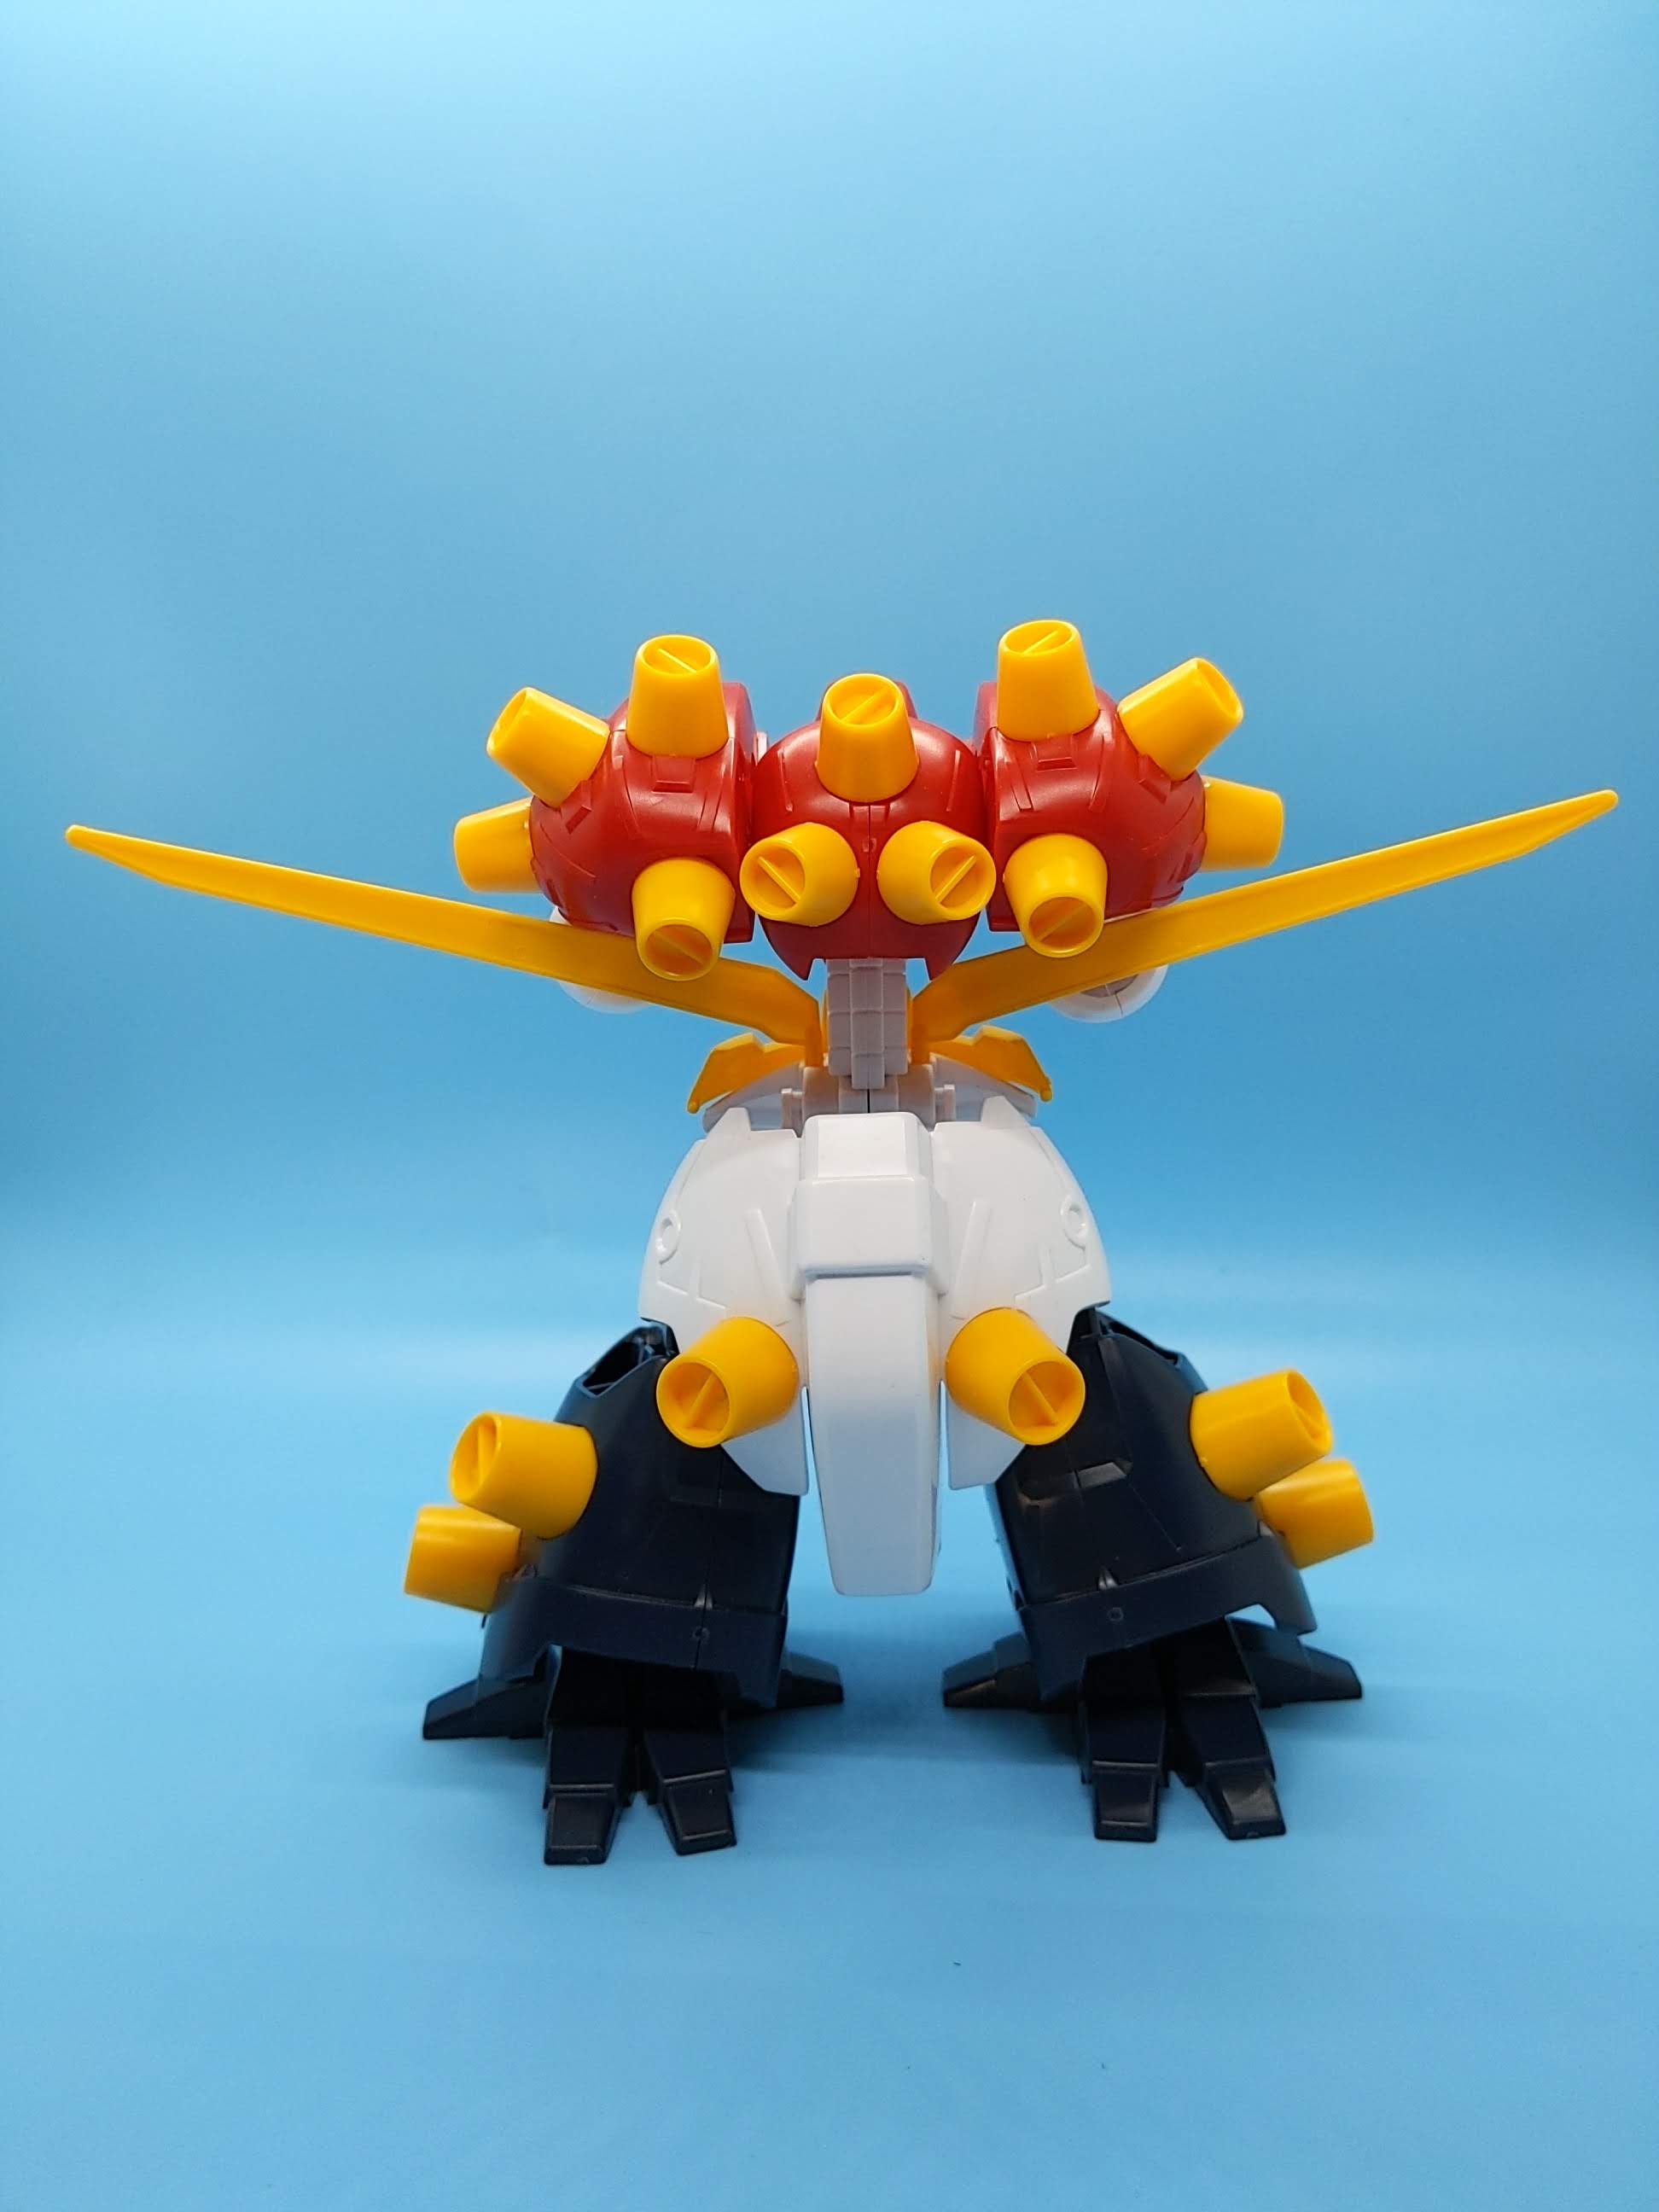
This sort of is the waist connection joint? It also comes with two options for Mobile Fighter and Mobile Armor mode. The spine is static, if you wished to make it flexible that will require a significant amount of work.
The illustrations of the Devil Gundam show some additional surface details on the spine, it definitely could make use of additional detail to give interest.
I would look into enhancing the lines between the segments to give it more depth, or even separate the segments. Depending on how much a gap is present between pieces, it could benefit from running a wire through the inside to give more visual interest. Another option is to just scratch build or print new segments and build your own spine, but your mileage may vary.
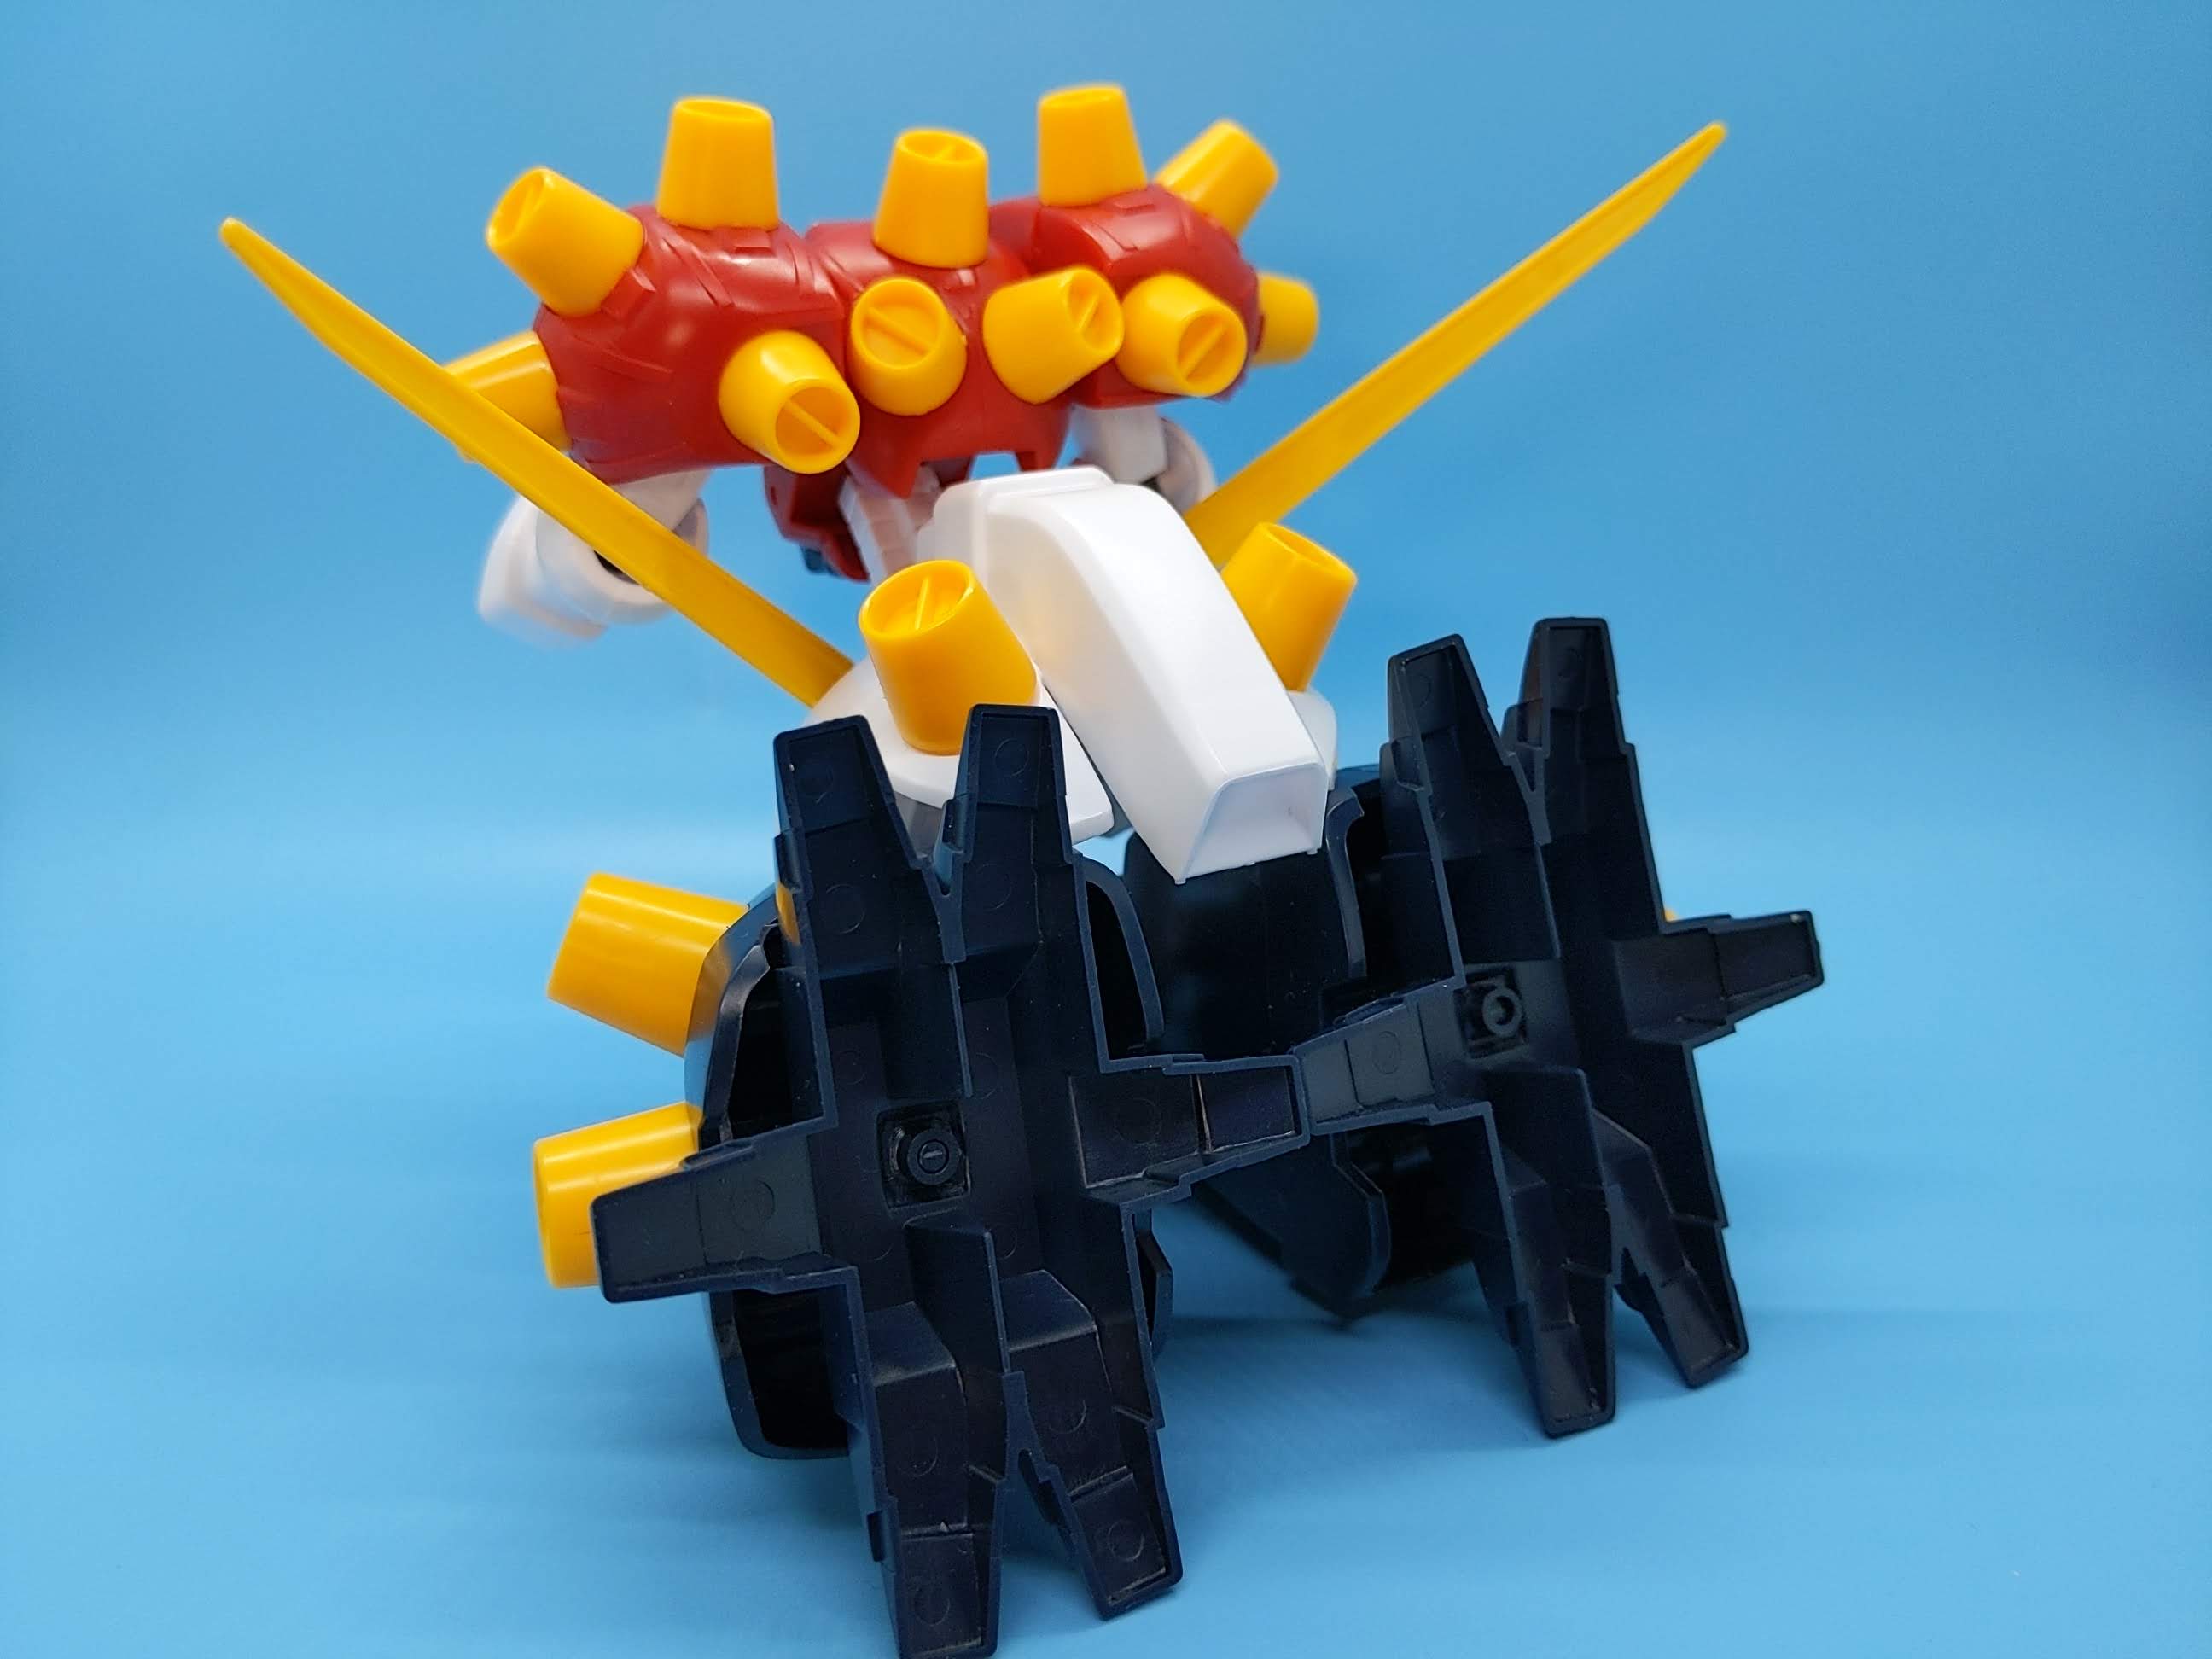
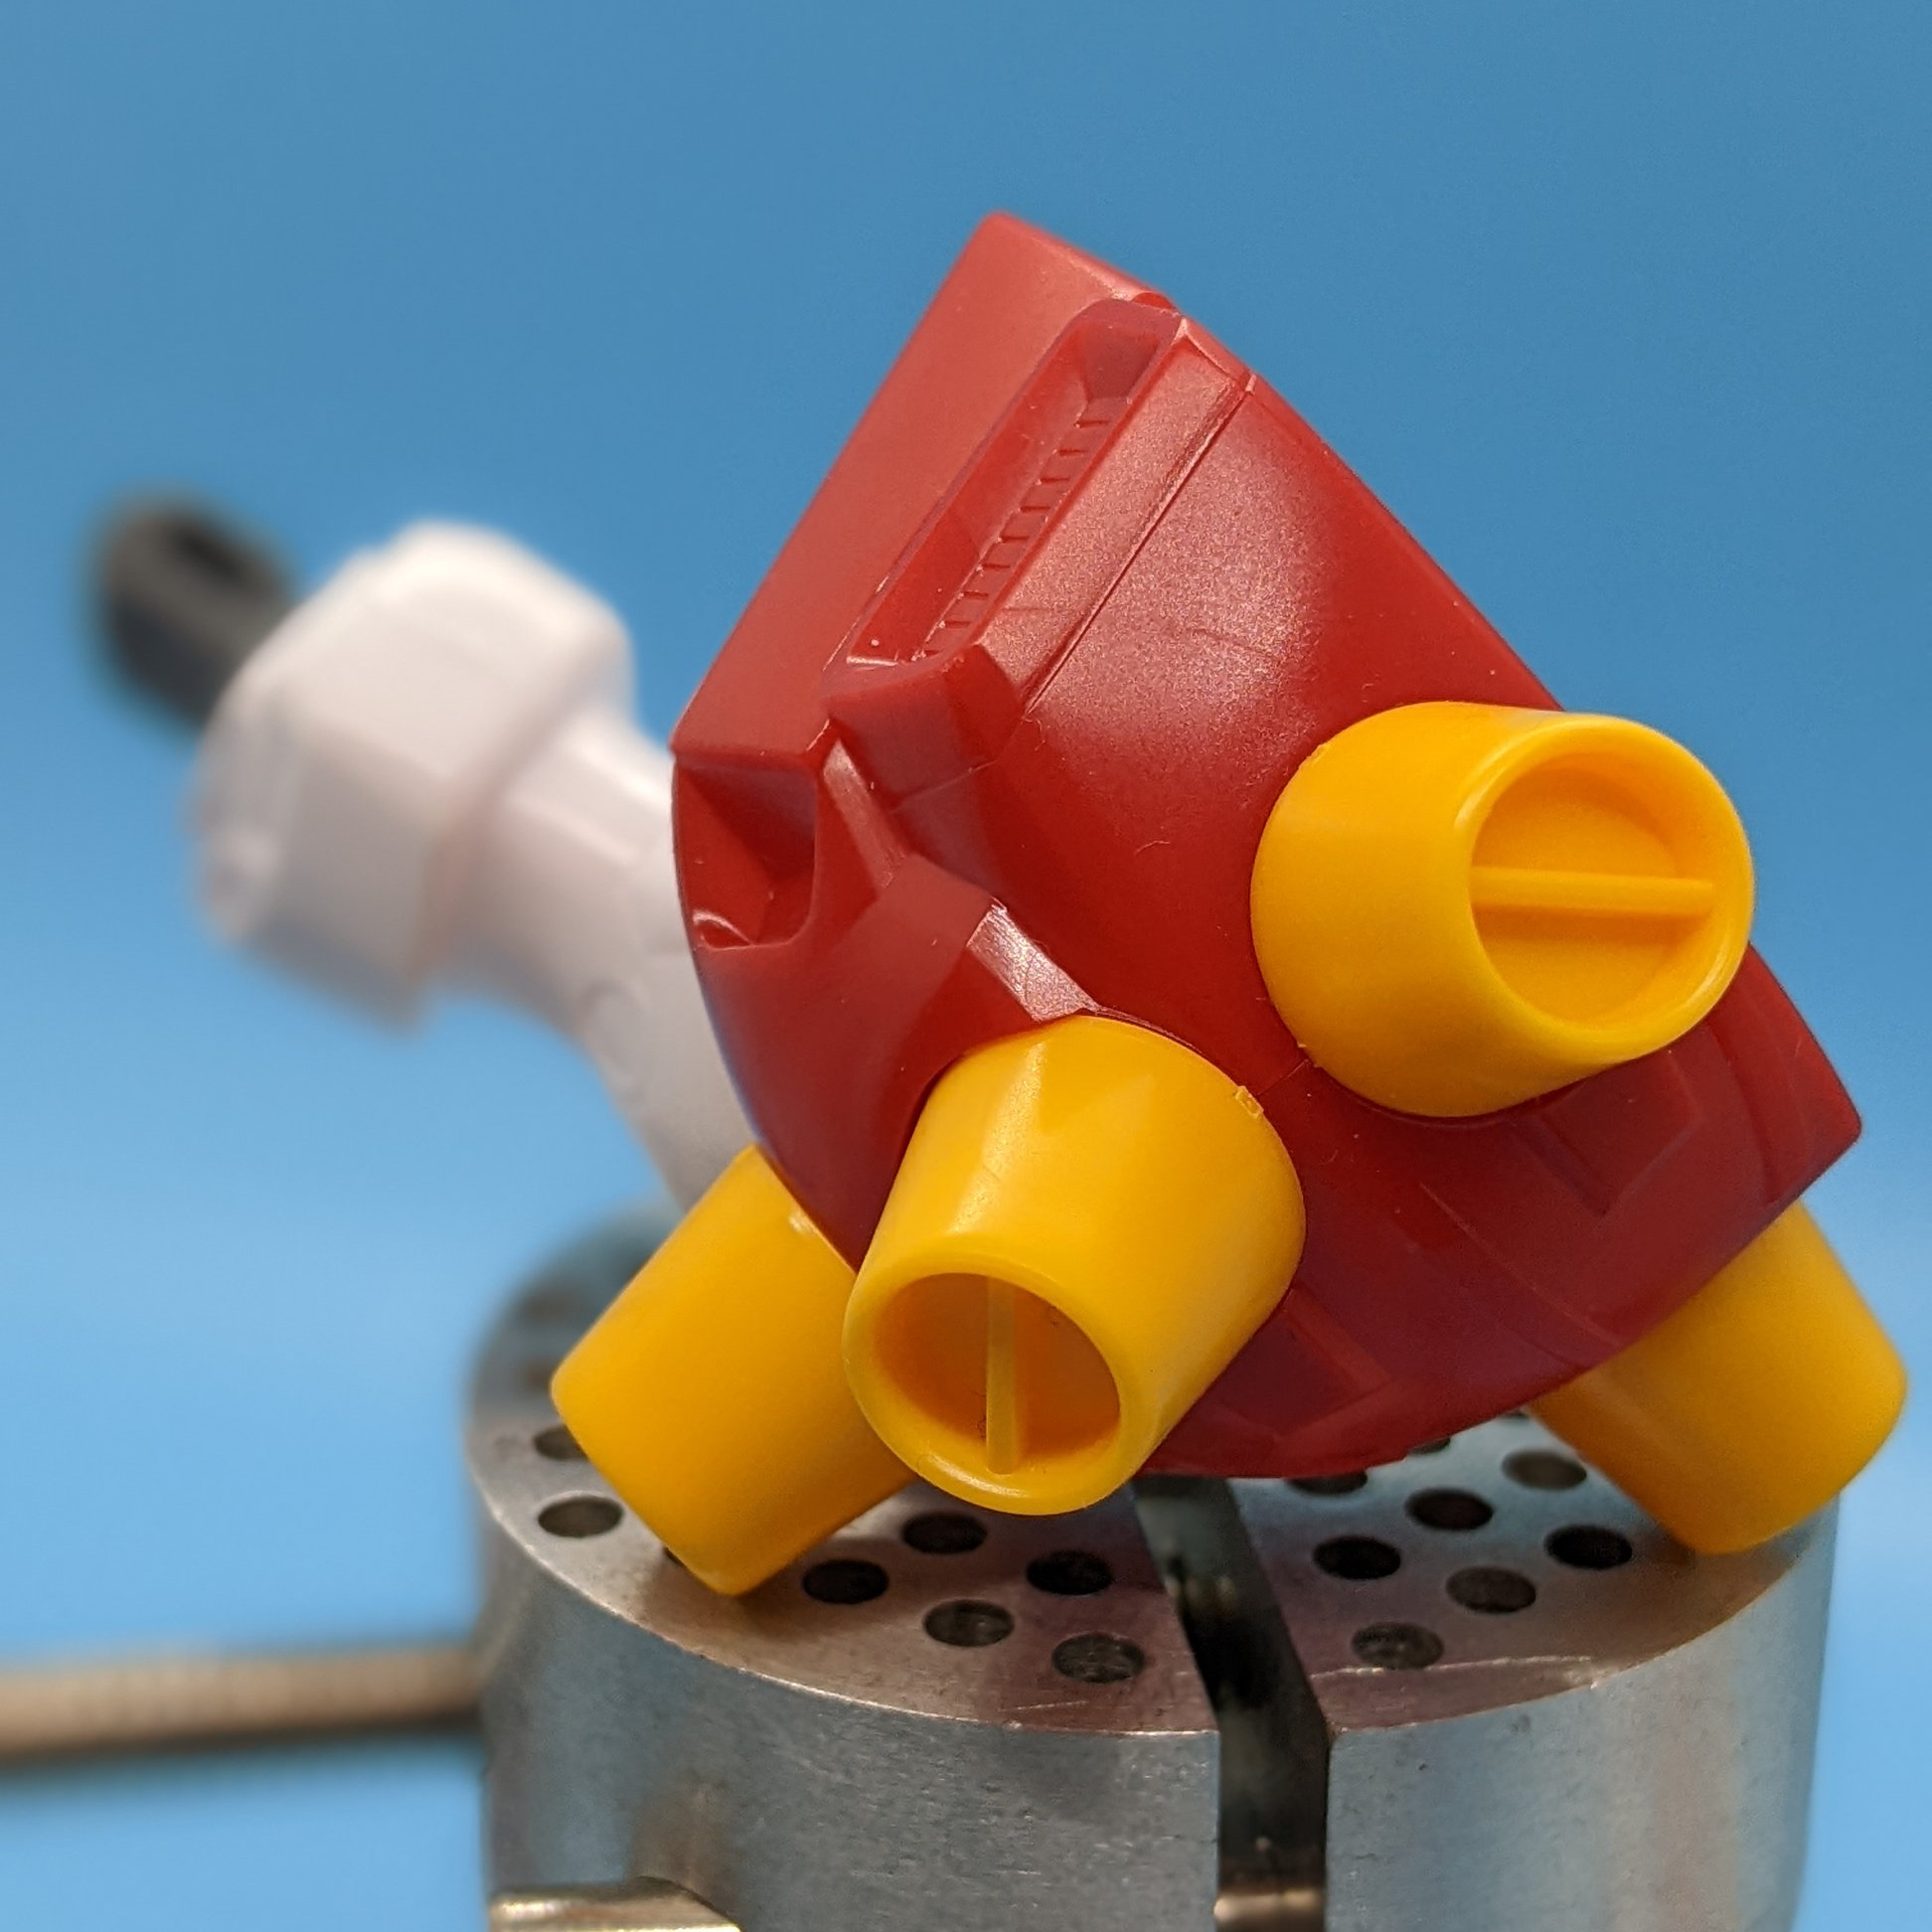
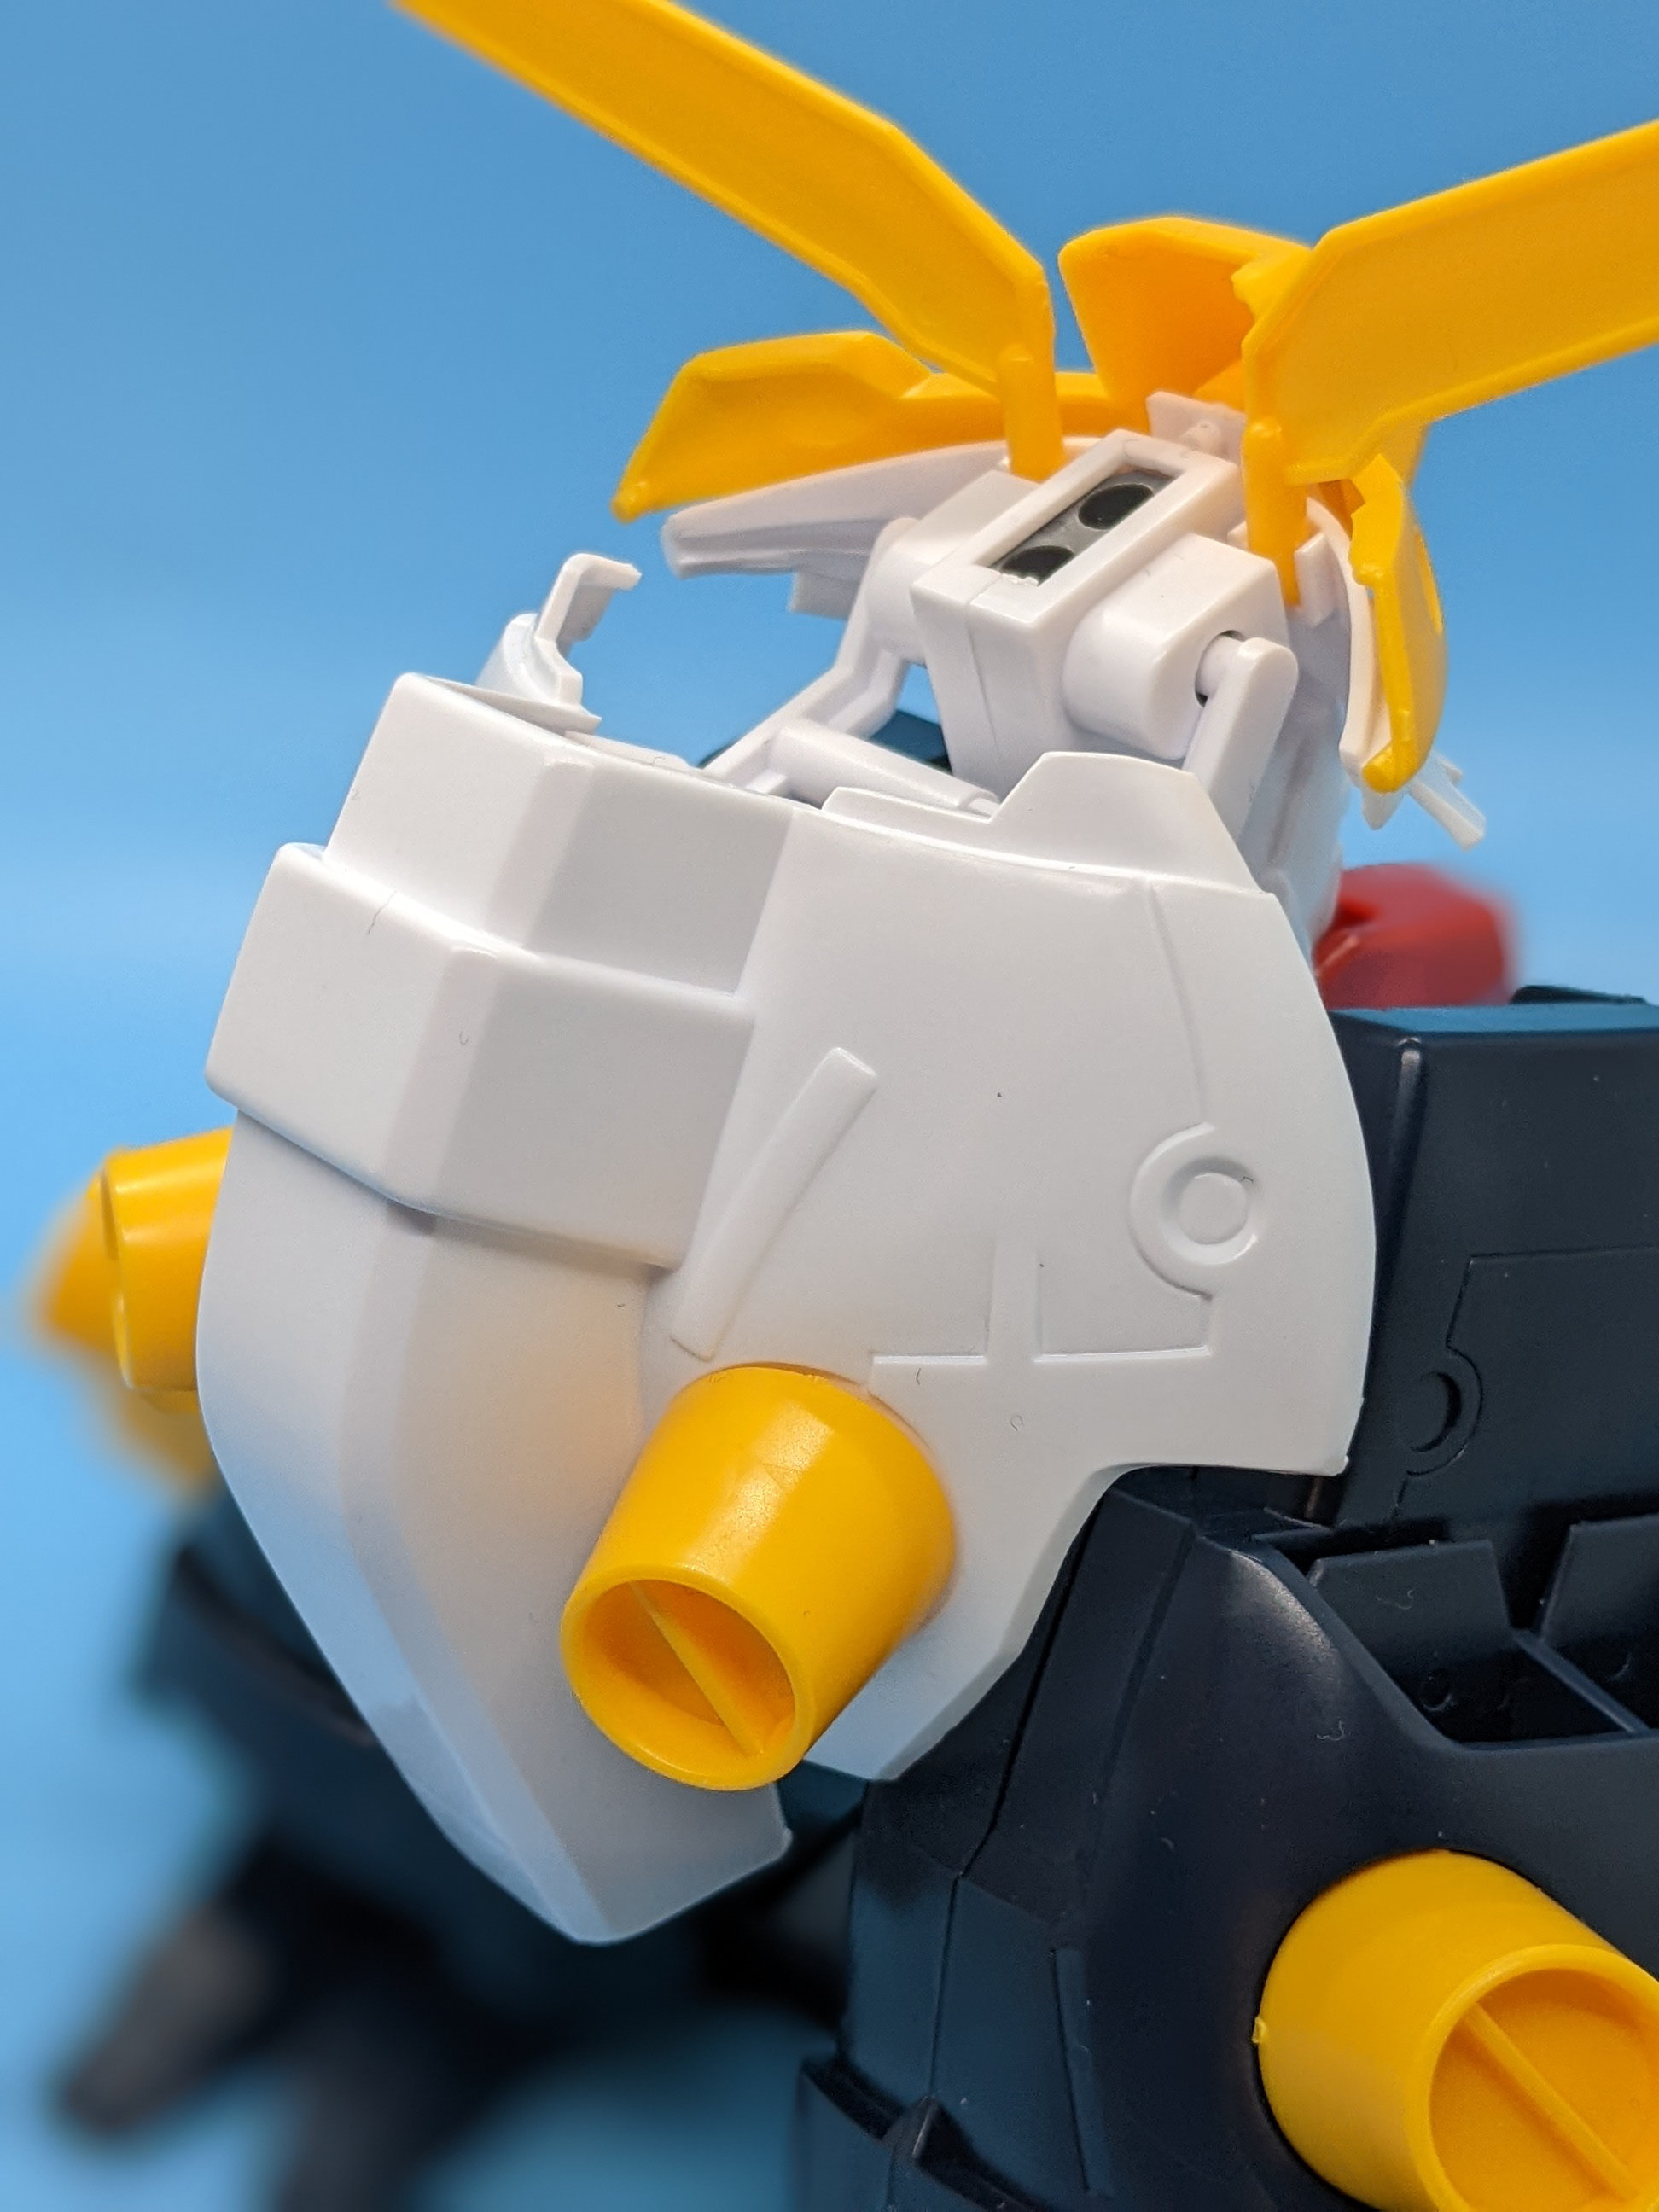
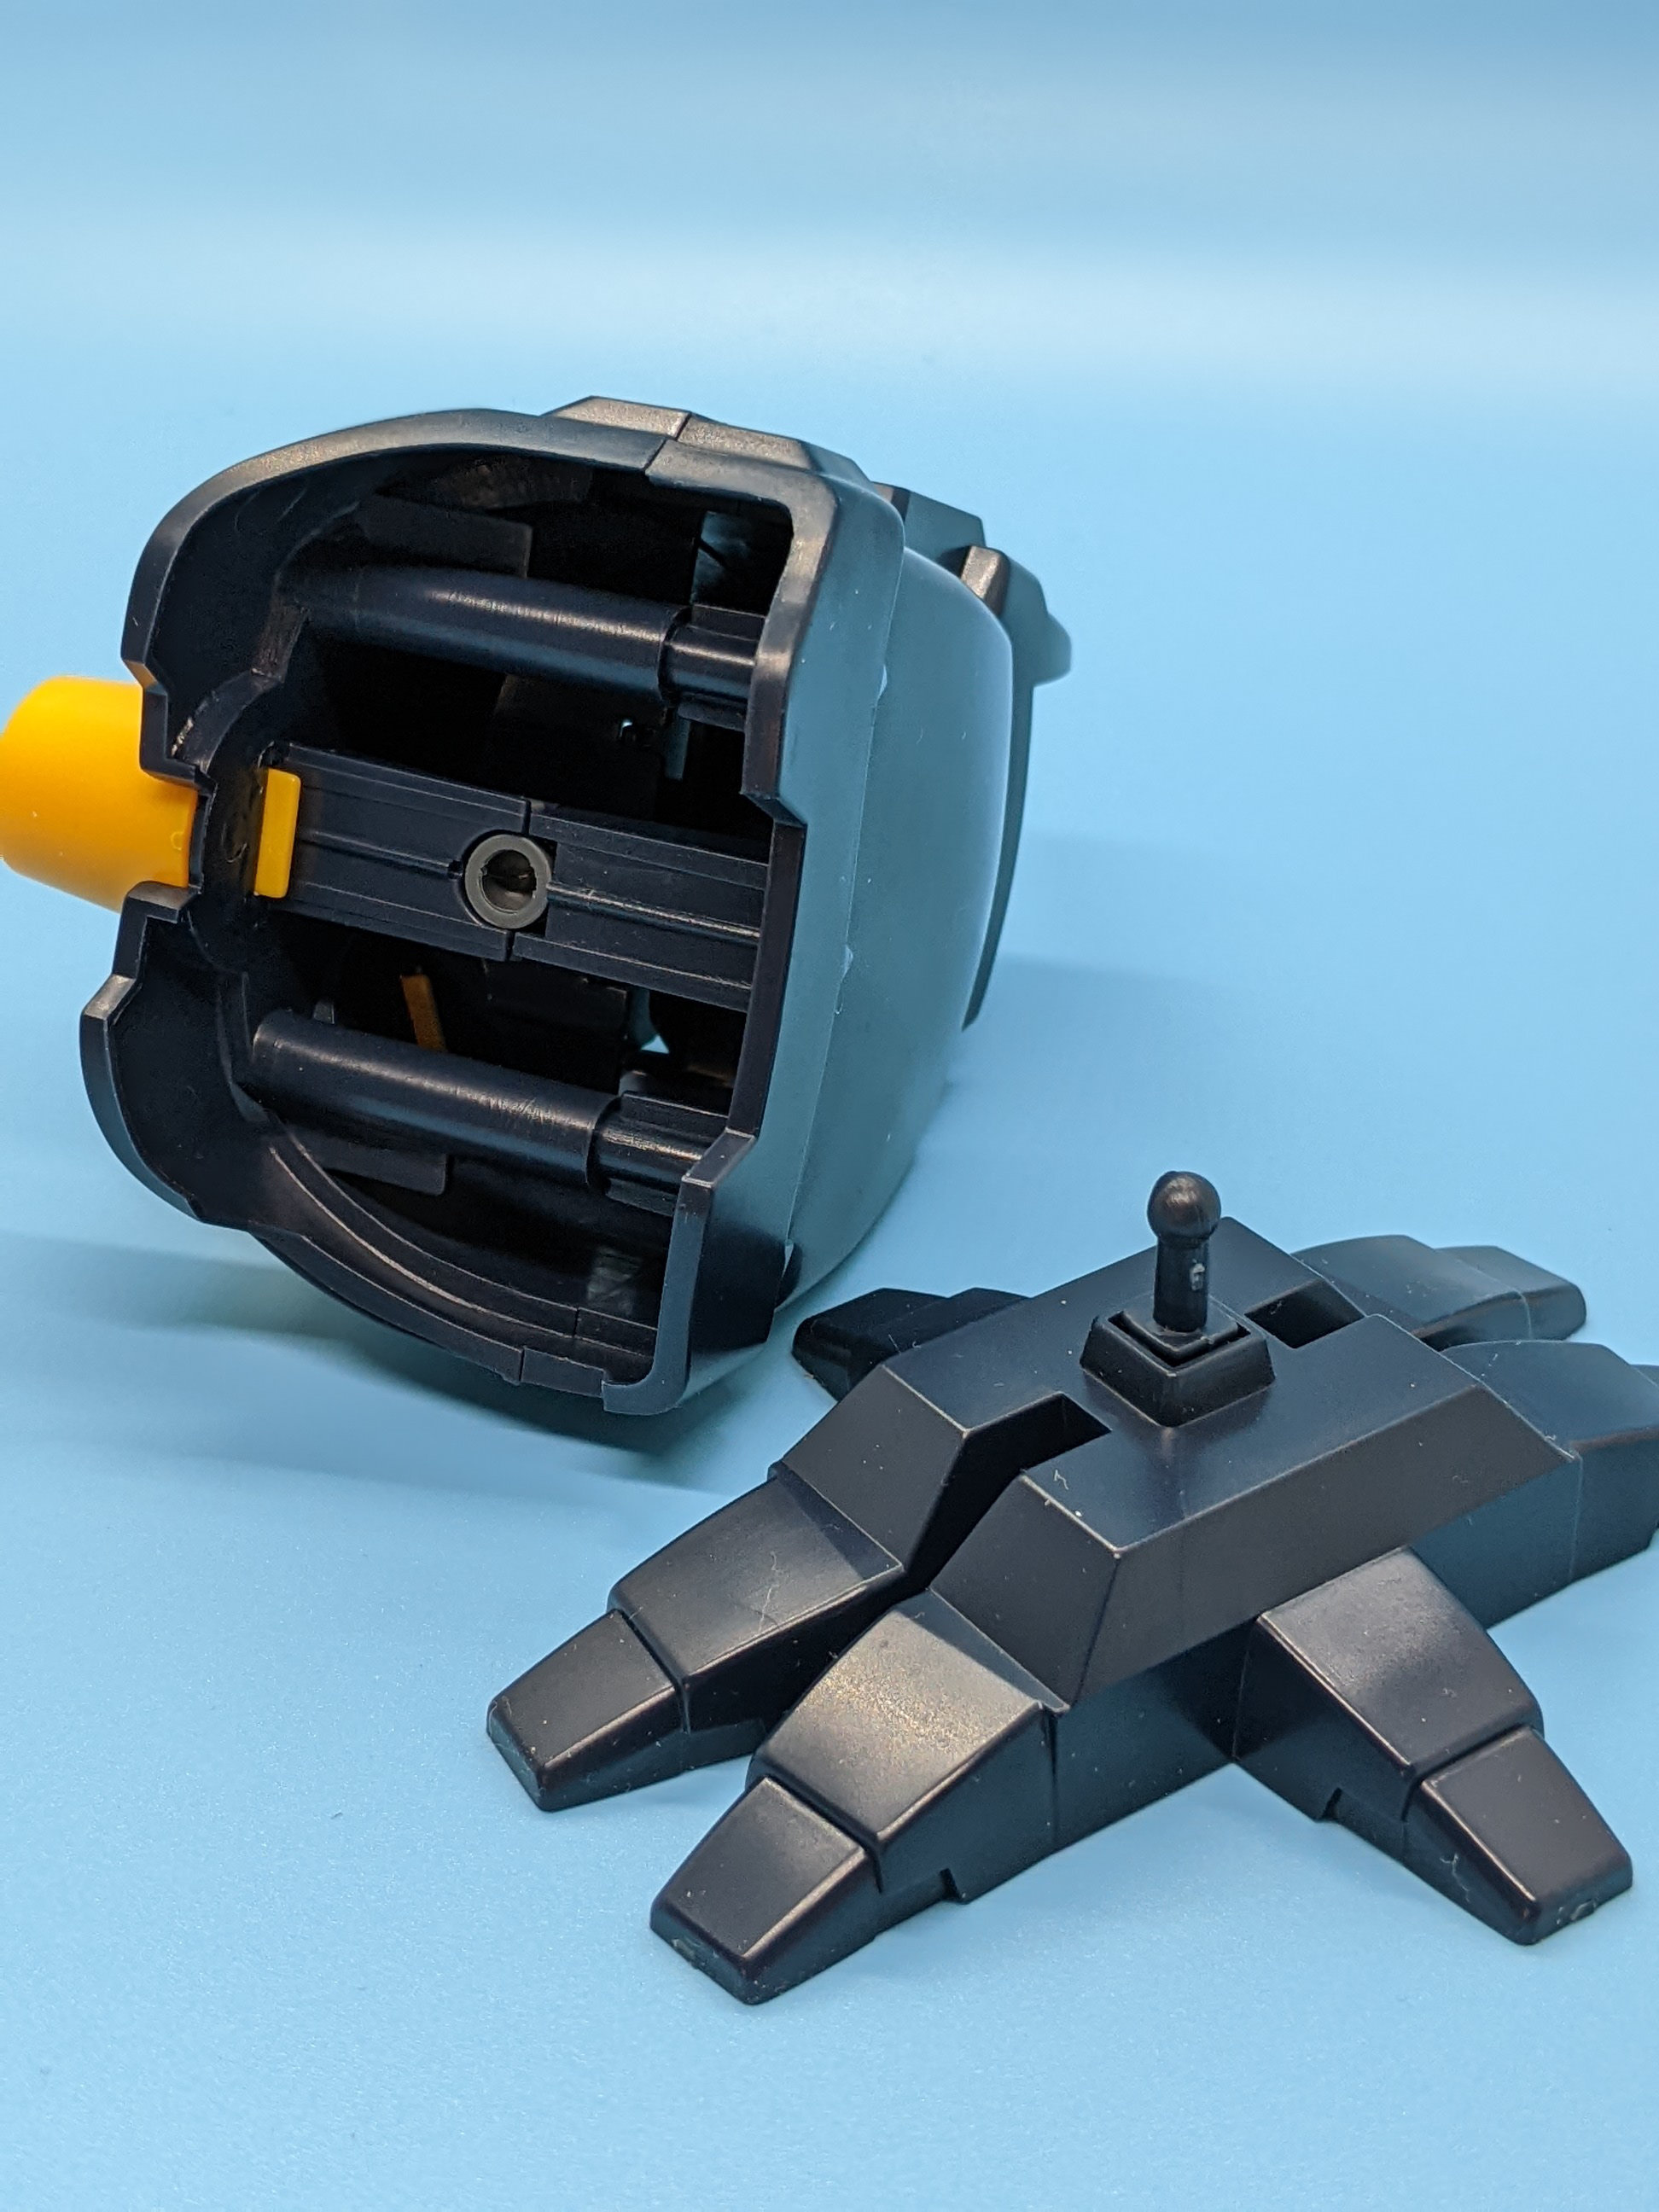
Skirt / 2nd Head
This part is really interesting as it has many layers to it. It provides the transformation gimmick by folding the back of the head outward and letting the legs swing underneath.
The inside of the head is devoid any details, and a really great opportunity to greeble or just flex your scratch building skills. The back of the large V-fins is similarly empty cavities that could be filled in or have additional detail provided; a I also find them to sit a bit high and they could use from having the peg shortened a bit to make it sit more flush with the rest of the crown.
The crown could use some scribing around the gem in the middle to help with masking and let you define more of the separation in the molding.
This is also where the hip joints lie. In their standard configuration, they leave it looking a bit weak due to the fully exposed cenitimeter of exposed peg. Depending on your approach, you could builk out the area around the peg with parts or add on the transformation face plate to cover it up a bit more though that will require some additional modifications as it's designed for Mobile Armor mode.
Legs & Feet
This is the part of the build where I worry I'm about to bite off way too much. The leg is quite literally Leg and Foot. That's it.
The thigh and knee are molded into the entirety of the leg in this perpetual squatting pose, likely due to the sheer weight of the unit. I've seen builders chop this up to make it into something poseable. Your mileage may vary of course as this will involve a lot of technical skills, but the payoff is worth it.
Even if you don't modify the legs for posing, the vents on the legs could do with more fins inside to help define it a bit more as it is also the sides of the Gundam head when transformed.
As for the feet, a similar predicament where it has been molded as one solid piece. If you wish to make it more articulate, you could chop them off and reattach with some sort of hinge mechanism to make the Mobile Armor mode more accurate. You could also just add a plate and other details to fill in the underside - this all depends on how you plan to pose it.
Final Thoughts
This is an older design of a unique mechanic from a stand out in the Gundam metaseries. Personally, it is one of my favorites so I'm quite biased.
If you're into G Gundam and want to complete your set of model kits, or you just really dig the build and want to embrace the canvas it provides, give this kit a shot.
If you're looking for something more modern with cool gimmicks, this is not going to be the kit for you.
It's the only first party option we have at this time (not counting the SD release), and you may be able hunt down a copy of the B-Club expansion kit for the claws that come off the shoulders to make your build even more special.
If you do want to have a Devil Gundam in your collection, but don't want to build this - there is a 3rd party kit being produced by K-17 Academy (post via GundammIT) at the time of writing this review and it looks quite nice and comes in many sizes.
Though with my luck Bandai will finally release a whole new tooling by the time I finish my own custom and you can be certain I'll pick it up as well.
Happy Building!