A while back I had an idea to do a build that went in the opposite direction of what I feel is often the focus of scale modeling. Typically, the model is designed to be a “realistic” representation, be the object set in fiction or reality. Based off this thought, I began musing about what one could do to make a scale model look more toy-like. A few things came to mind such as simplifying surfaces, maybe making things more round or soften hard edges, and even go as far to make a seam line much more apparent like how many toys are.
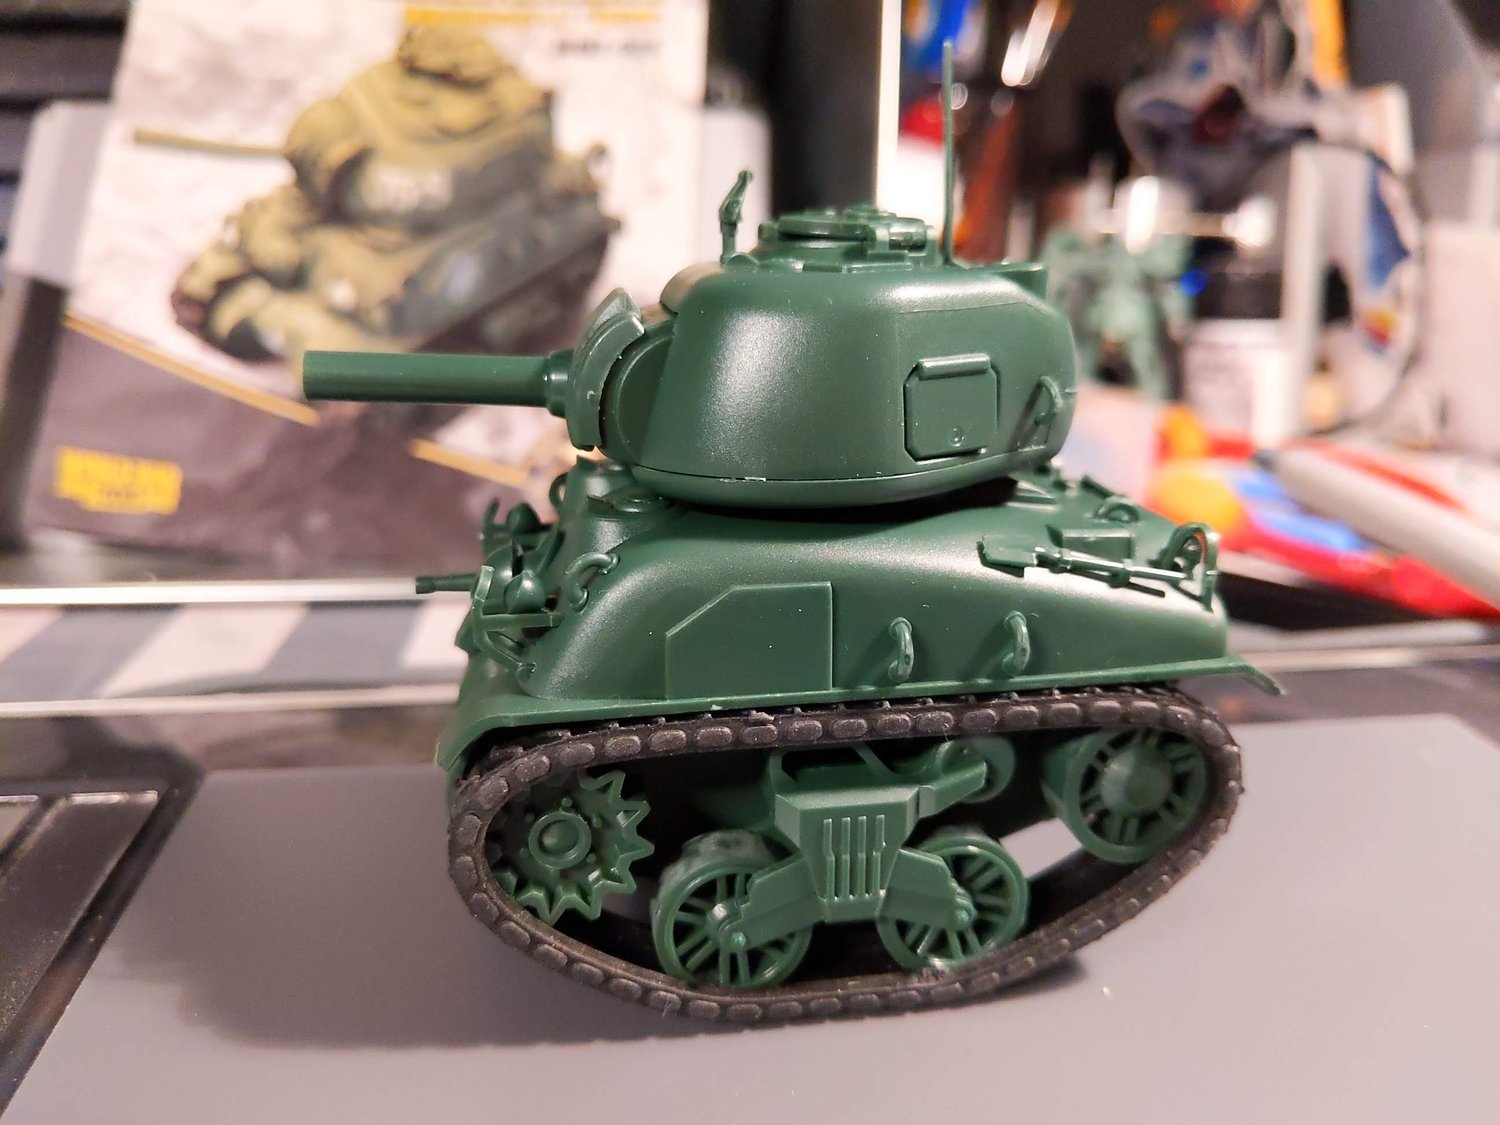
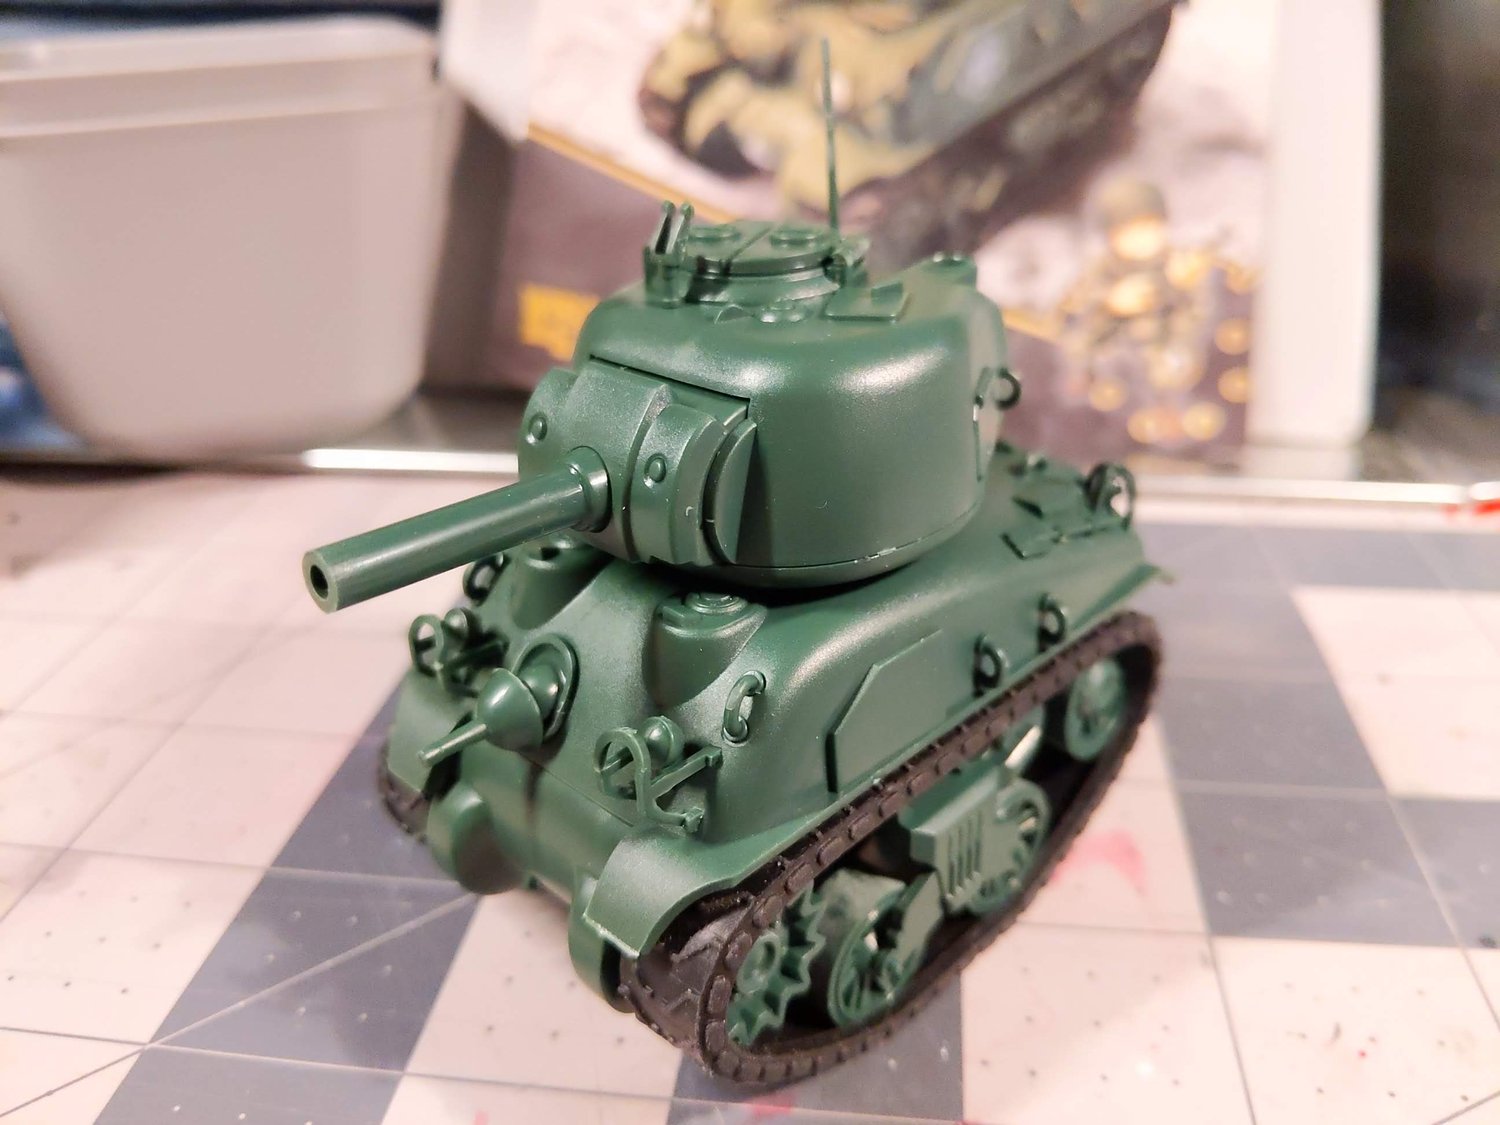
I kept this idea on the backburner for a while, until Cerulean Project 3 was announced to have an orange theme. The gears got turning again and I opted to break out a MENG World War Toons kit I had in my backlog. It was already part way to the goal of making a build more toy-like given the super distorted proportions.
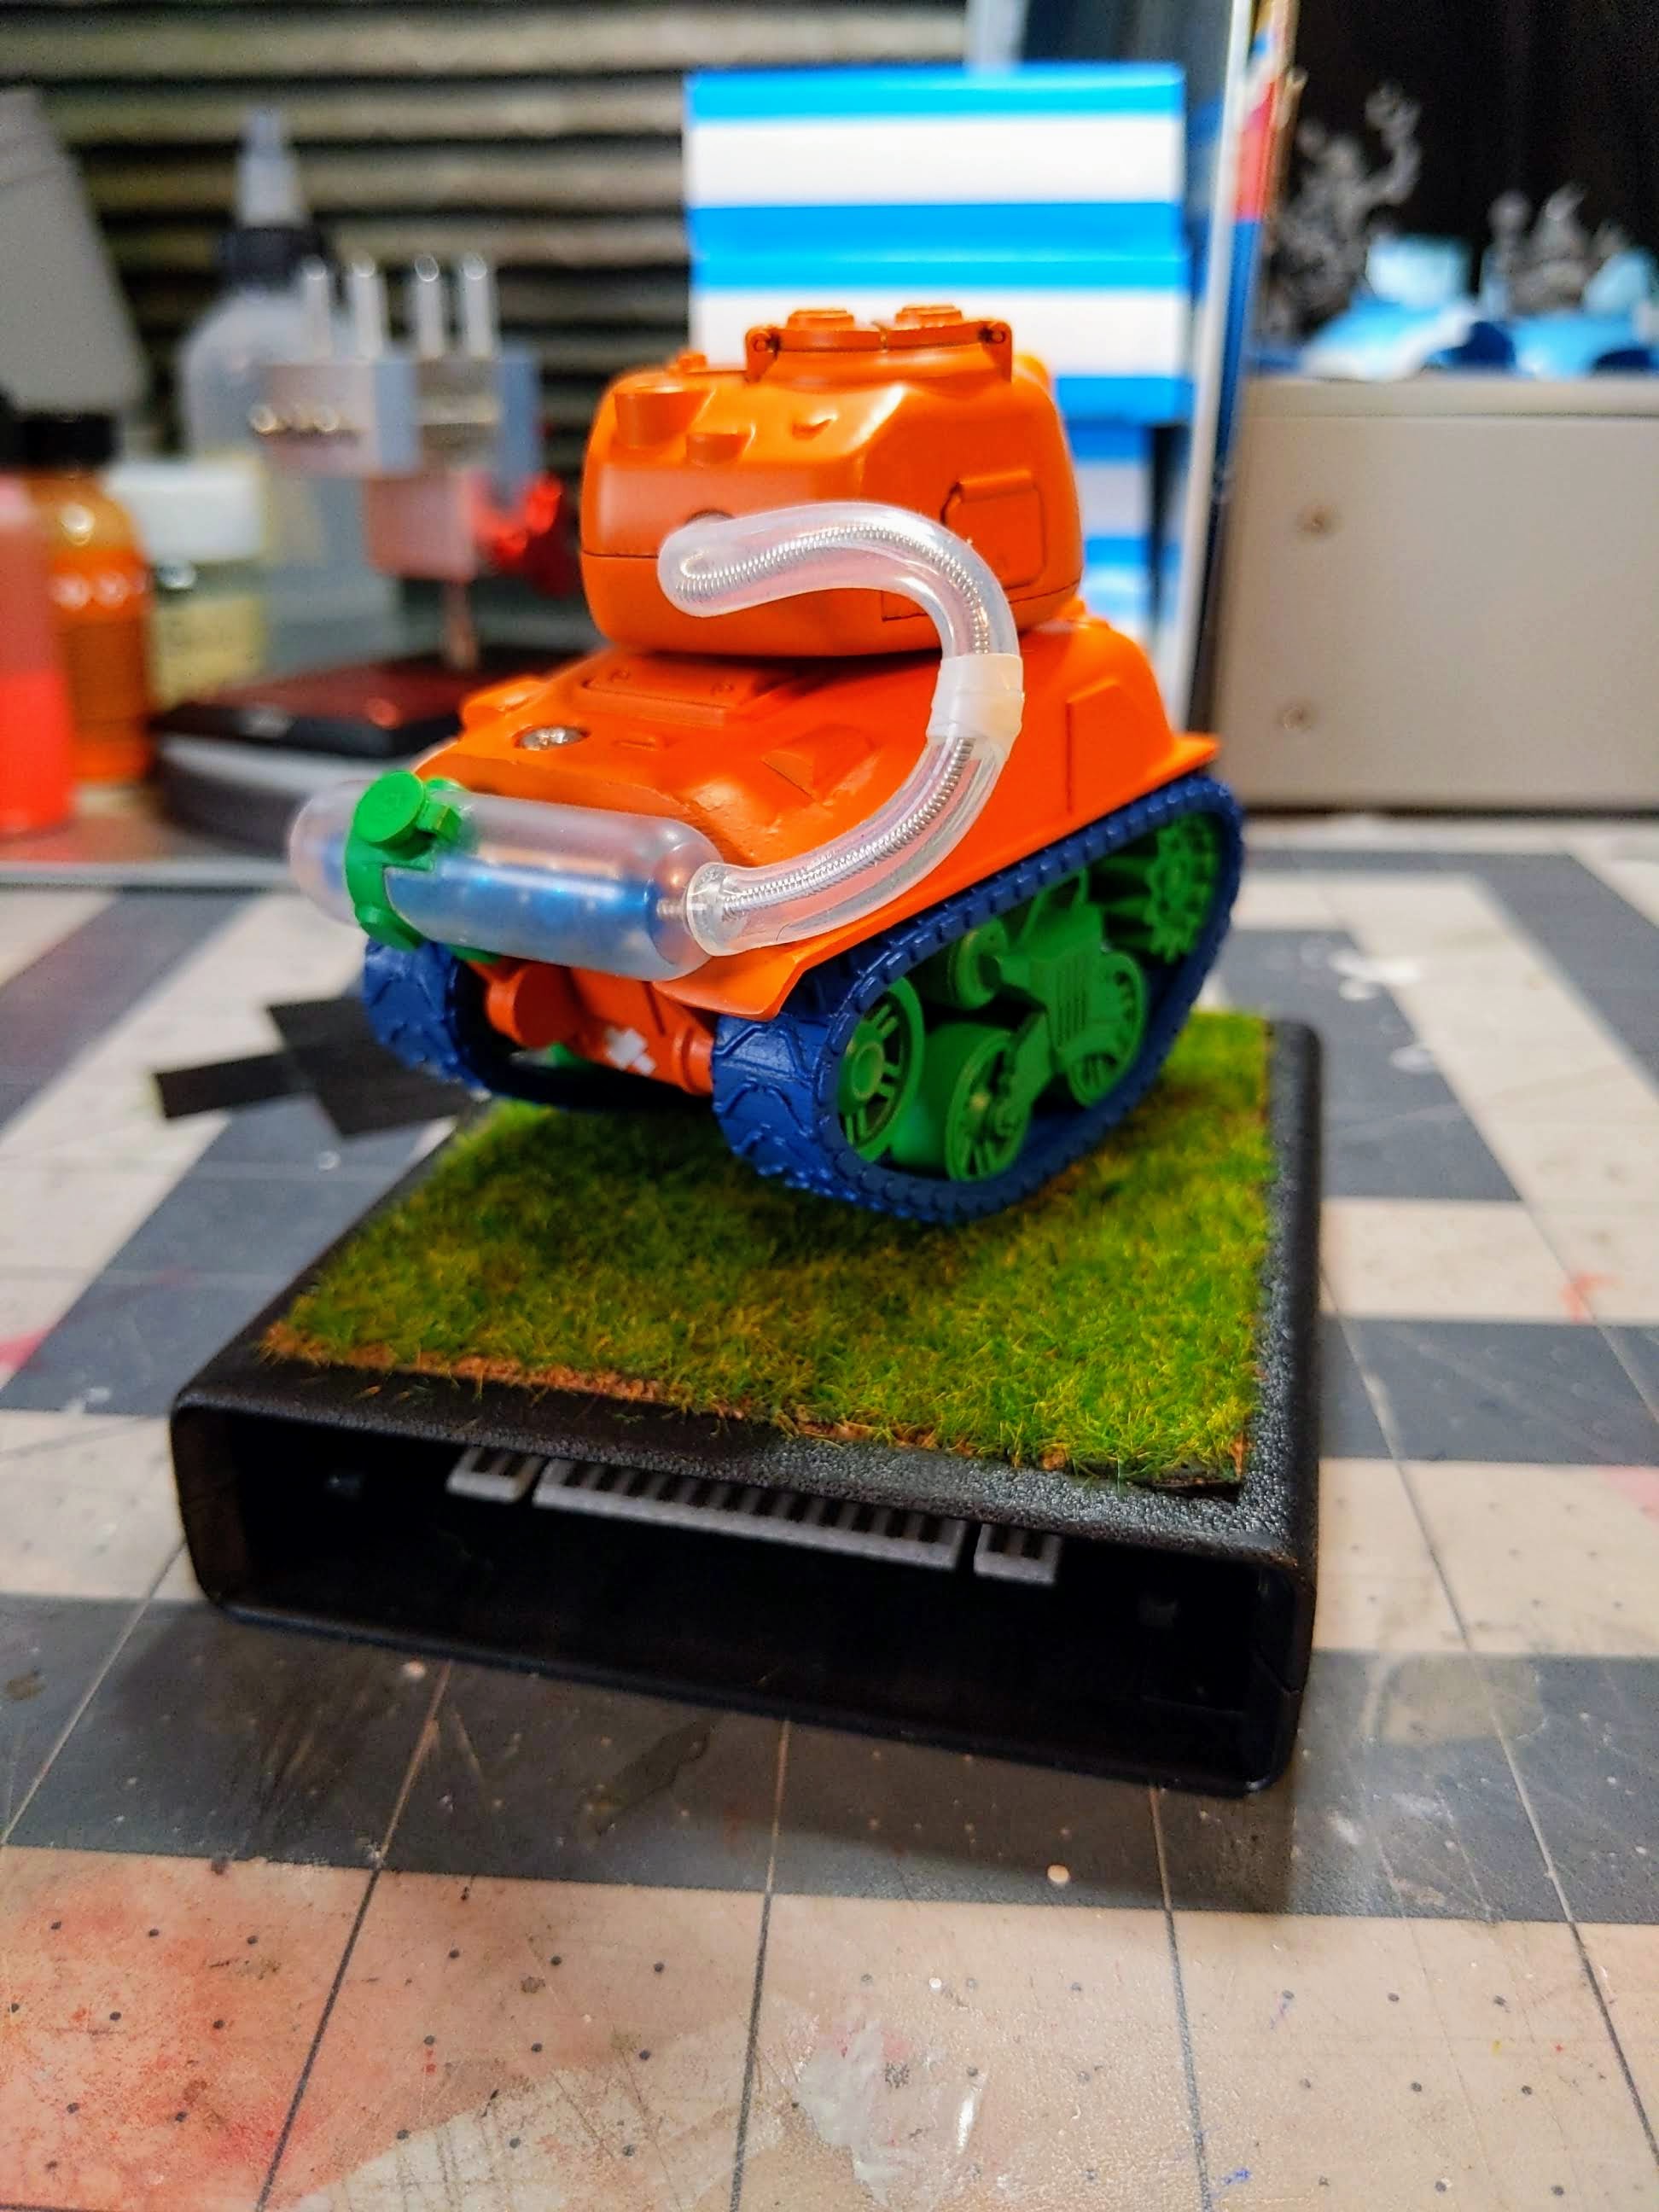
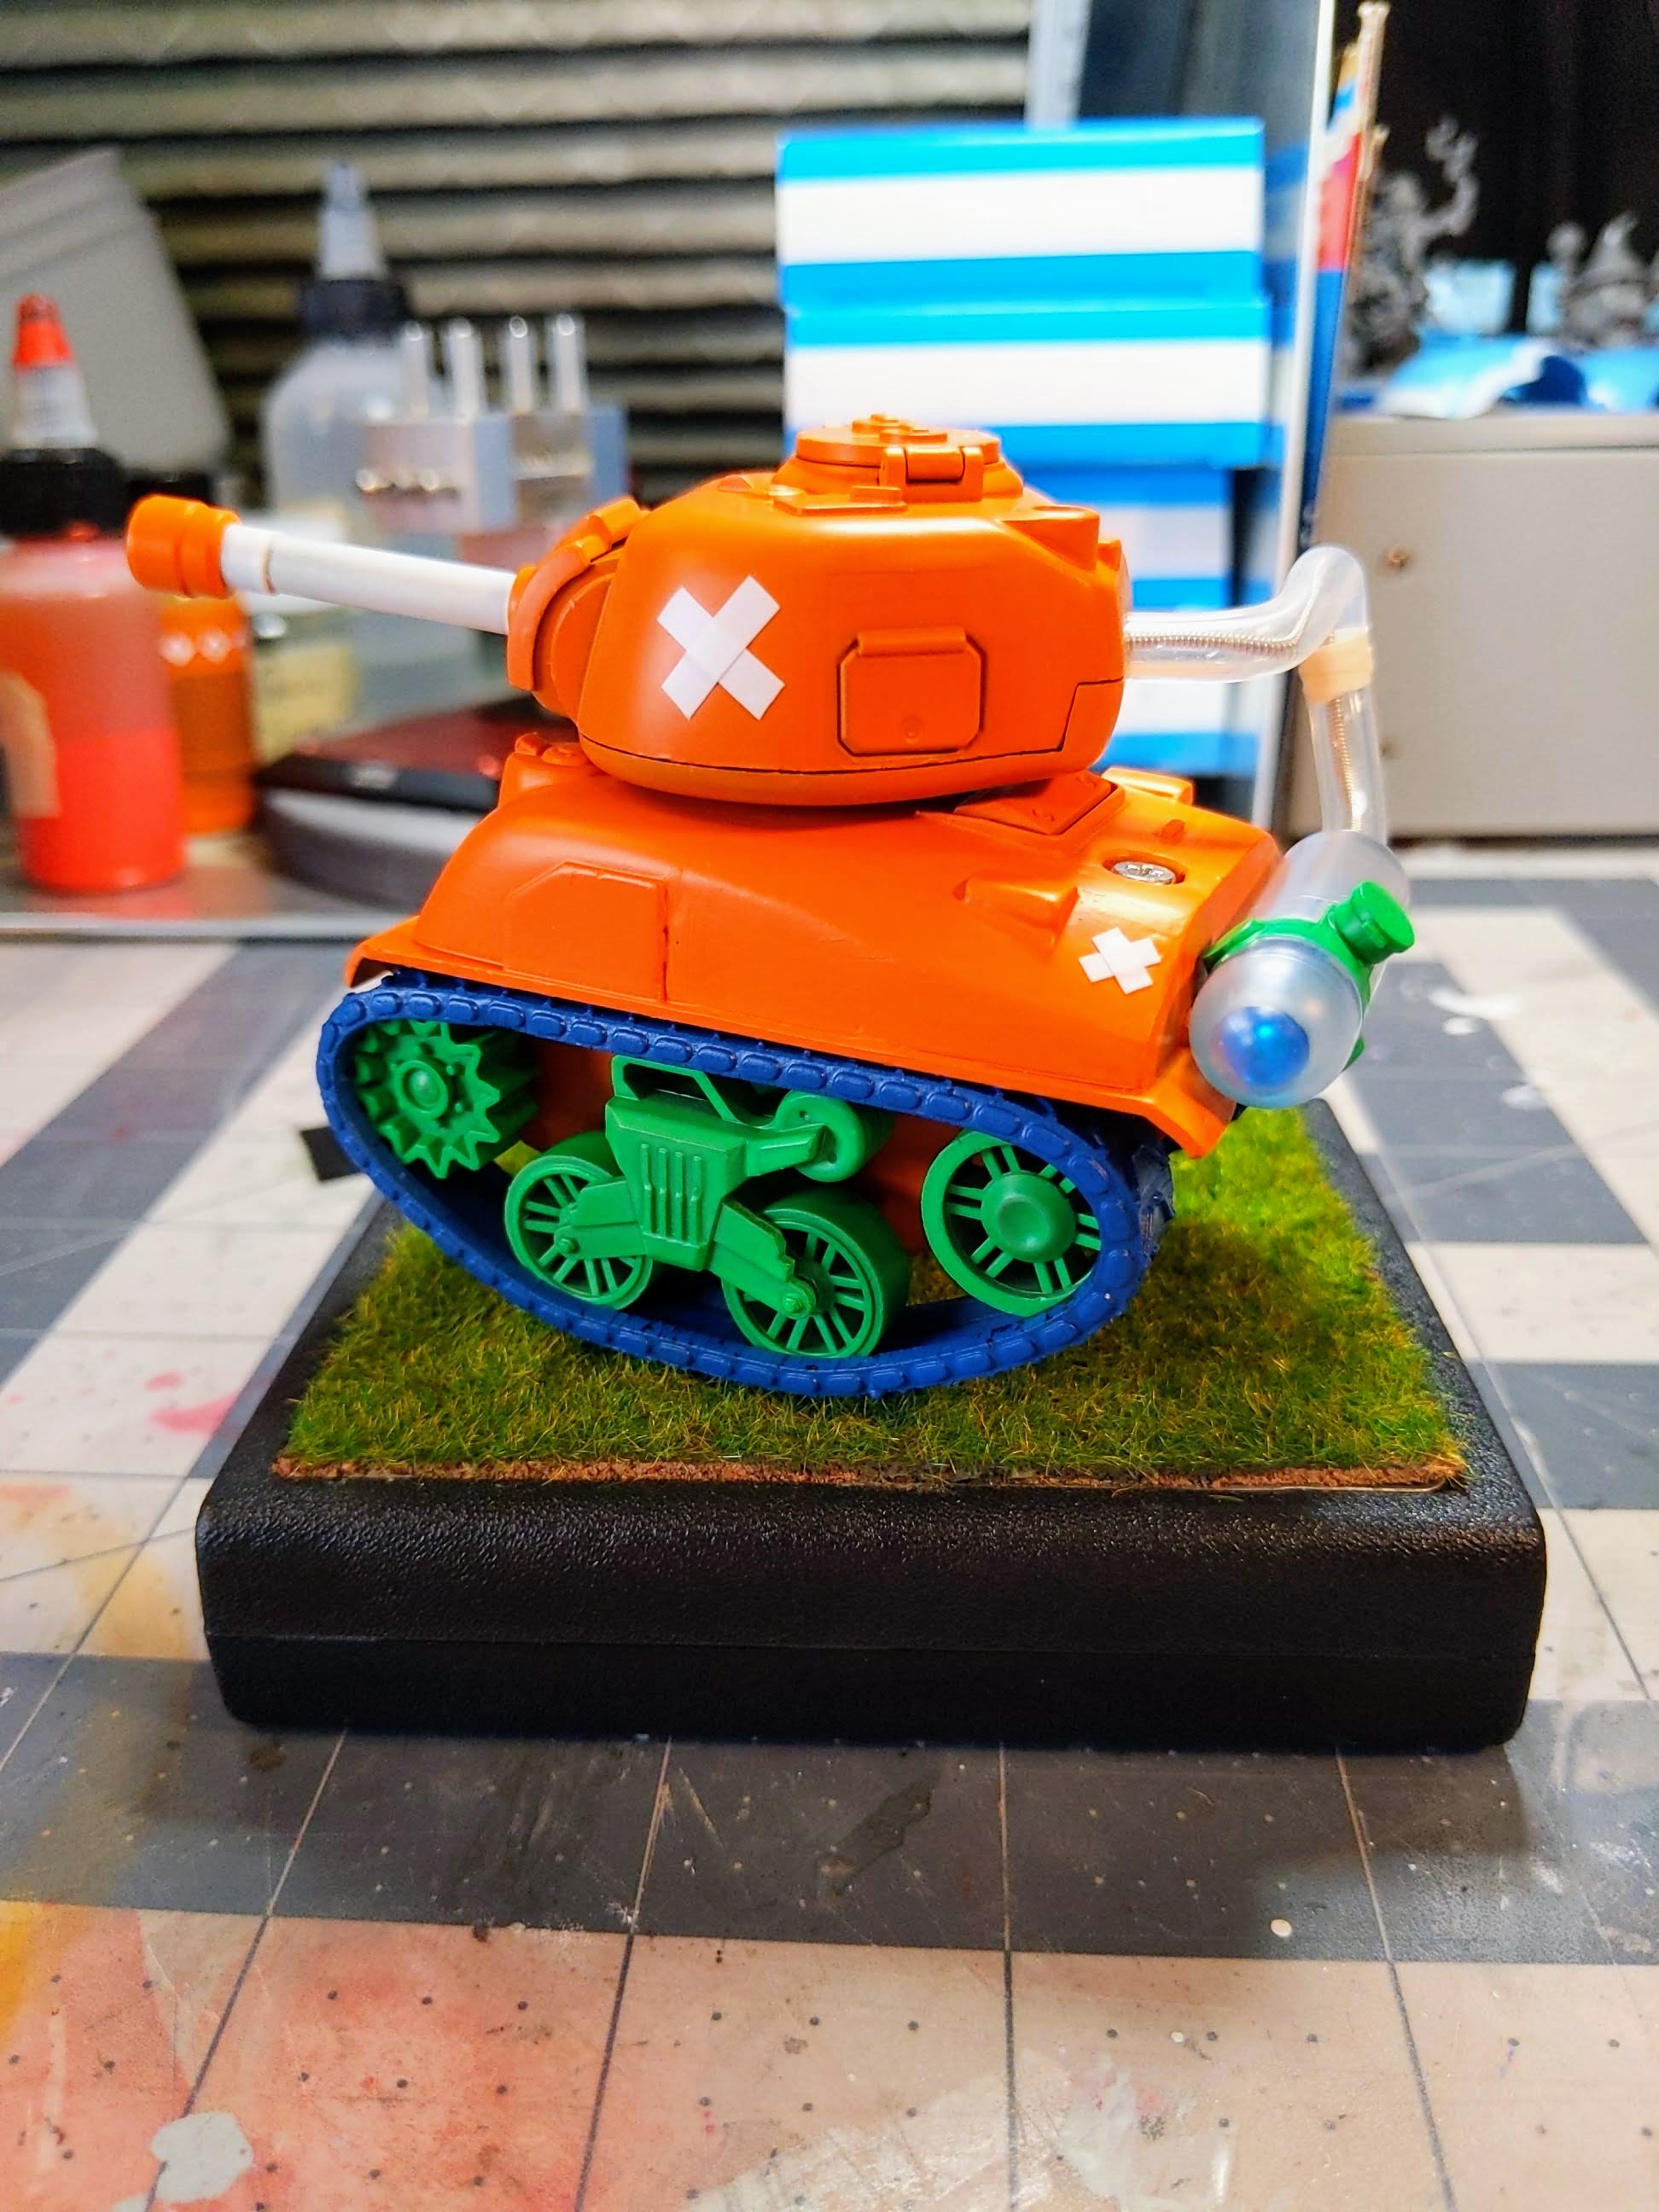
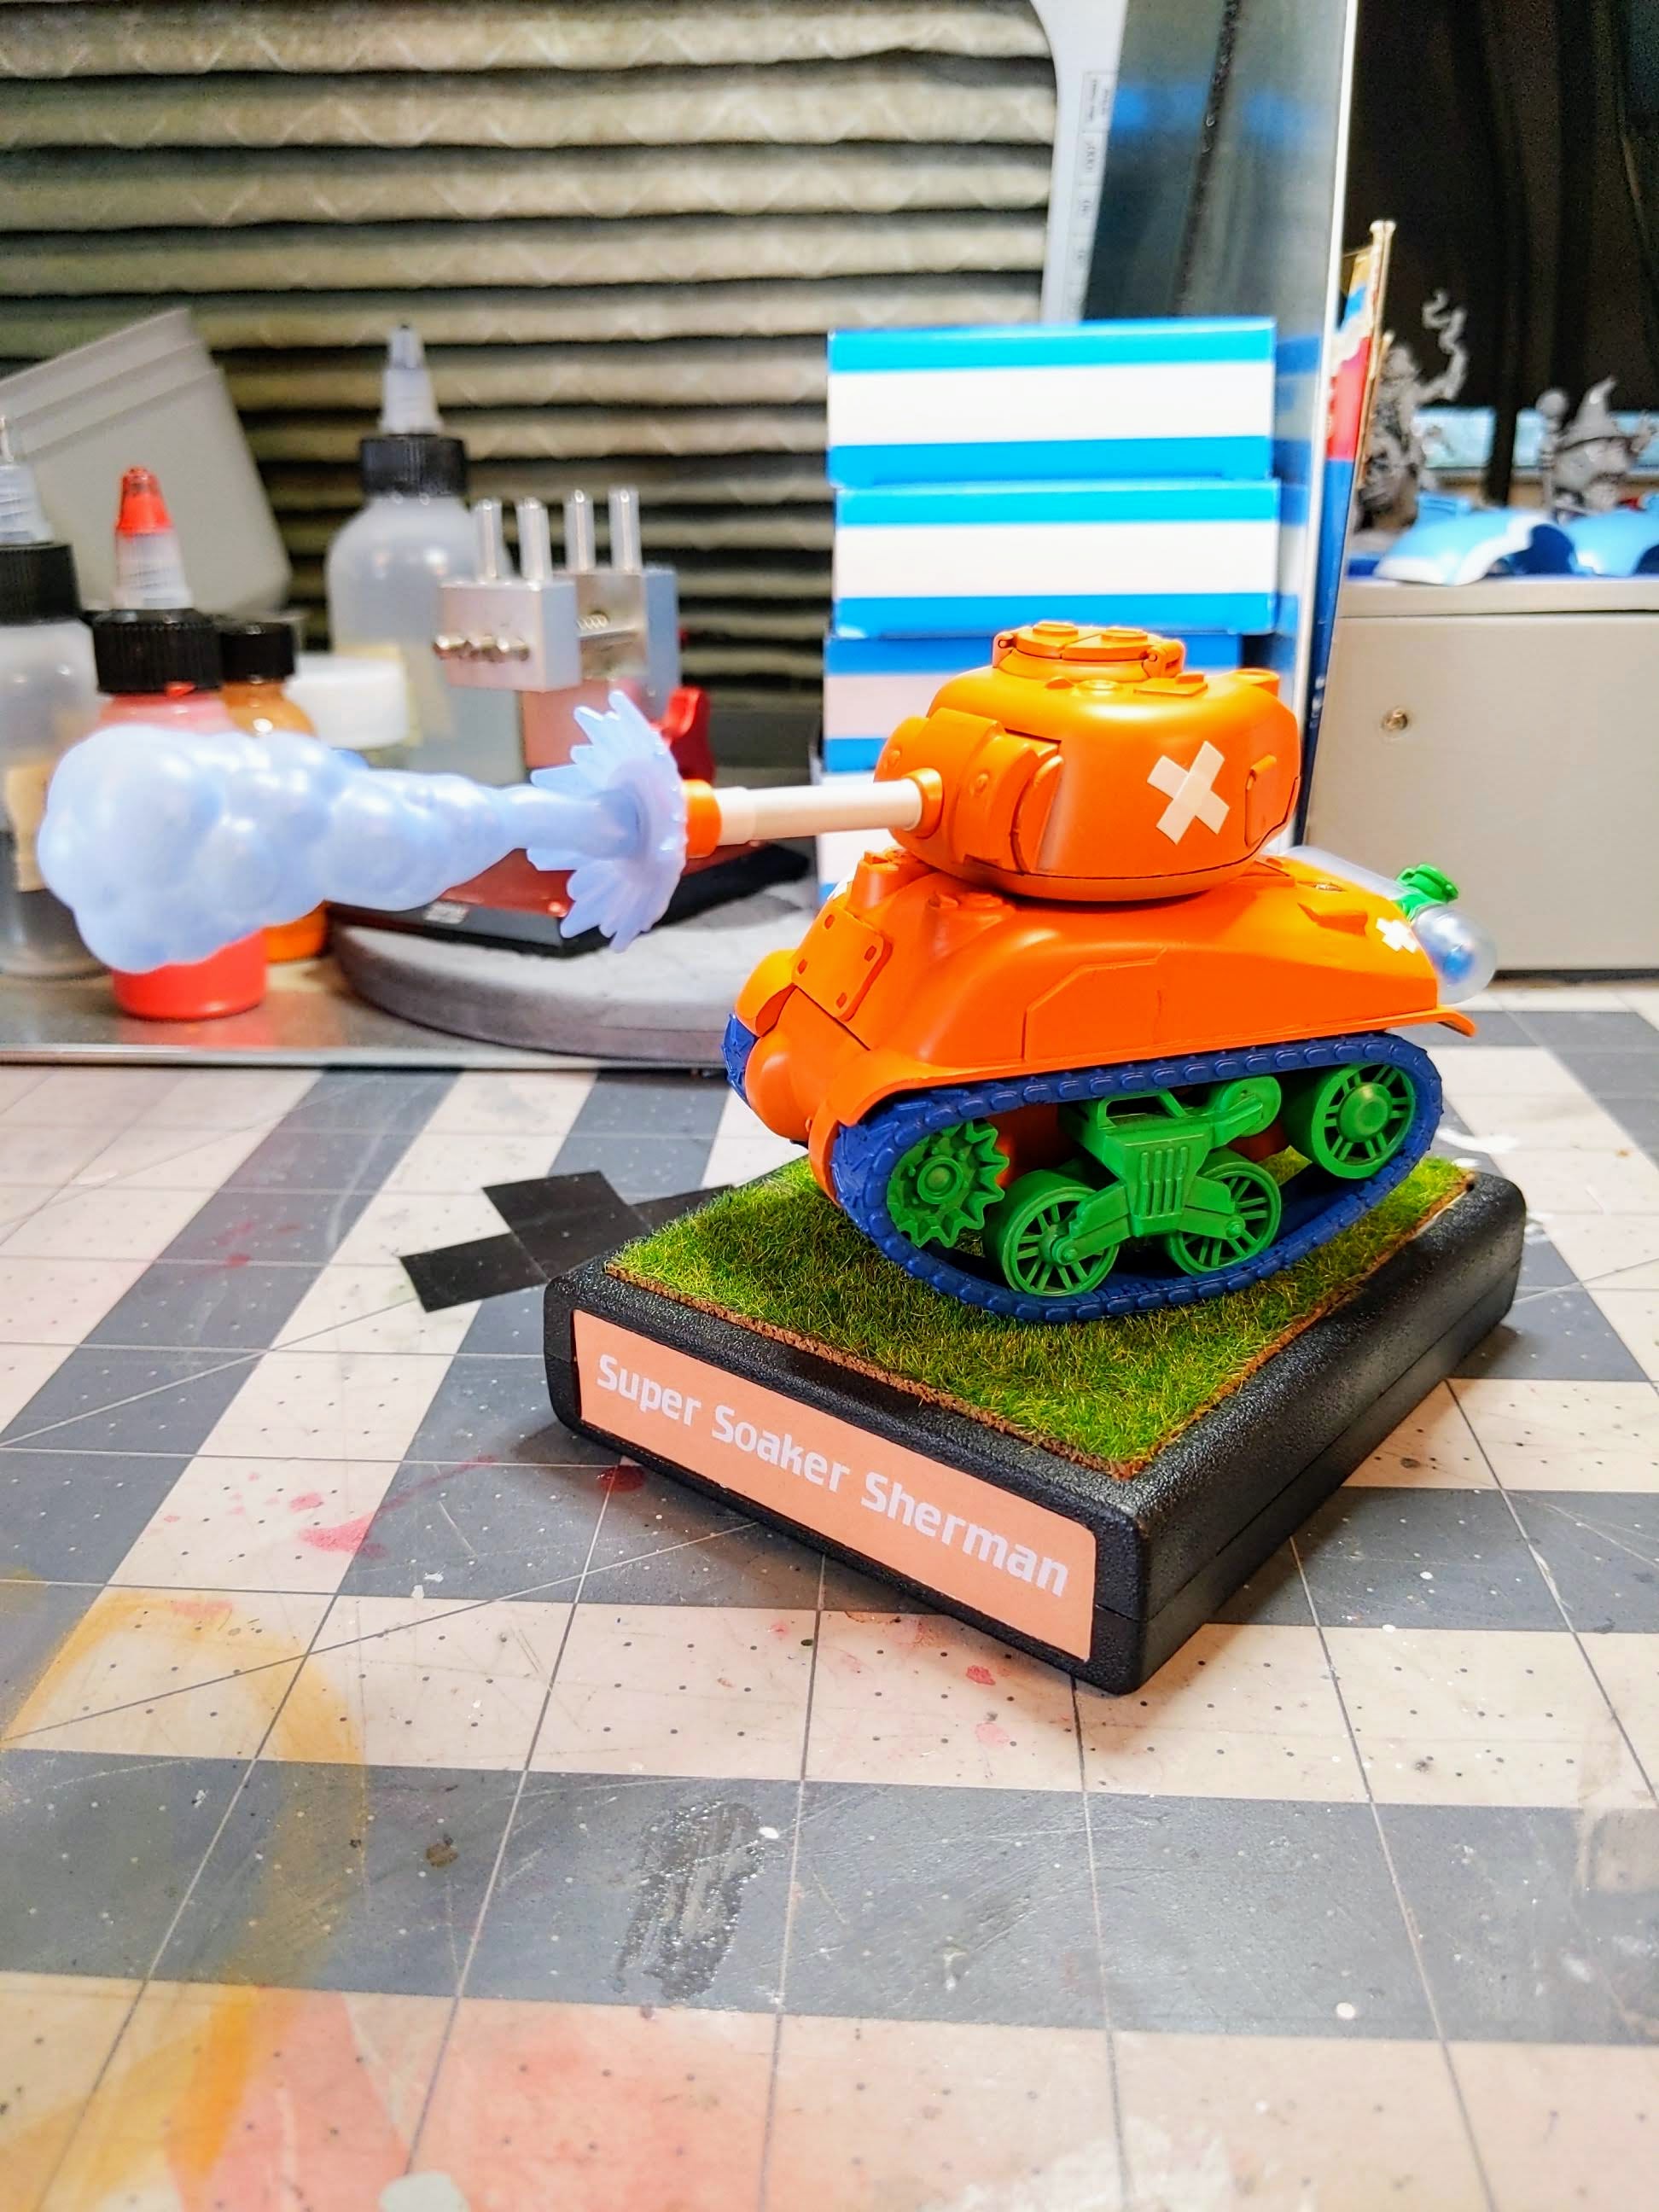
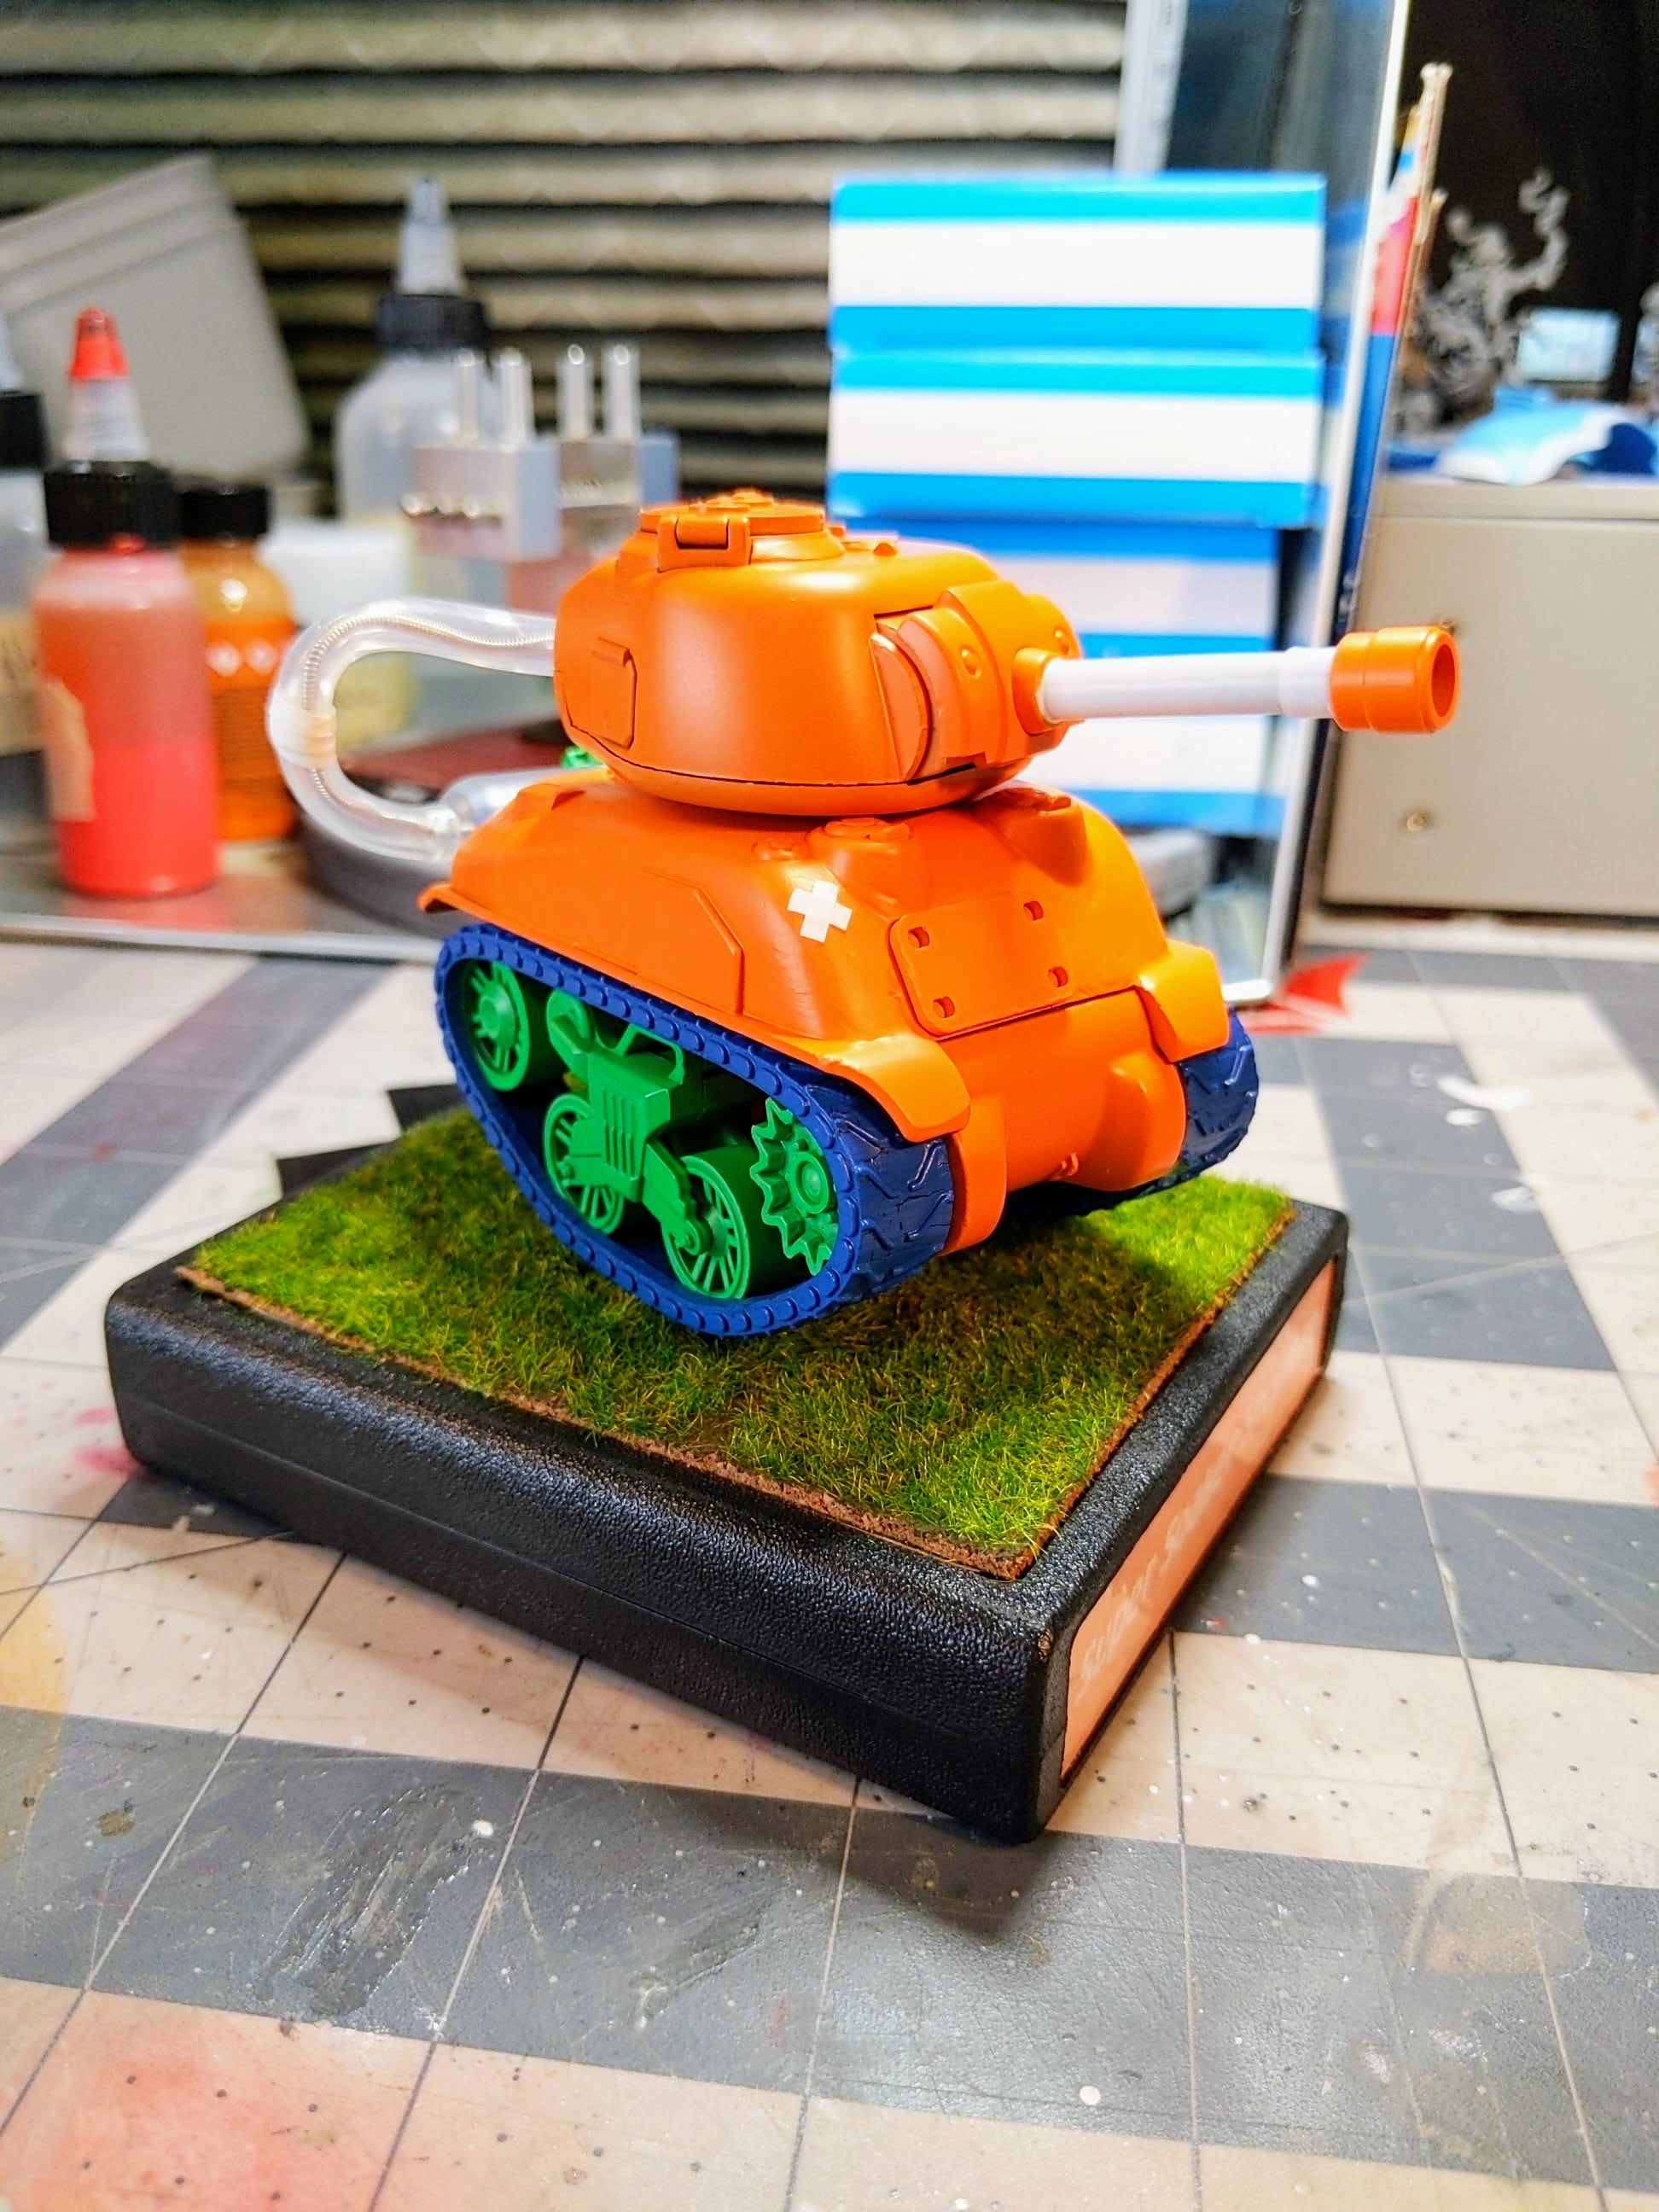
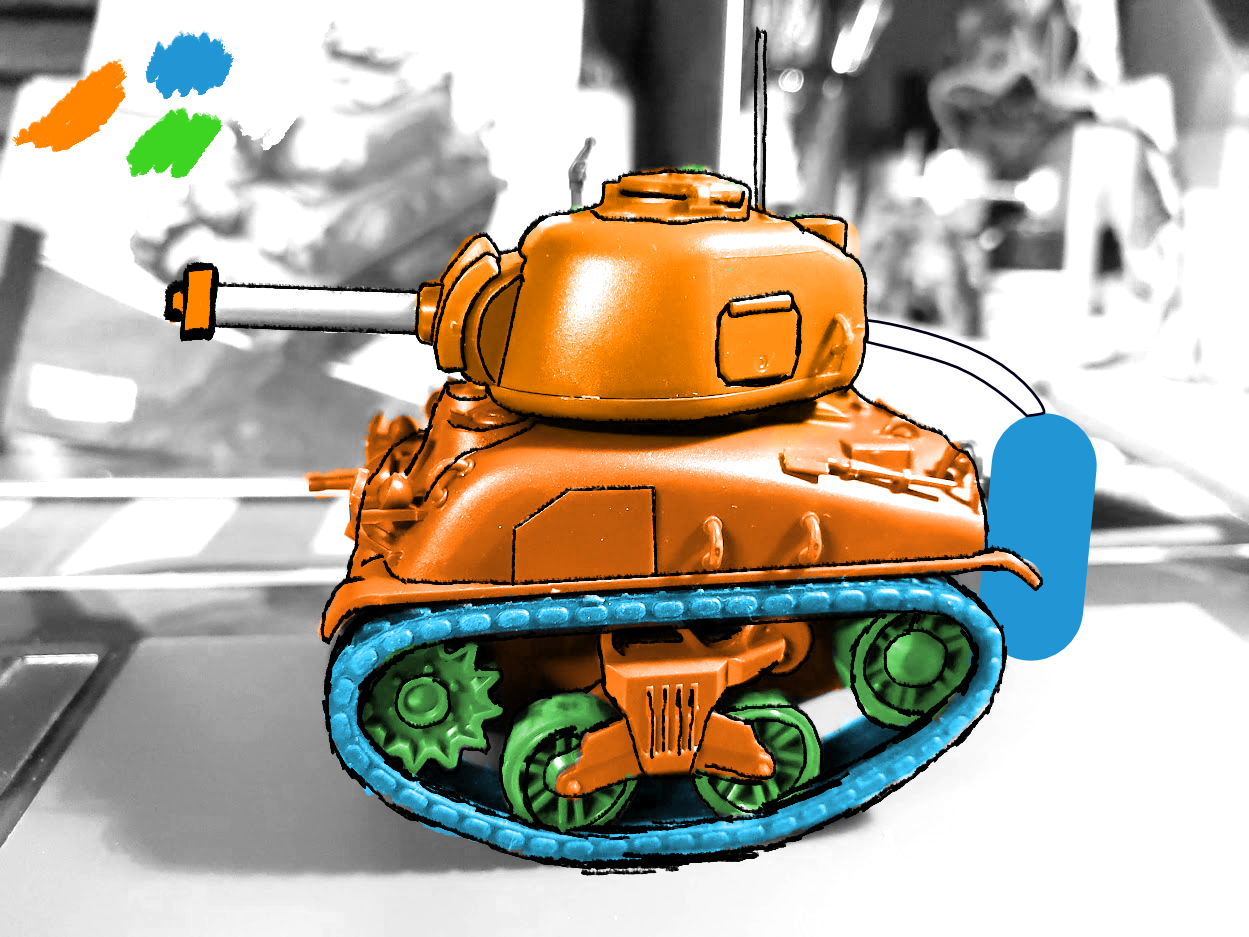
Now that I had my starting point, I needed to take it further. Inspired by the orange color theme, I opted to make that the focal point. The toys I remember growing up with vibrant orange schemes were water toys, specifically the Super Soaker.
This gave me a chance to try out some unique color schemes I normally would never have touched. I settled on trying to incorporate a vibrant blue and neon green in somehow.
For paints, I tried to keep the list short since it was meant to look simple. I used the following:
One thing of note I wish I realized after, yellow would have made a great base coat when it came to the Orange and Neon Green paint layers as I had some difficulty with coverage on the Neon Green over white, and the orange would have popped a bit more.
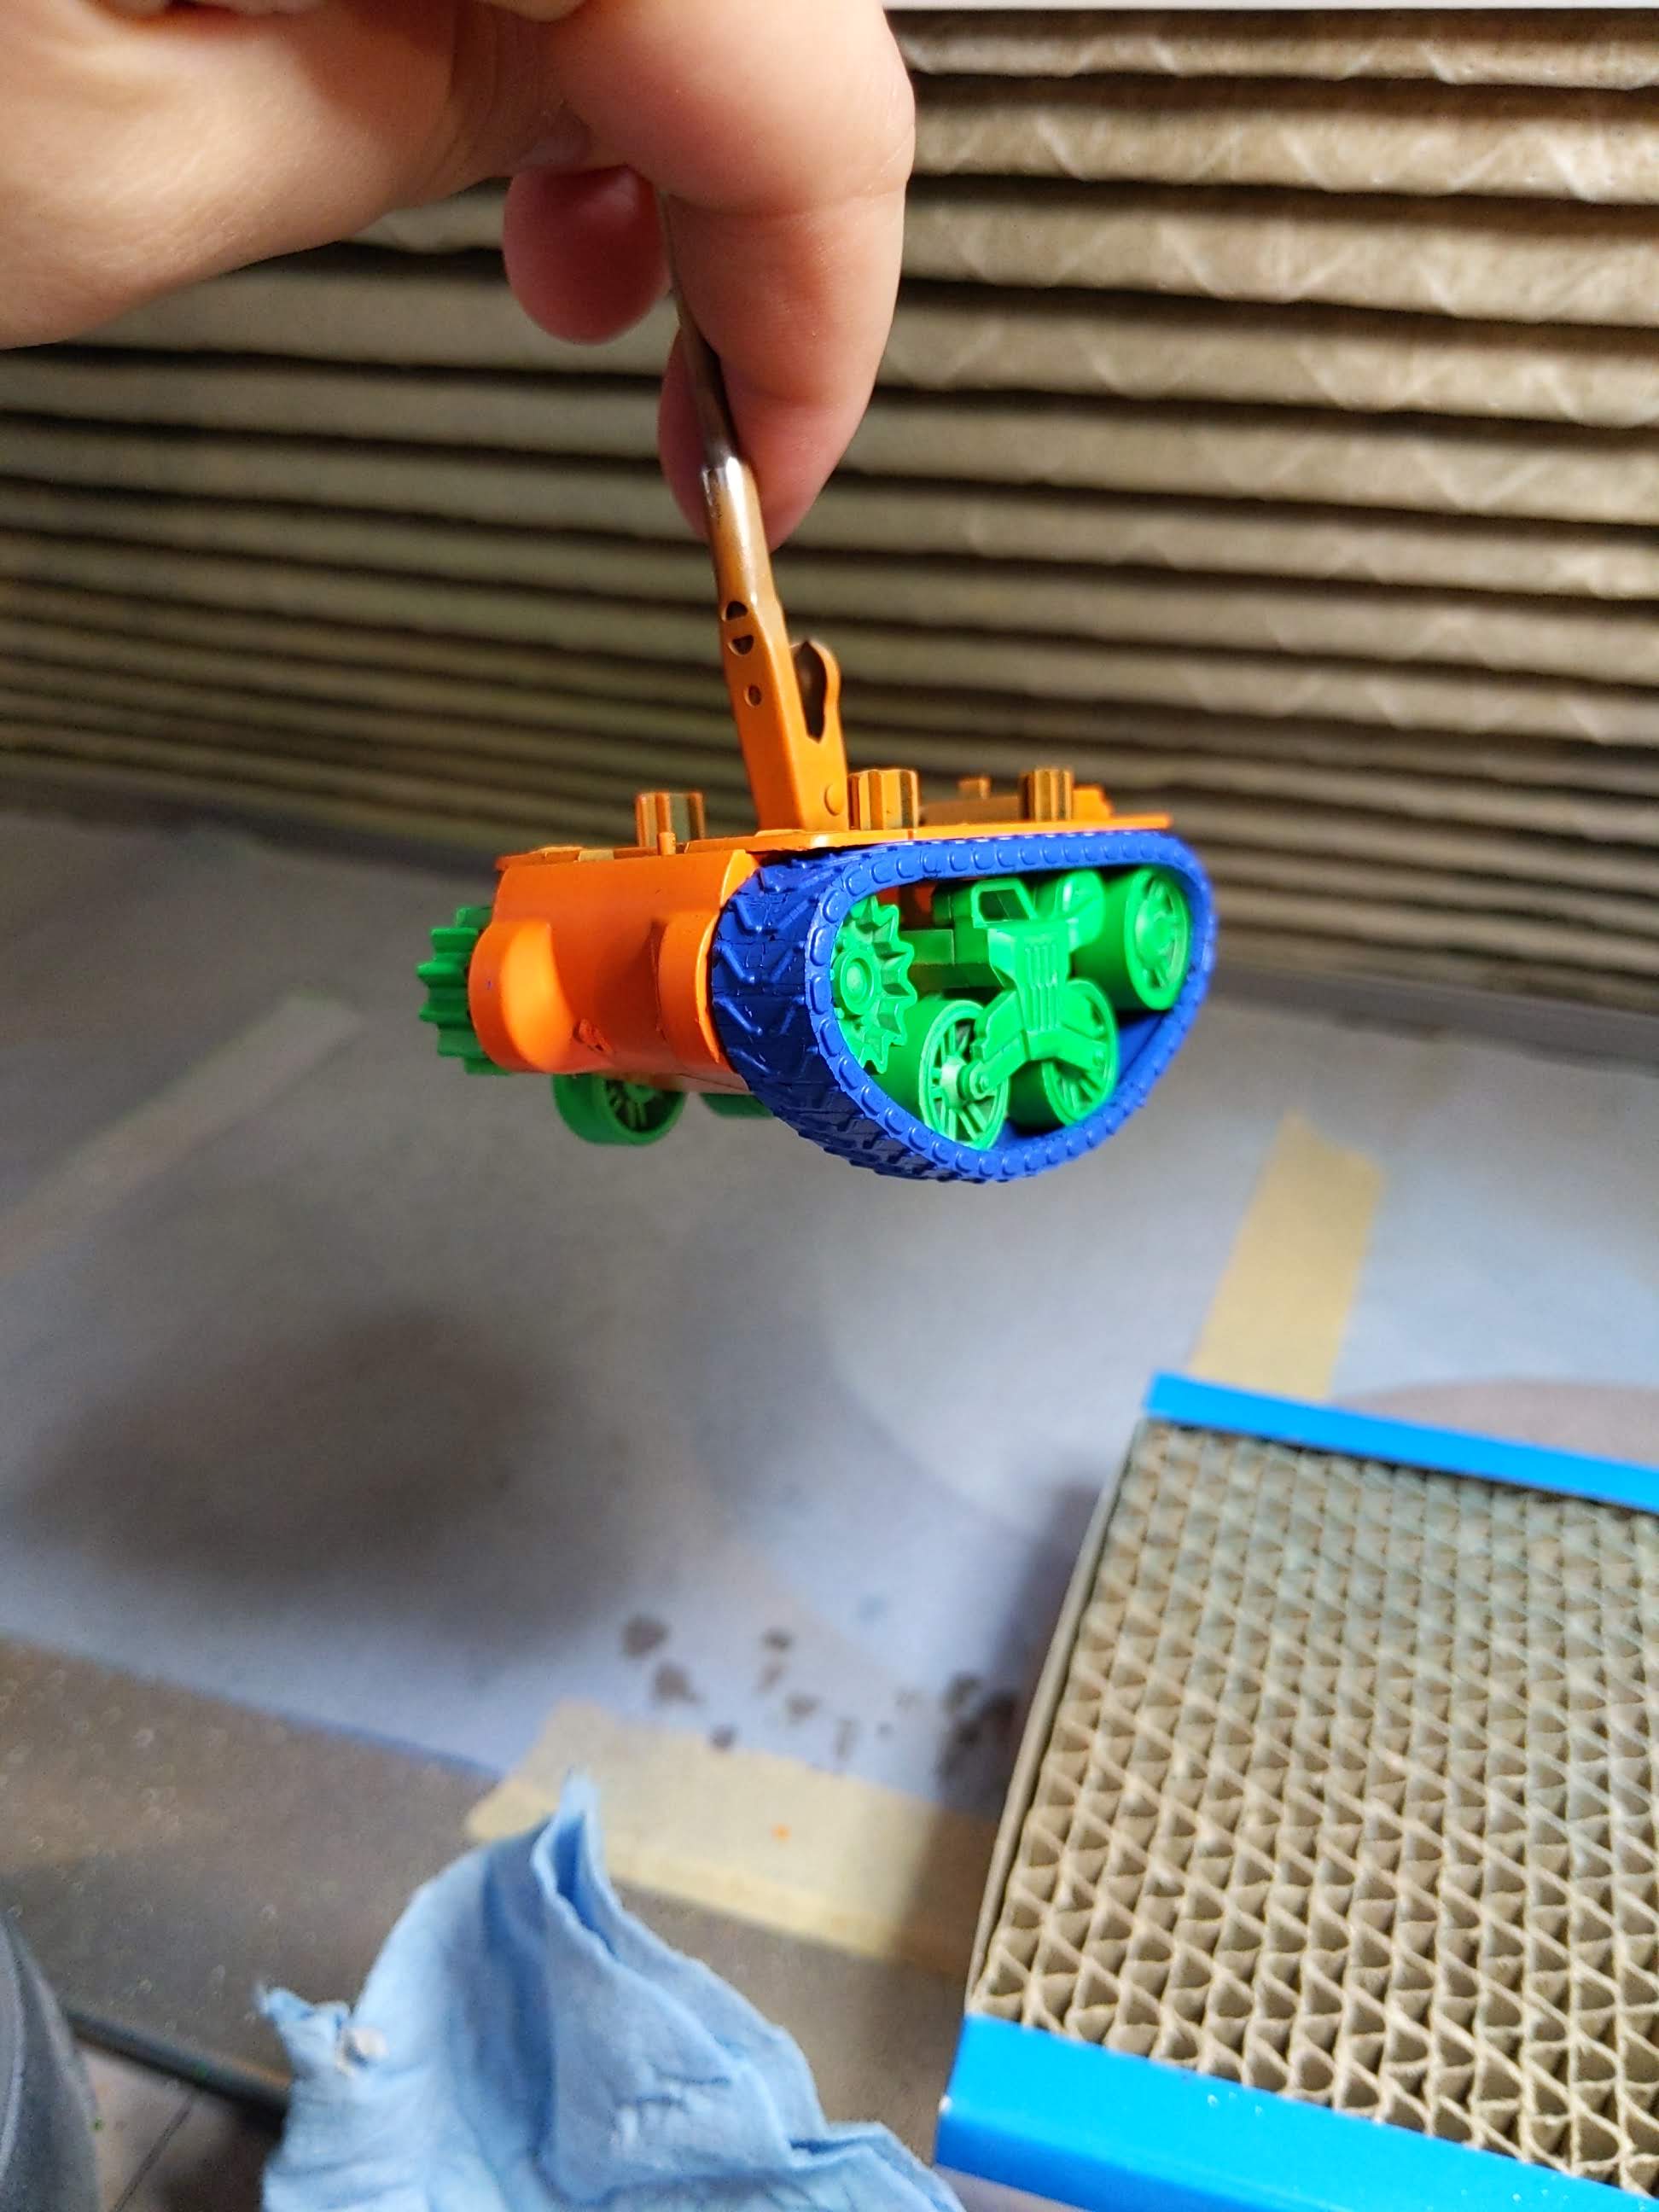
To paint the running track, I needed to employ a special preparation method which sort of worked - you just cannot bend it too much without risking cracking the paint layer. I made use of the Tamiya Primer for Nylon & Polypropylene. I am unsure of what material was used for the tracks but this seemed to at least allow paint adhesion.
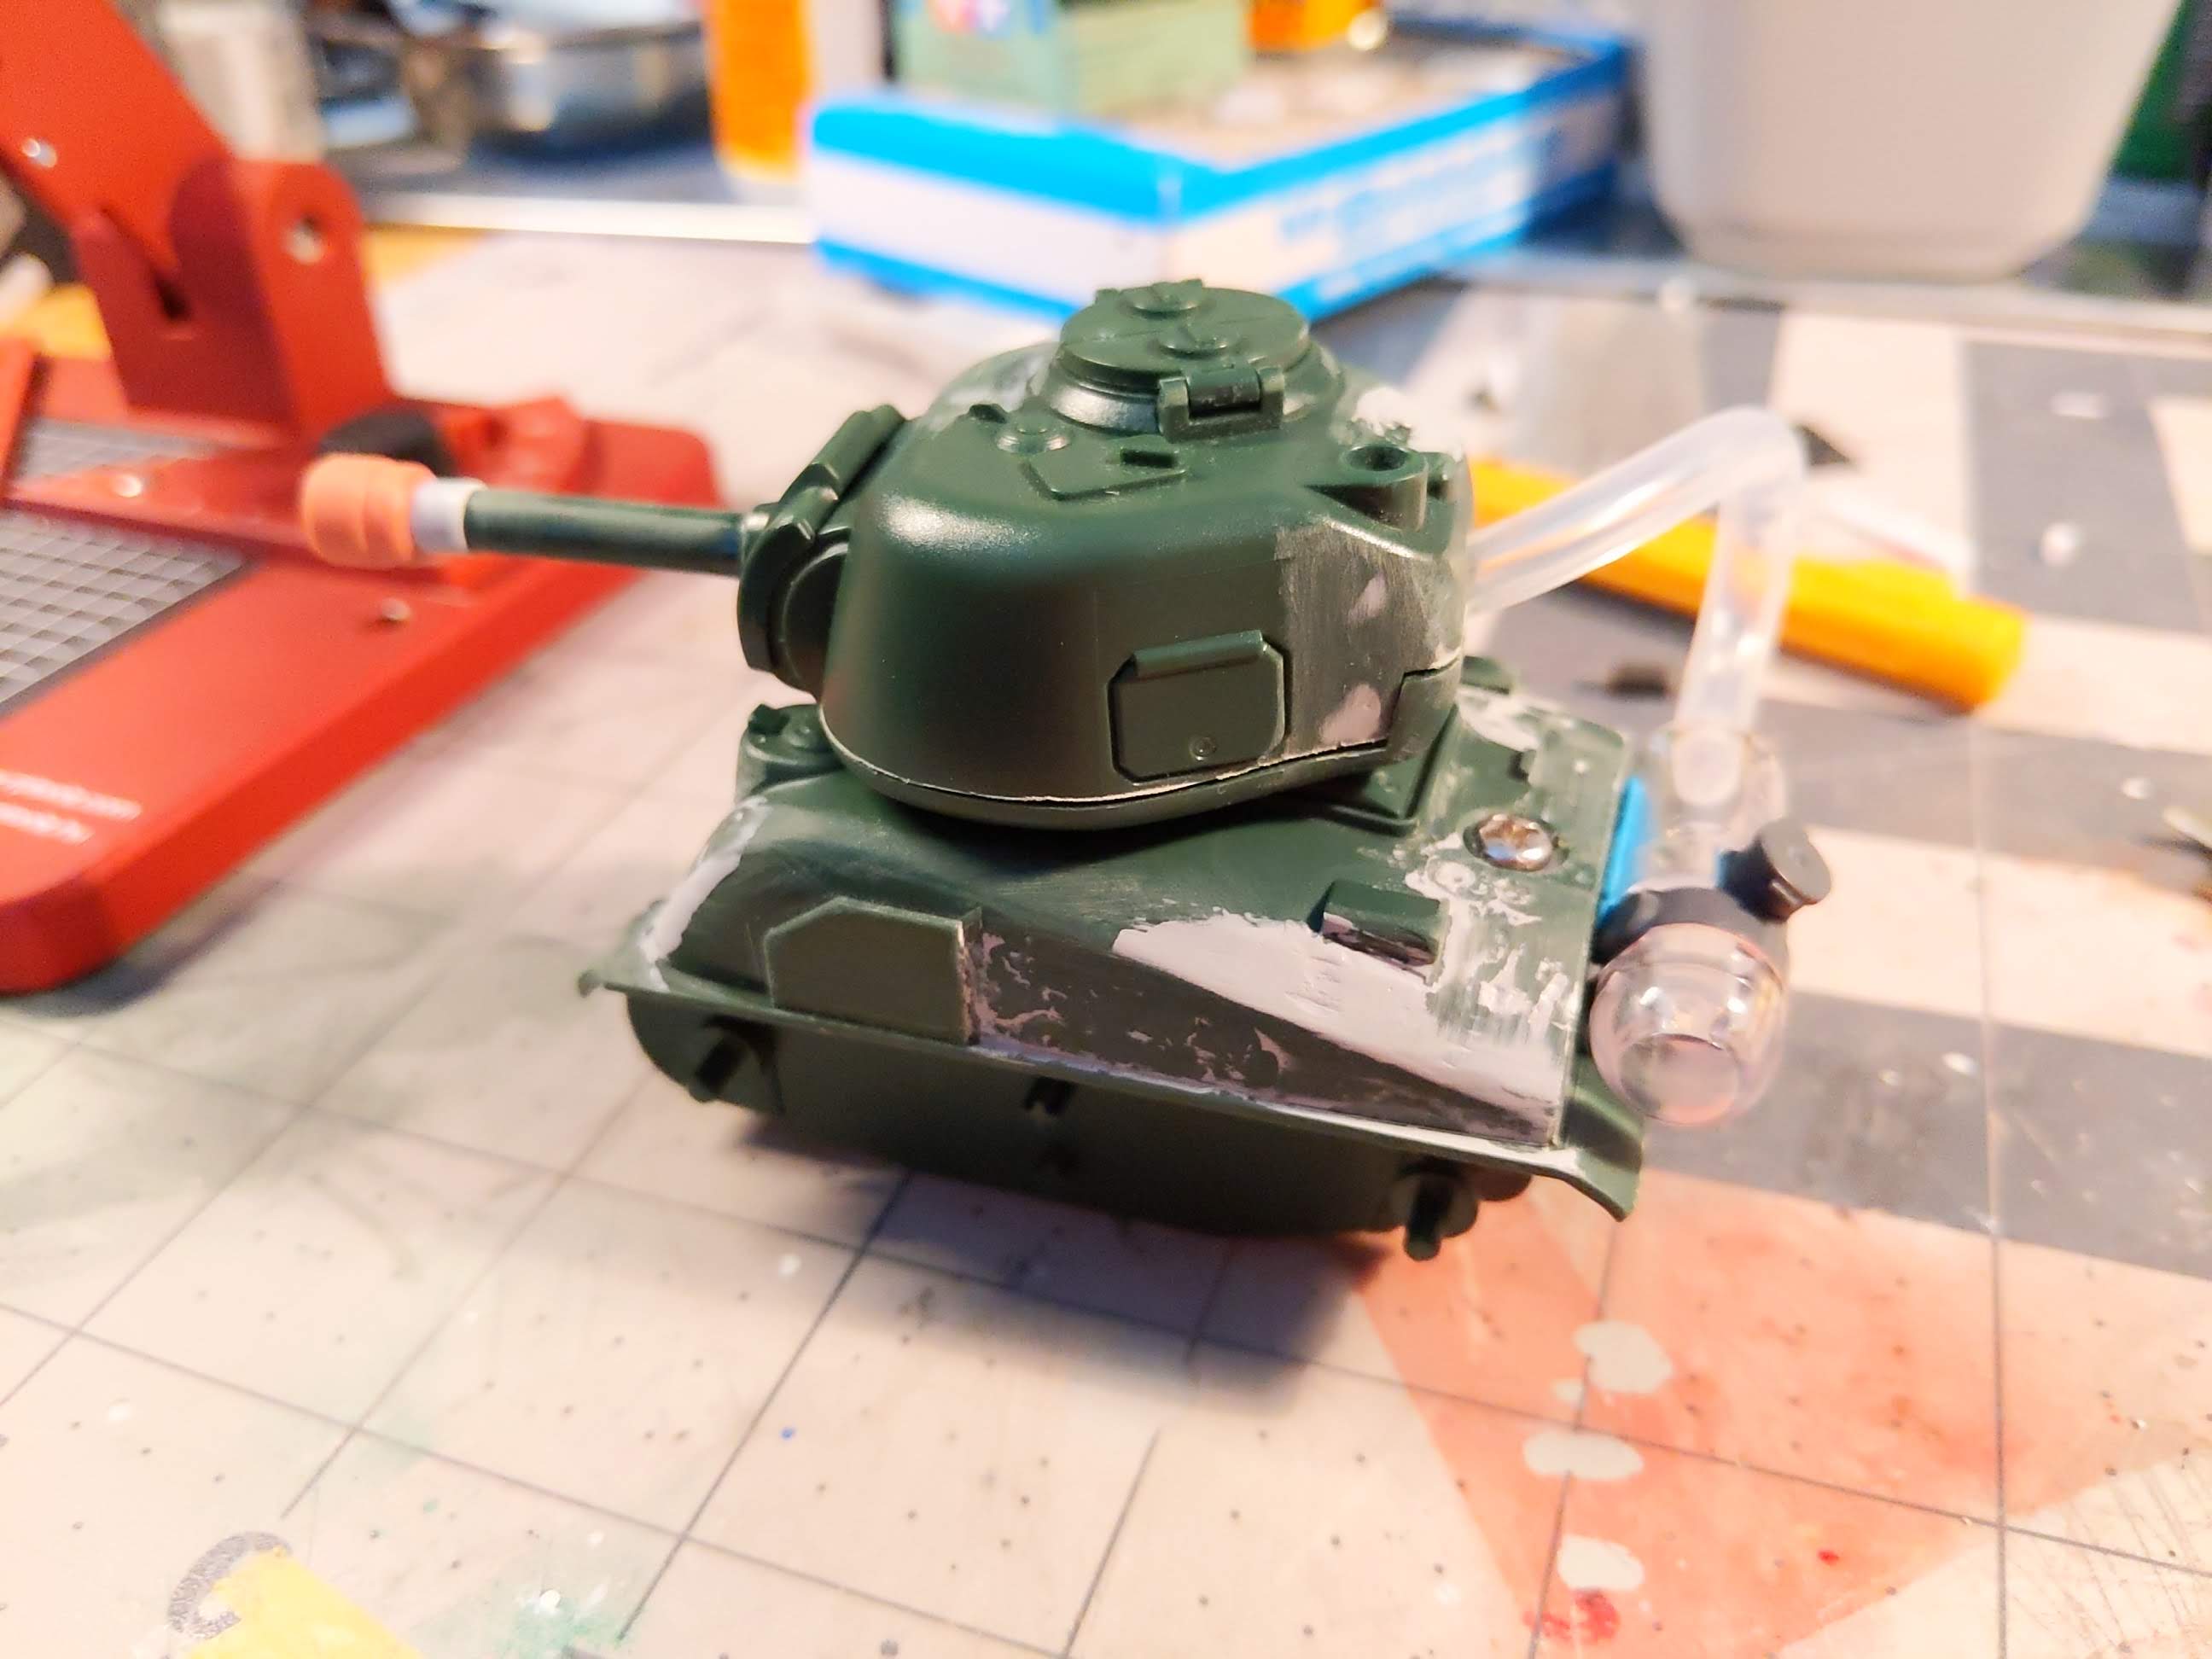
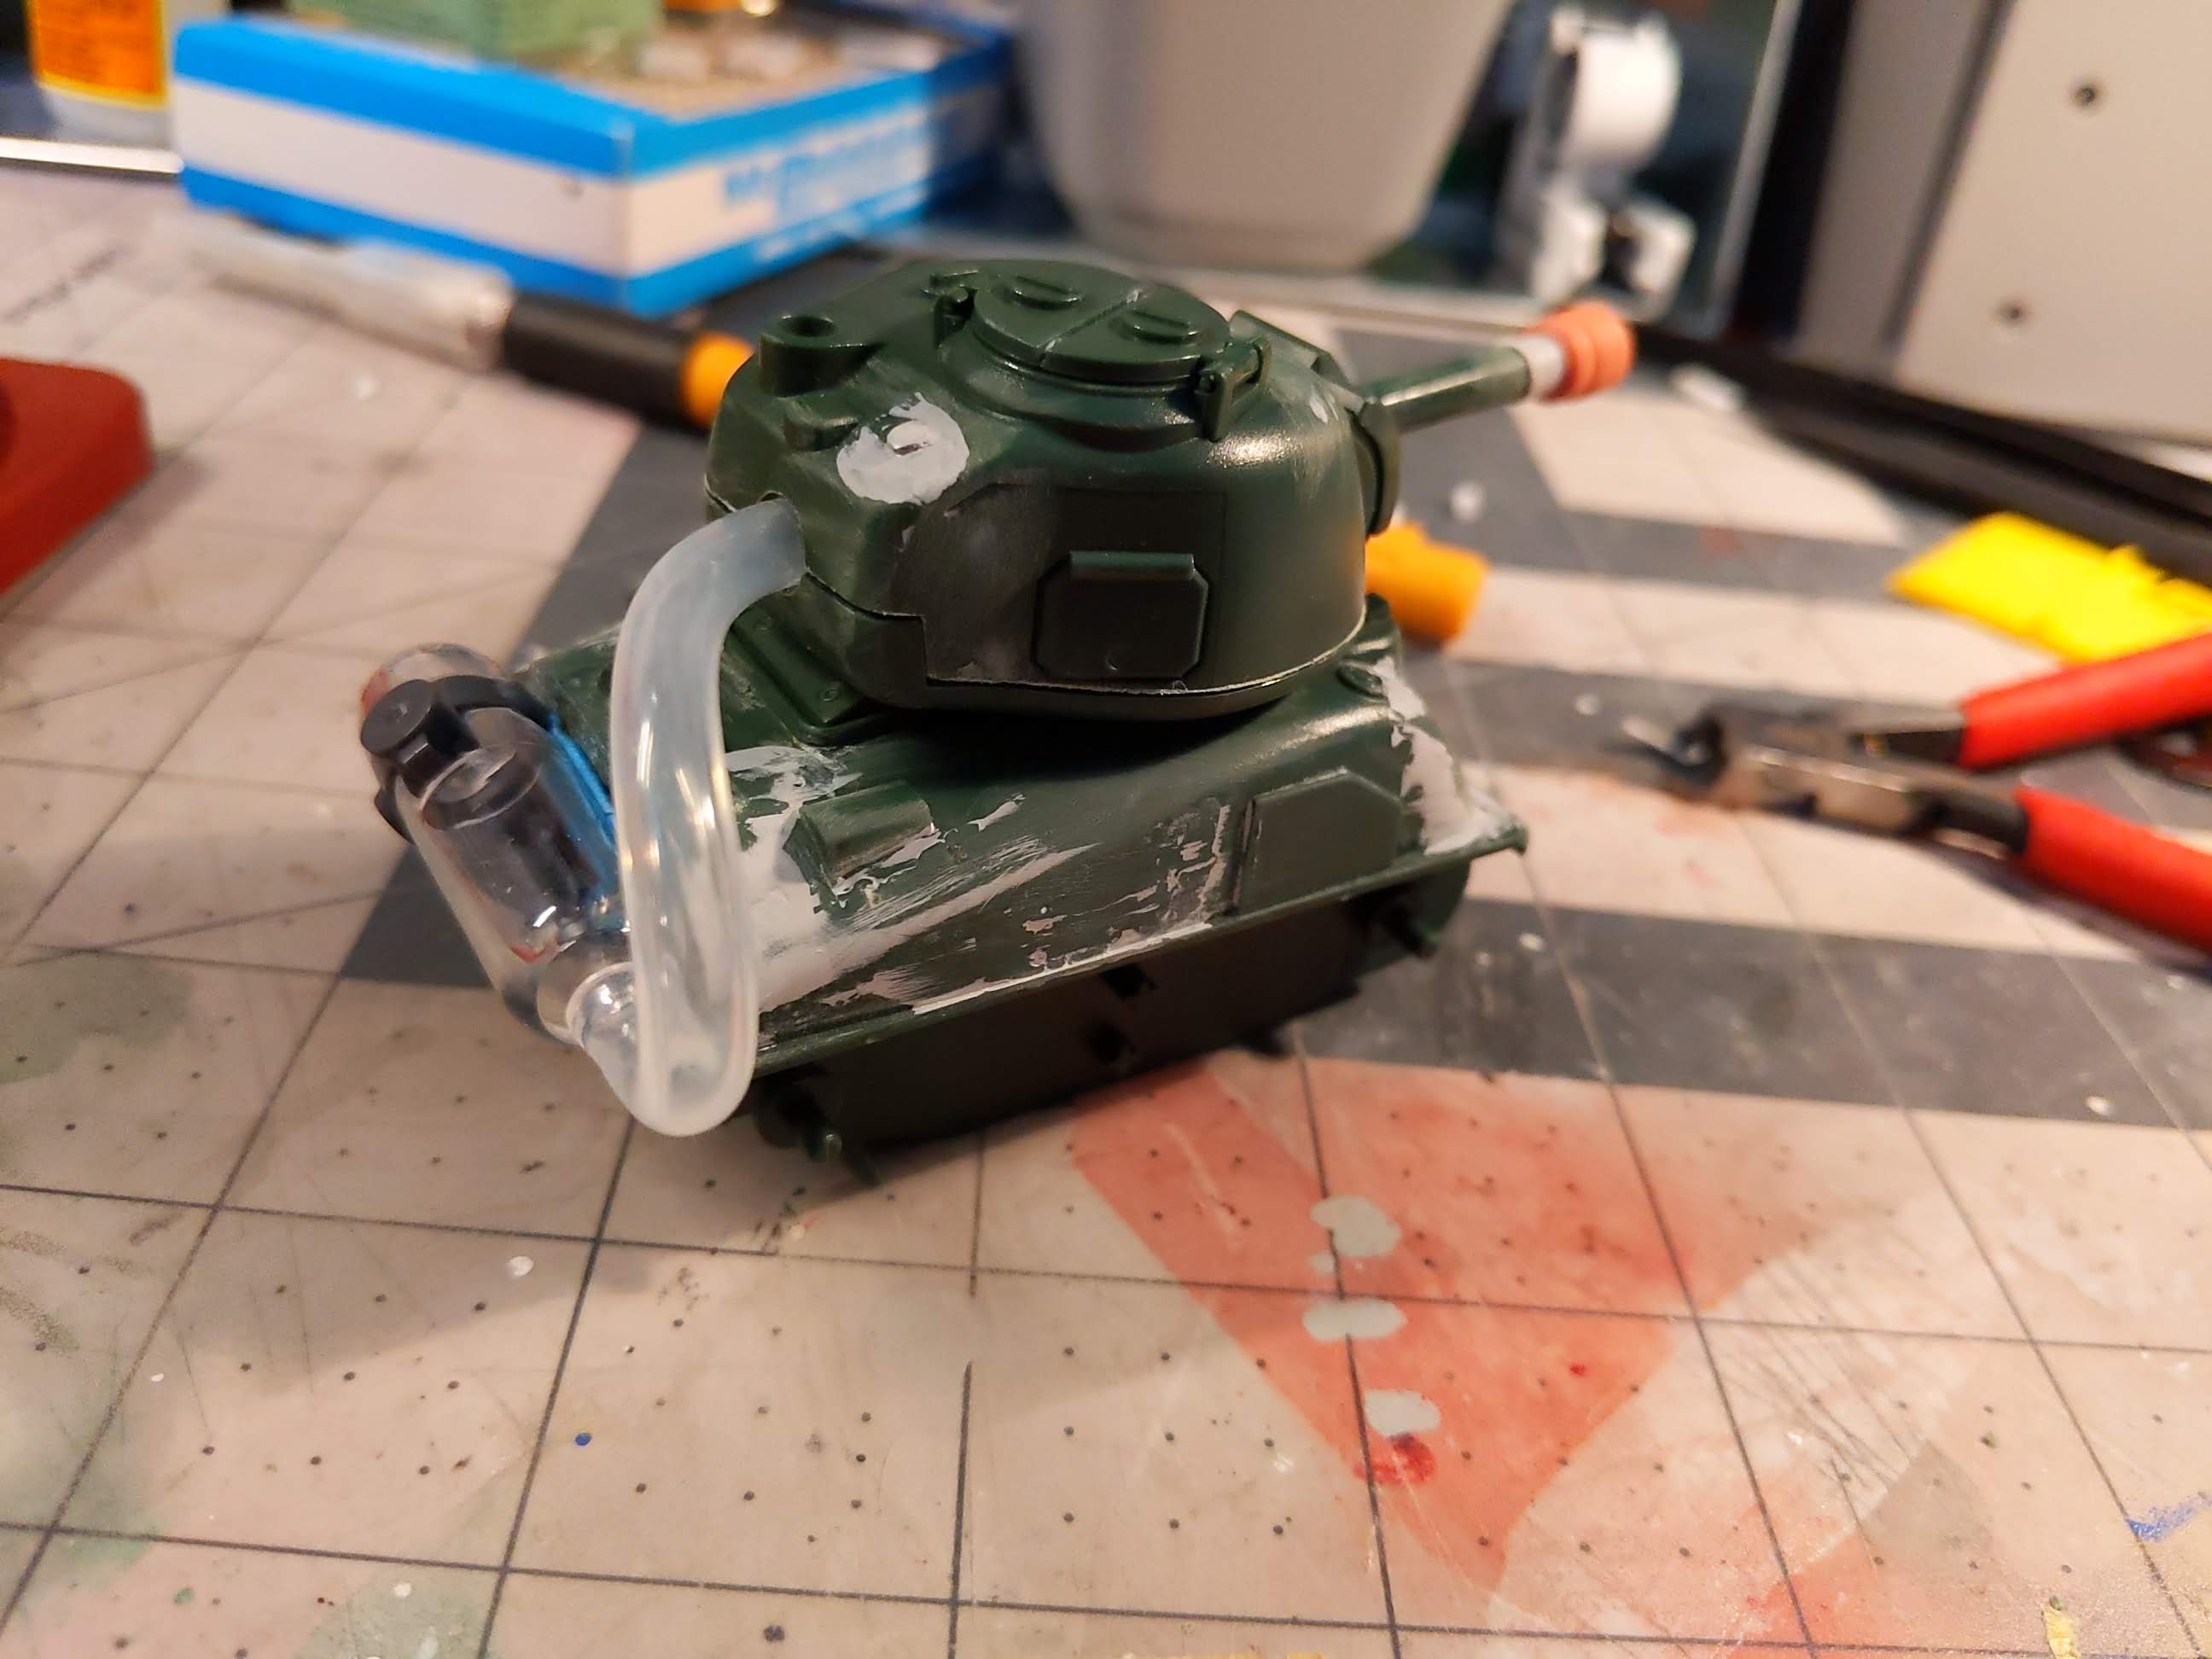
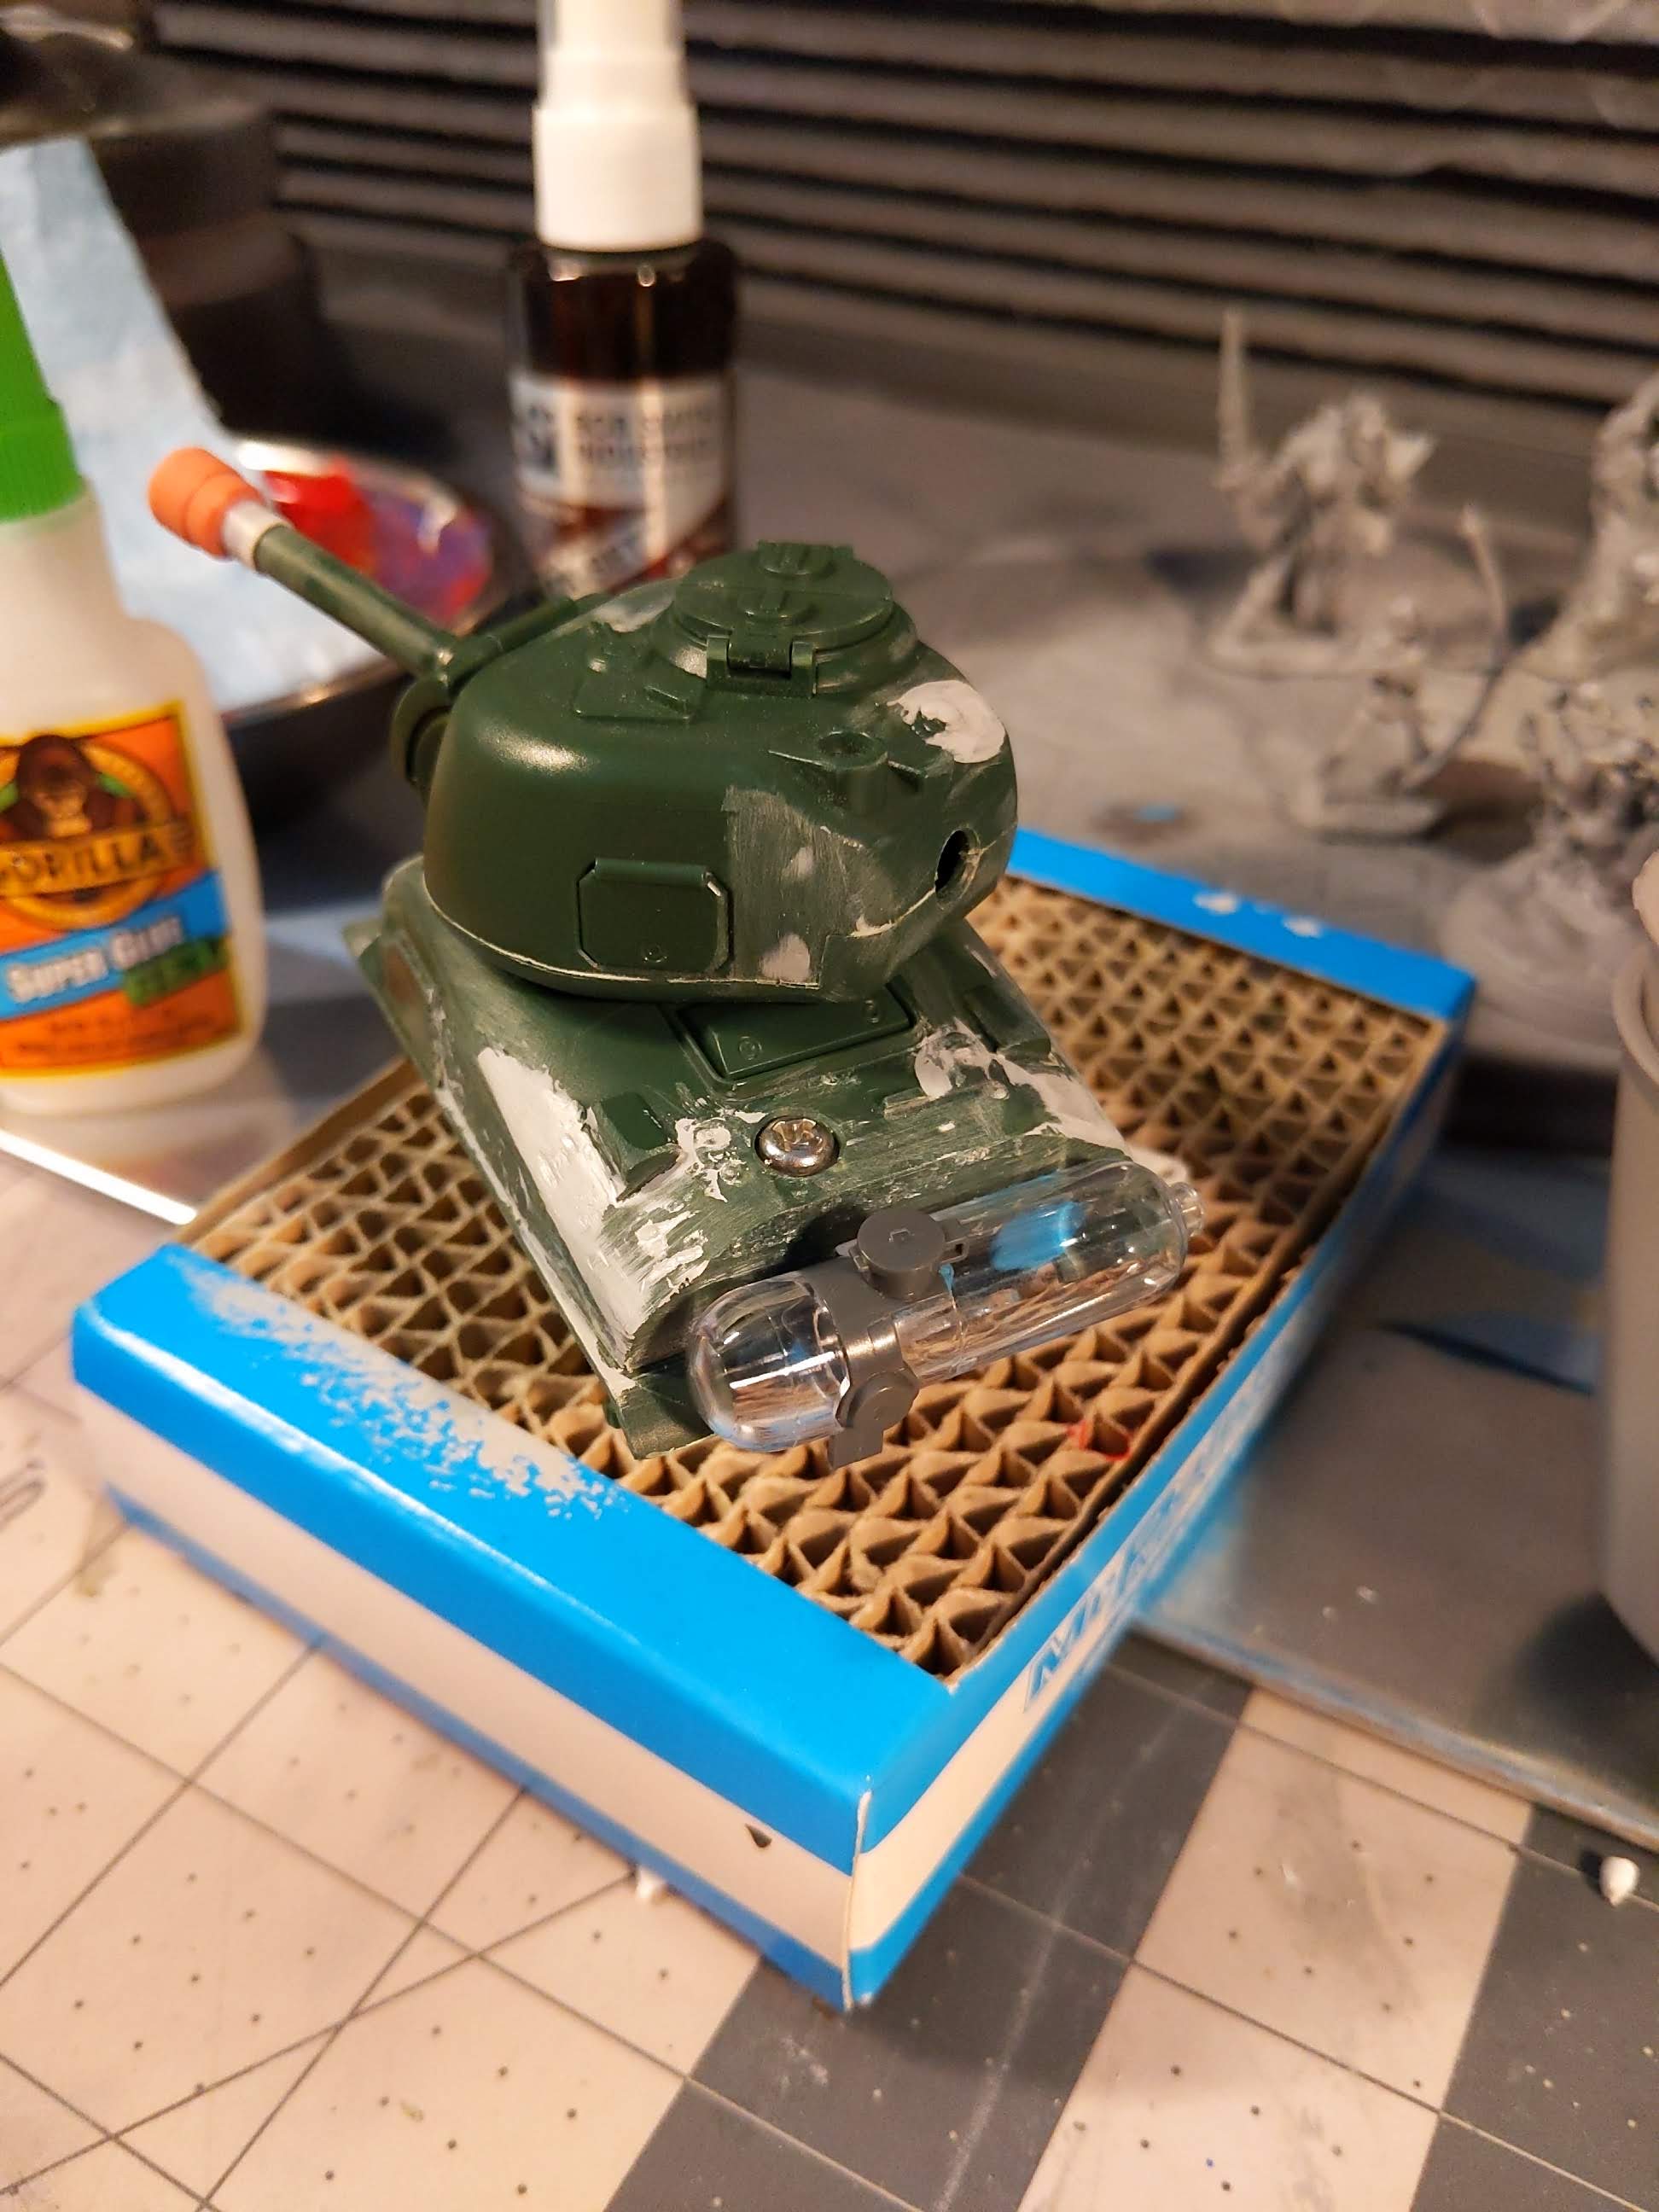
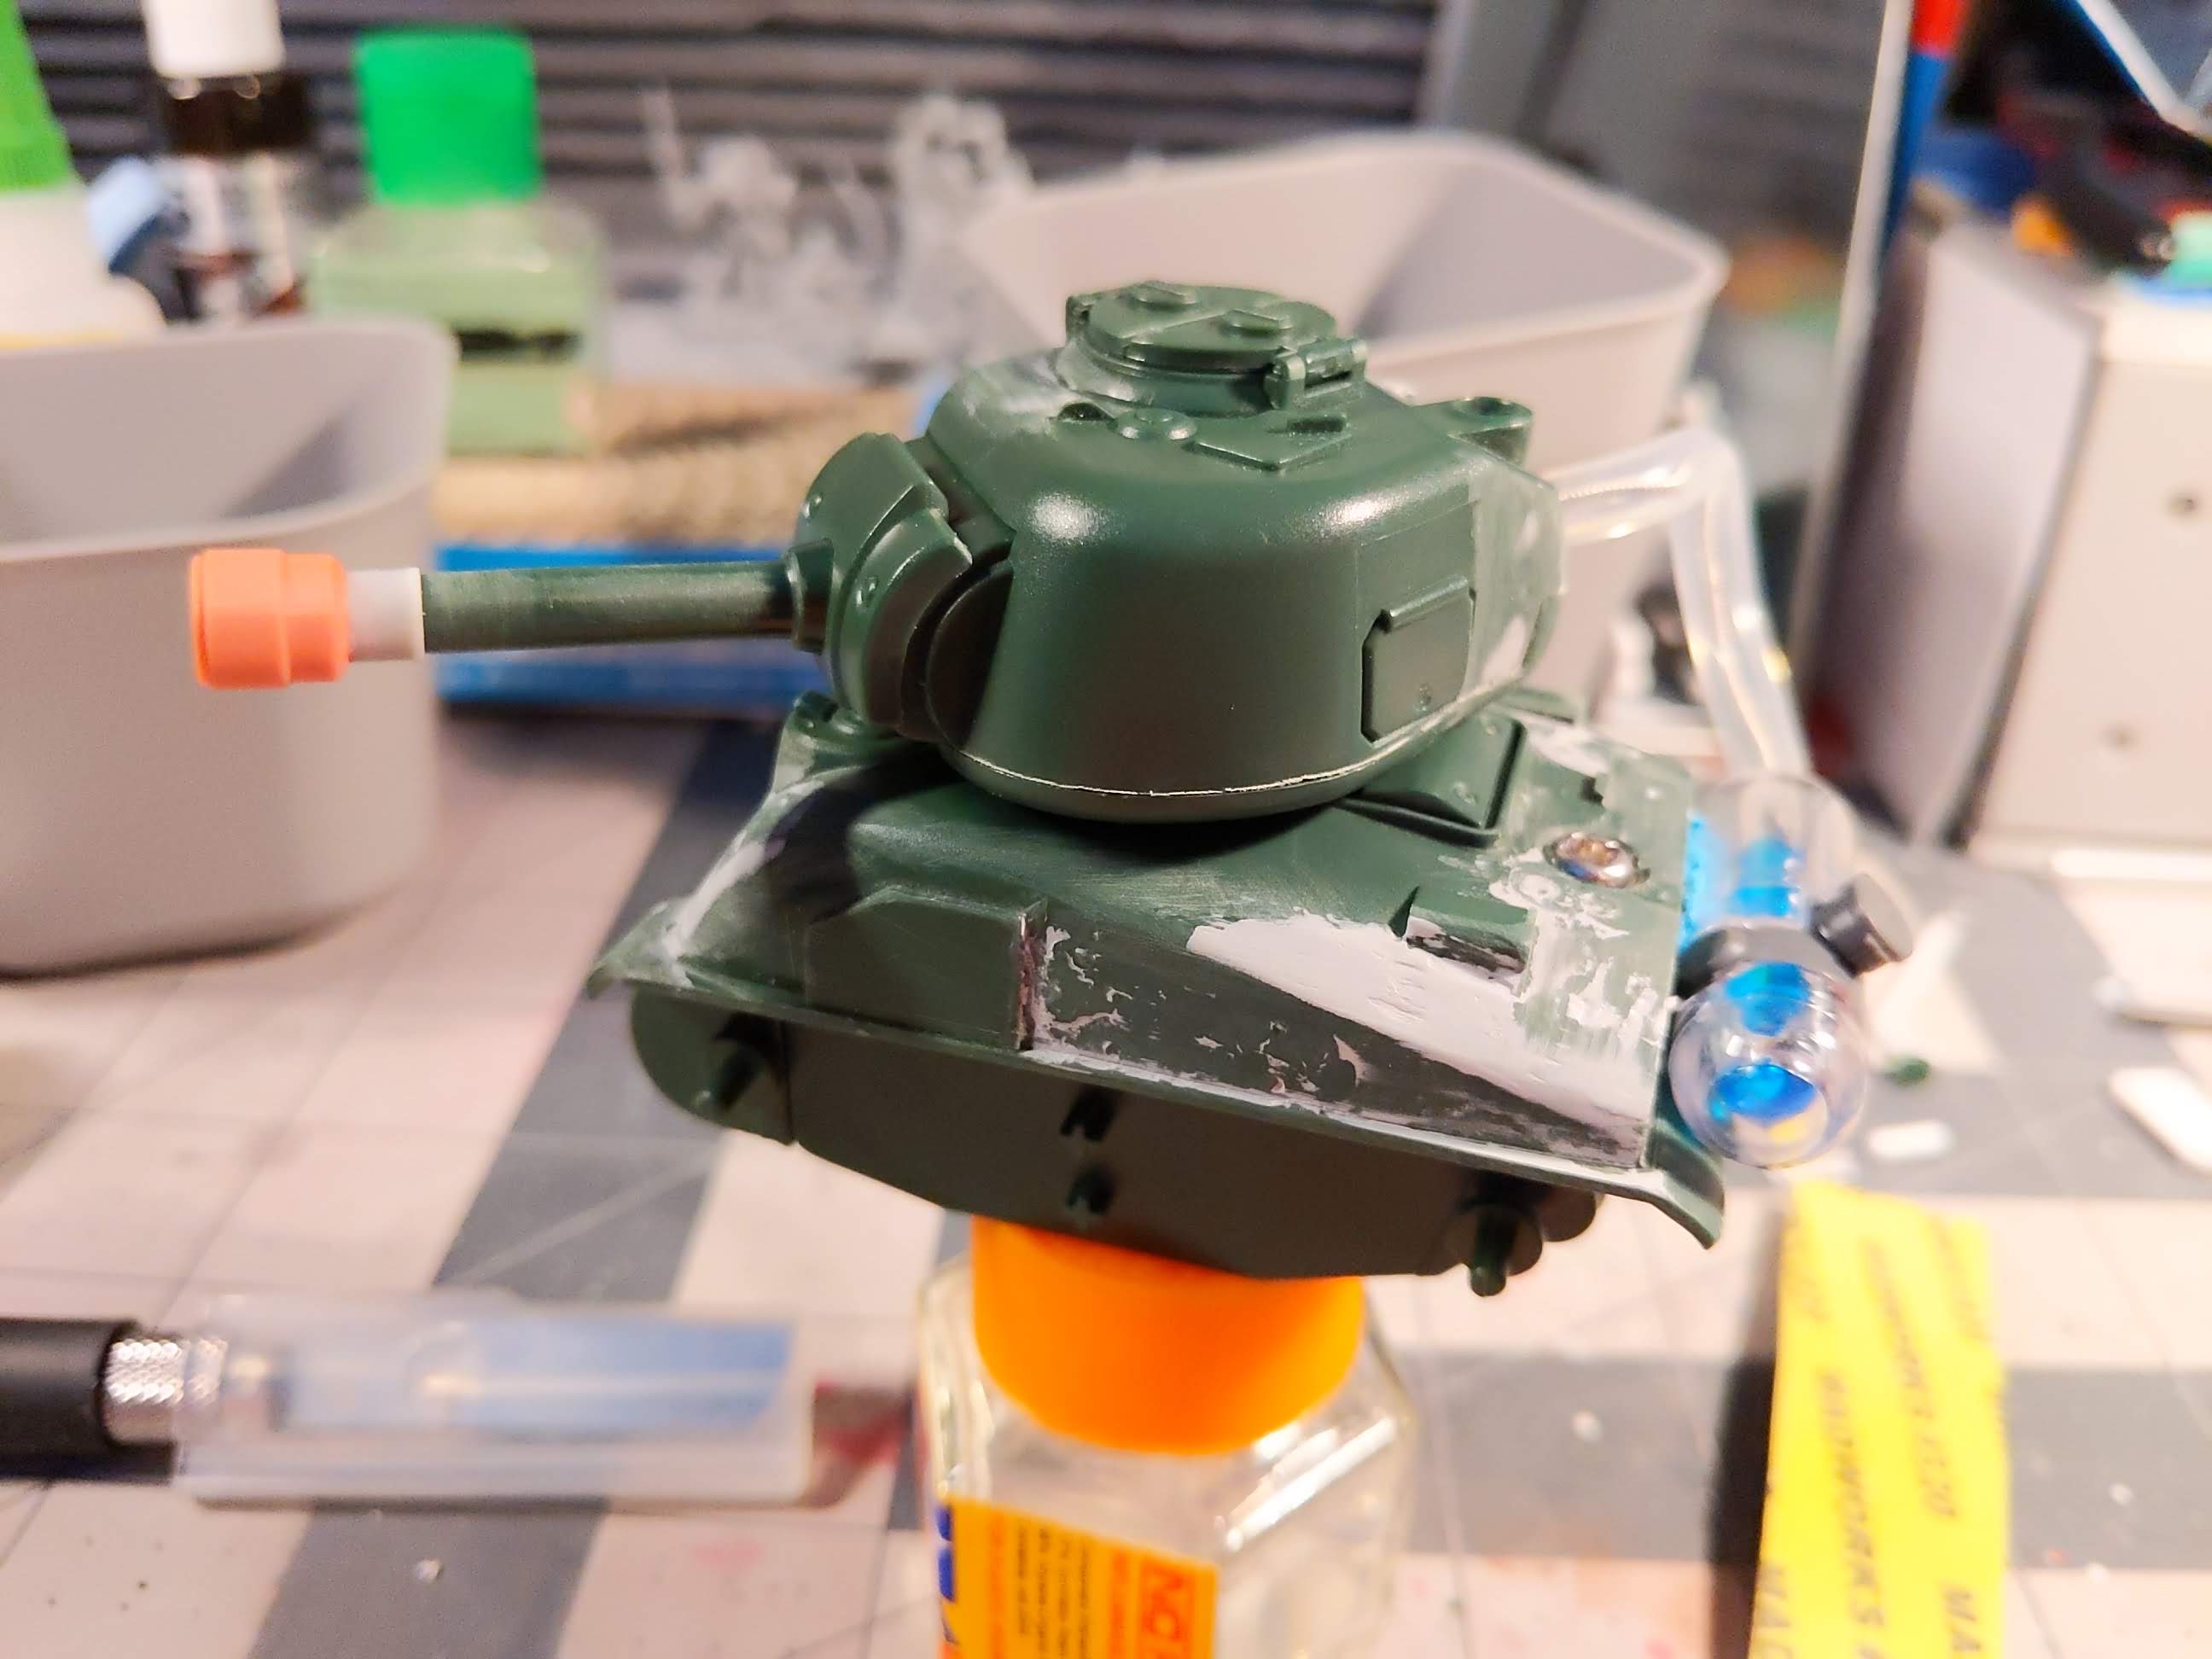
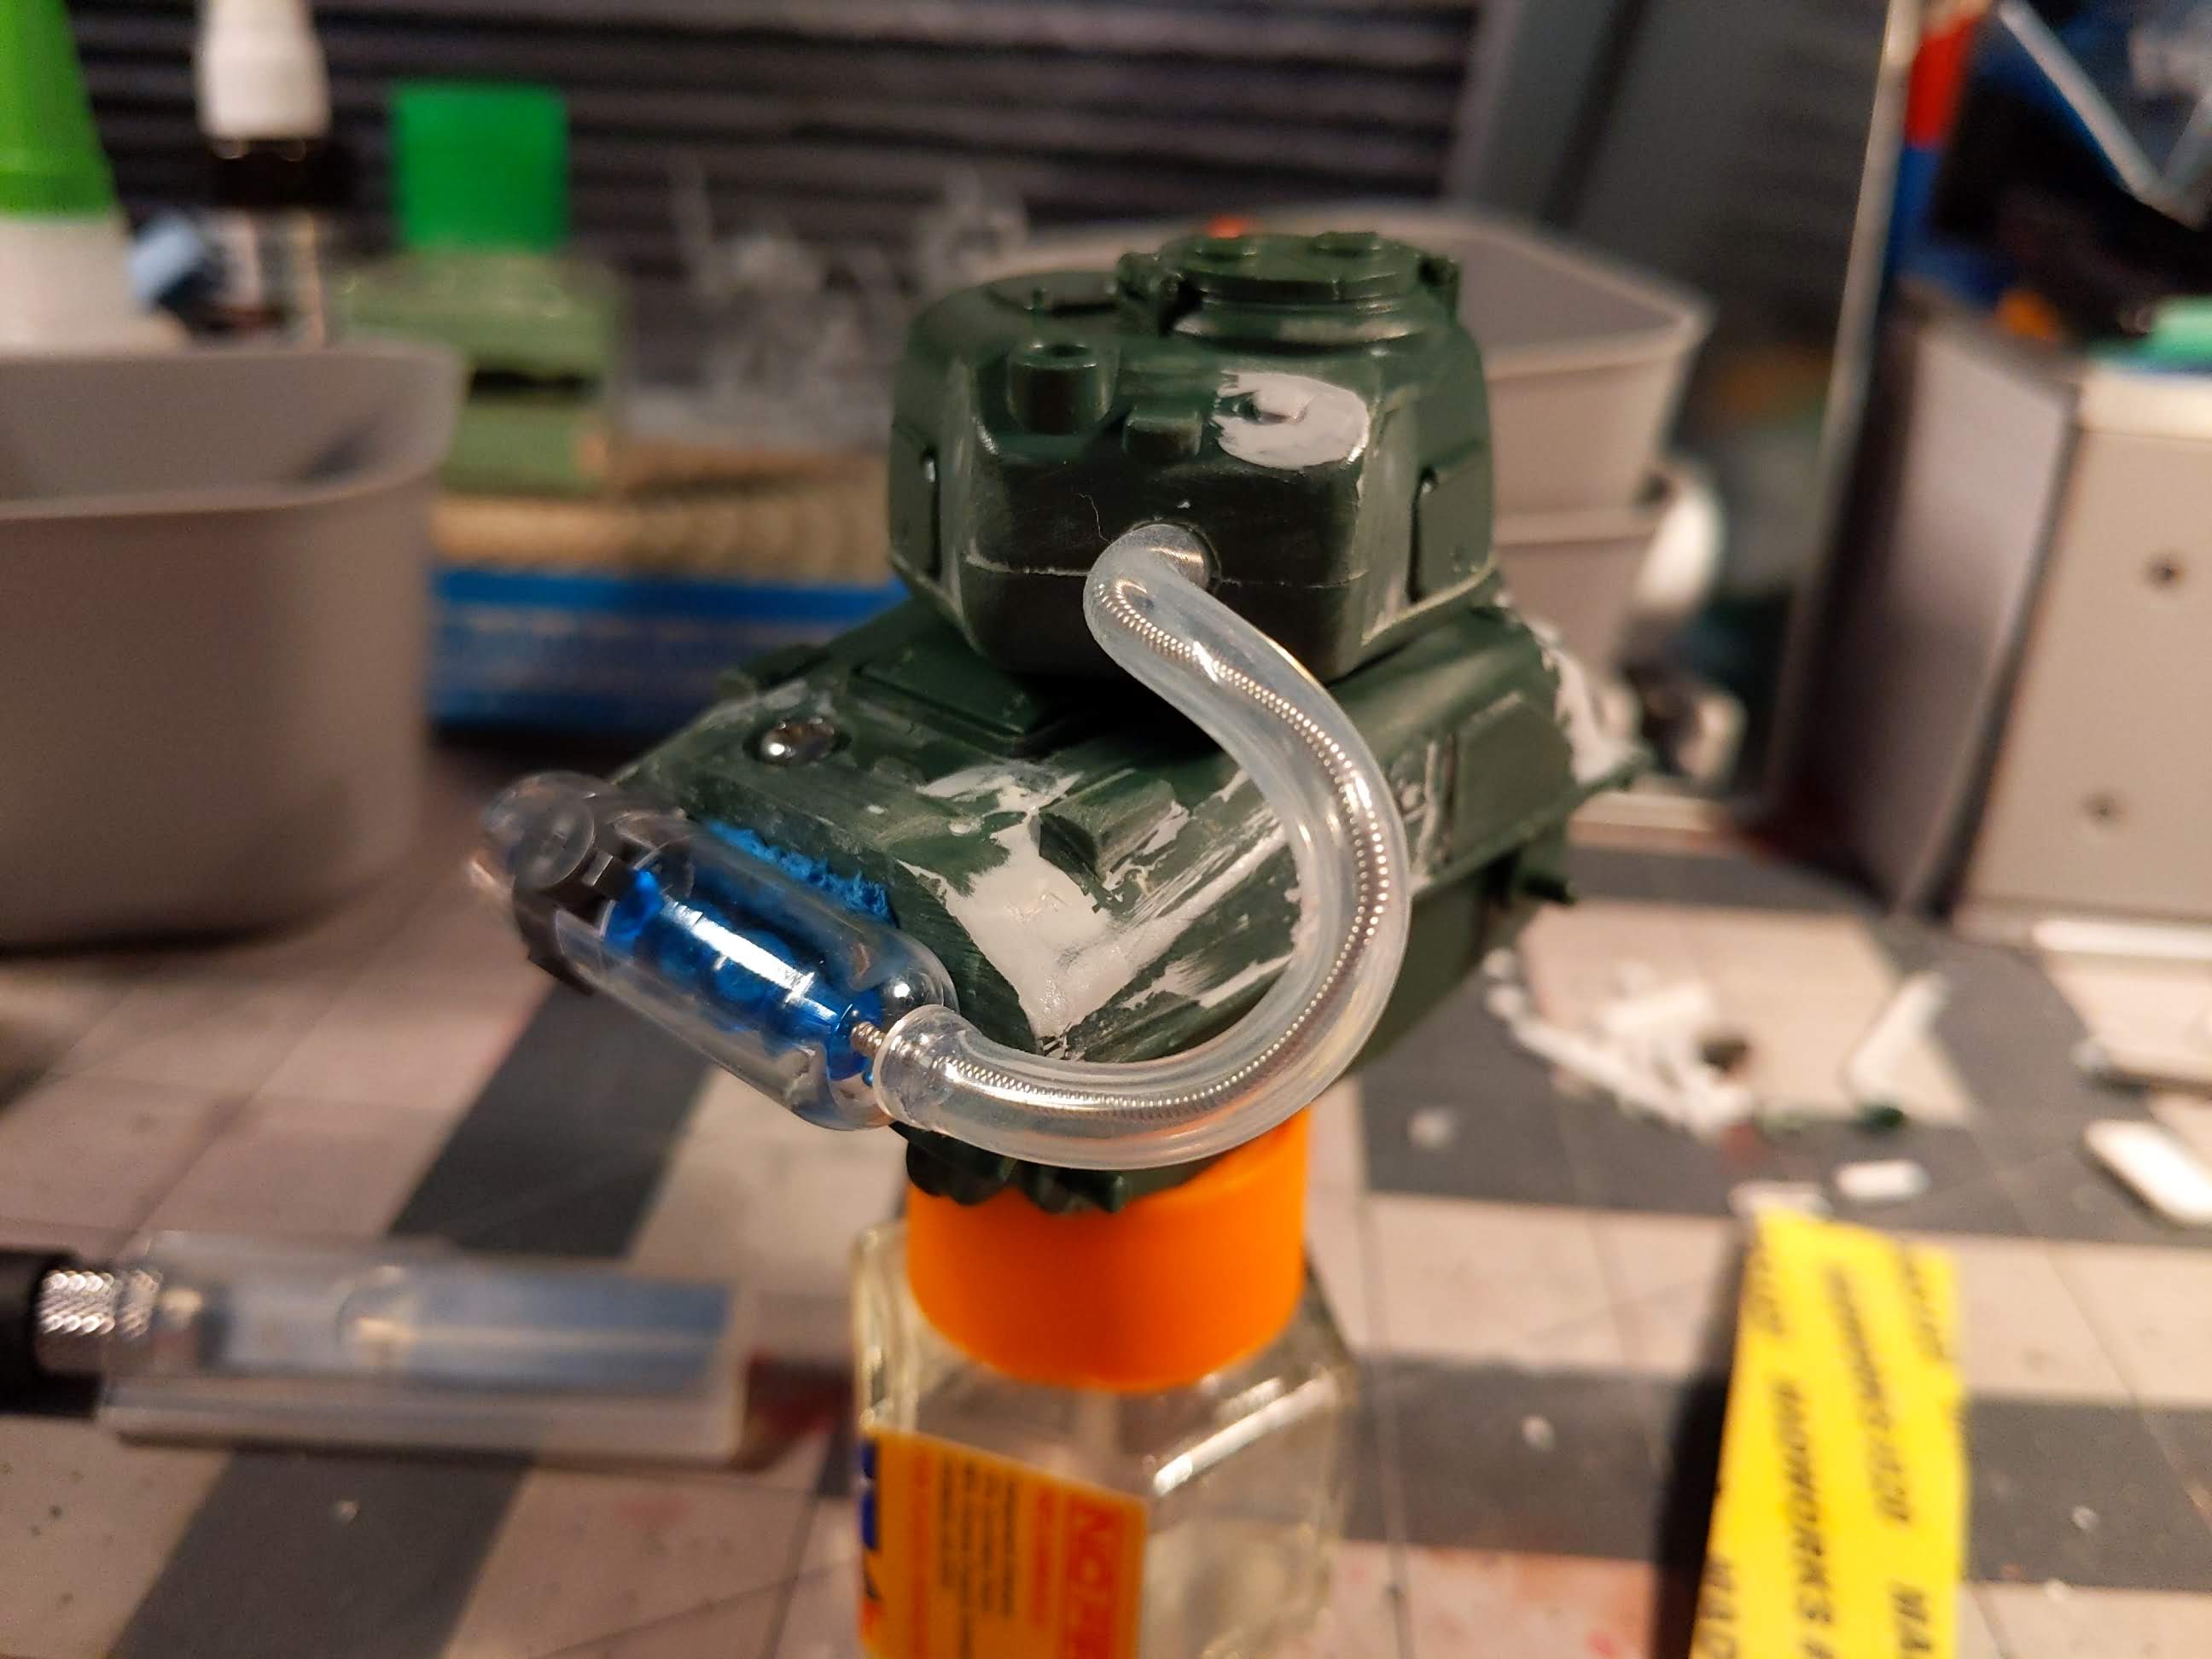
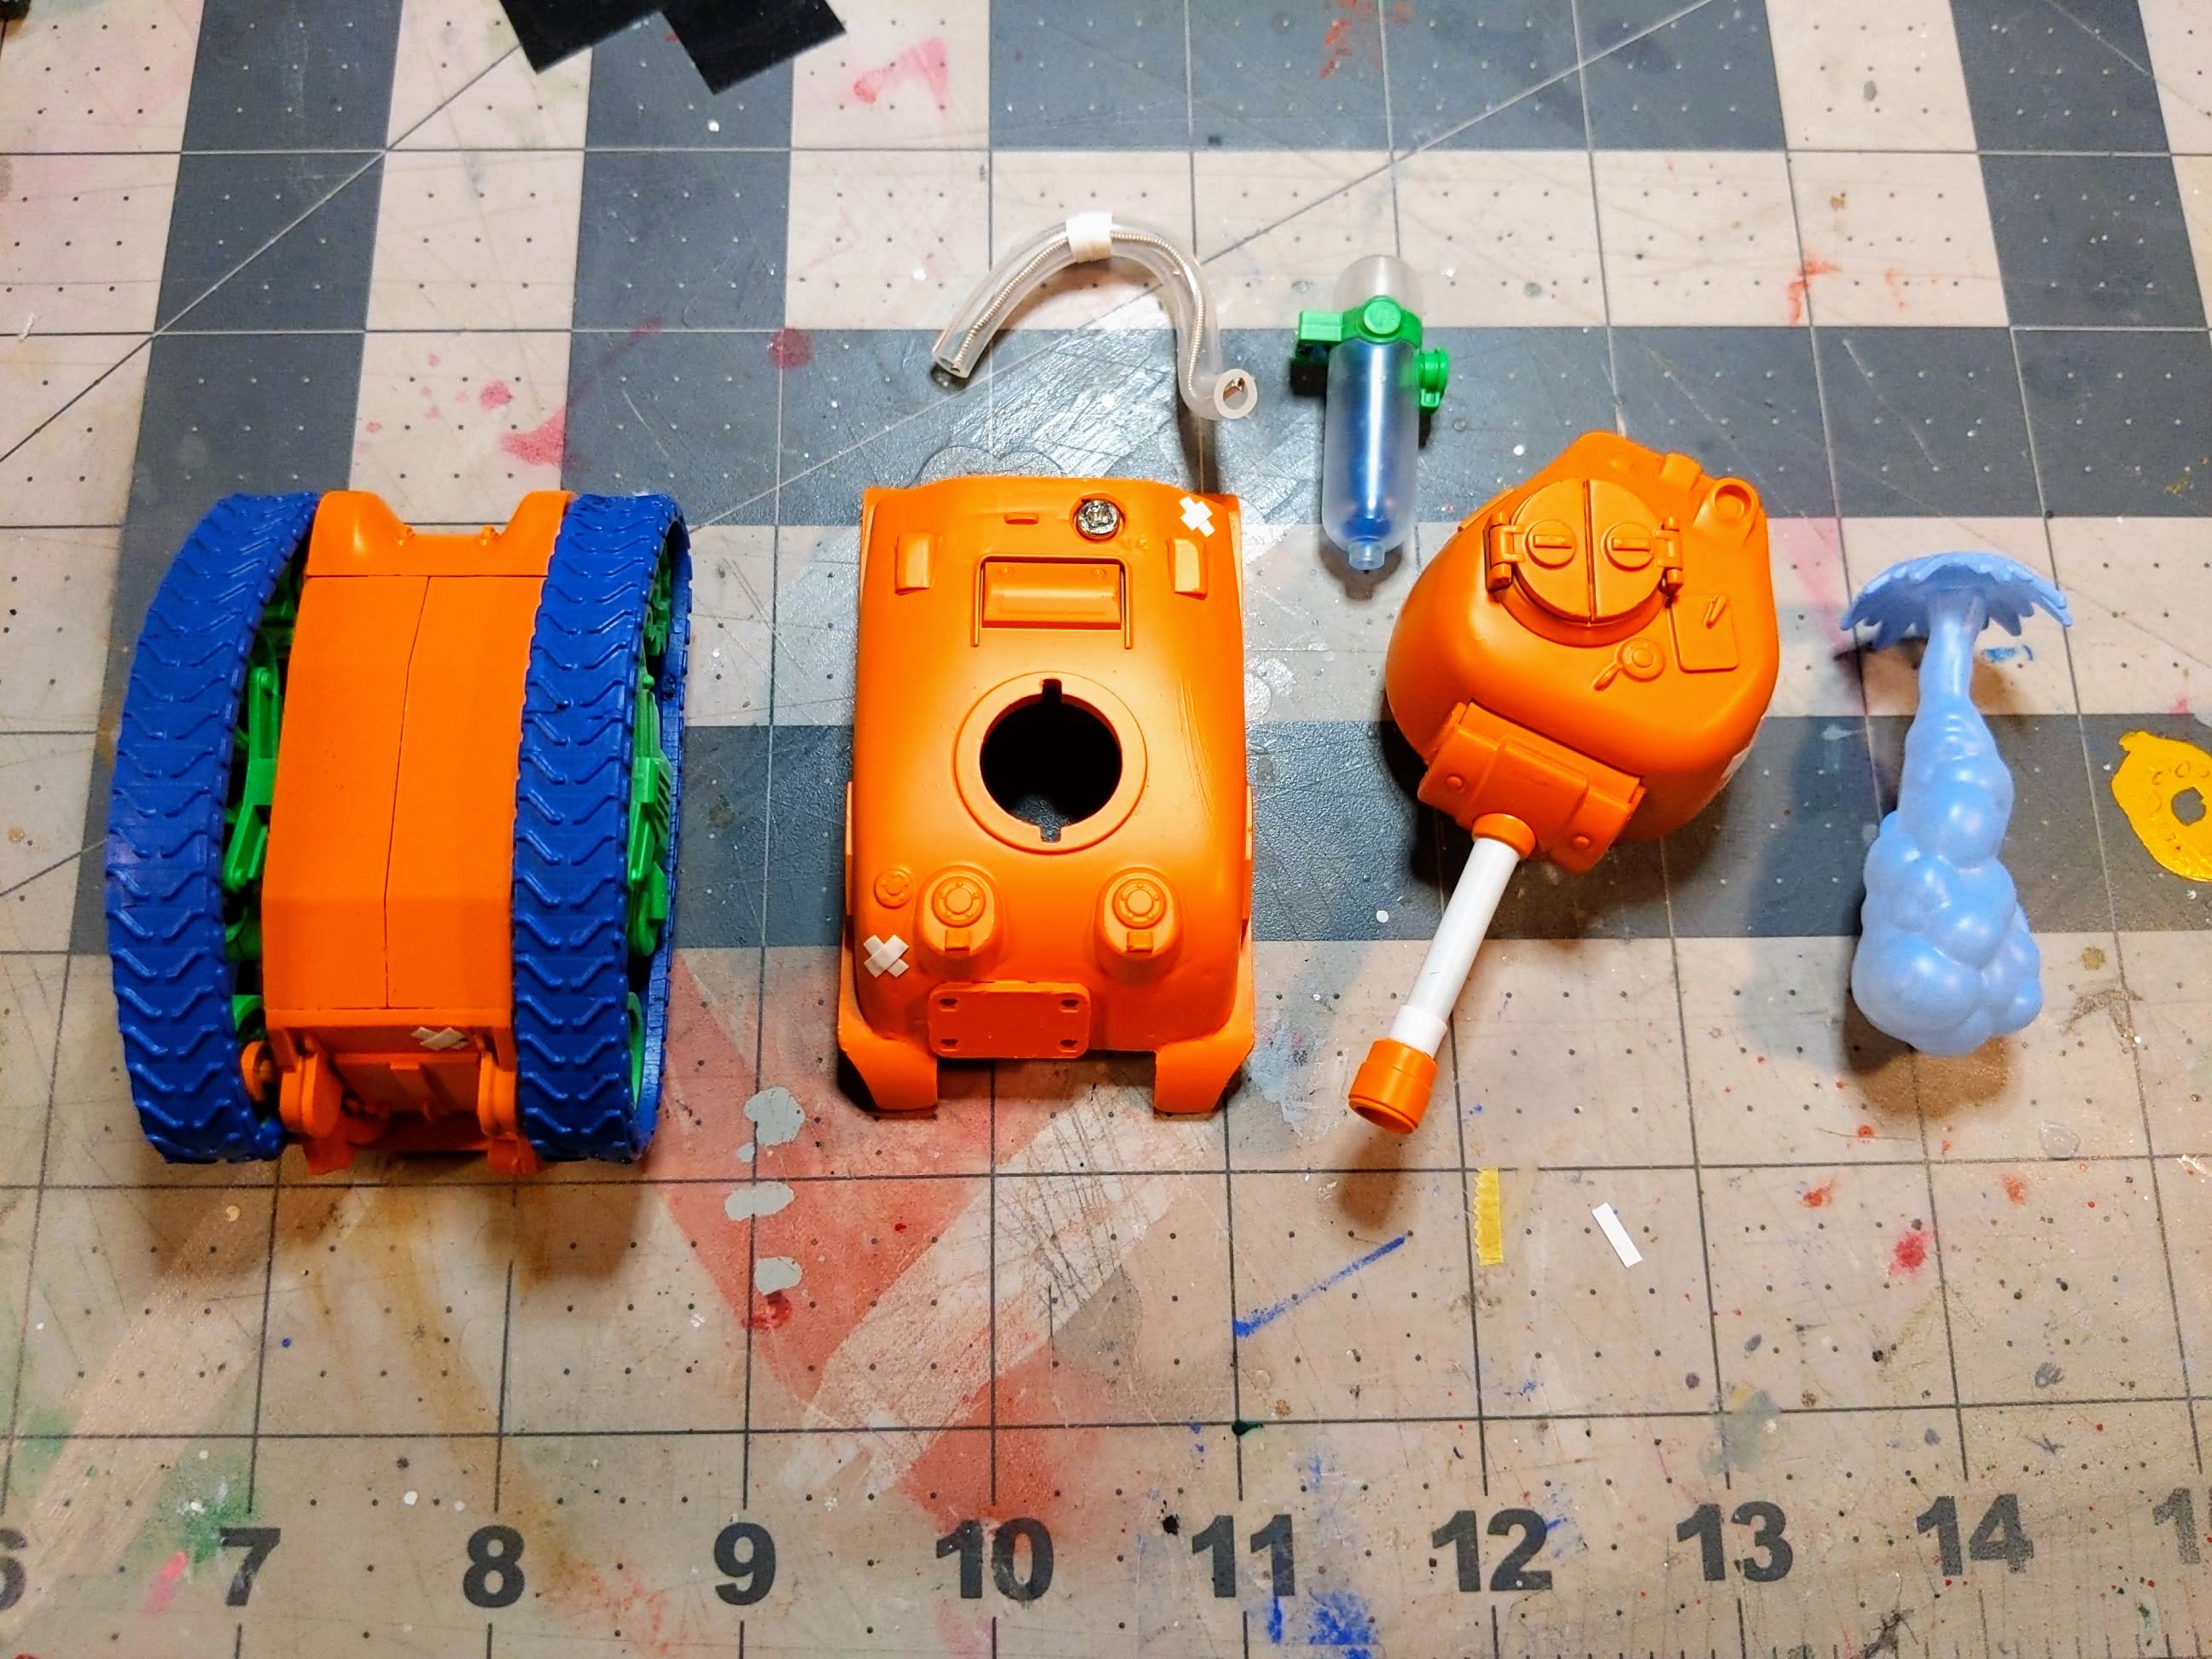
Going back to the water toy theme, I needed to source some bits to make that a reality. I landed upon the Water Arms set from Kotobukiya, which came with plenty of components I was able to repuprose - specifically the water tank. I have some ideas for the other bits to use in another build, so they won’t go to waste.
Some other components that got used were rubber tubing, guitar wire, bits of plastic, a random screw to make it look like that is what was holding it together, and part of the optics from a resin sniper detail set.
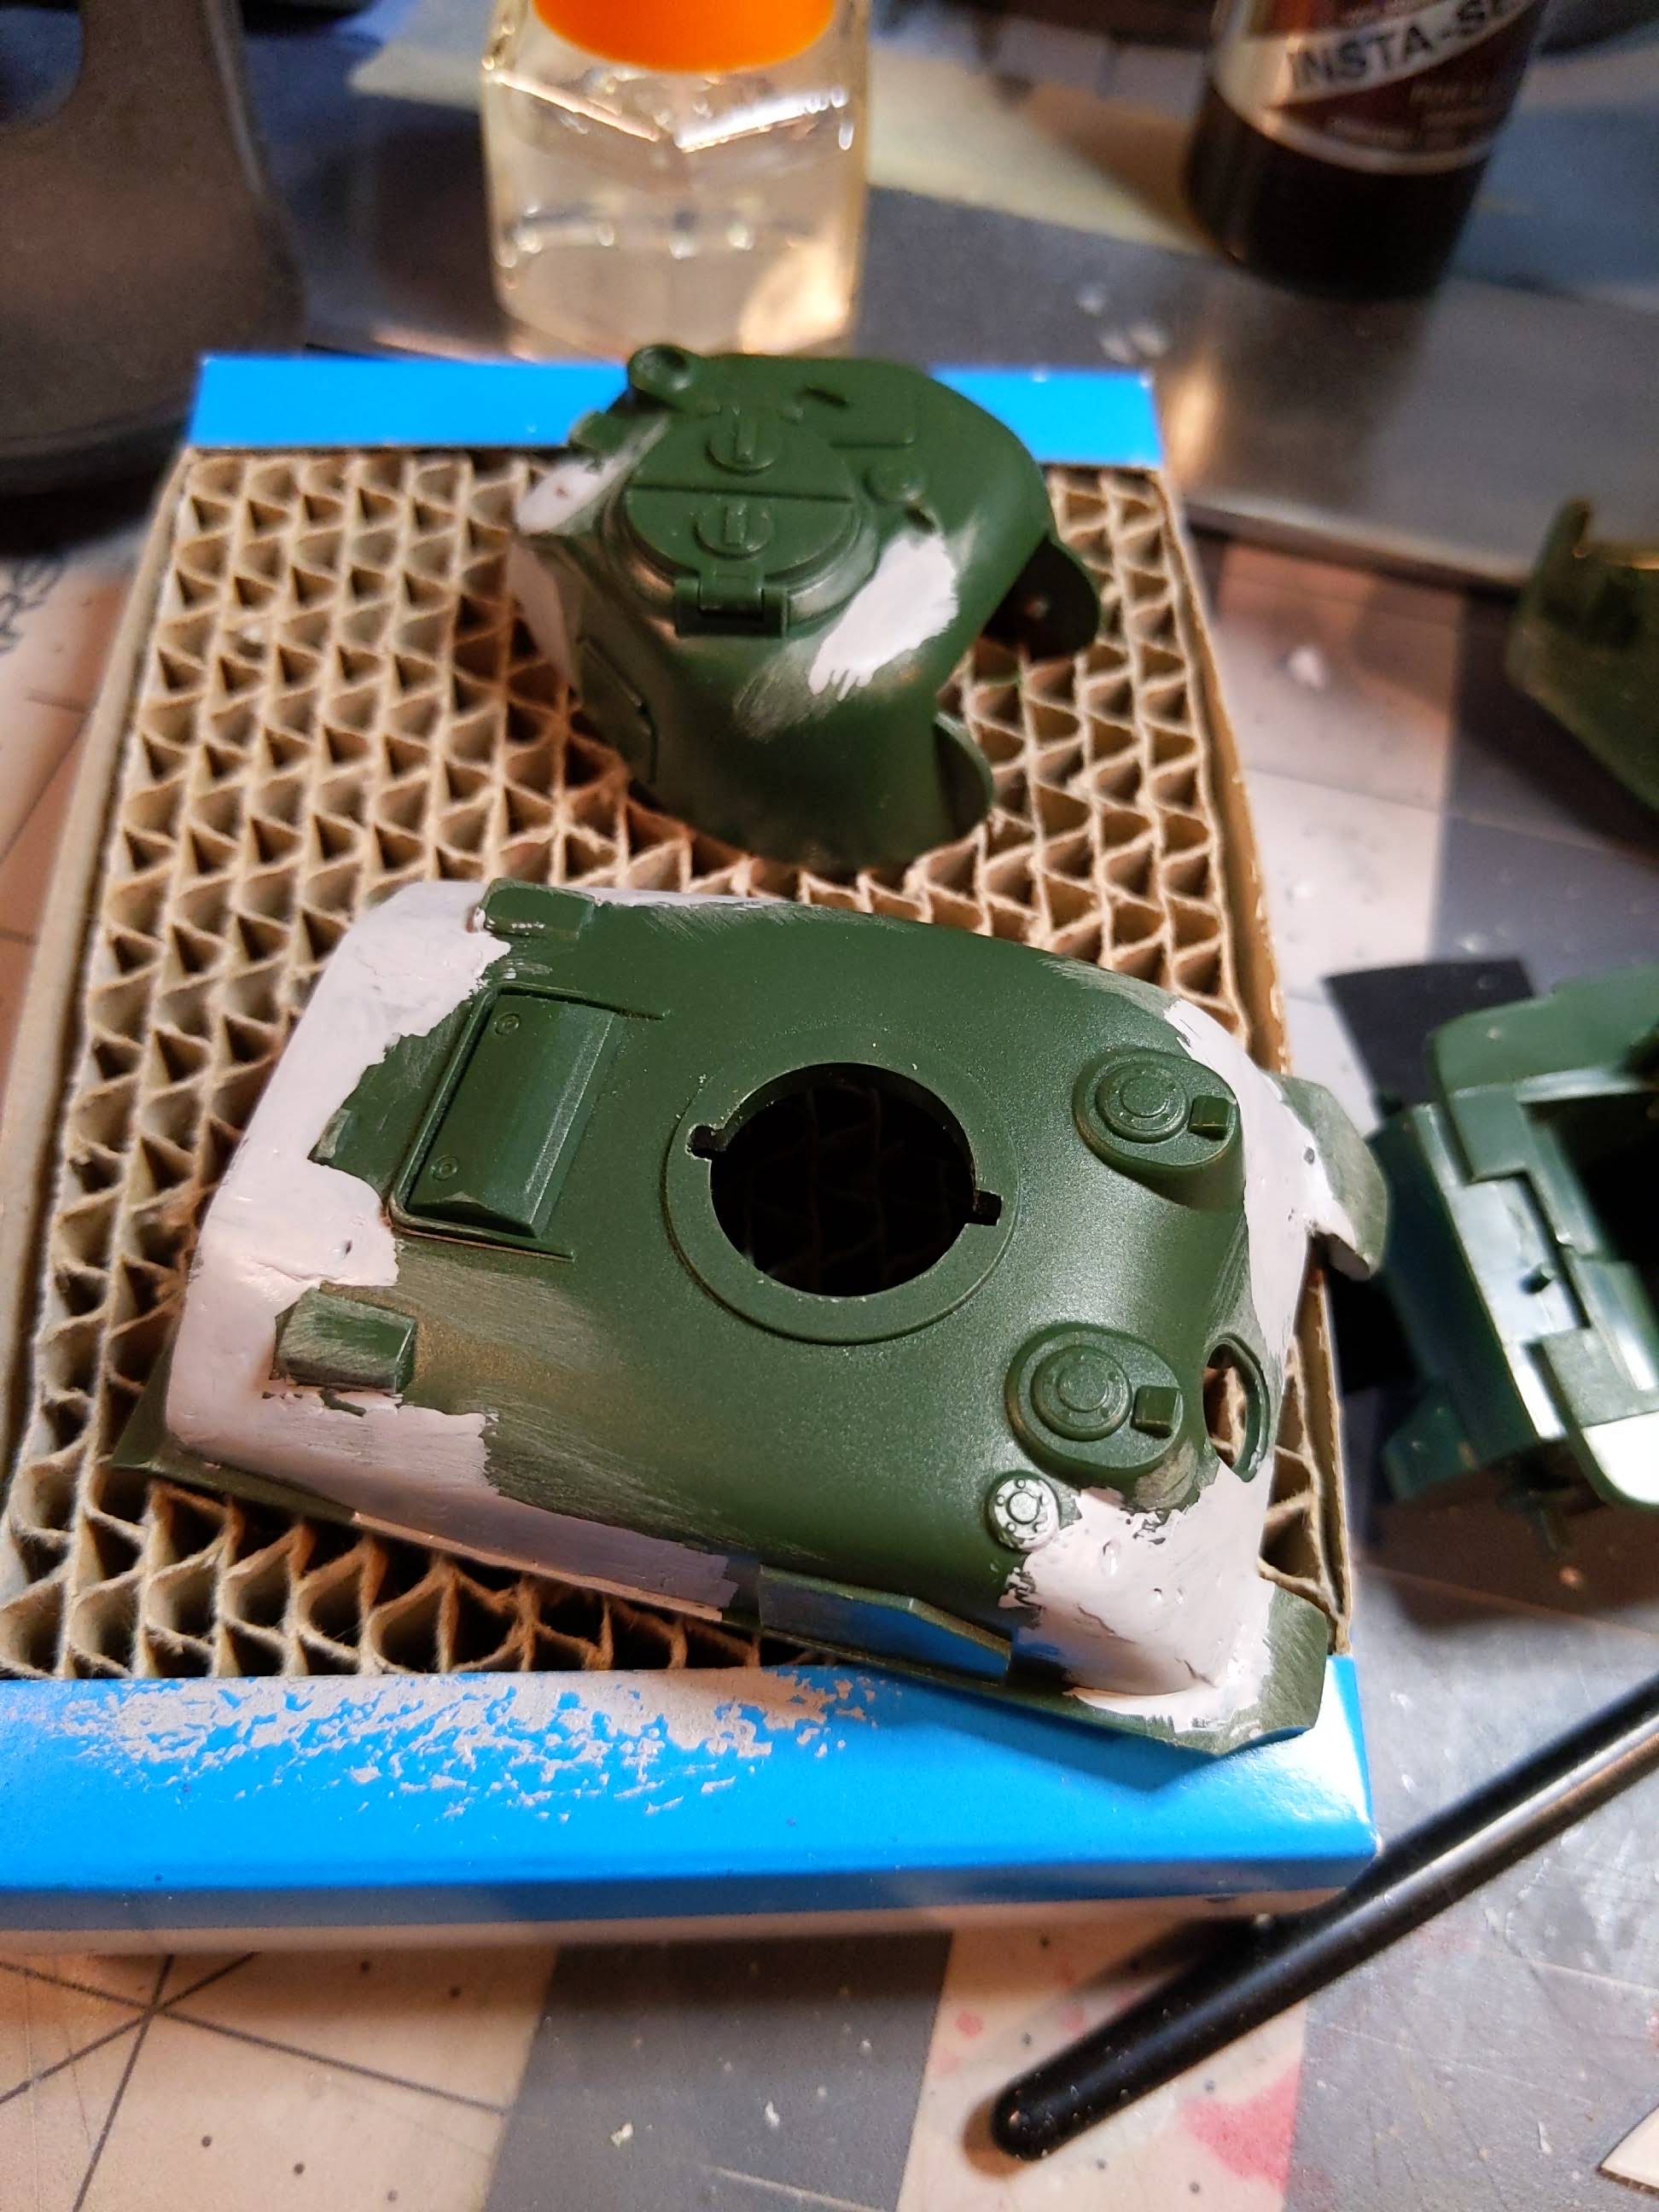
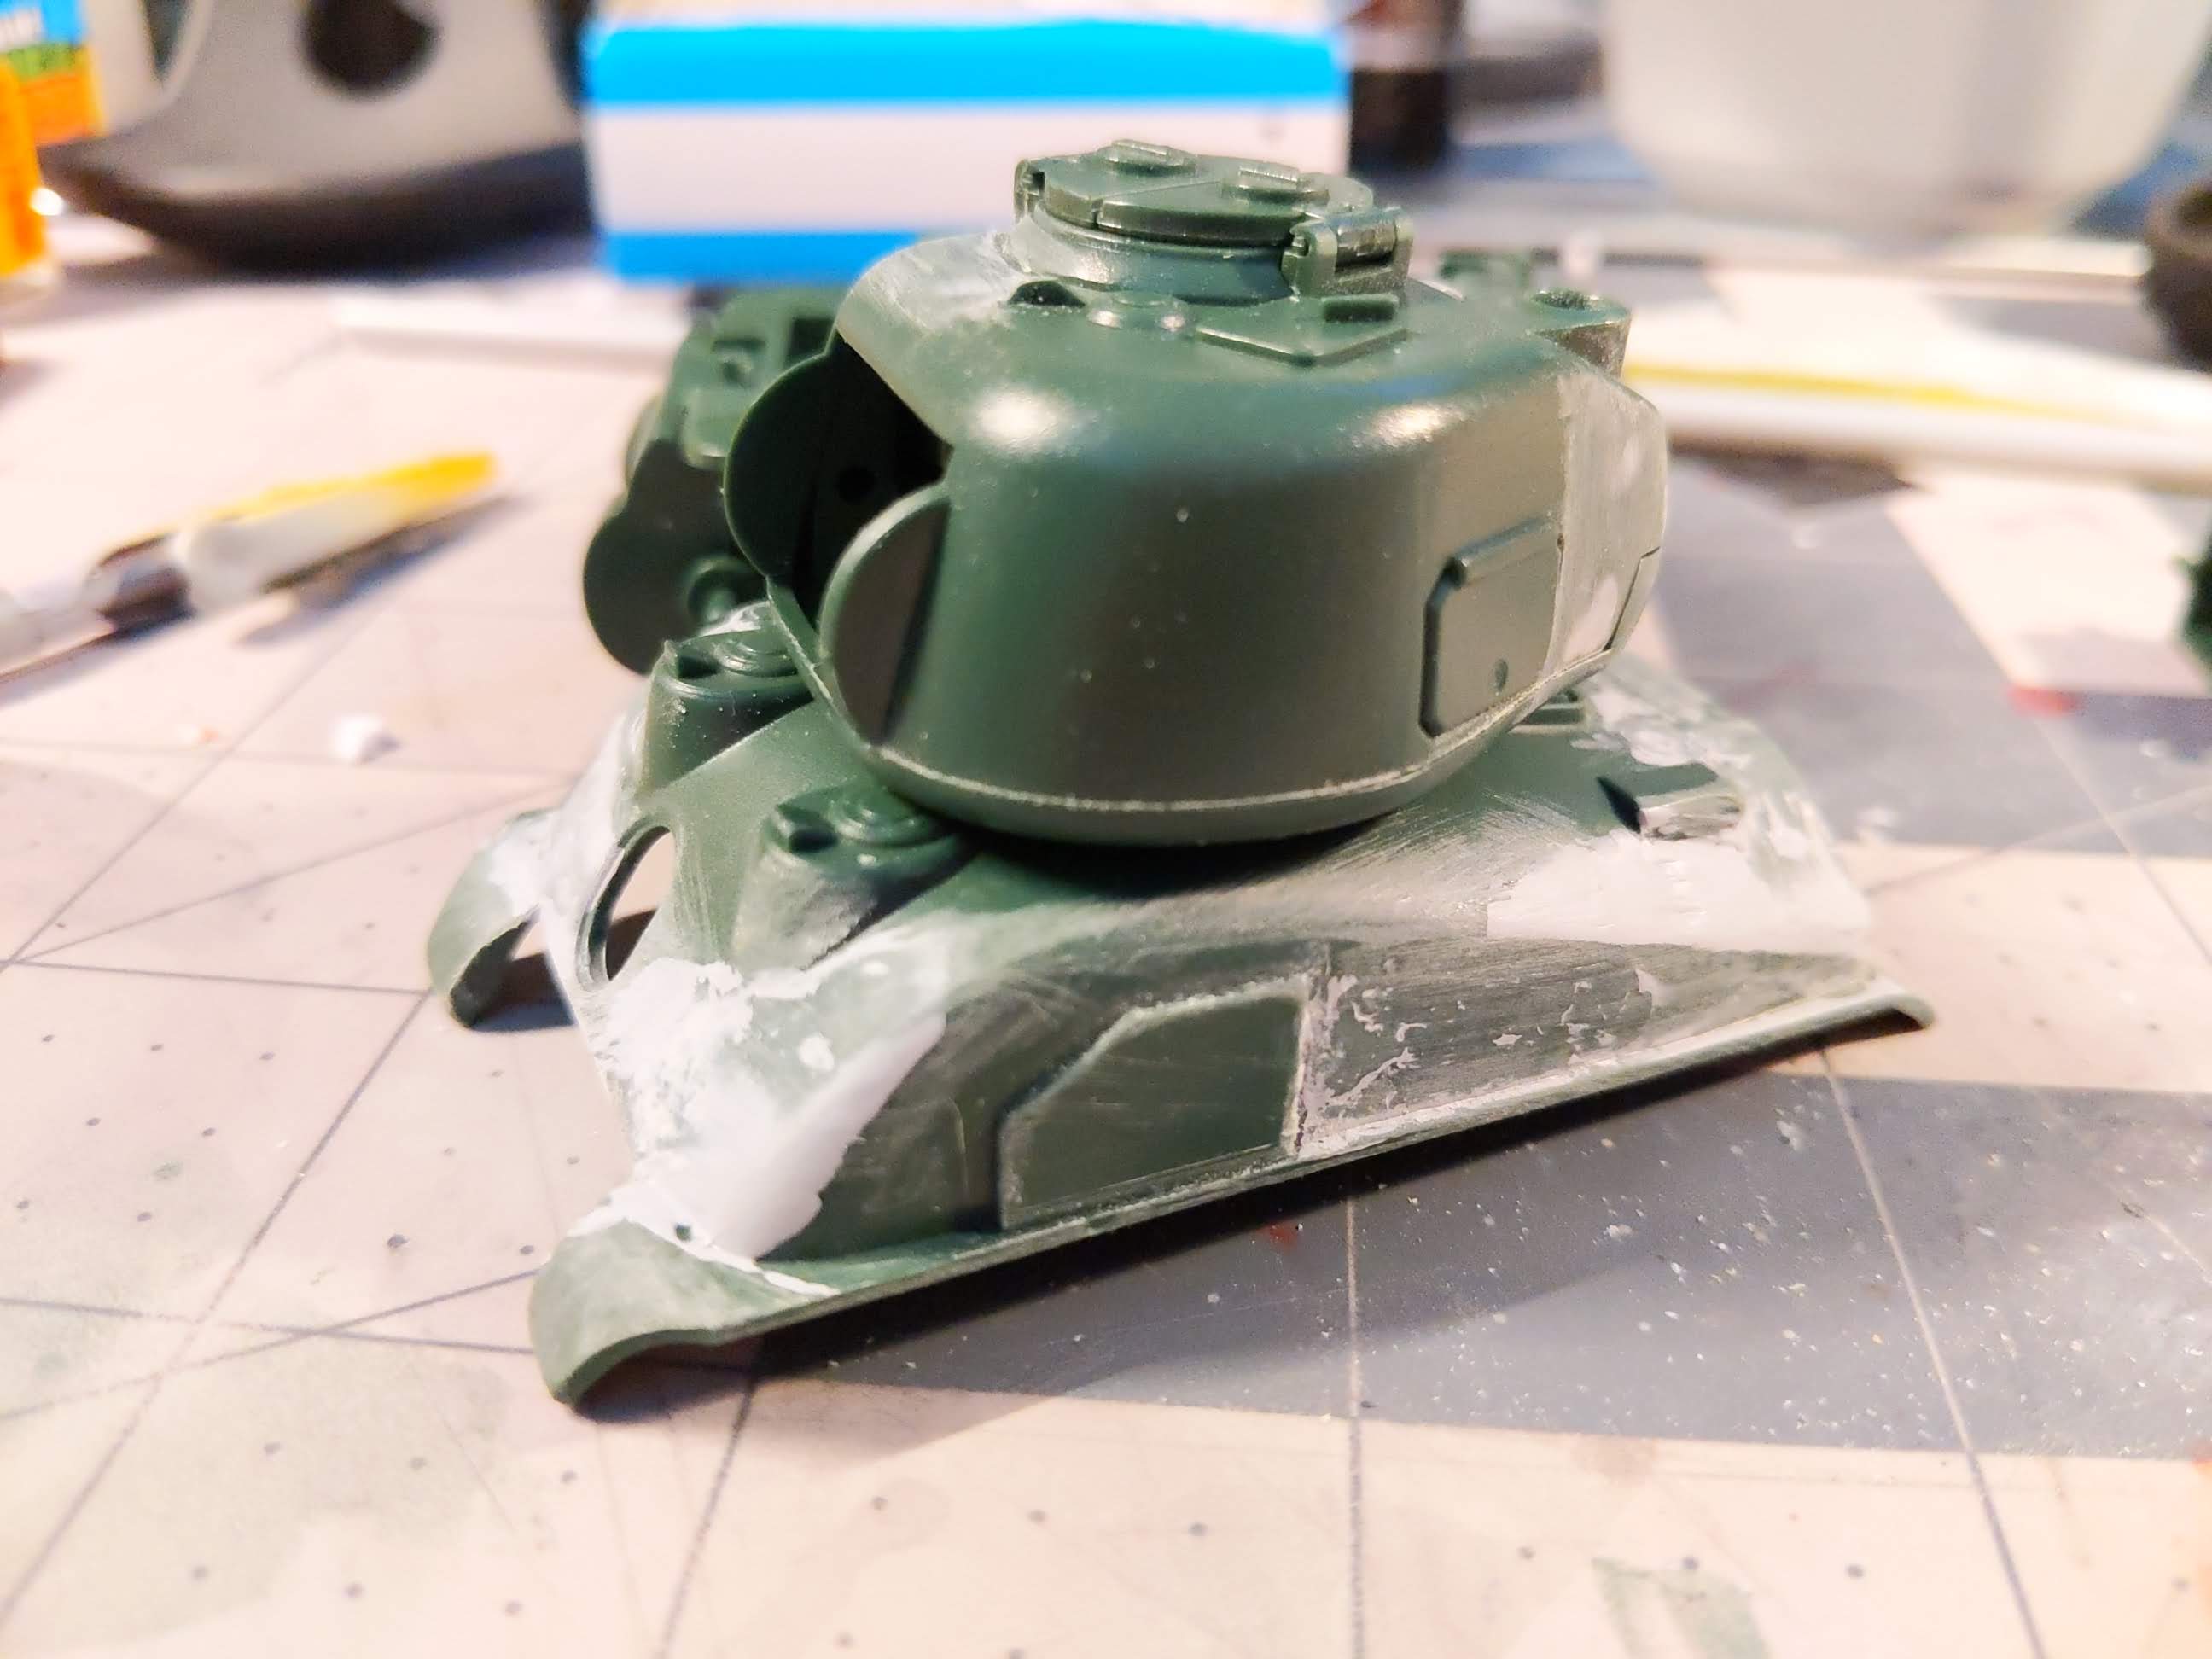
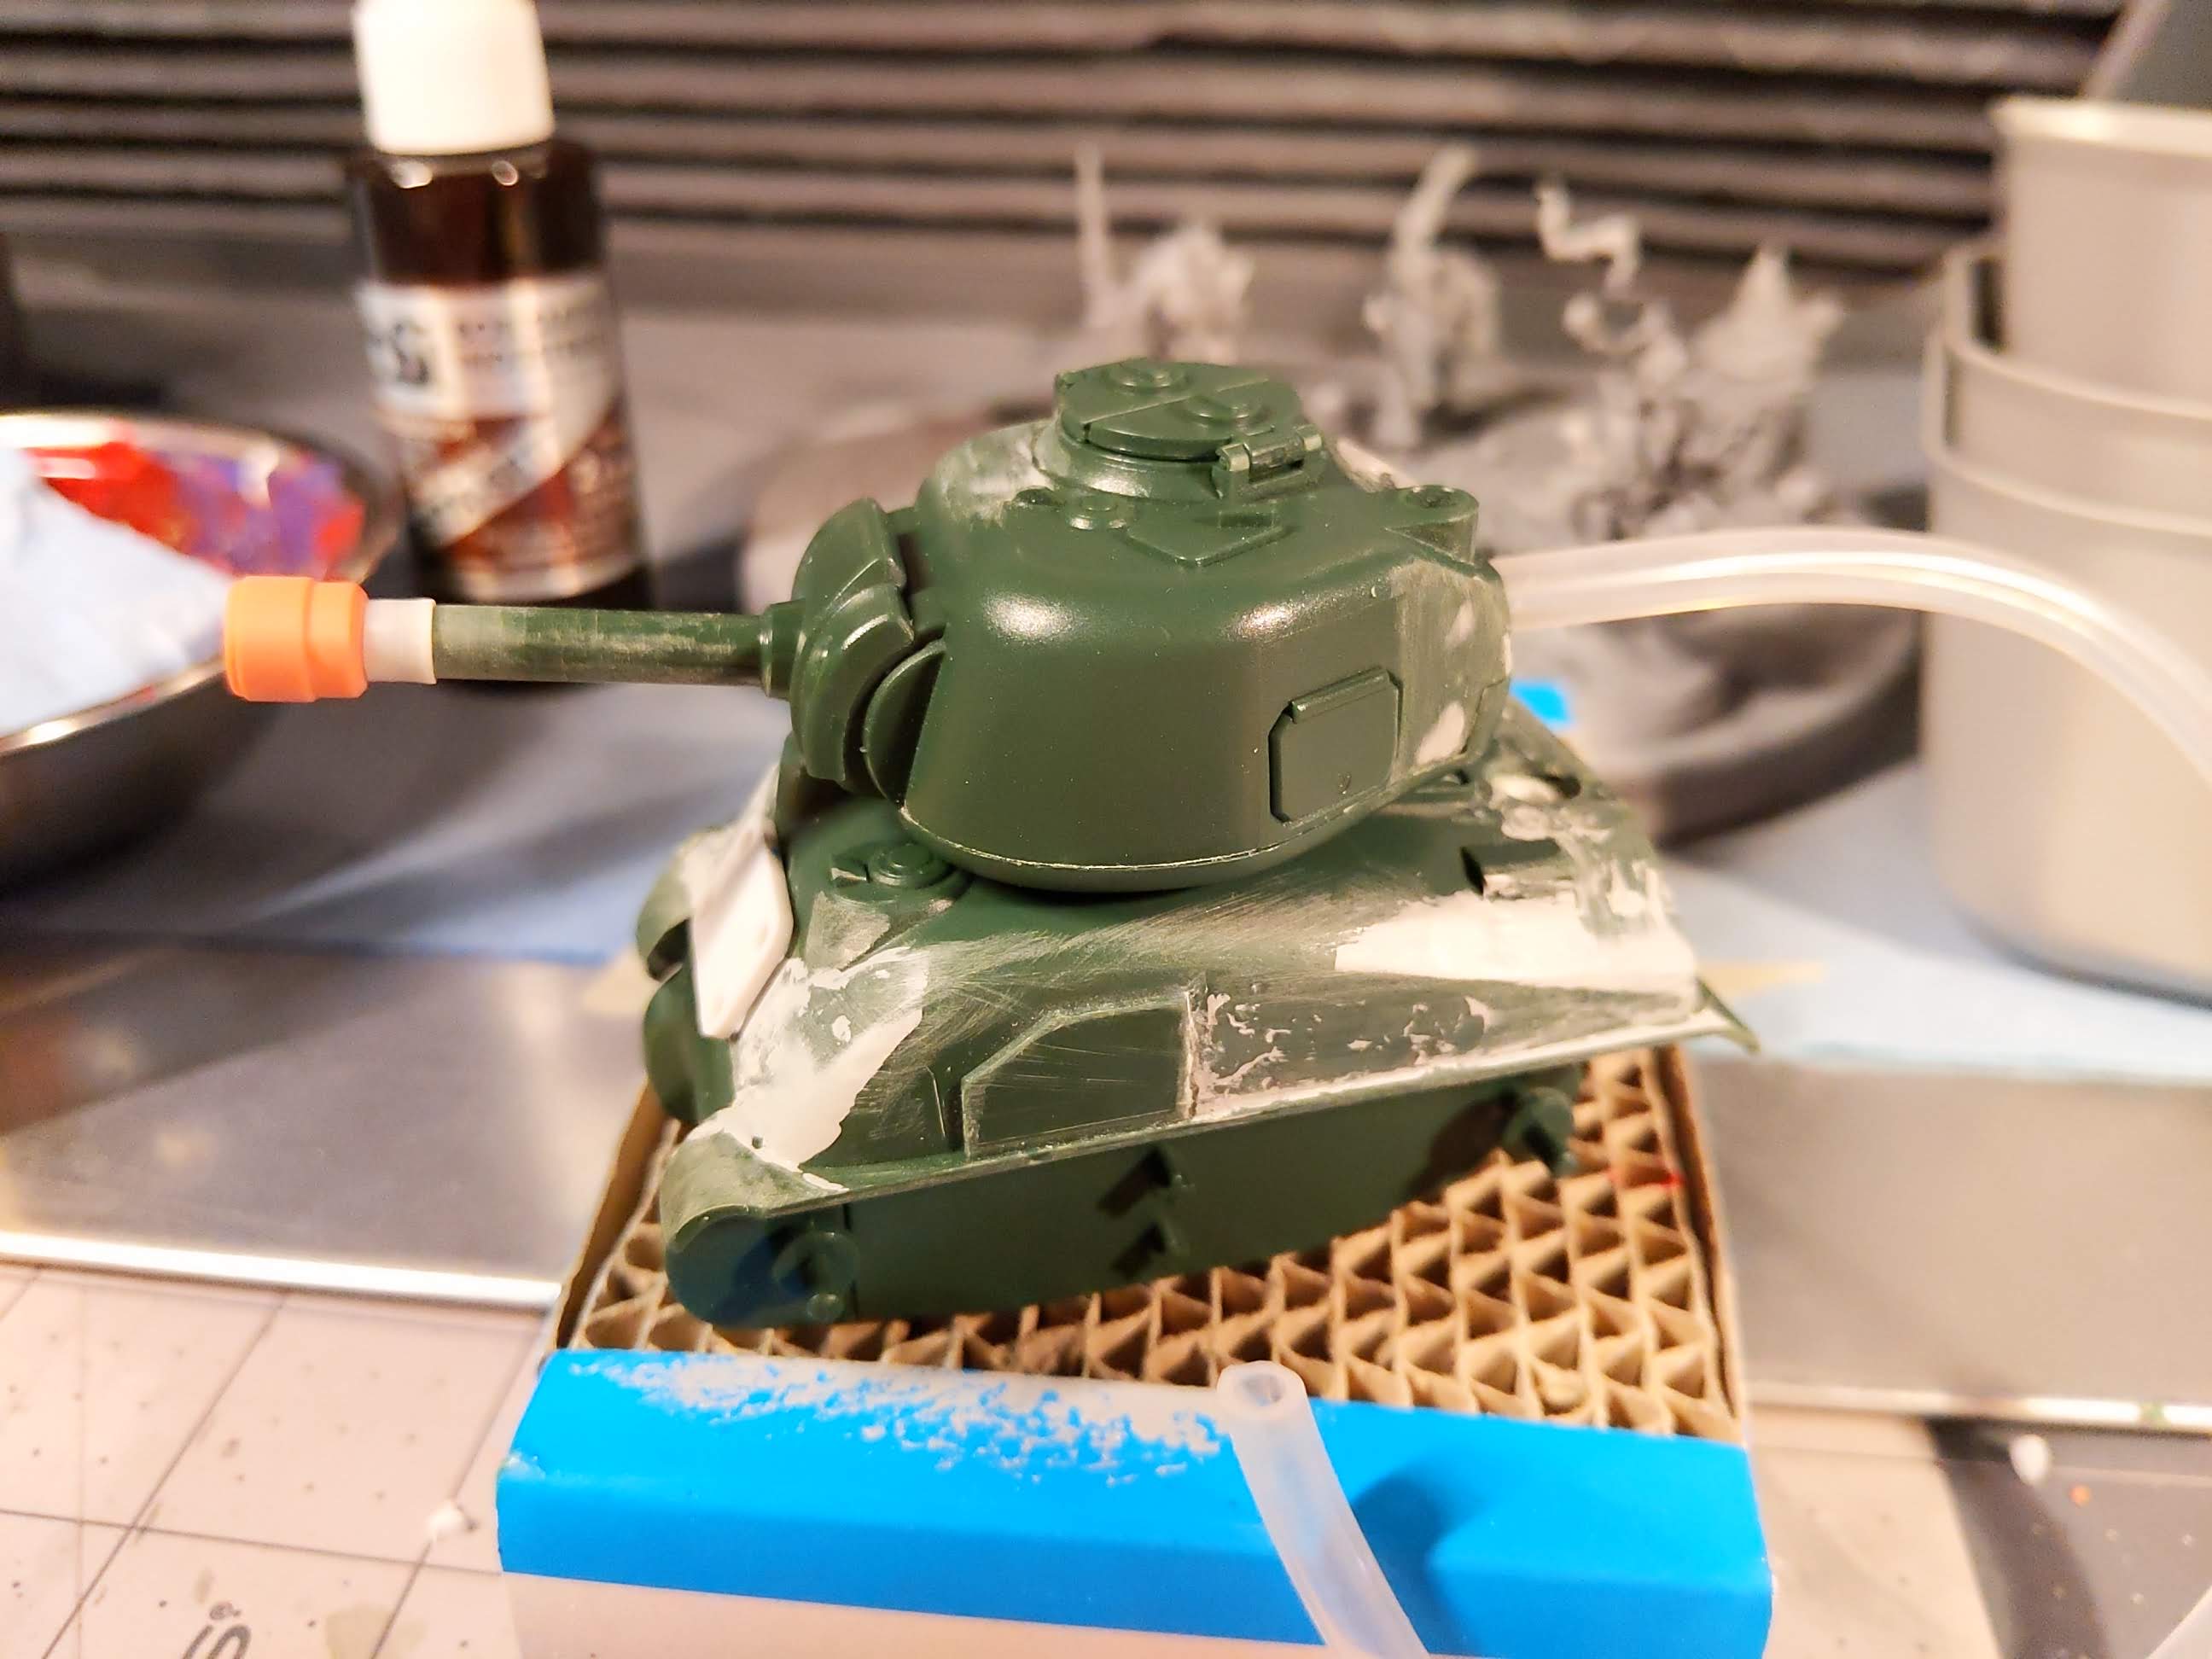
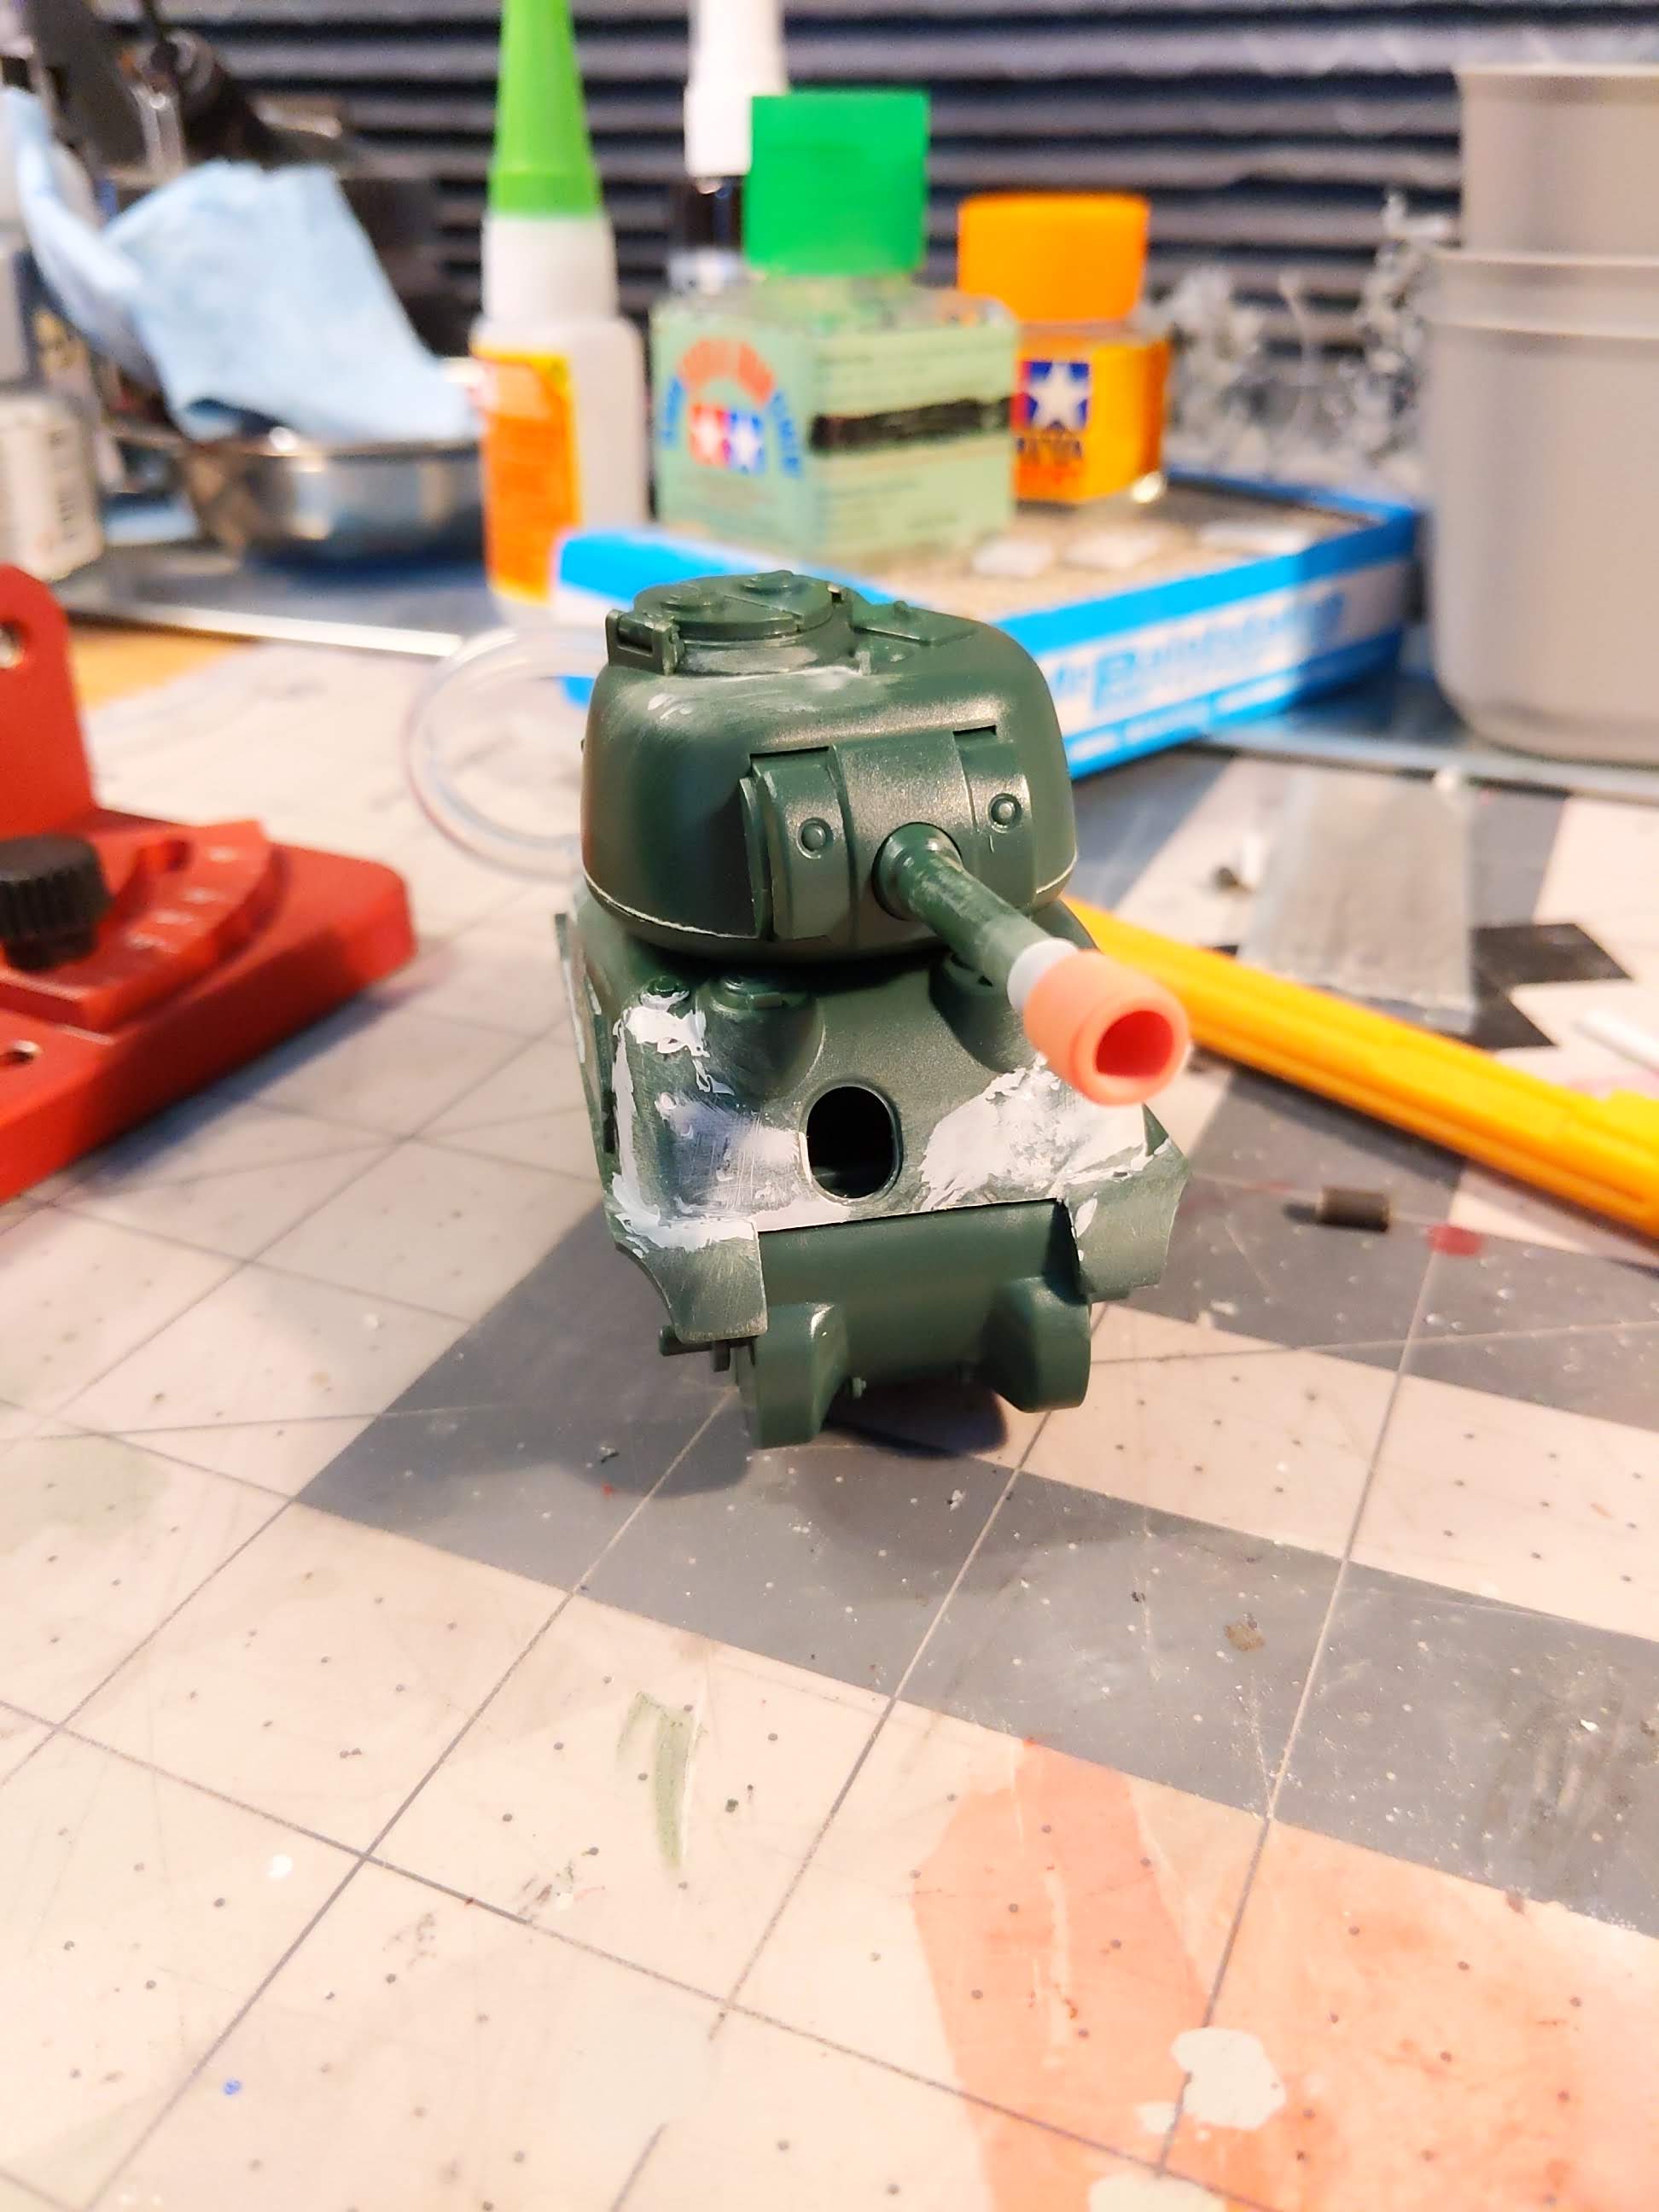
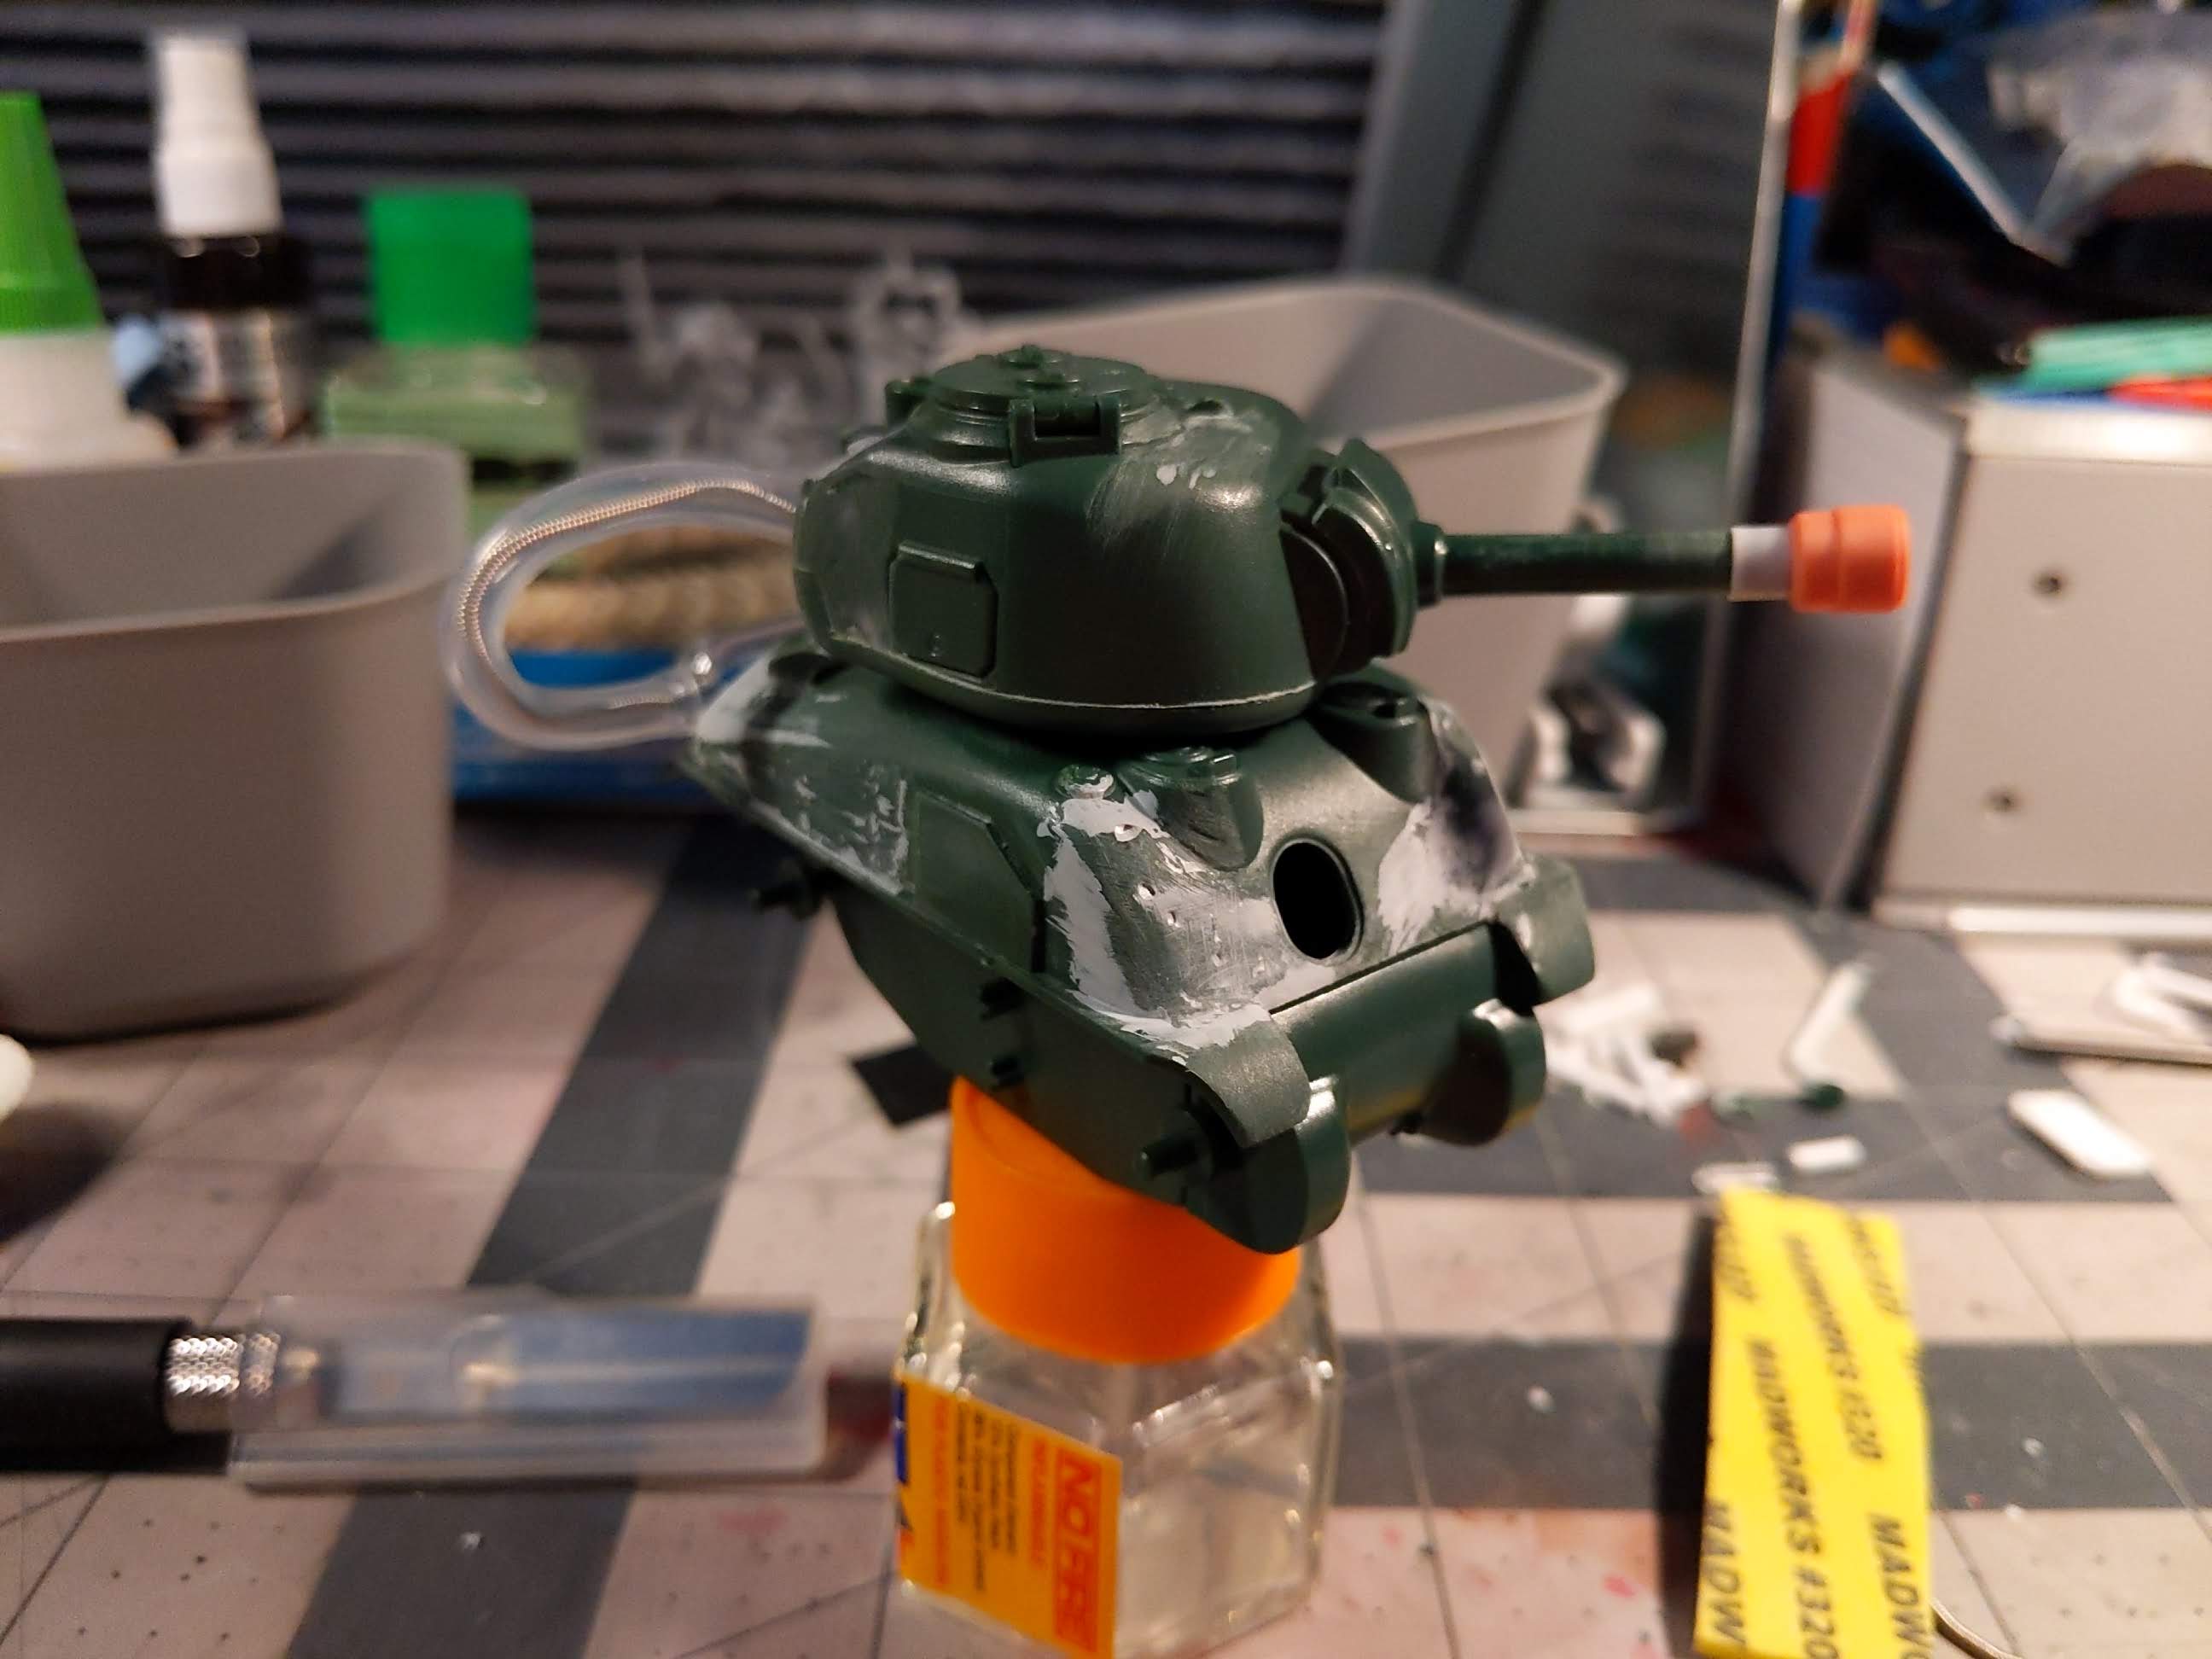
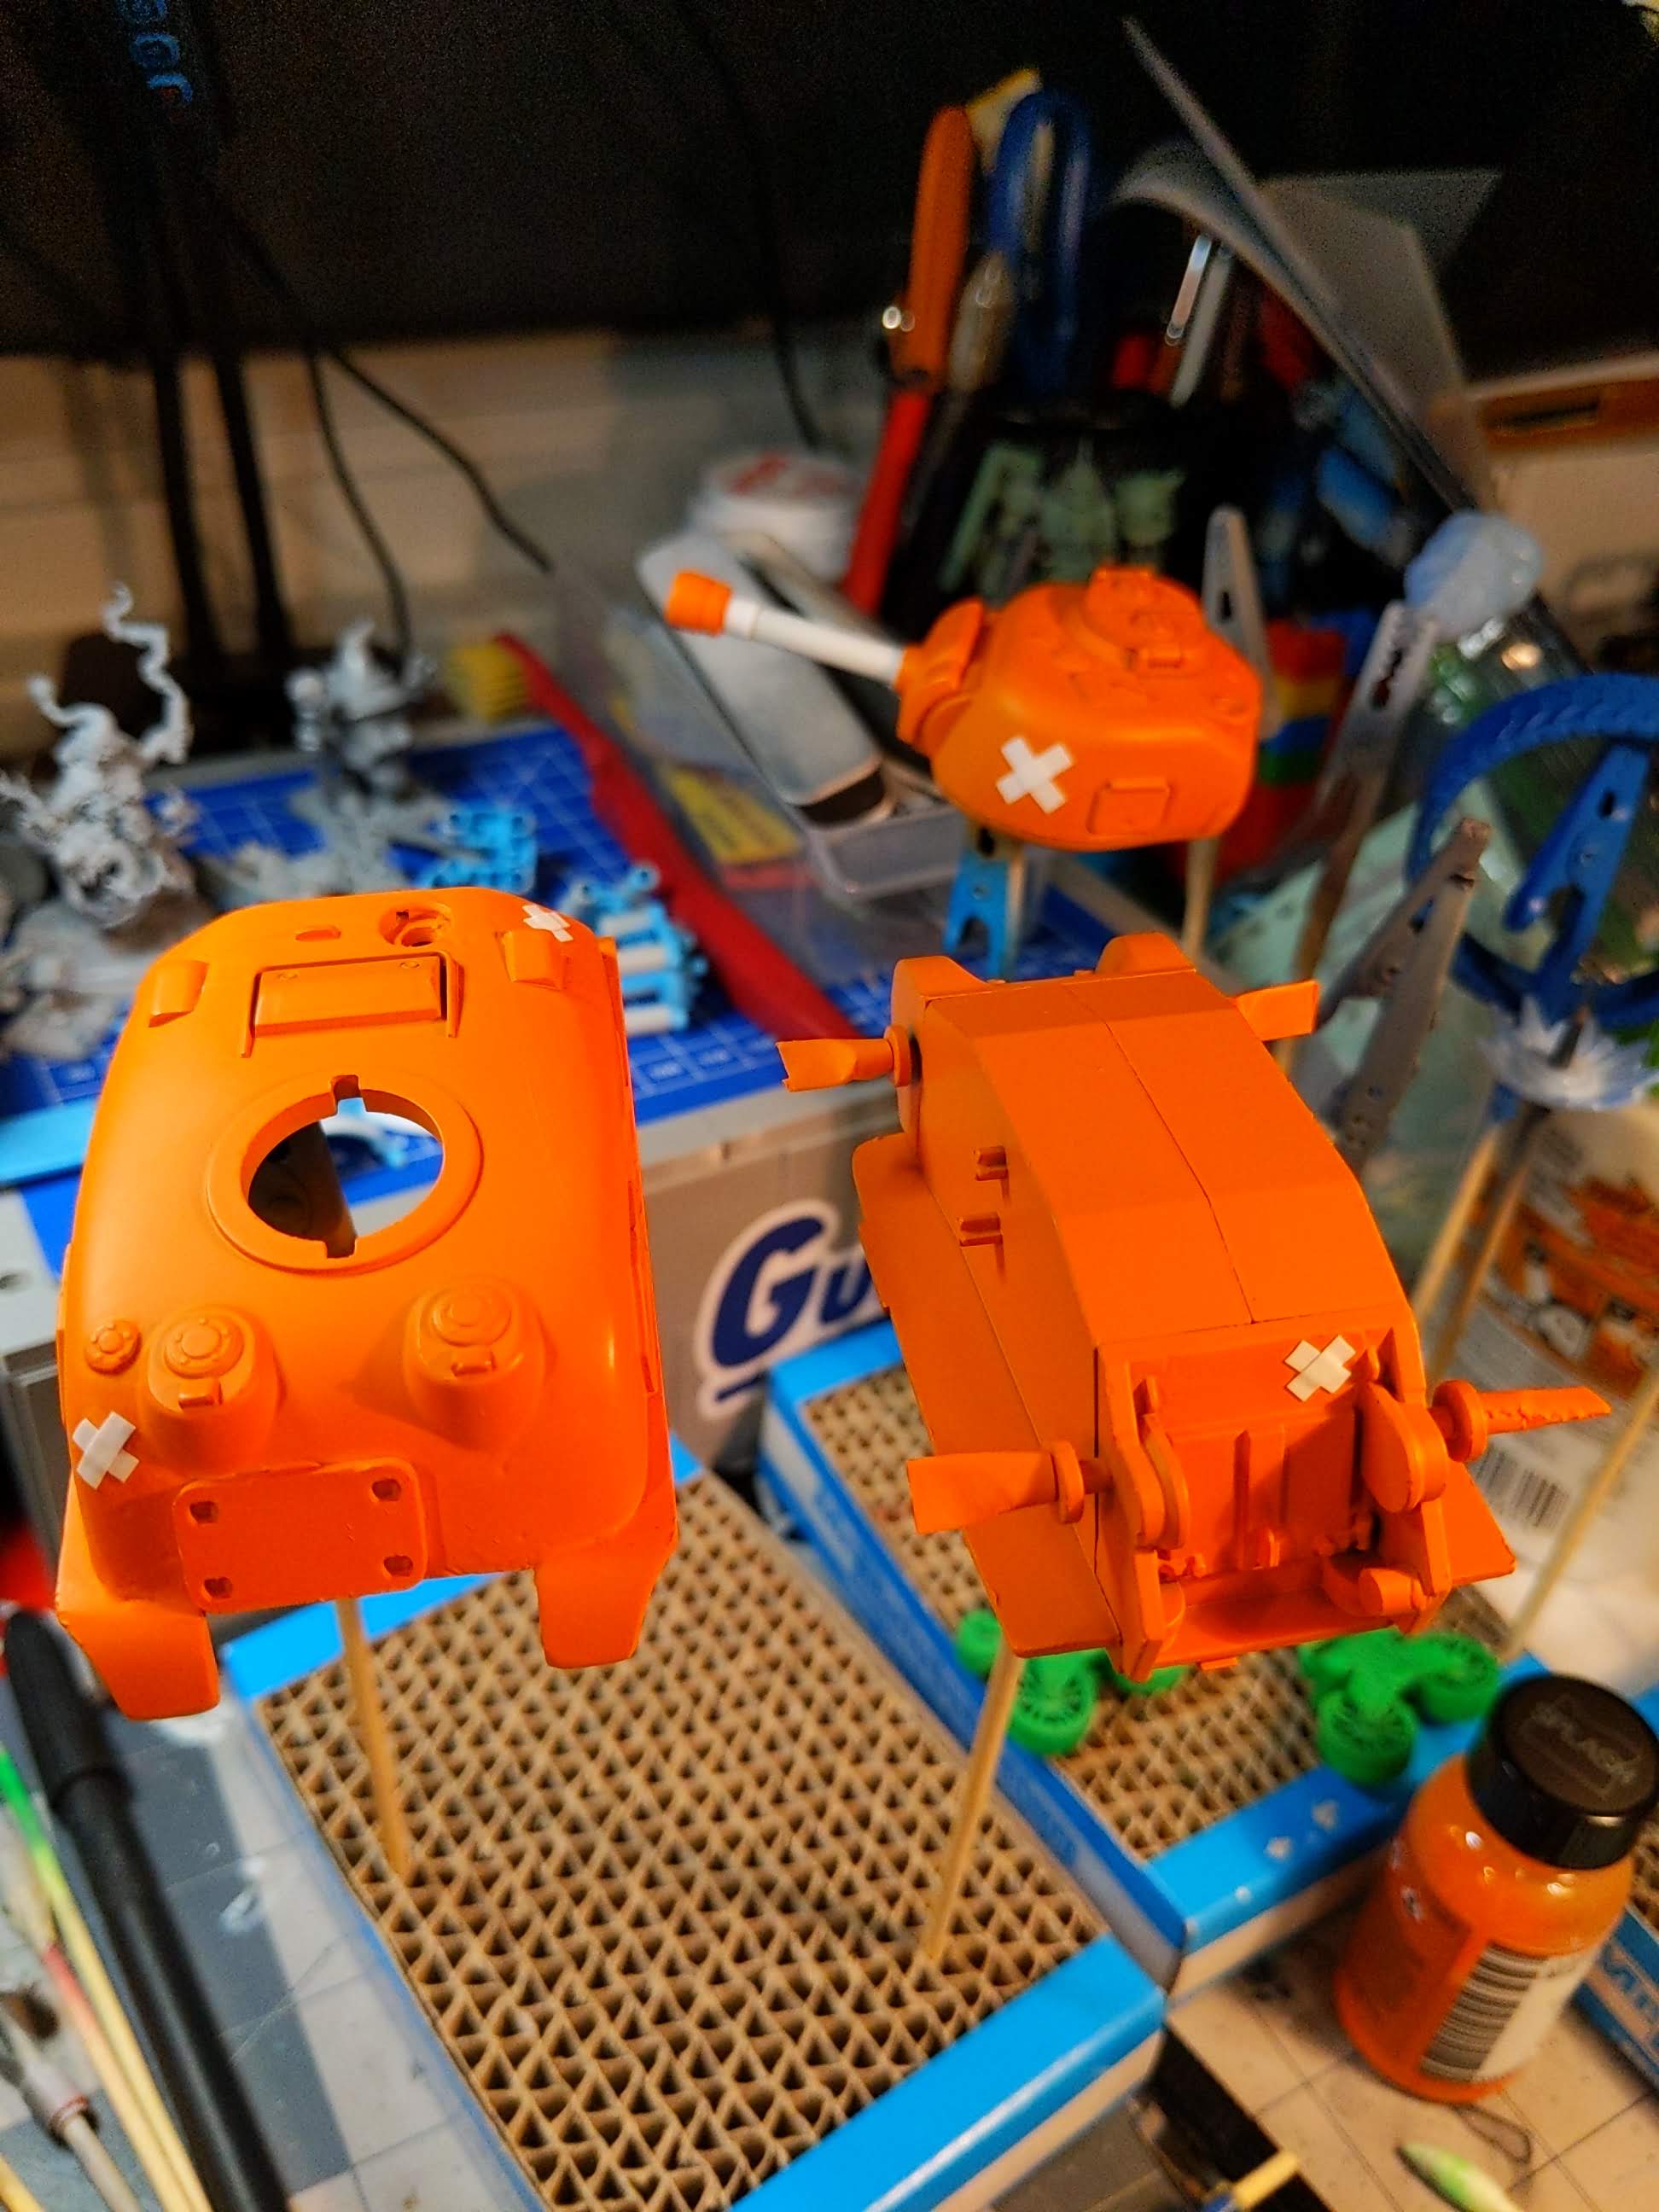
Much of the surface was simplified by removing different bits of stowage, lights, etc. Holes were filled in with miscellaneous plastic plates from the bits bin as well as a mix of putties and super glue and then smoothed back out.
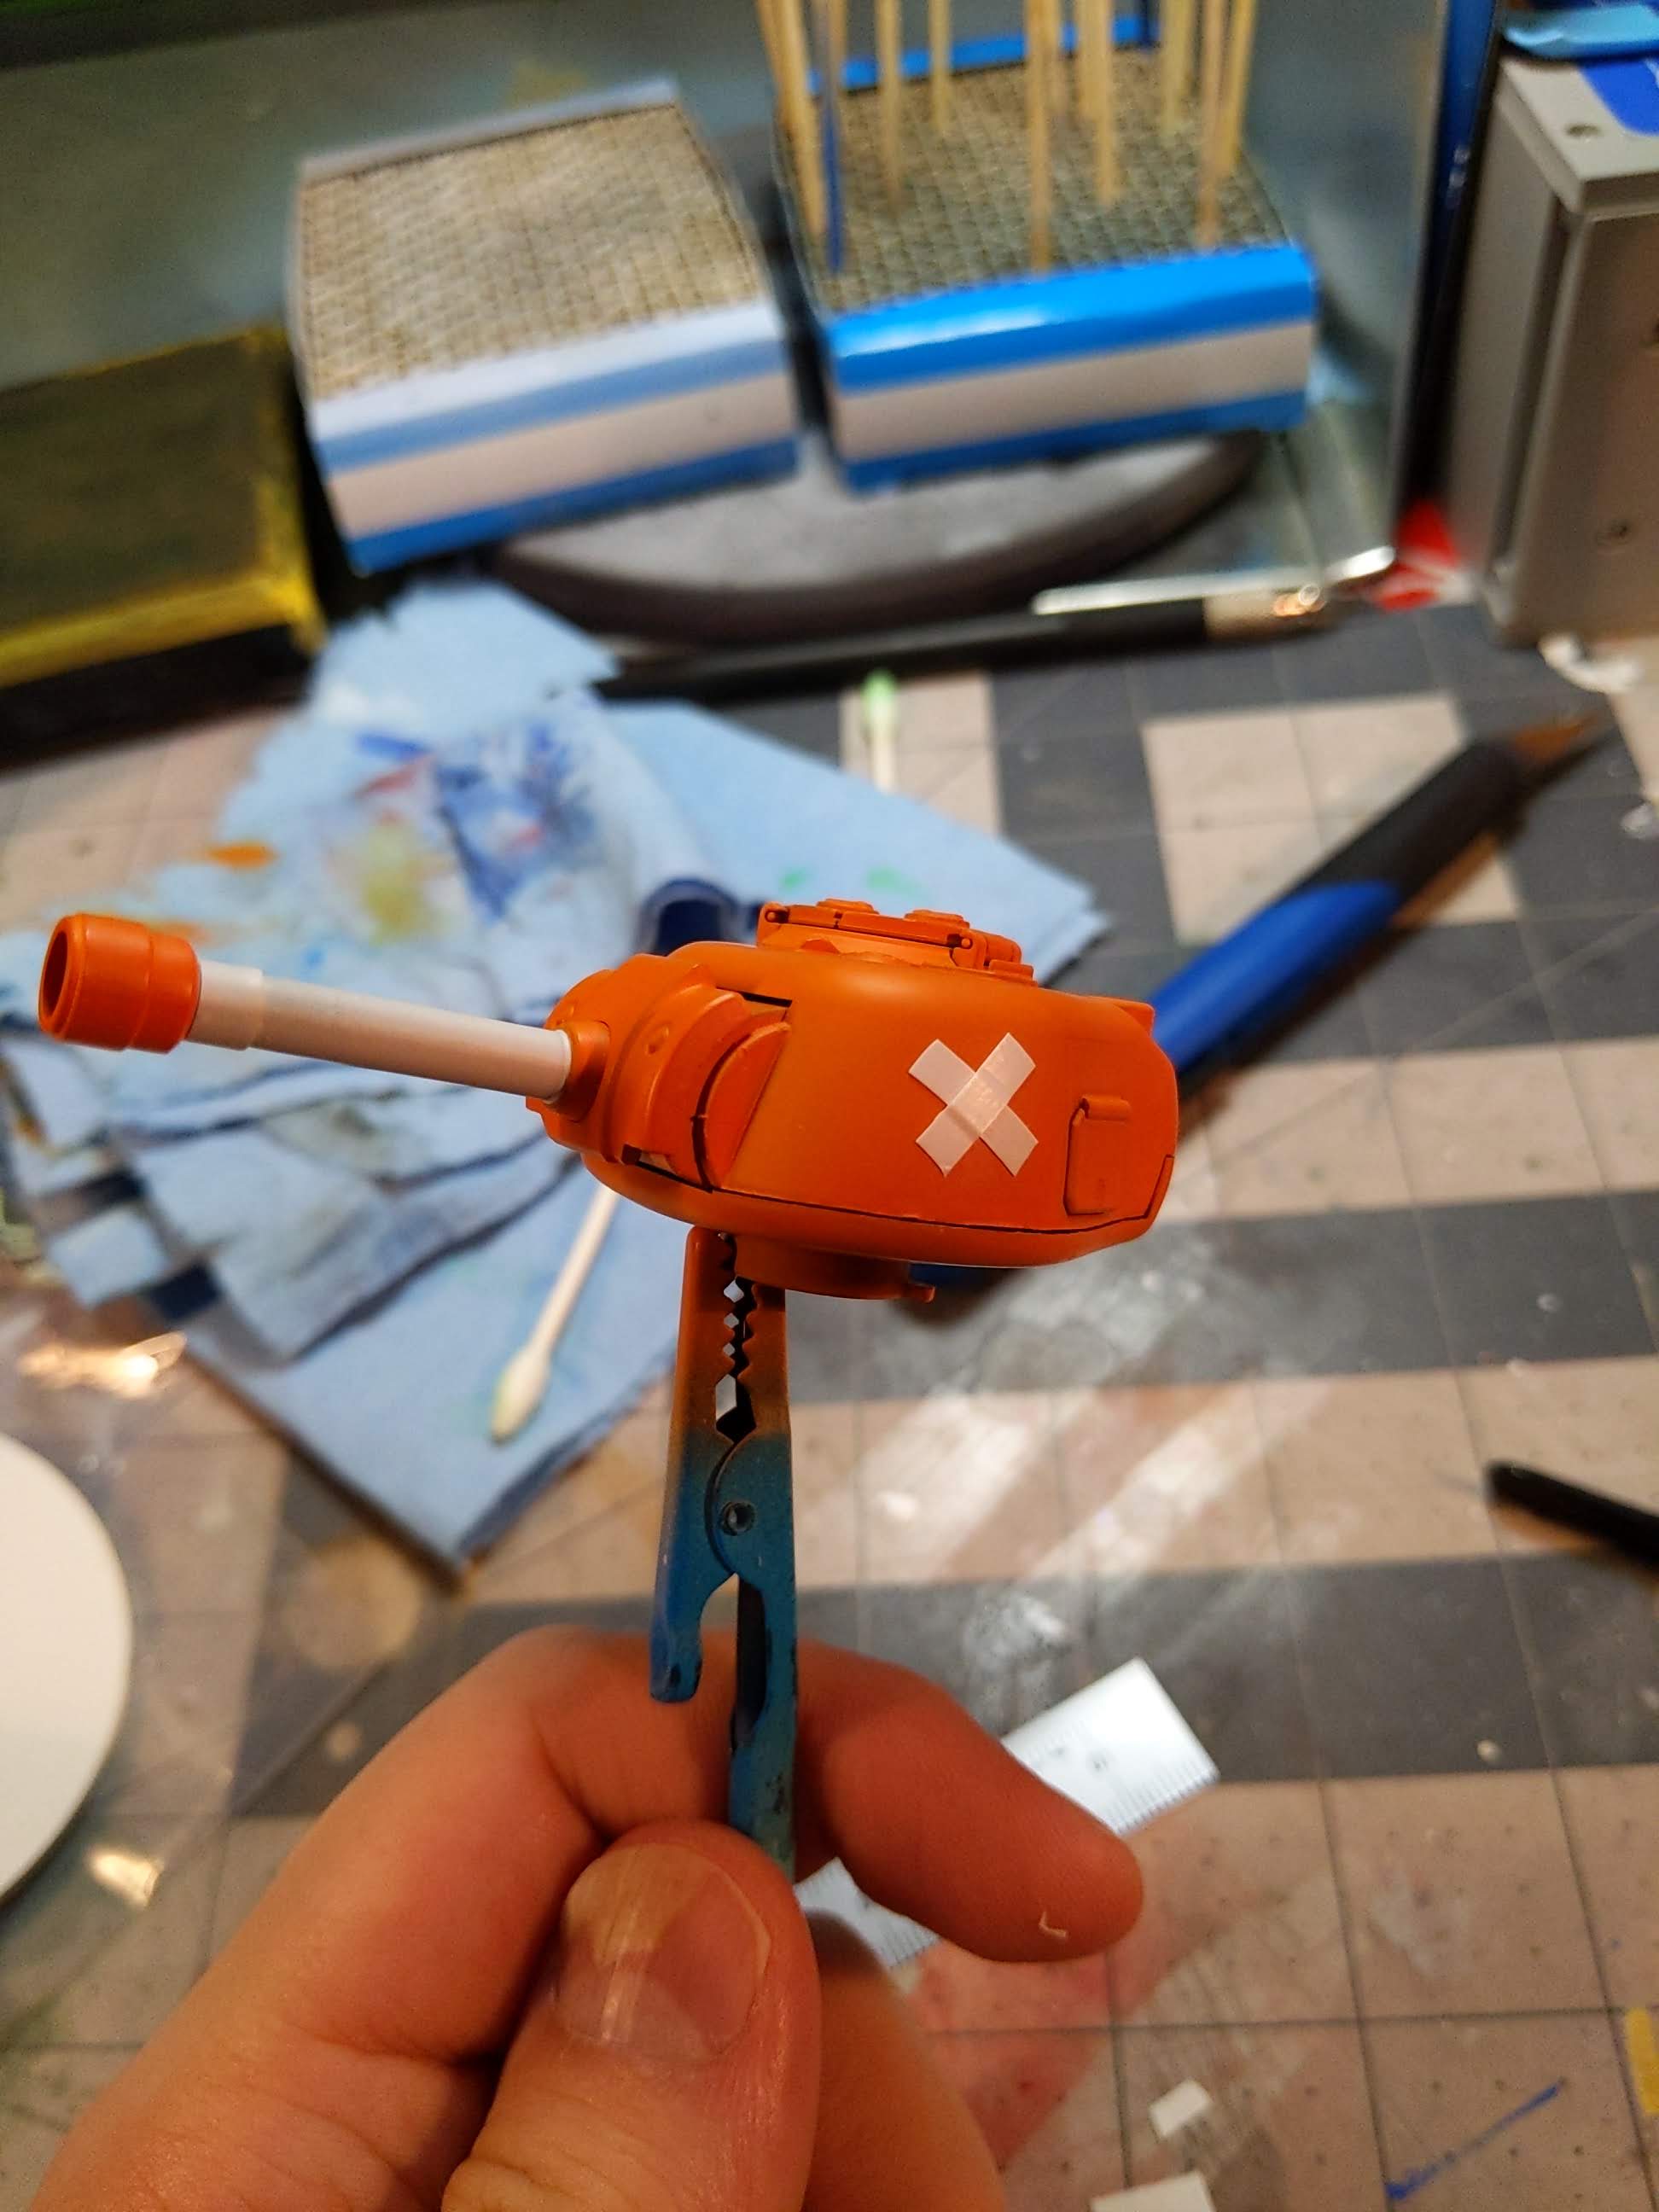
At some point I even opted to make use of masking tape to act as bandages as I wanted to even make the weathering toy-like.
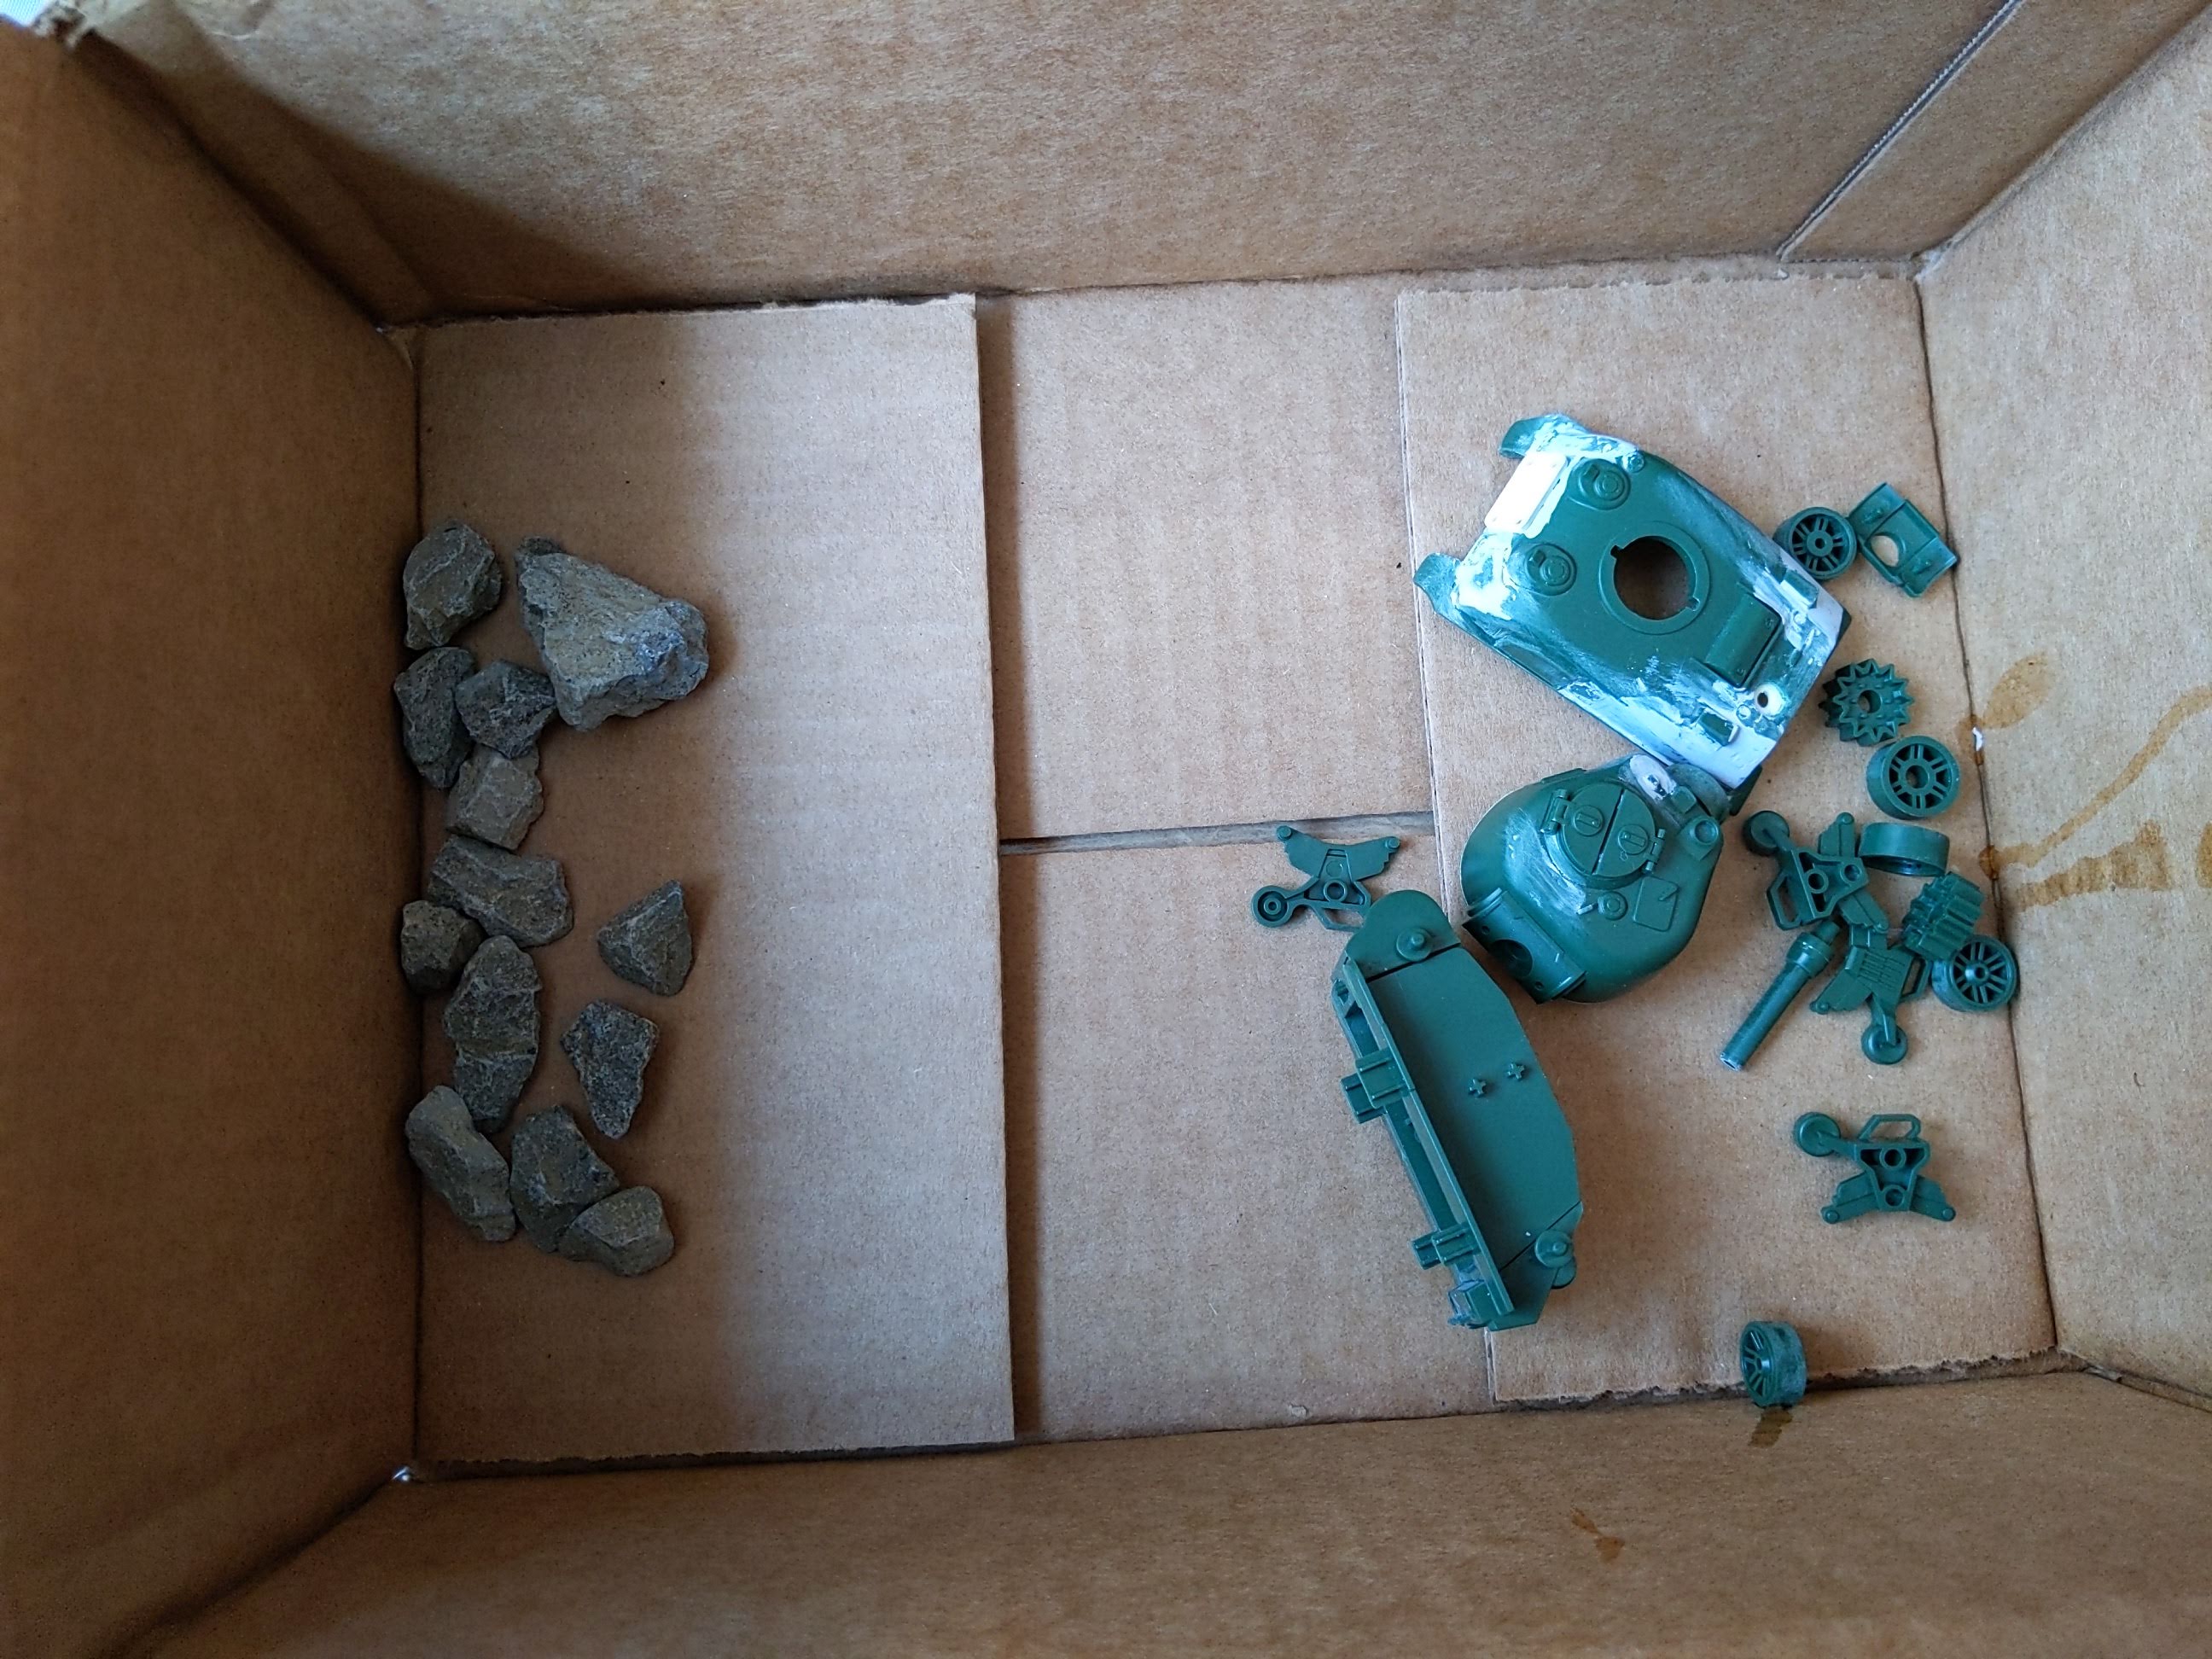
Speaking of weathering, toys often are not without their own dings and scratches from significant amounts of play time, so how could I achieve that in a way that was truly random and didn’t look overly manufactured?
I took the tank, put several of the small bits into a box with rocks, and shook the crap out of it. For the main body pieces, I threw outside into a gravel lot. It introduced several minor dings and scratches that added a bit of character to the surface.
In the realm of enhancing visuals, I used a file to draw out an edge on the seams to both widen them and give it a bit of an edge as if it had not been cleaned up after molding.
To round out the build, I felt like it needed a bit more to help sell it. I happened upon an effects set for 30 Minute Missions which I believe was meant to be smoke but I managed to give it what I feel is a pretty effective water-like paint job to show off the “waterpower” of the tank.
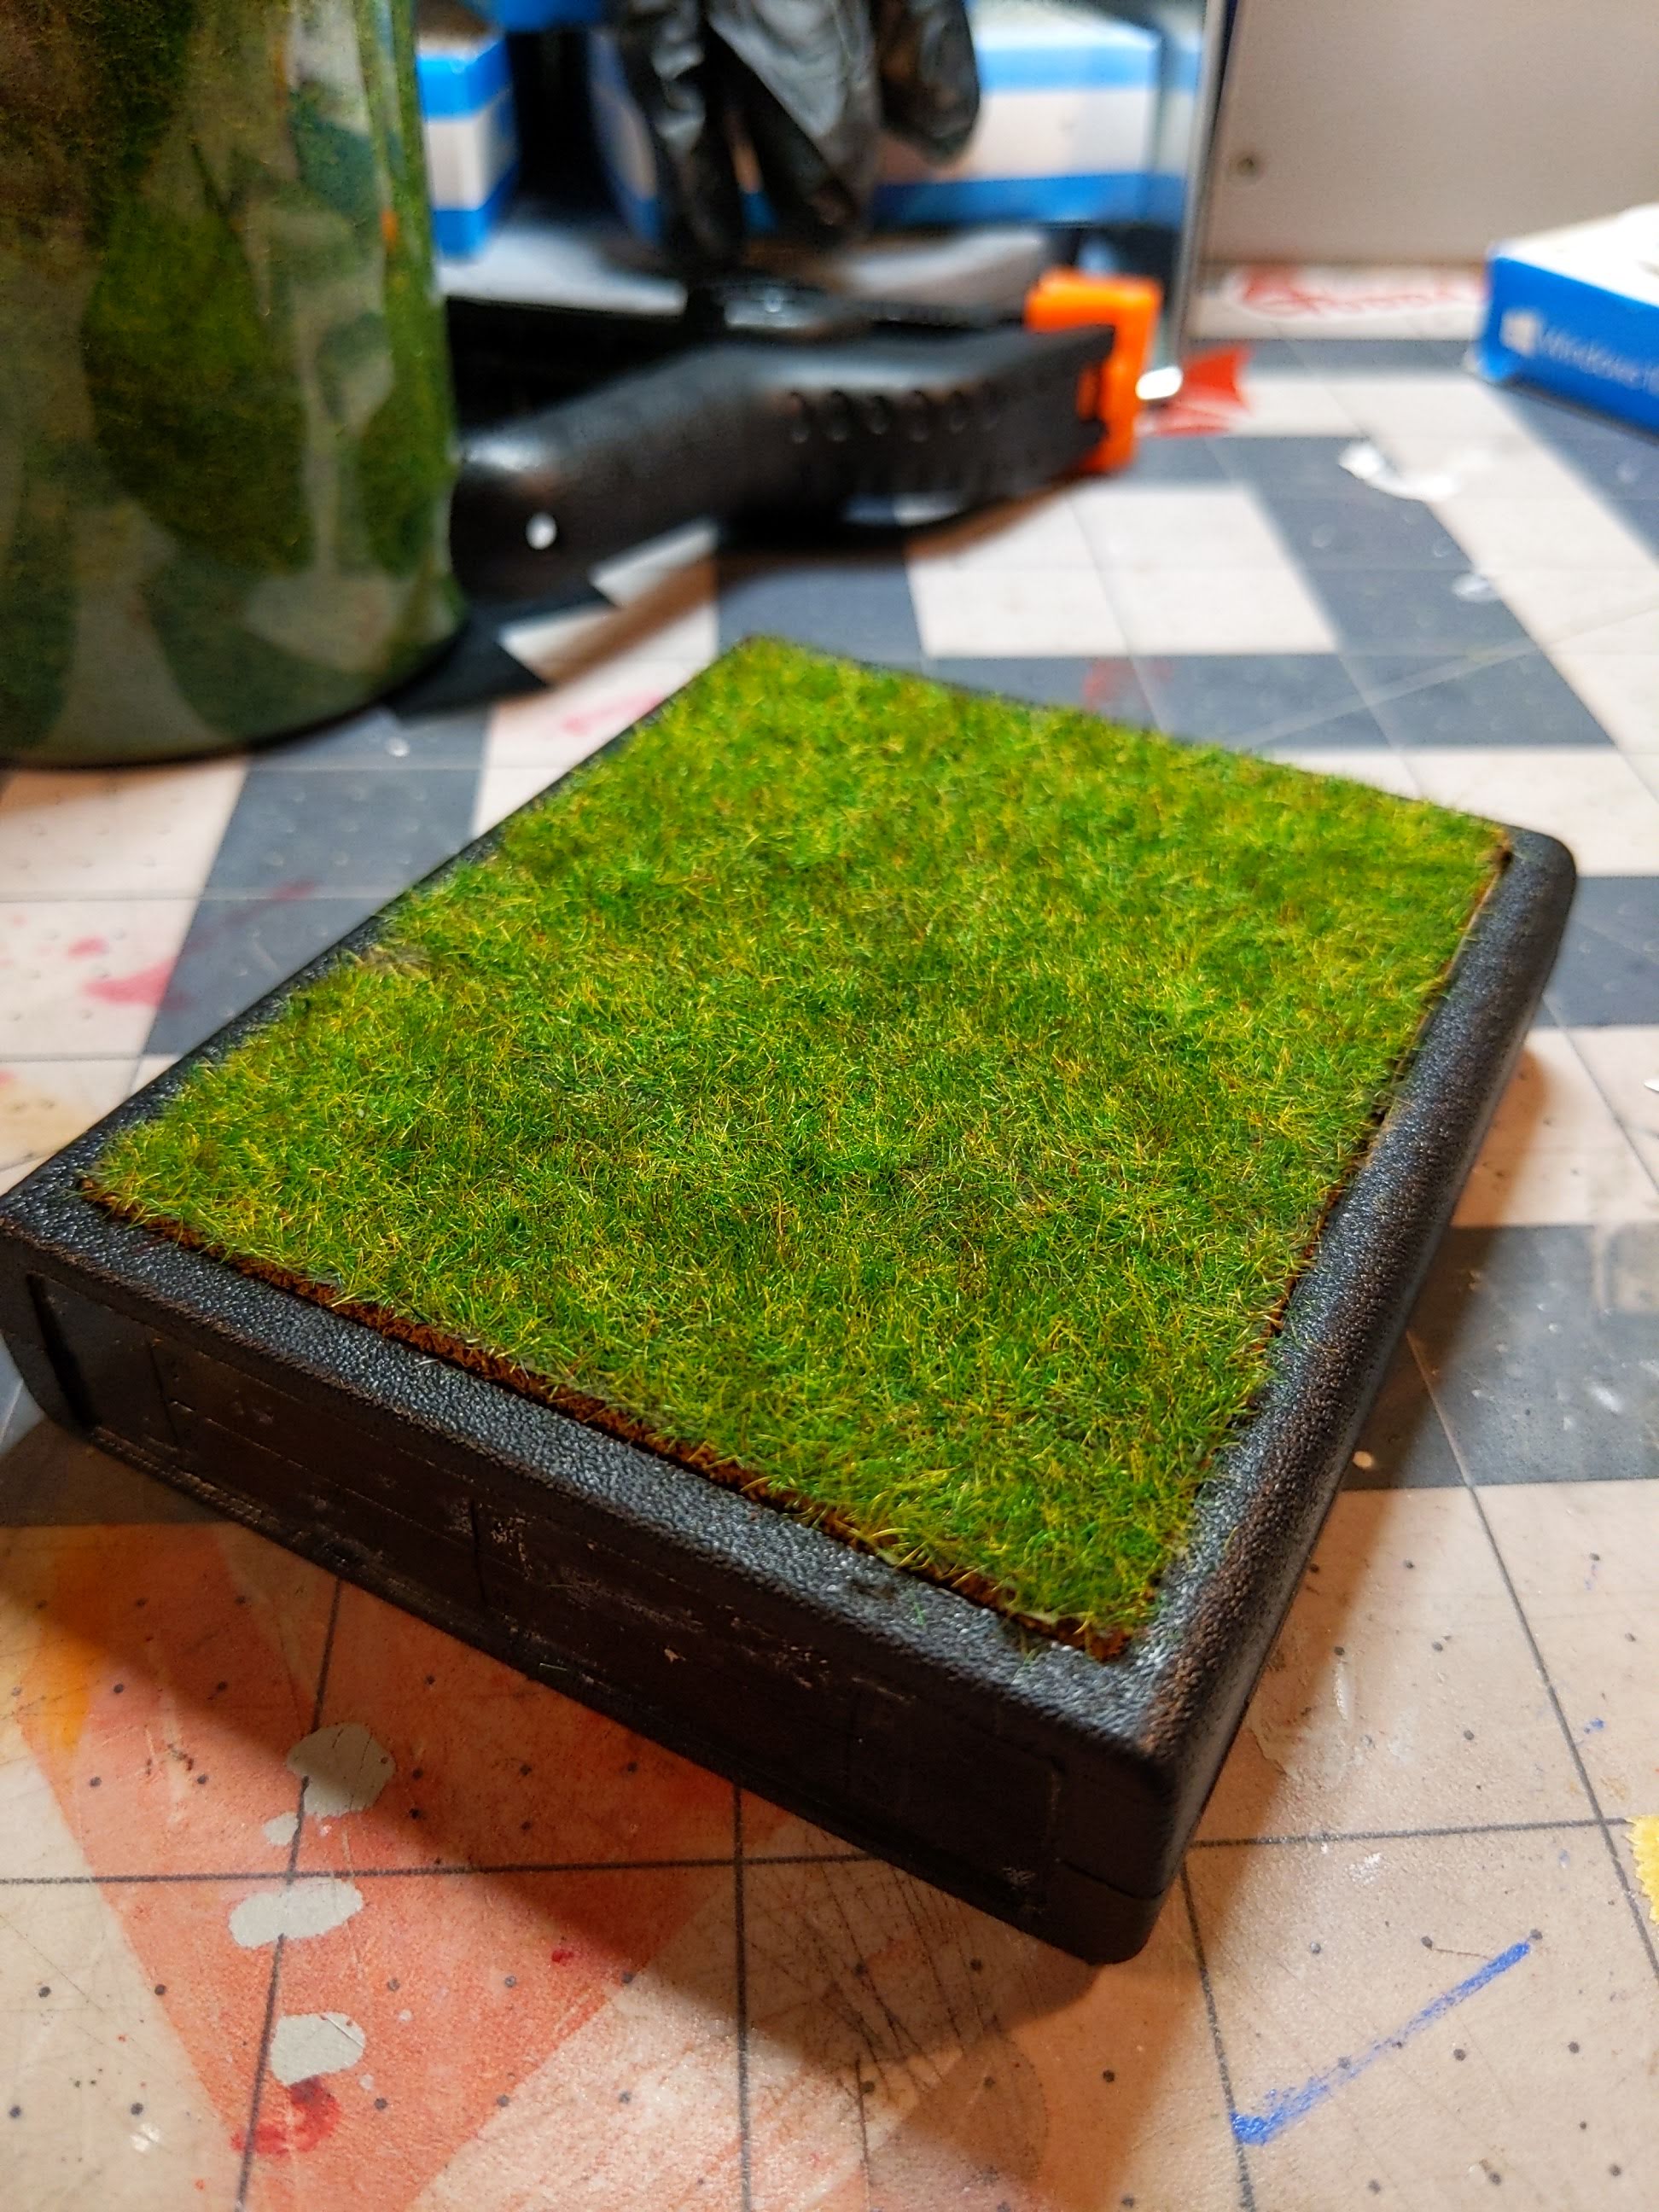
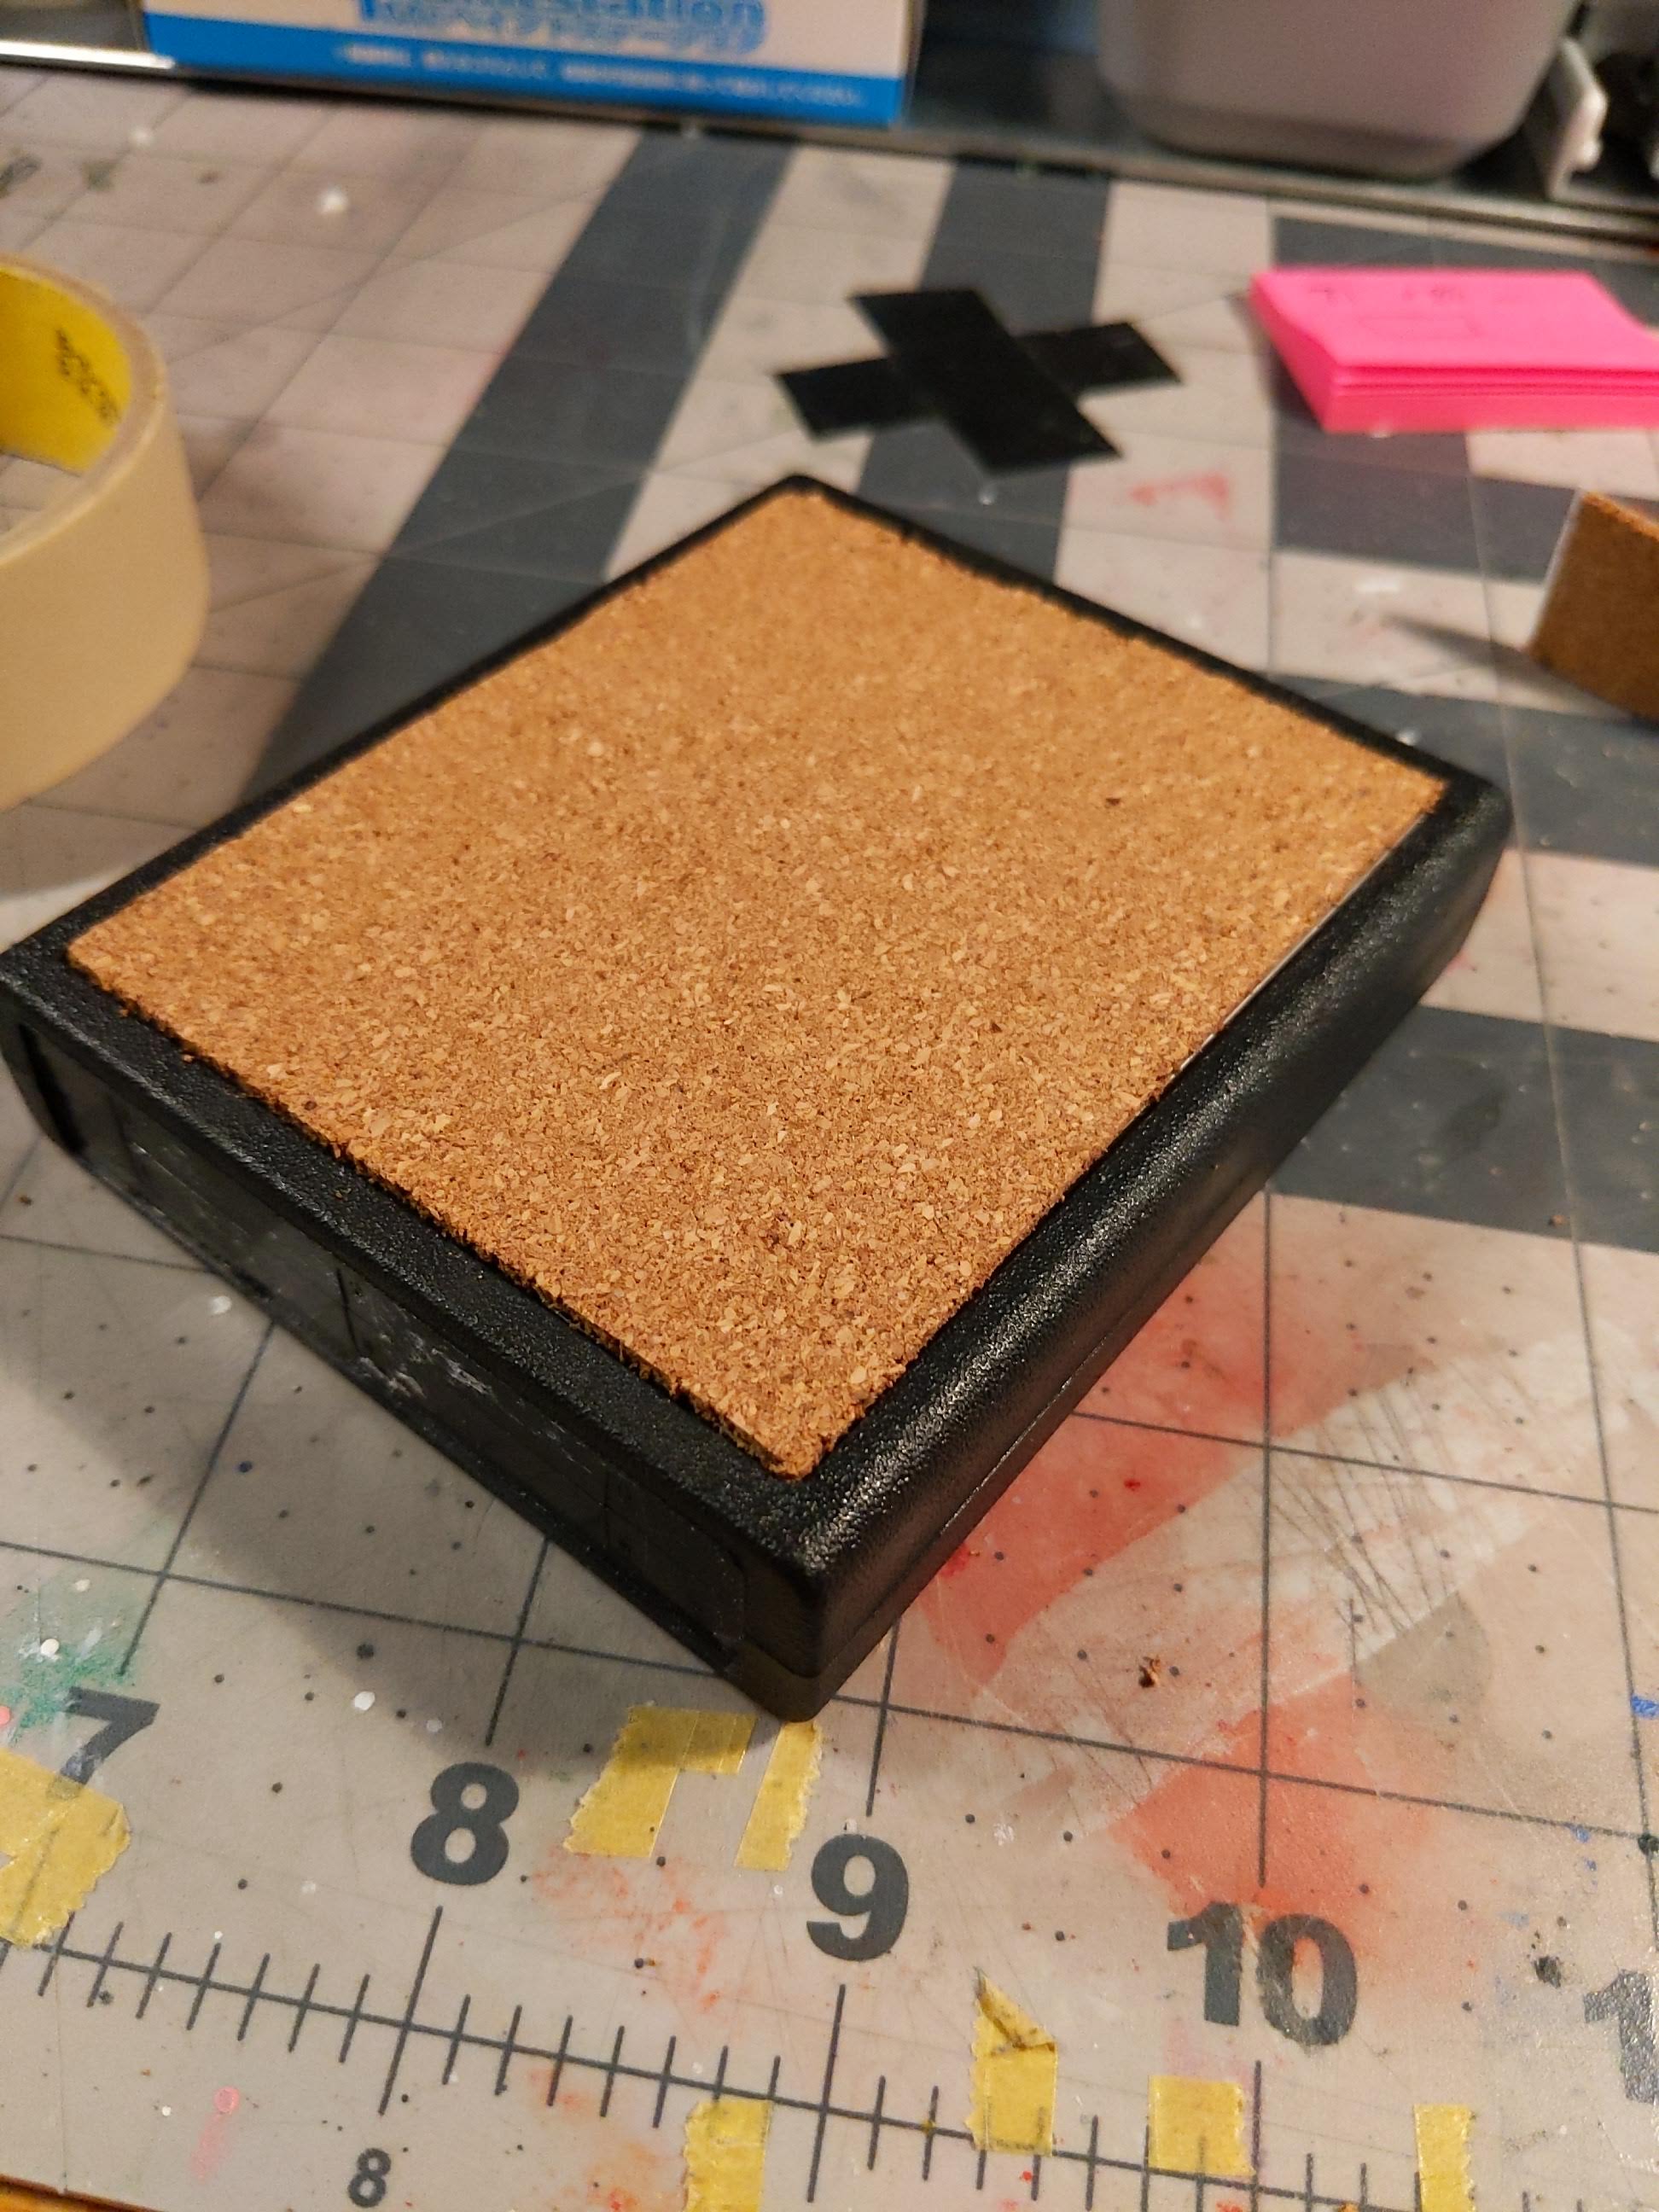
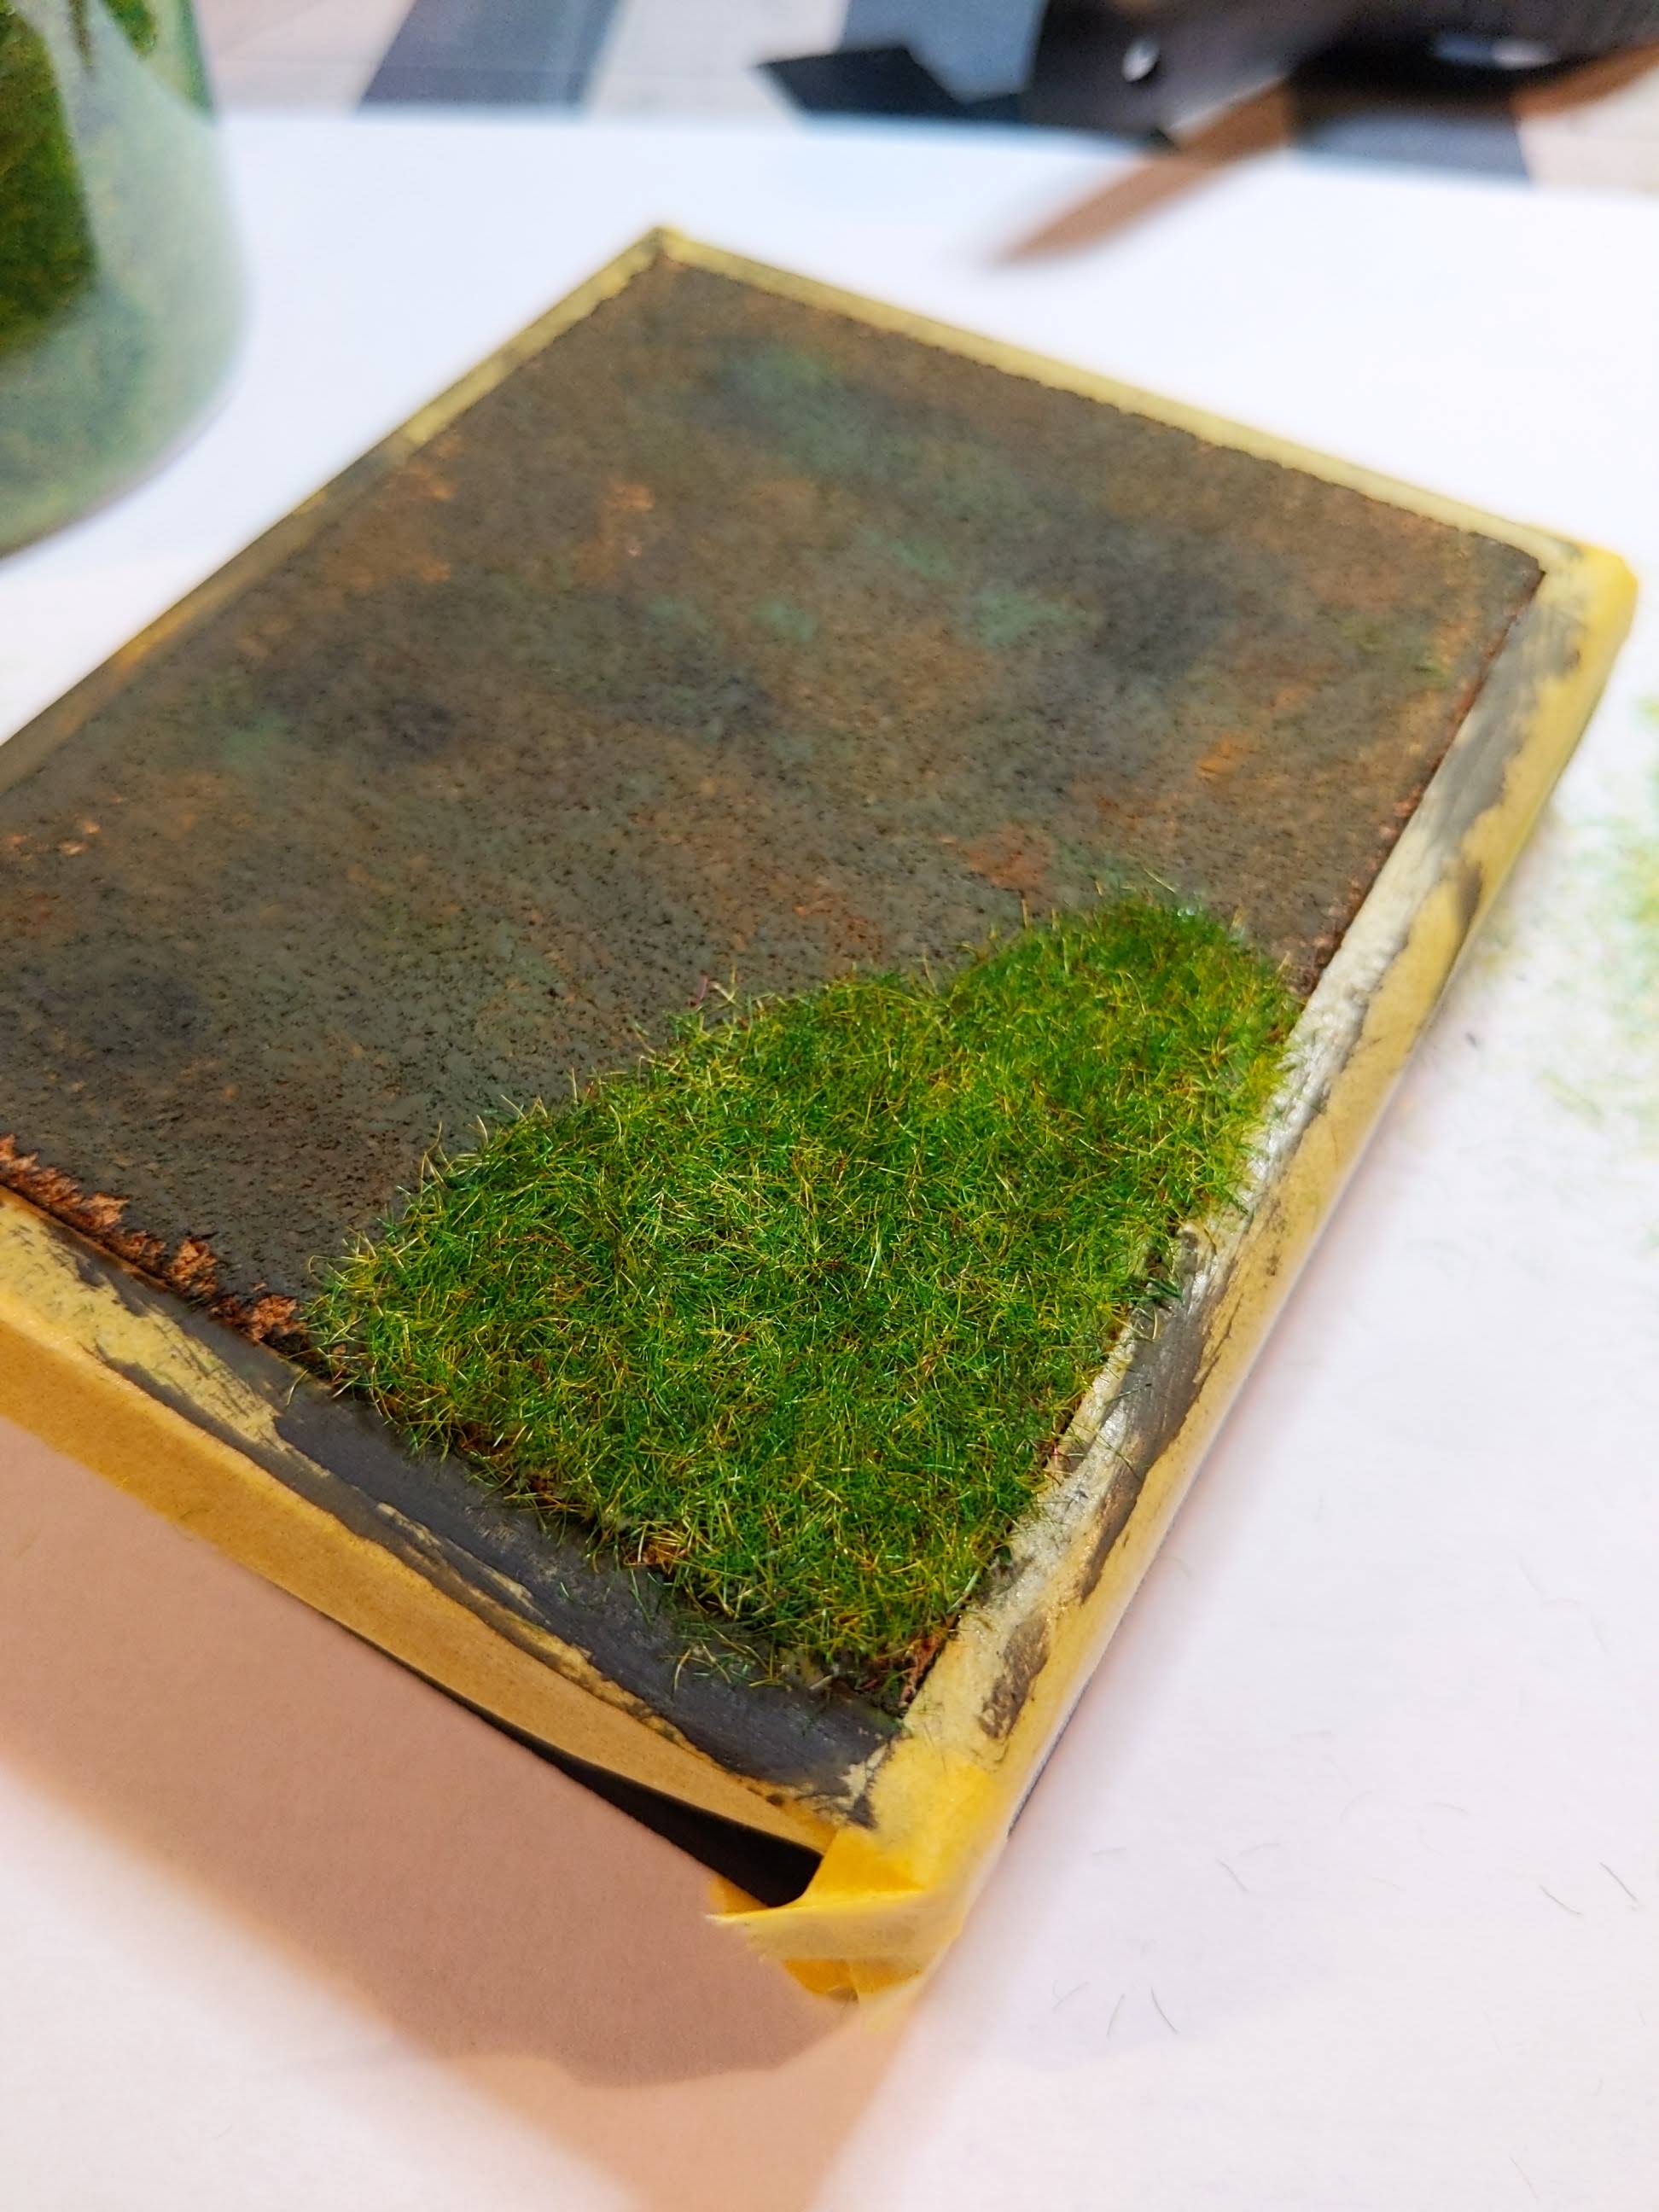
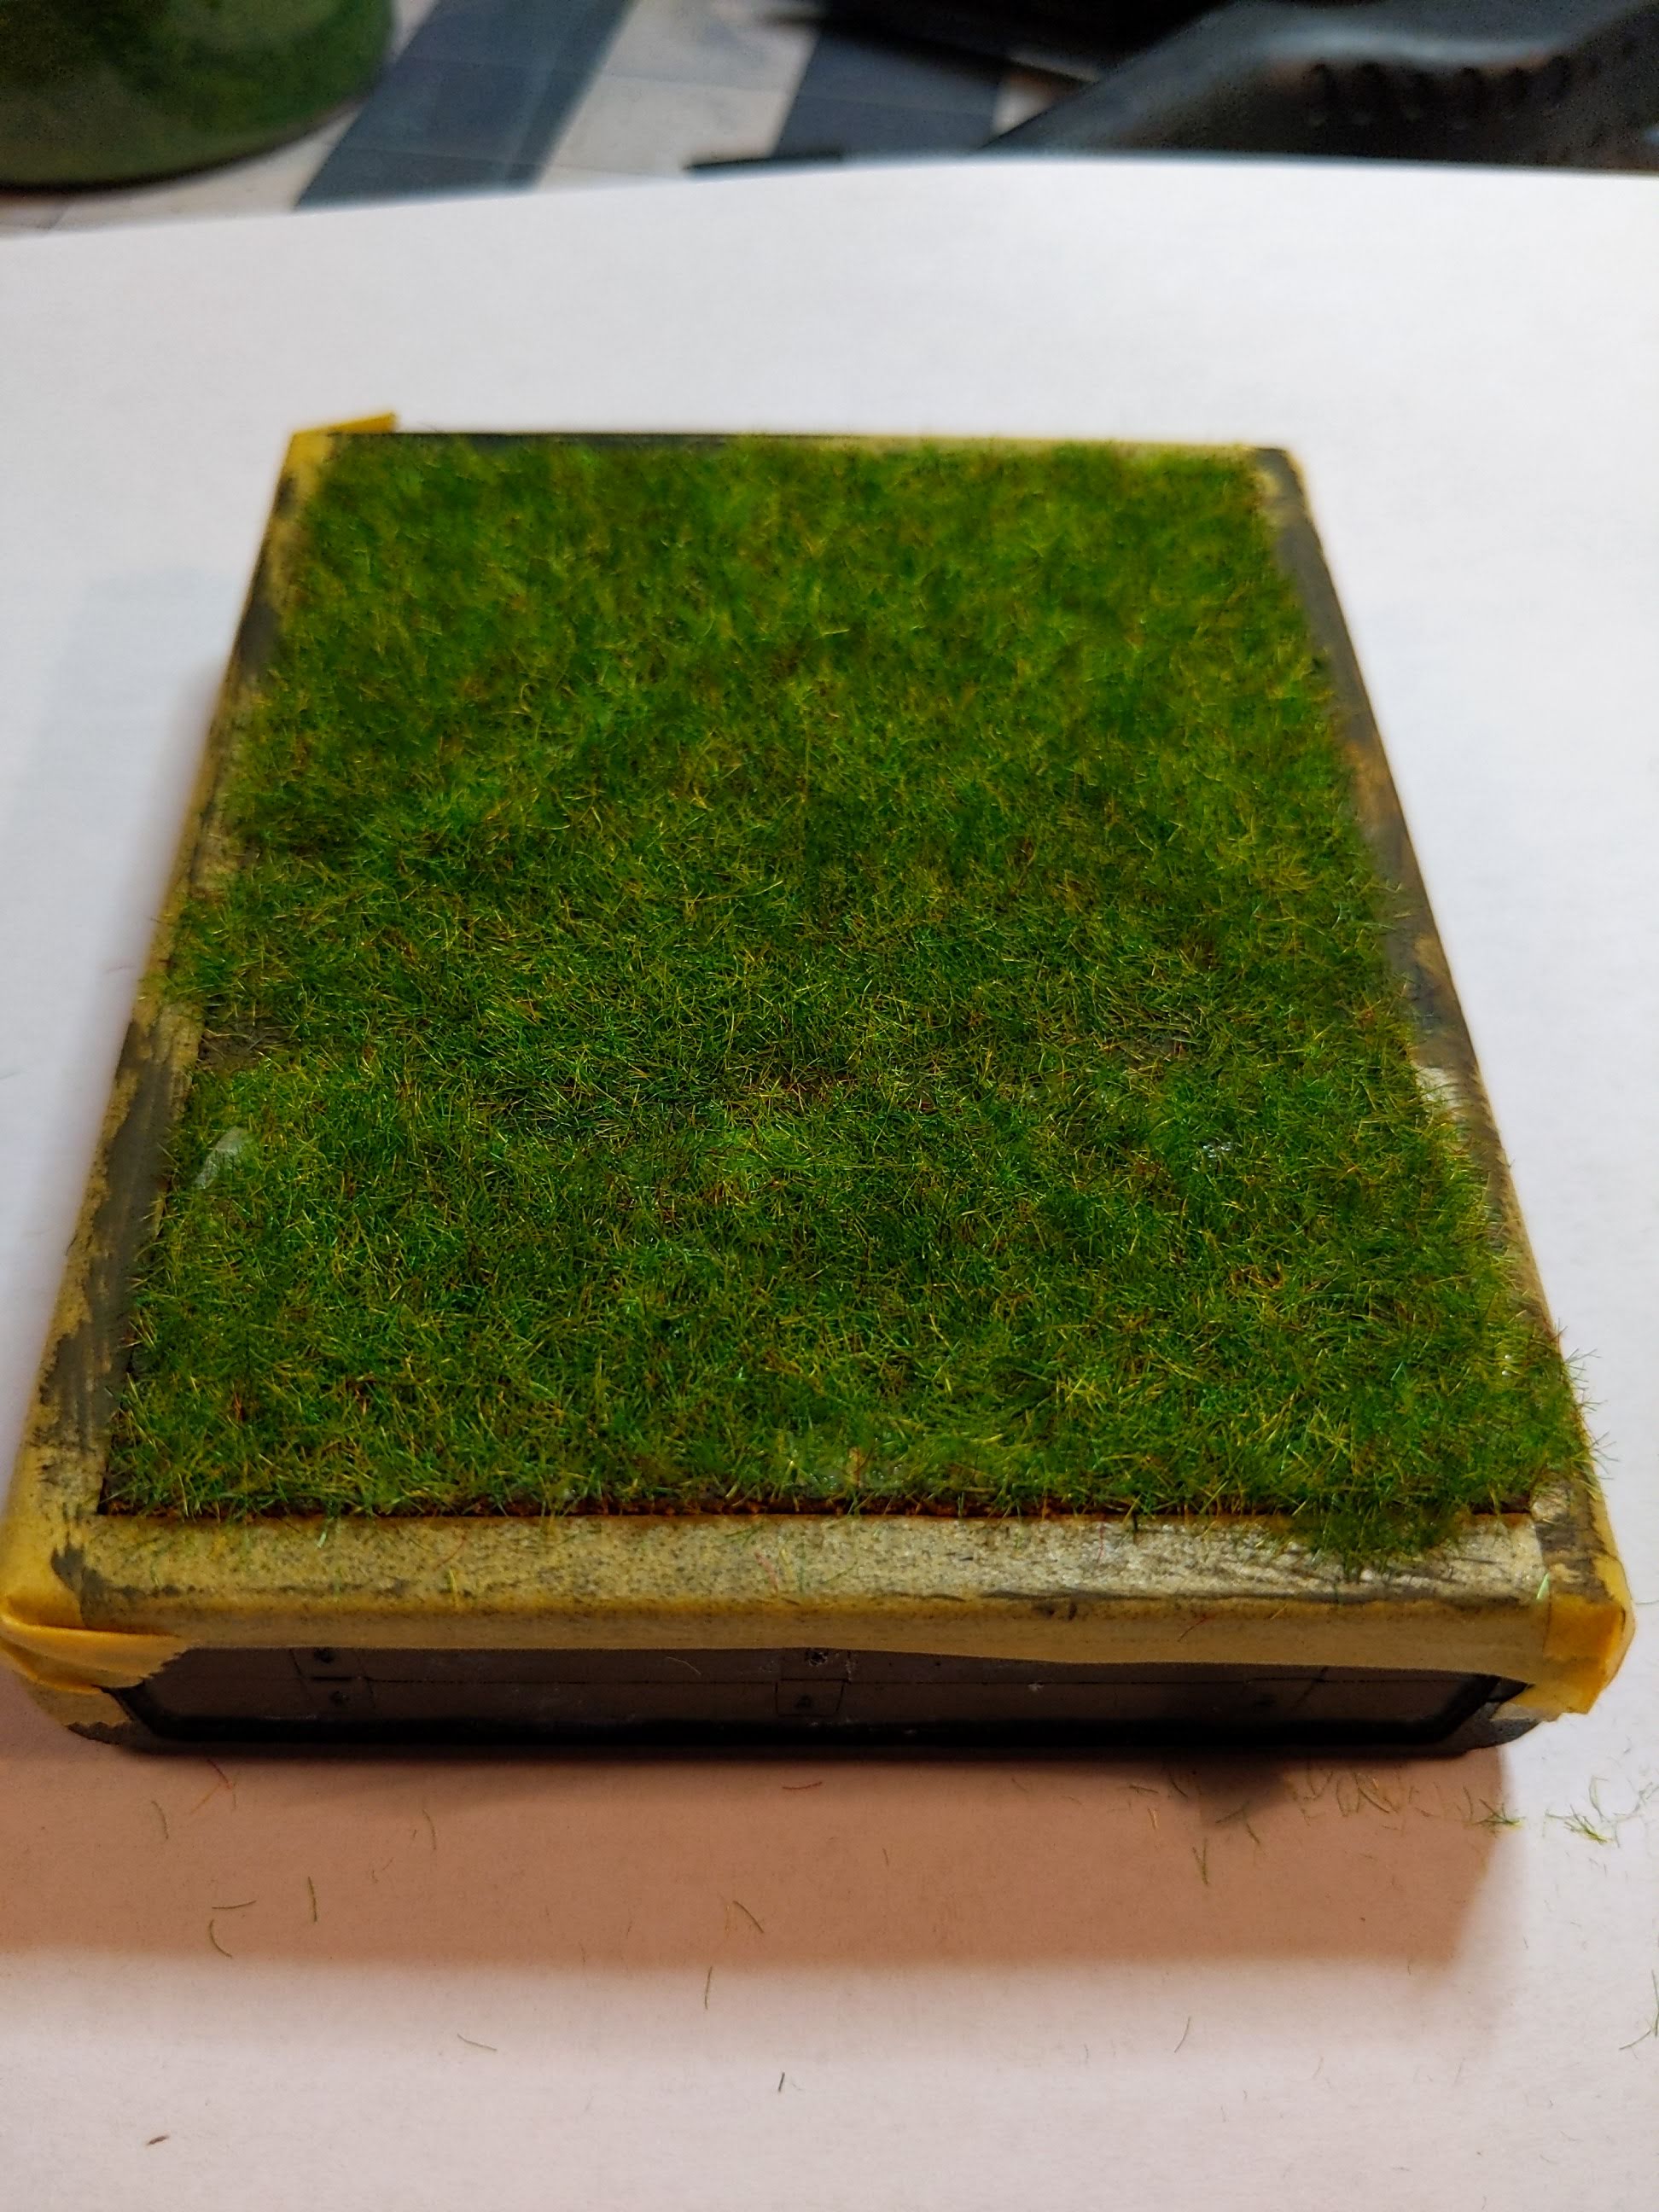
The other component was to make sure it was shown in its natural element. What better way to do so than providing it a display base of a lawn? The display base is made from an upcycled Atari cartridge (I got a whole box for $1 years ago, got my copy of Asteroids and couldn’t bear to throw out the rest.) I applied a layer of cork, paint, and flocking to try achieving a sort of Astroturf feel.

I had a lot of fun doing this build and was really proud to be able to submit to the Cerulean Project. If you’re interested, you can still (at the time of writing) pick up copies of this past year’s book as well as some of the previous years’. All proceeds go towards Trevor Project and you get to see a ton of amazing work by awesome people.