You just snapped up a new kit and you’re feeling good. But, oh no! There are some unsightly seam lines!
Seam lines are the separation where parts join together. This is due to how parts are designed for injection molding where it will be sandwiched together as part of the final build.
In some modern designed model kits these seams can be intelligently hidden as a panel line to provide surface details, or will have other parts layer over top to hide the seams. This is not always an option as you venture outside the world of mecha, so it is important to have a solid understanding of seam line removal whether you’re snap building or painting your kits.
In this guide, we’re going to go over basics of seam line removal and an additional technique that can be done to fill in seams and other gaps with no additional materials required beyond what you already have to join parts.
Removing Seams

To begin removing seams, you need to first identify where parts will join together on your build.
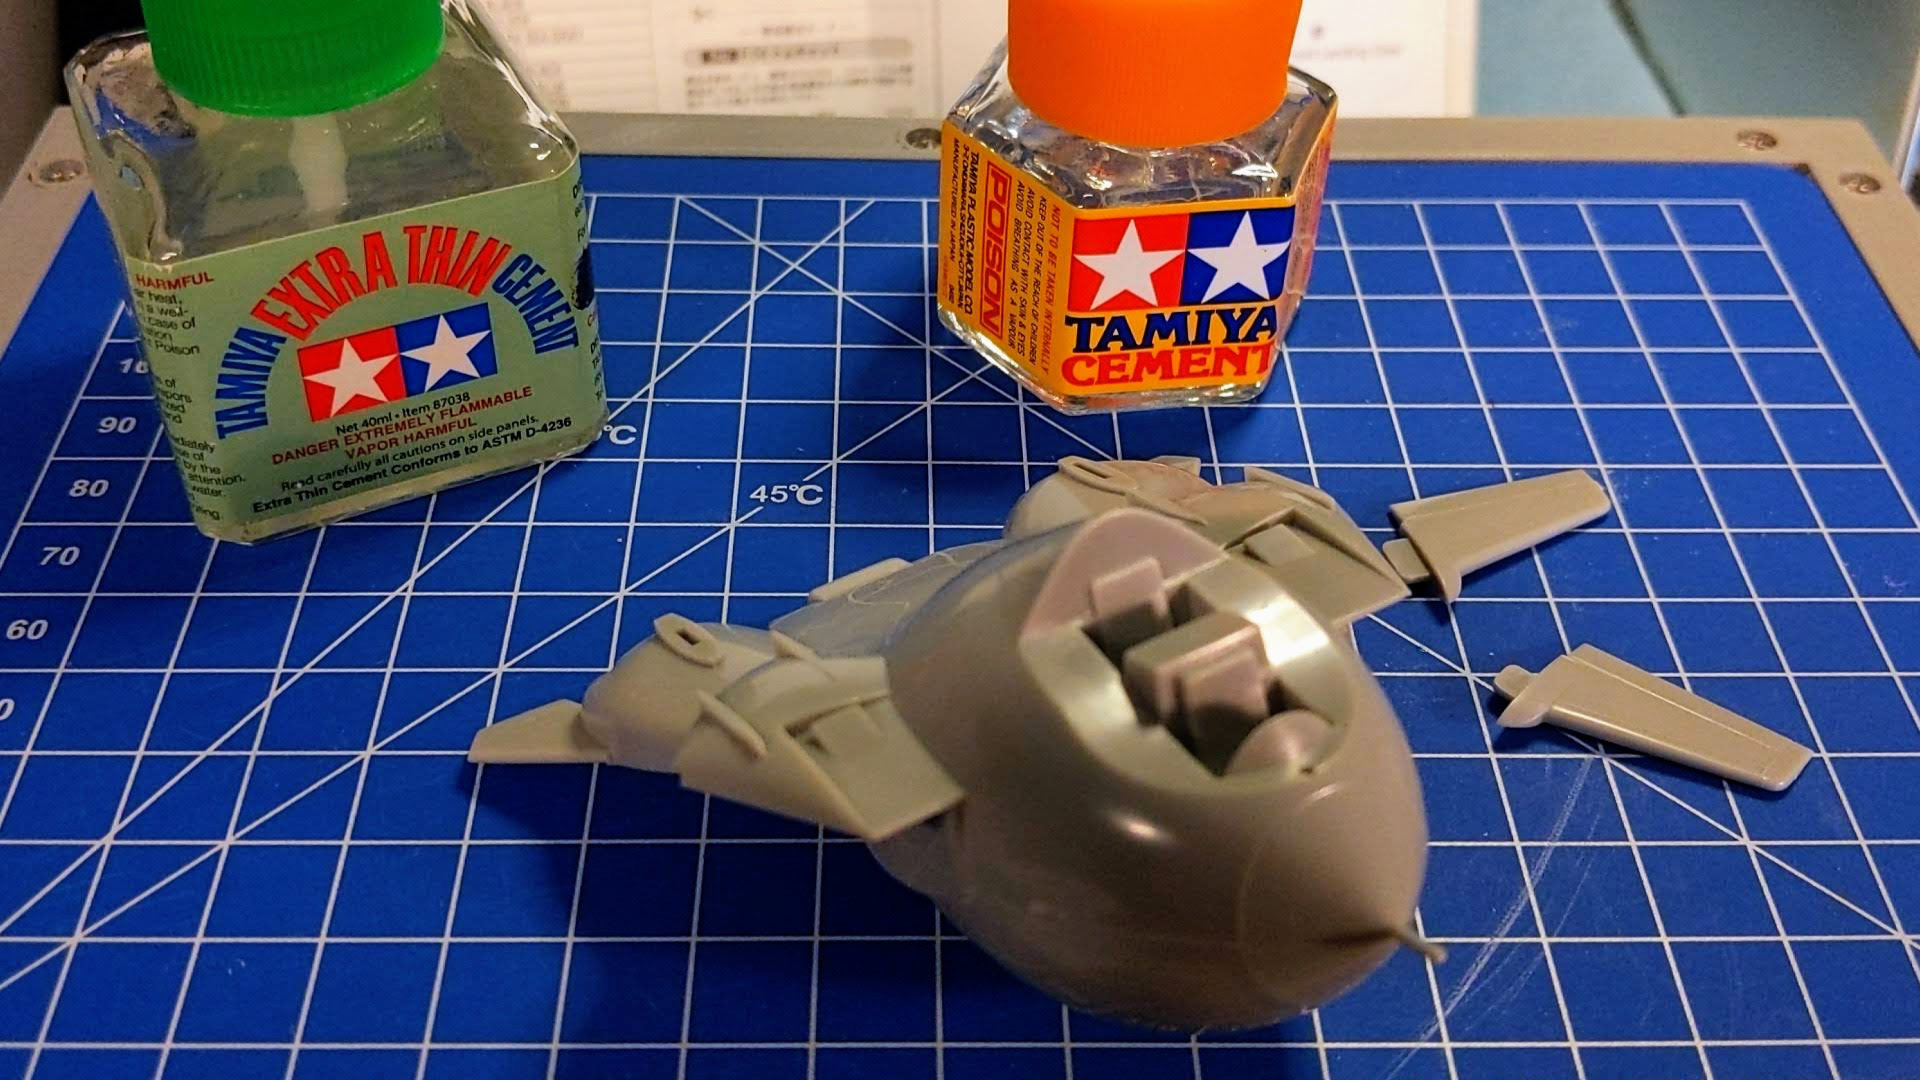
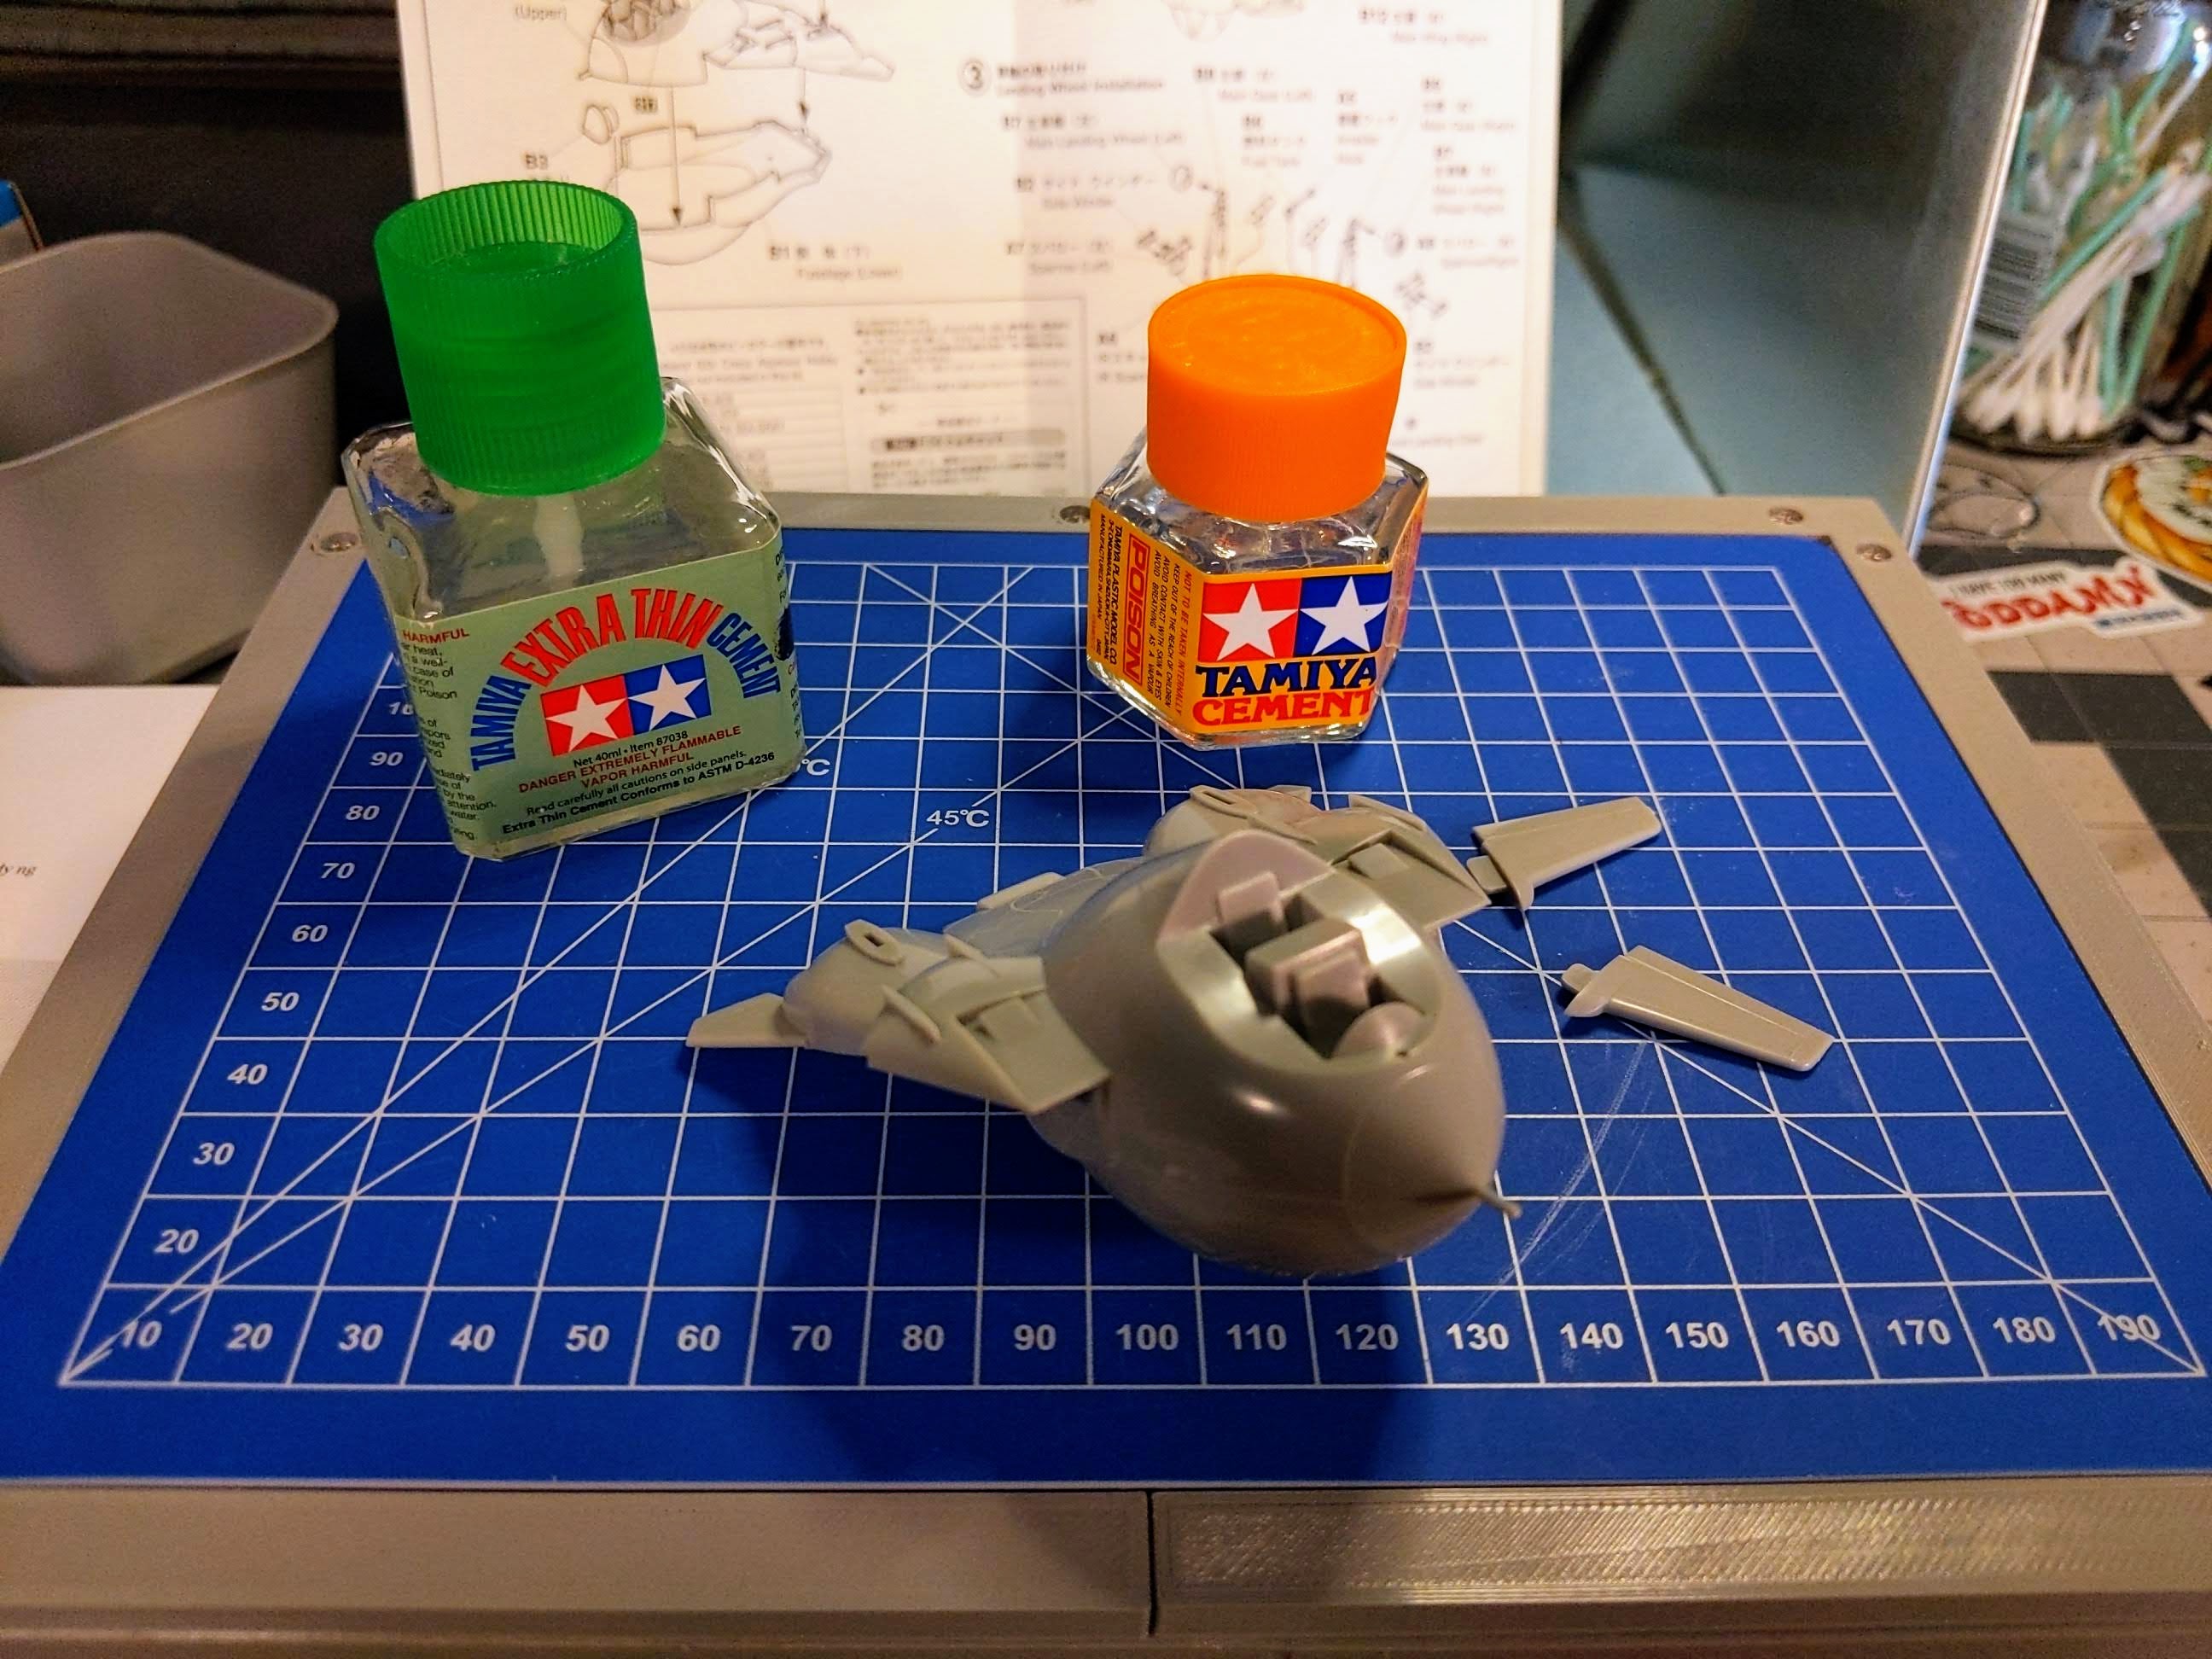
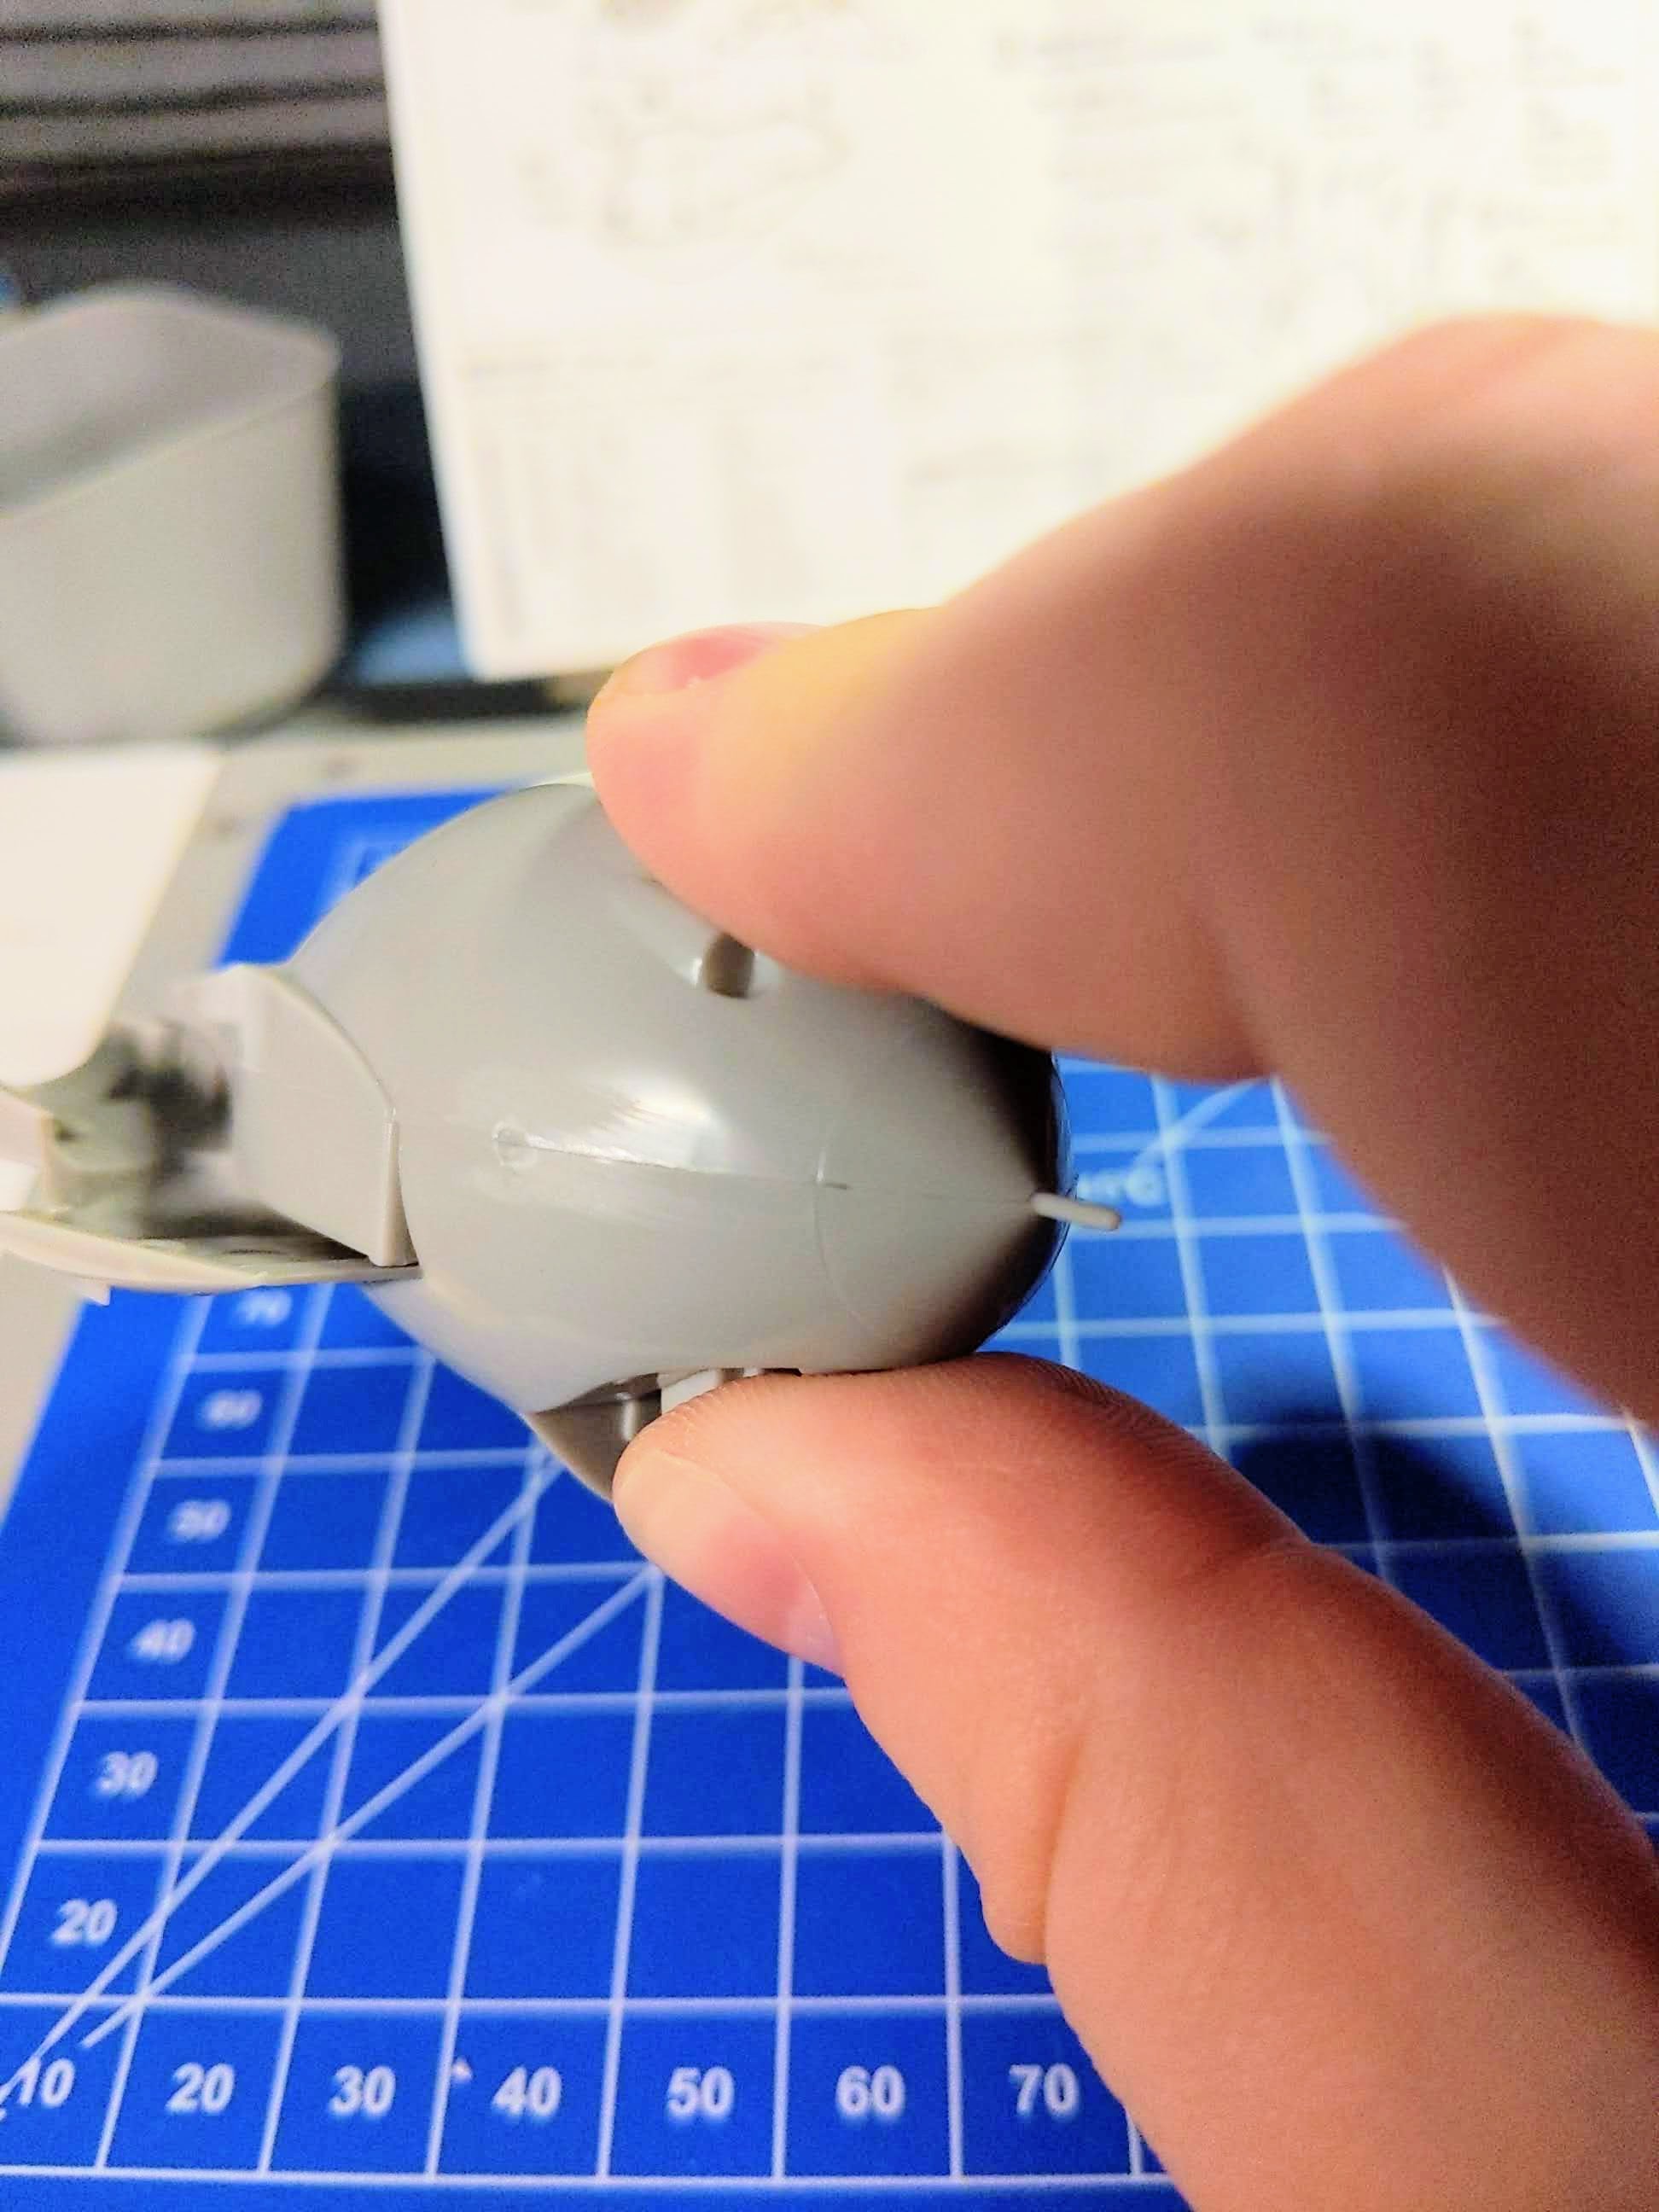
Here we have a Hasegawa F-14 Tomcat Eggplane - it has a really big seam running right down the center of the body. We’ll use that as our focus for this write up.
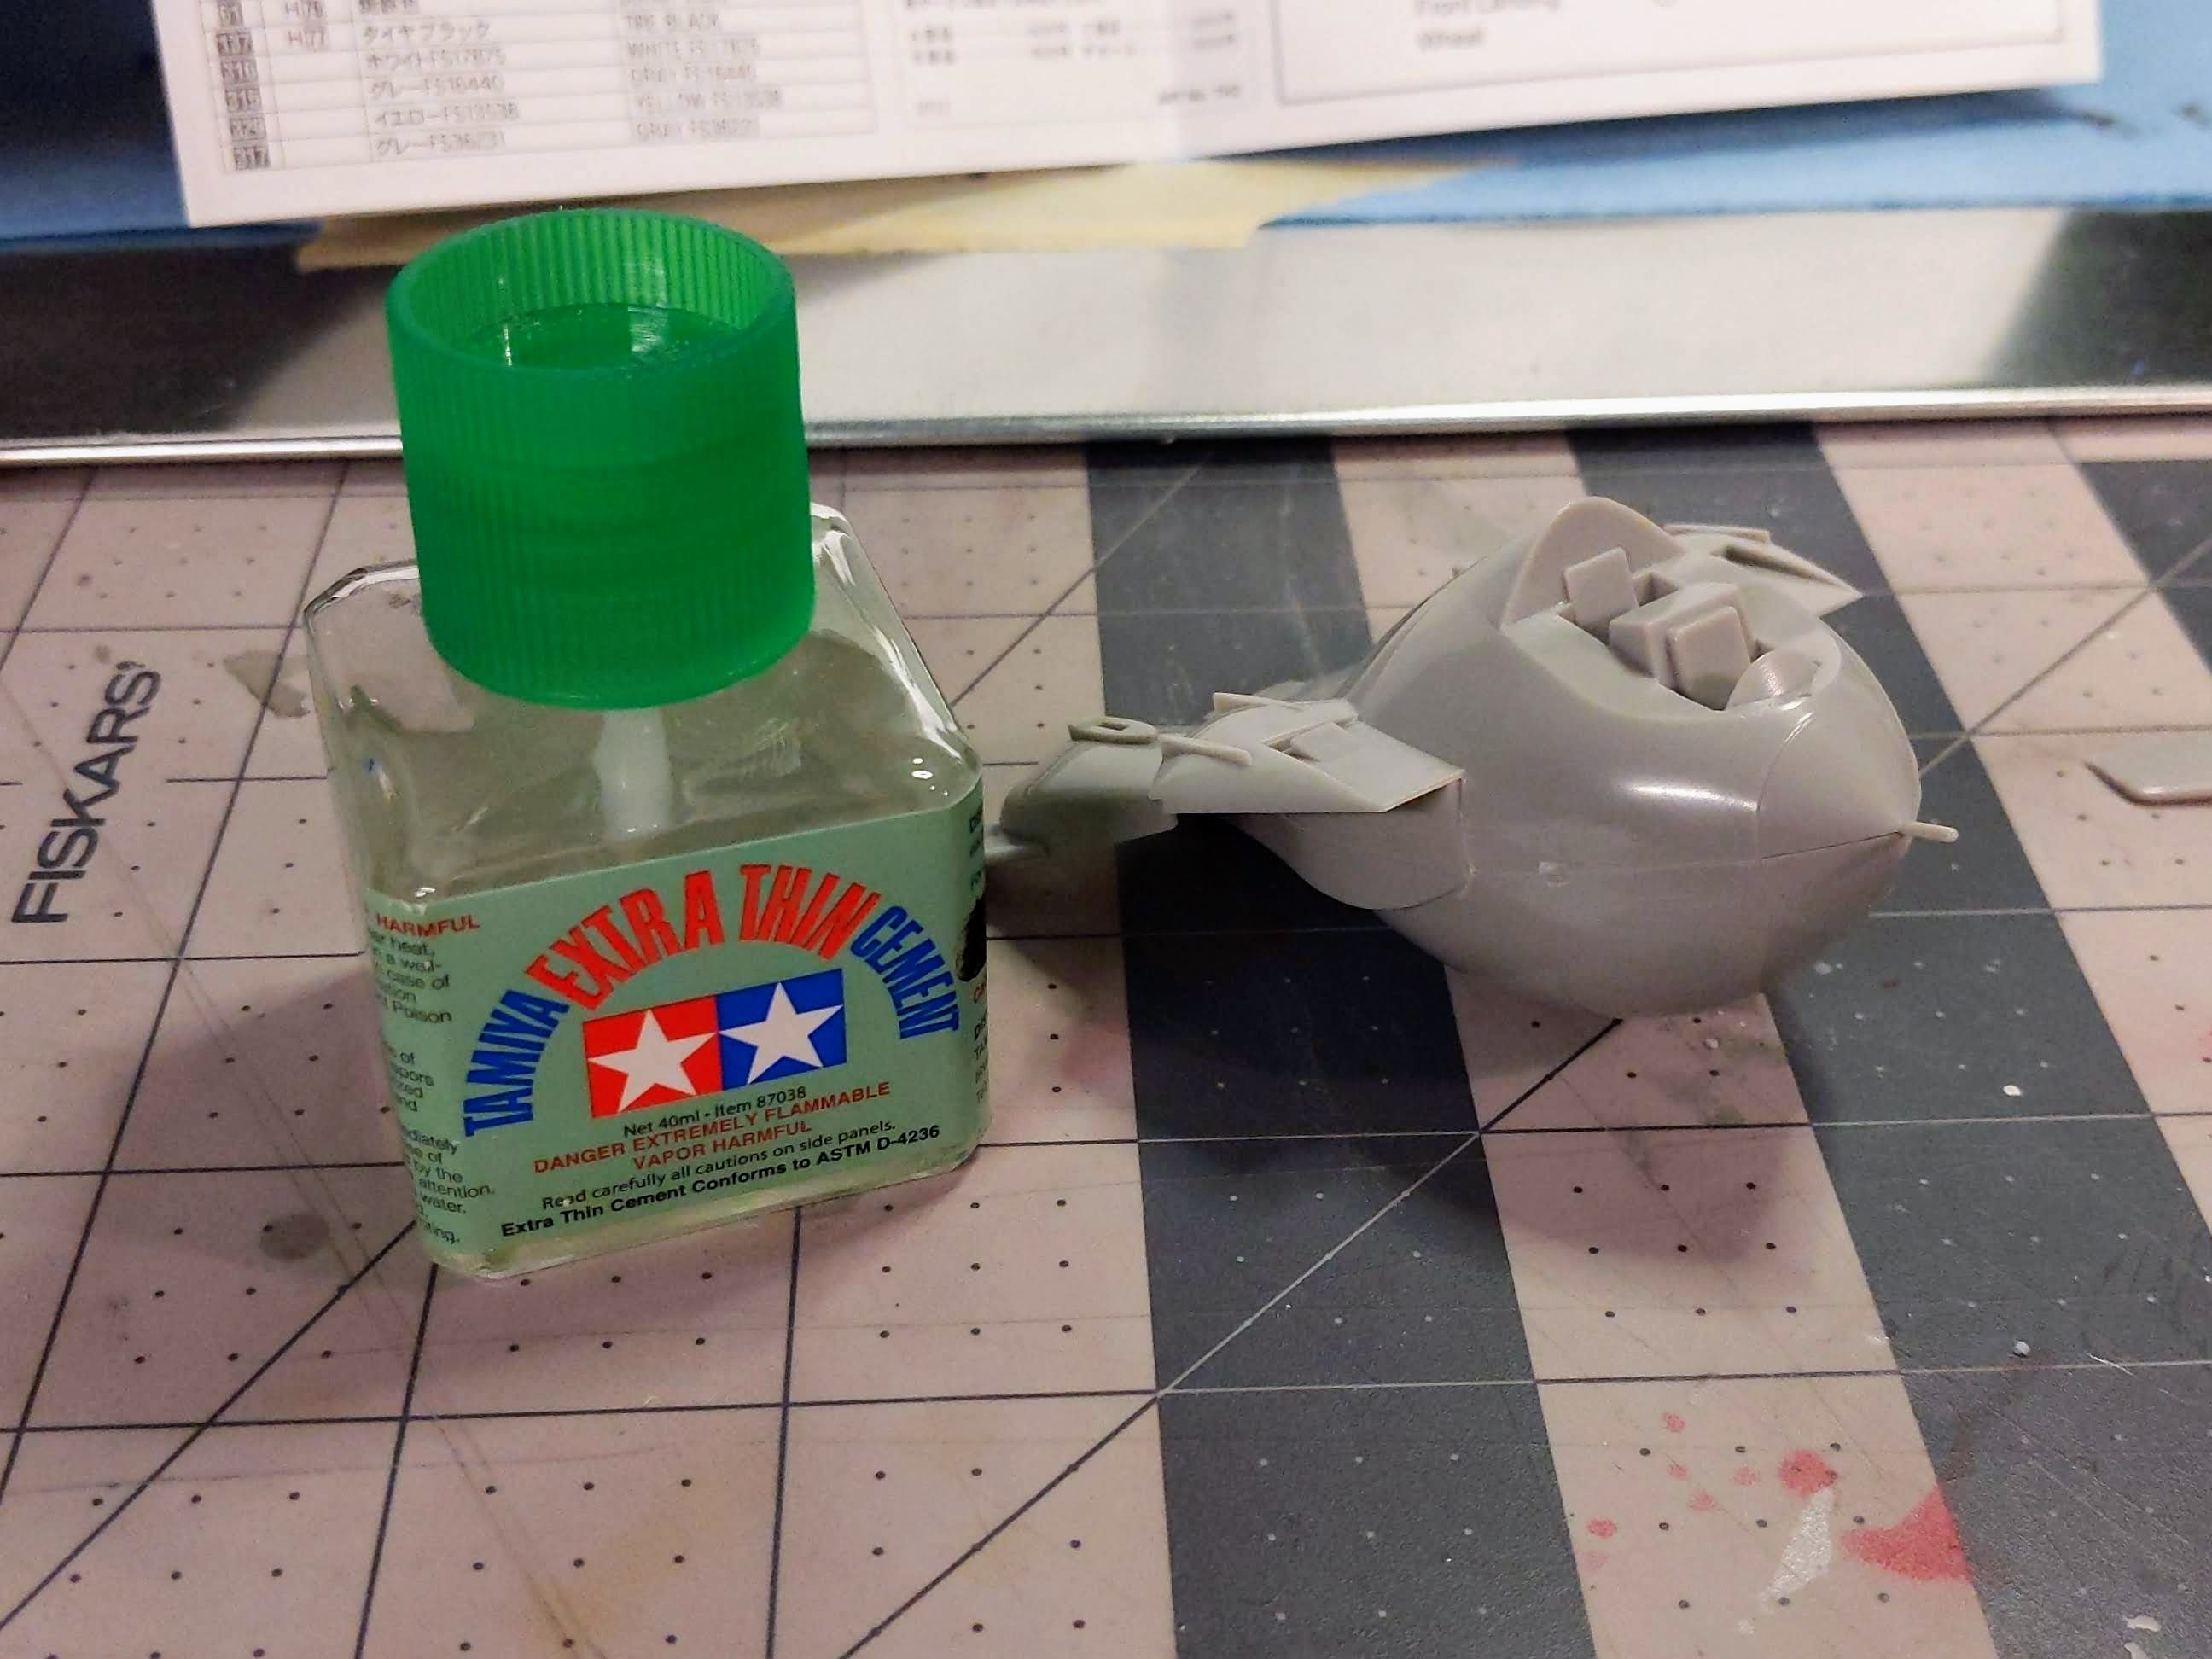
You begin by applying a layer of plastic cement to the edge of the surfaces that will be married together. If you use a standard cement (Tamiya orange cap), you can usually apply it to one piece - if using an extra thin (Tamiya green cap) or equivalent, it is best to apply it to both sides to guarantee a good adhesion.
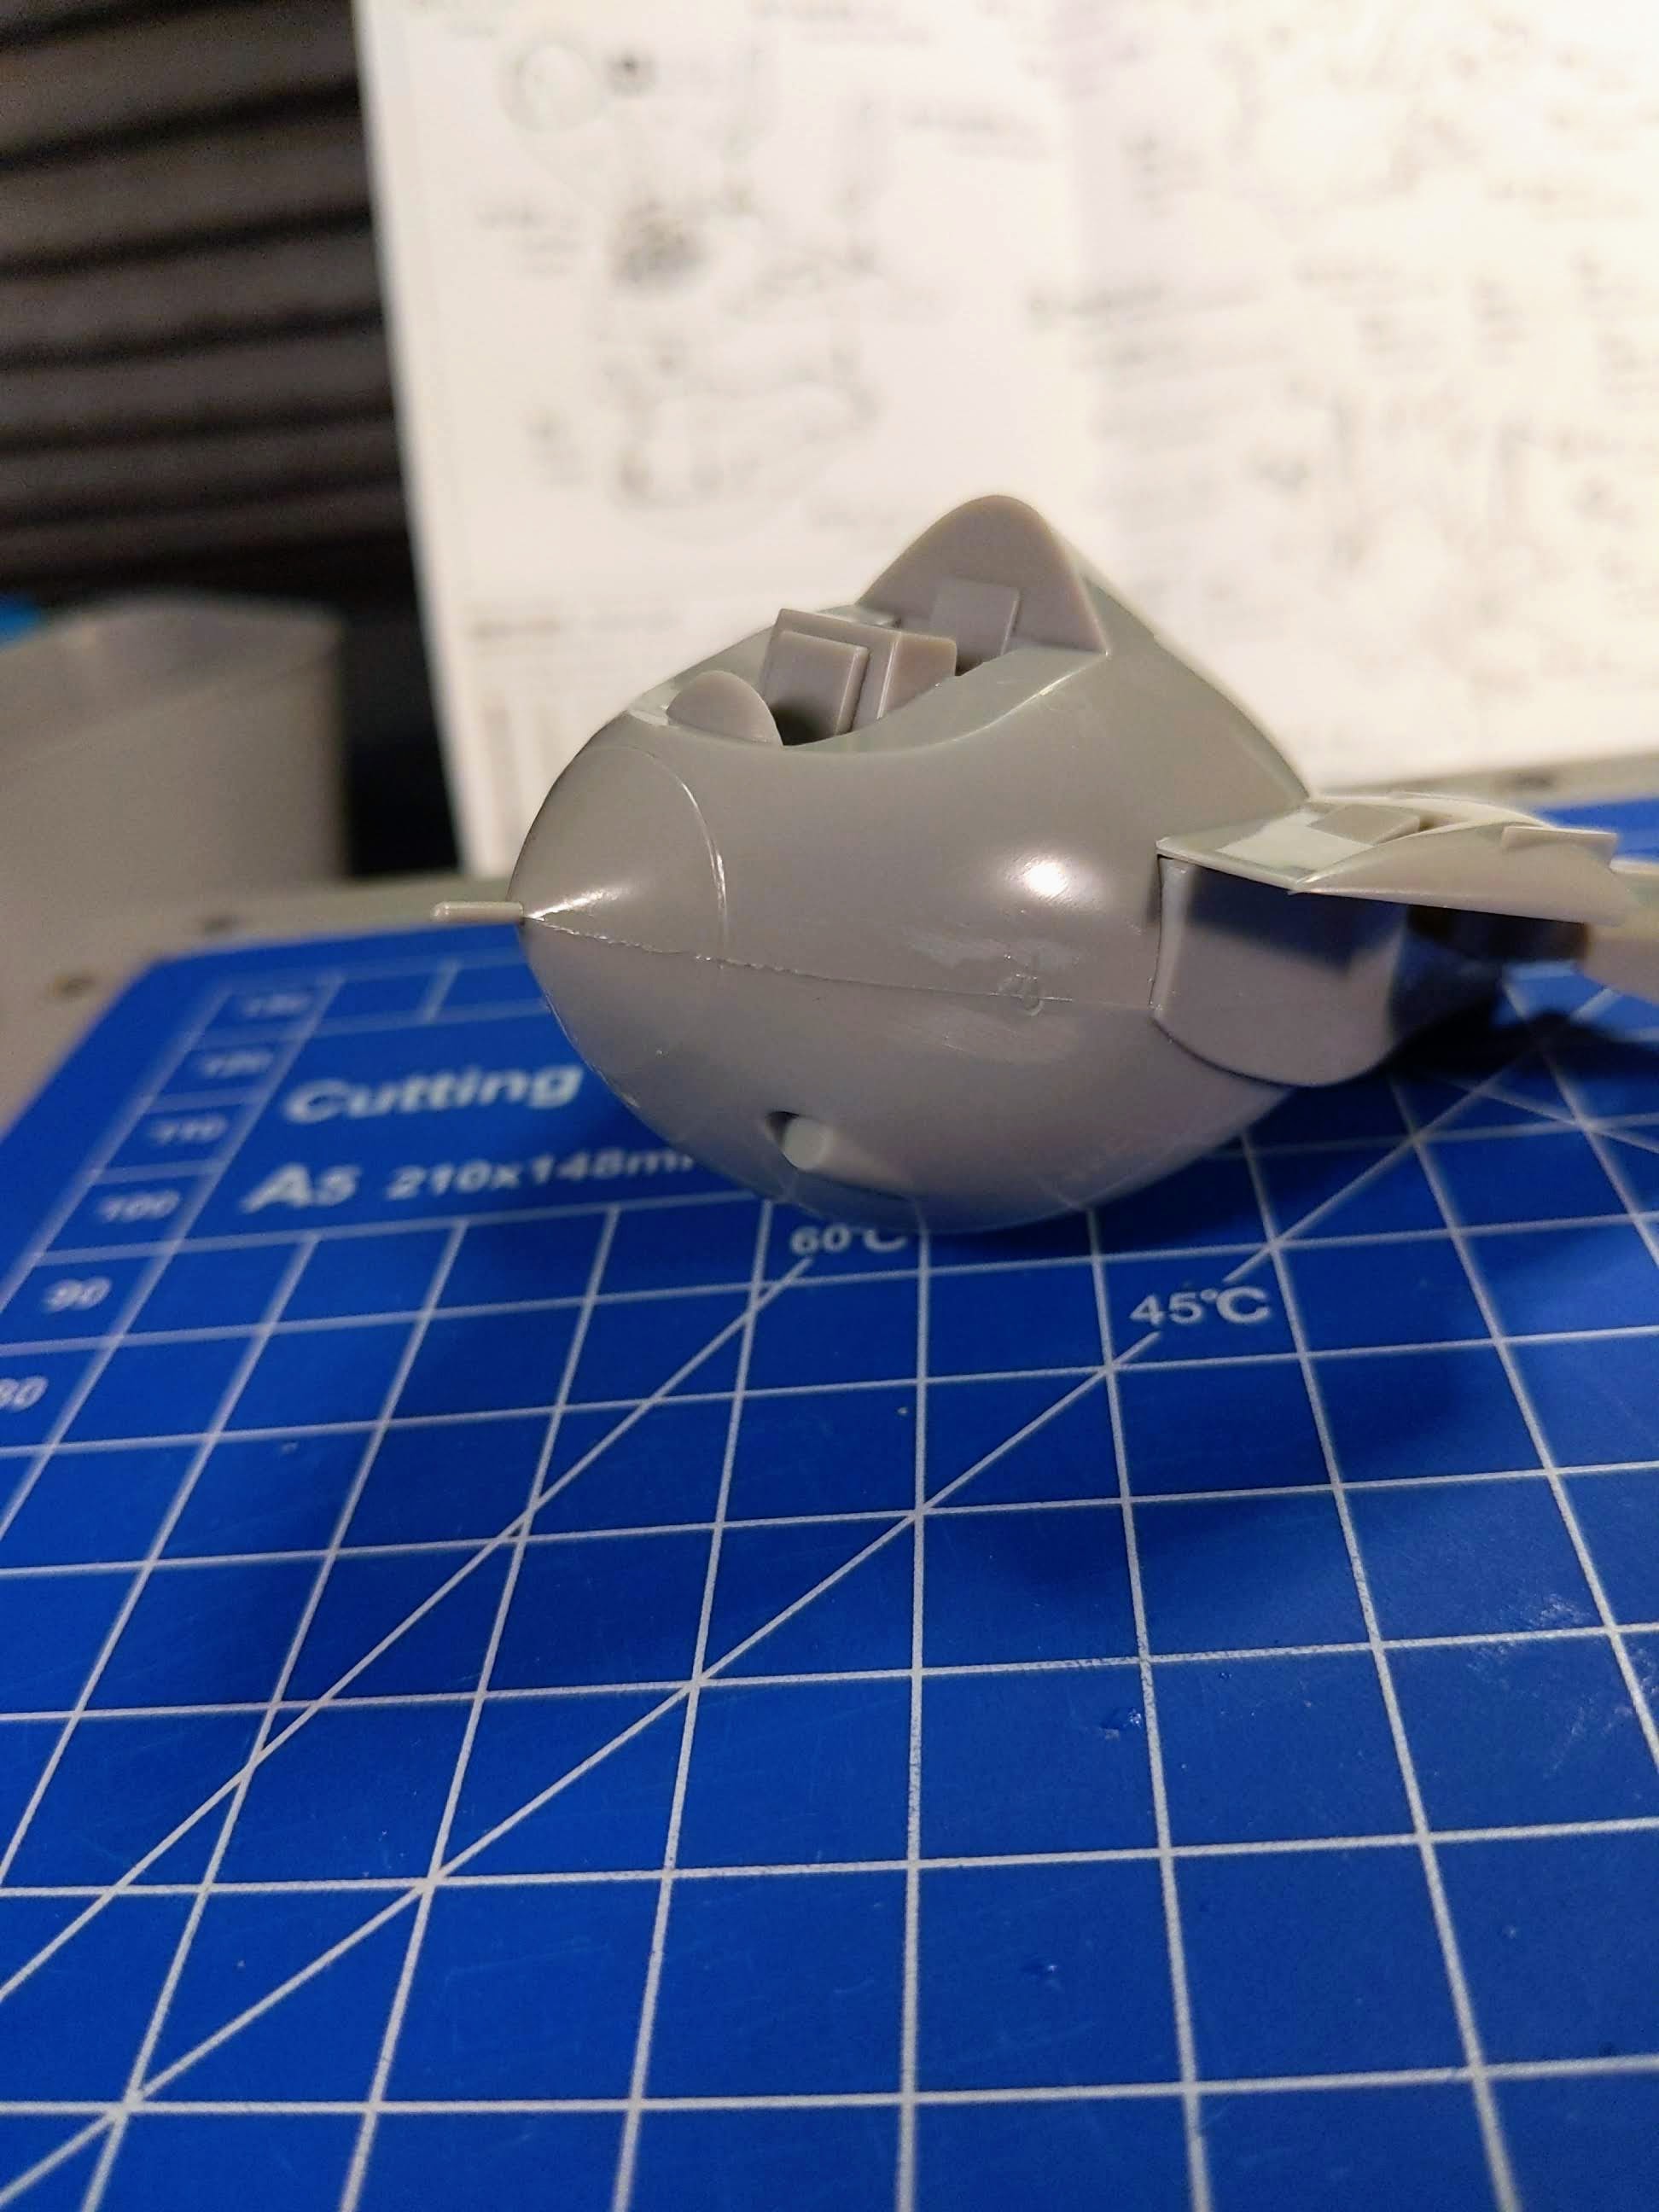
Once ready, connect the parts and press hard together - typically a bead of extra plastic will appear along the seam if this has been done correctly.
This is because plastic cement is not so much an adhesive but more causing a reaction with polystyrene to melt it, thus causing the fusion between parts as a bond made of plastic & plastic rather than a weaker adhesive layer in between.
Clean Up Surface

Once you have let the parts cure, dependent on what you use - typically Tamiya cements is good in about 10-15 minutes but the longer you wait the better the results will be as it will have been given enough time to set up.
Given things are all nice and cured, you’ll want to work the surface back to flush in order to hide any indication of a seam. You can make use of a hobby knife to scrape away any of the bead that has formed, typically the back edge of the blade is good for removing the top layer.
Afterwards, making use of varying degrees of sanding medium like a sand paper or sponge to go from a lower to higher grit to refine the surface. Be wary of deforming the shape of the part or any molded details you can run the risk of removing while sanding.
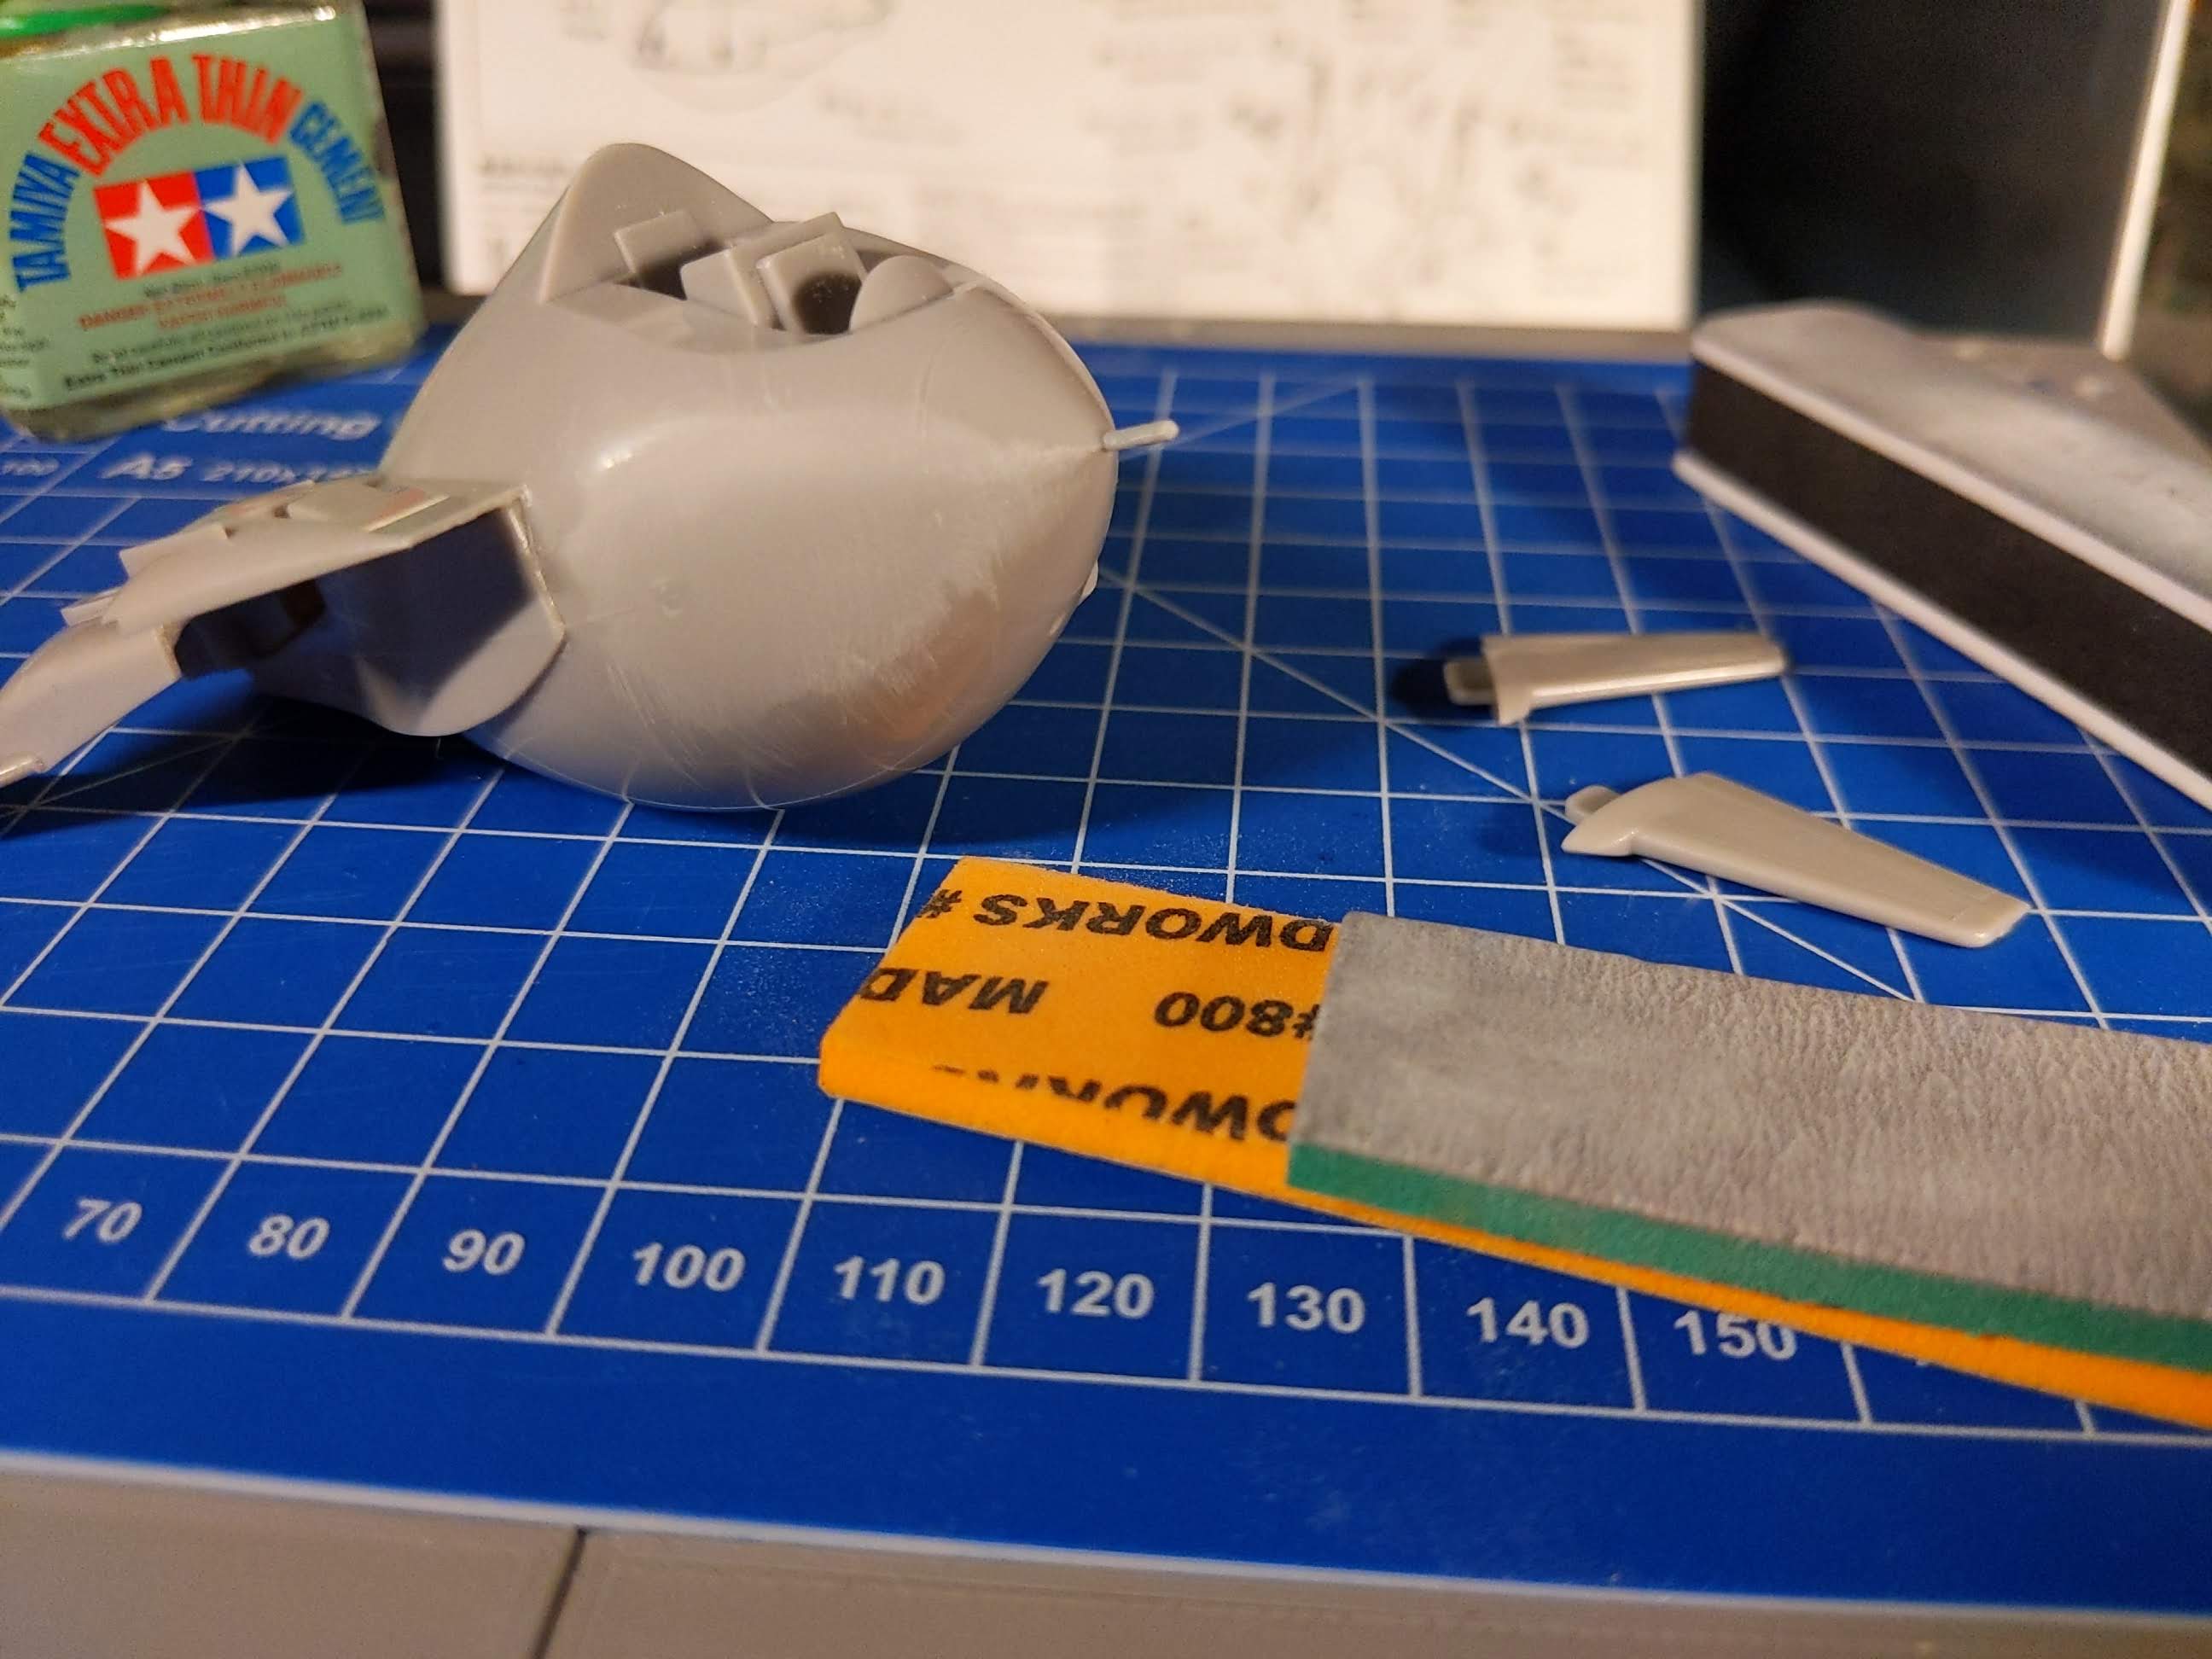
After your surfaces has been sanded back to flush, you would typically hit it with a primer coat to make sure everything looks good and adjust as needed with more sanding if the surface is uneven, or putty if there are gaps. In the event you don’t have putty, super glue works quite well or alternatively you can just use the extra runners you have from building.
Seam Filling With Runners
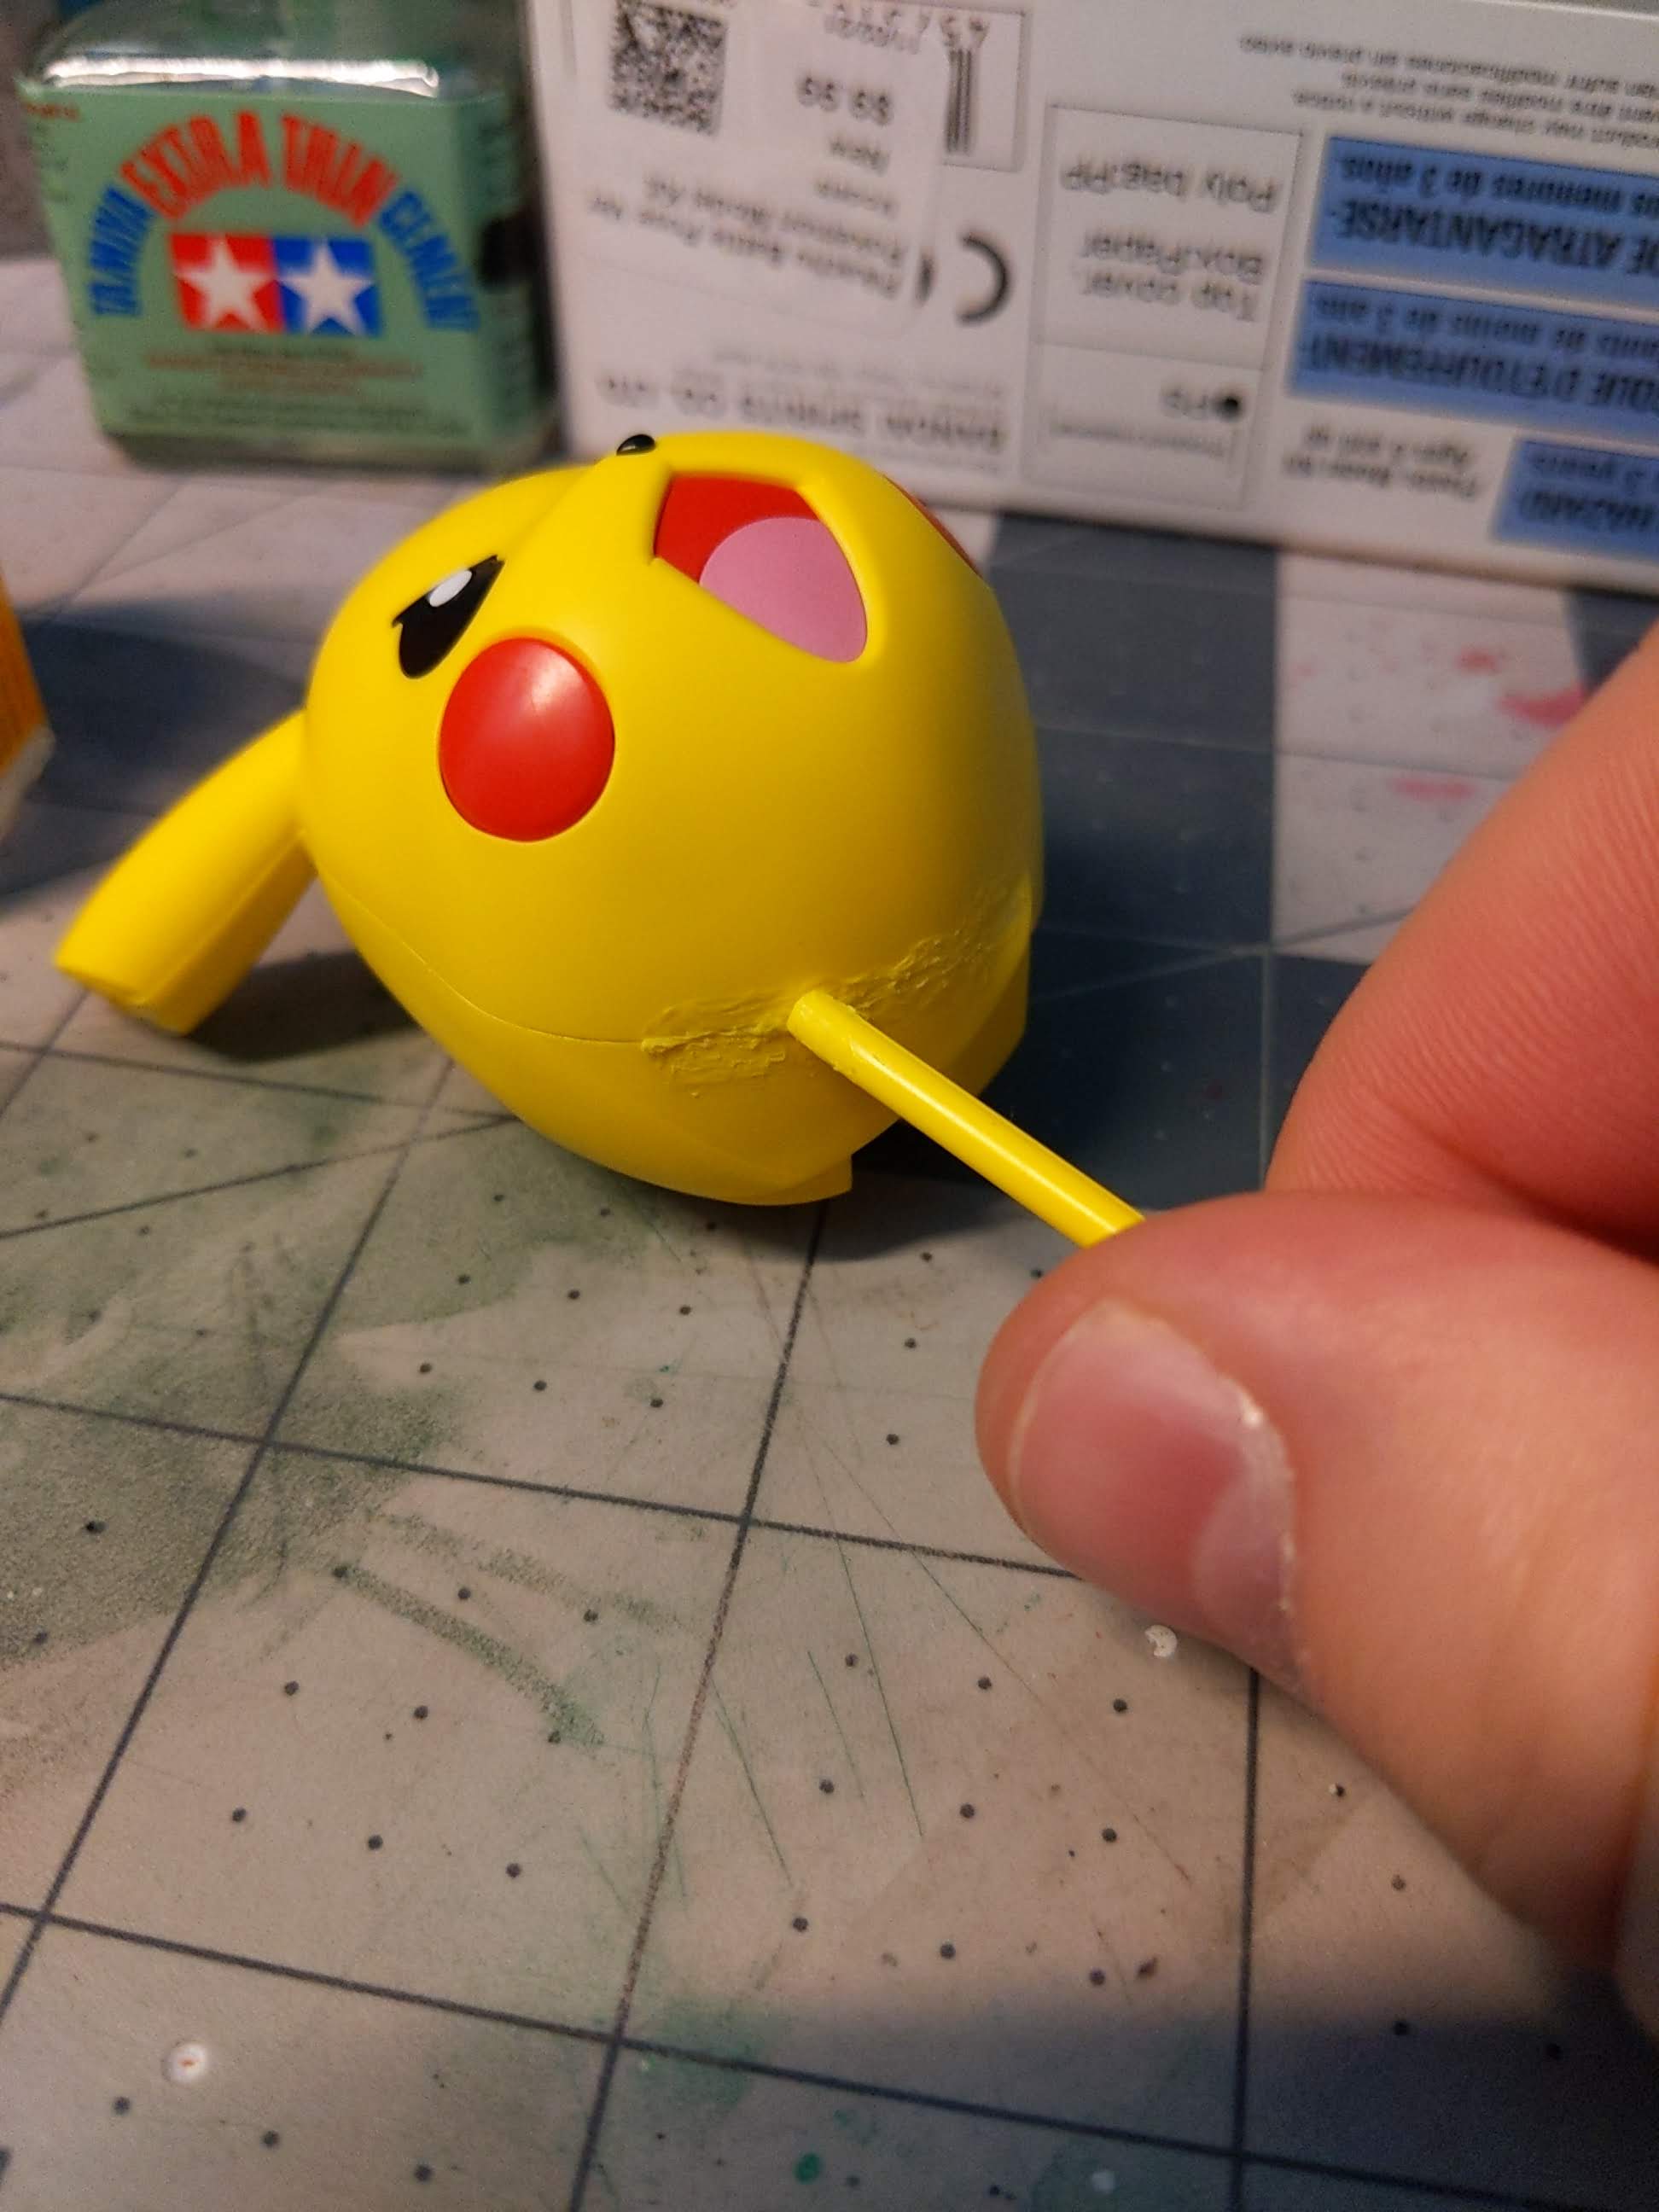

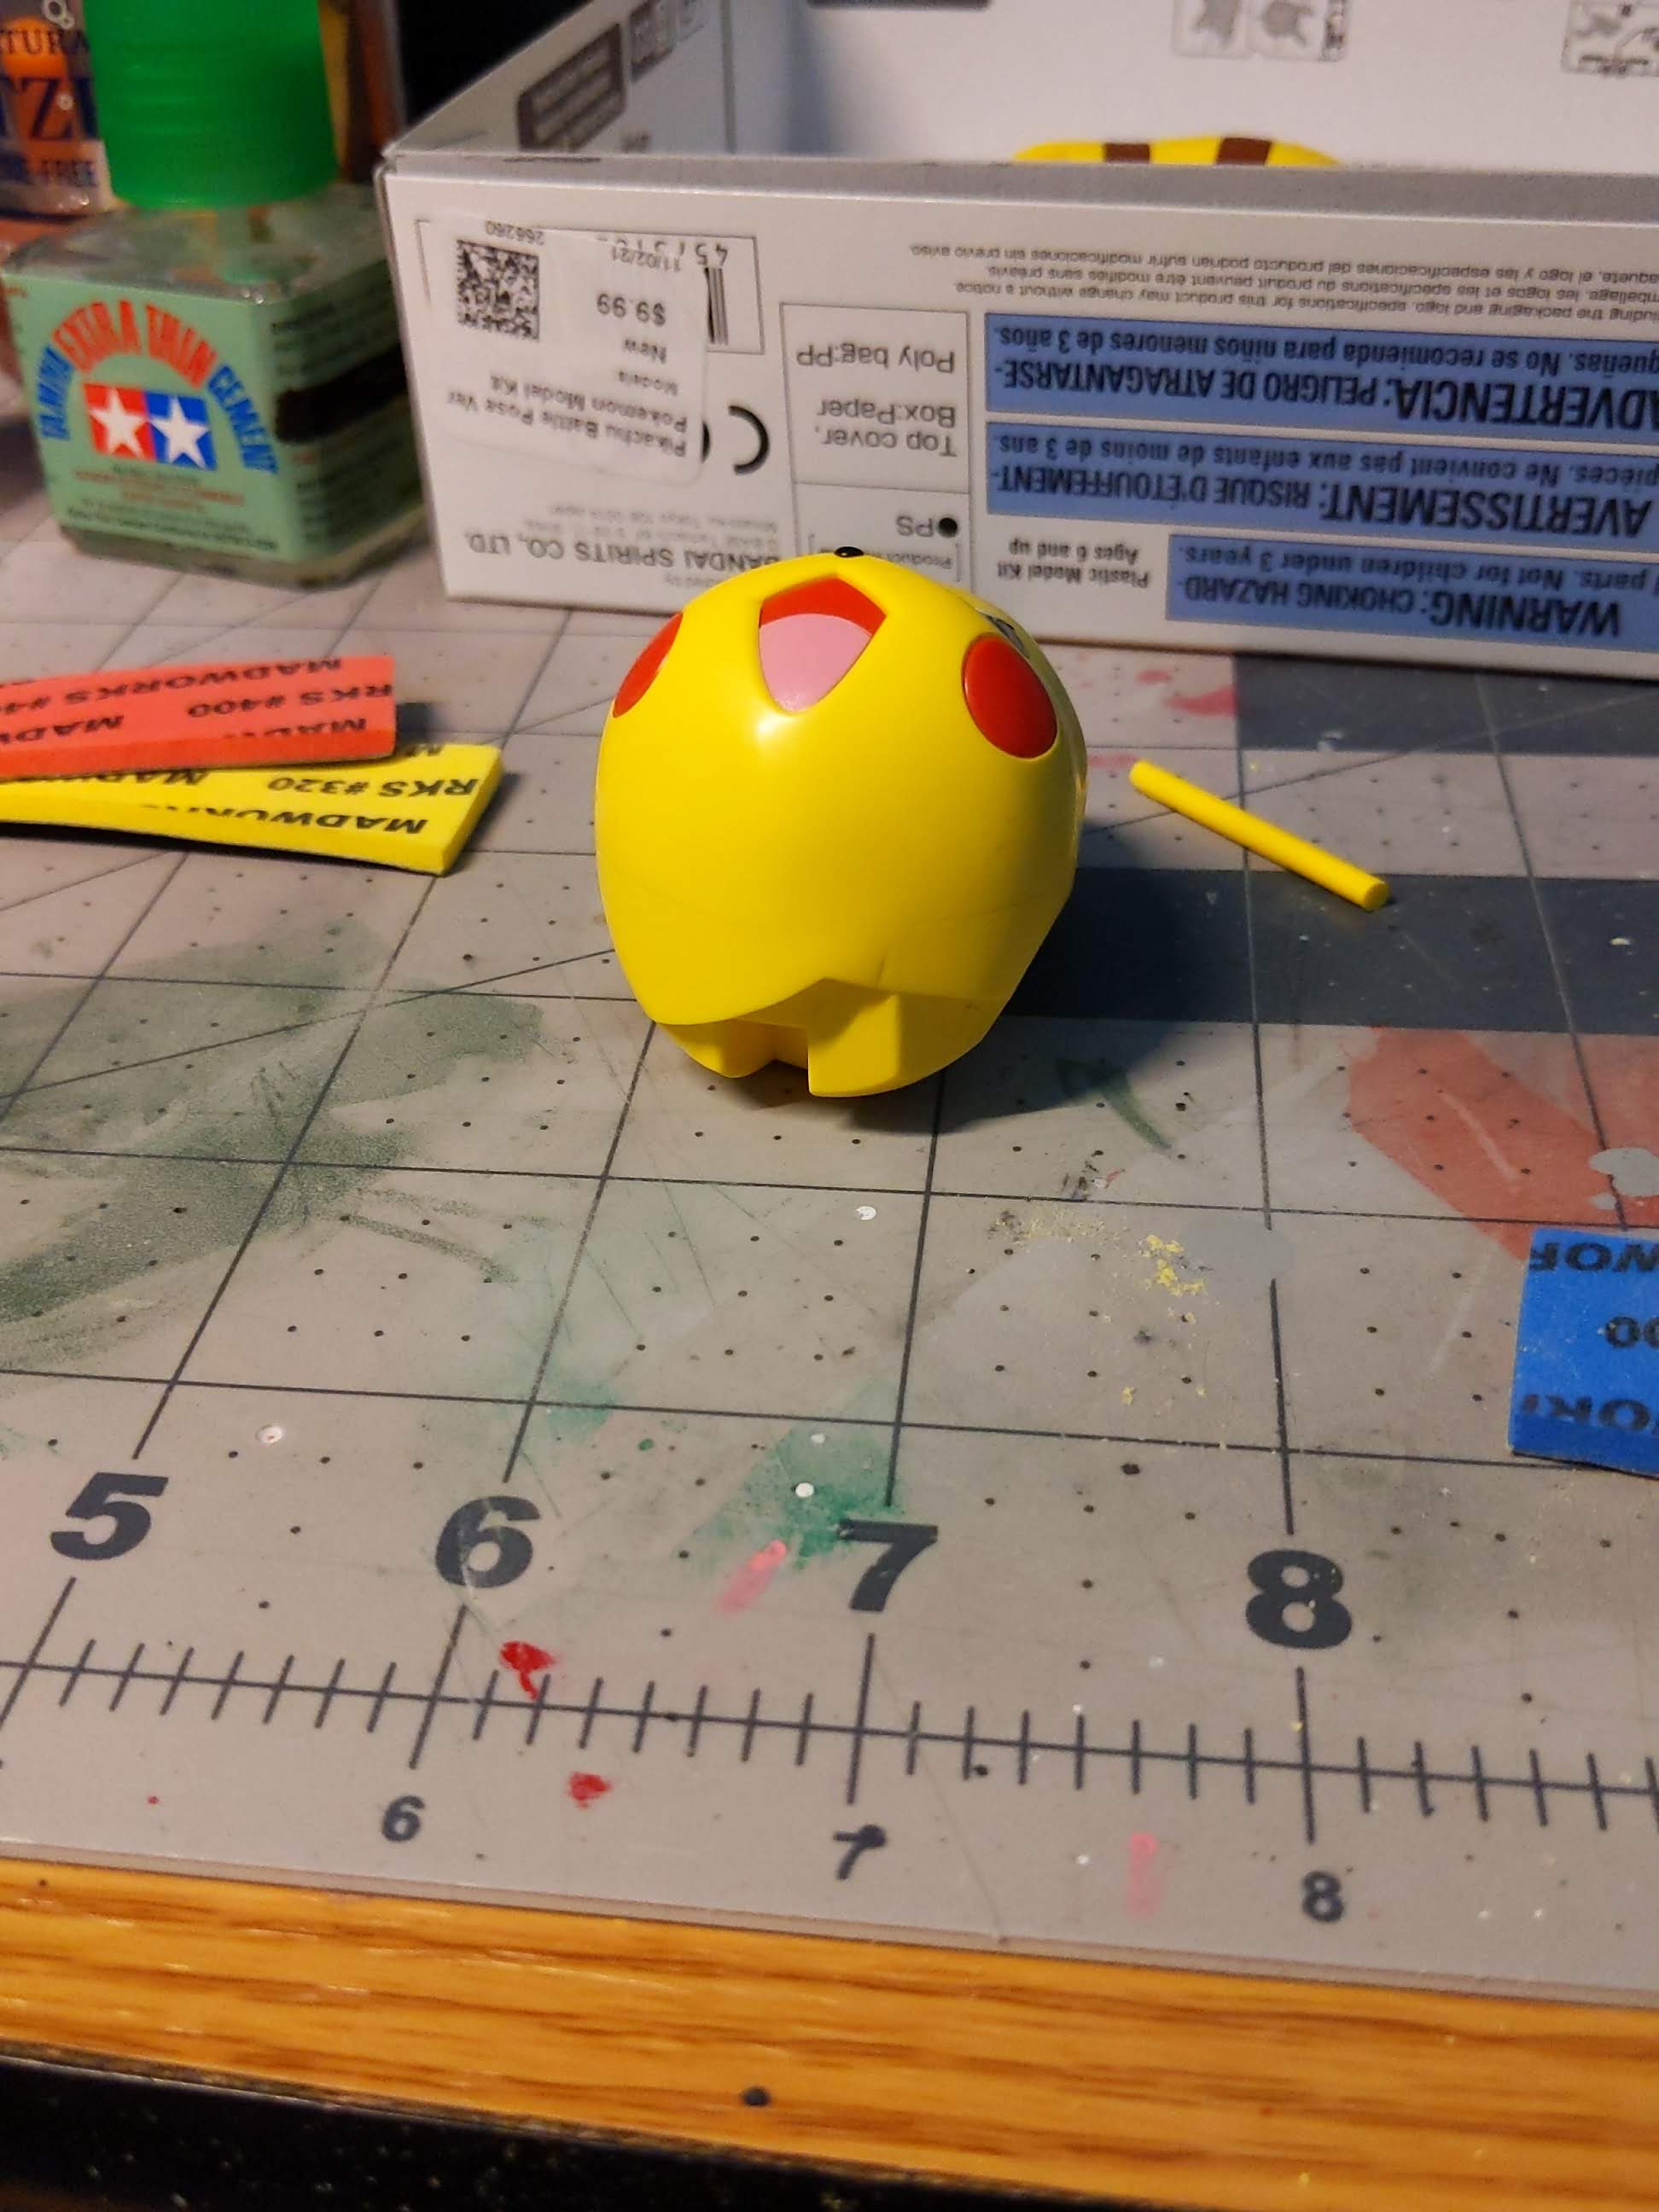
Similar to removing seams, you can make use of plastic cement and leftover runner to patch up gaps. In the example above, the Pikachu head has a pretty egregious seam all over. I use the regular Tamiya plastic cement to prepare the area around the seam, and then run the runner against the seam area working melted plastic into it. It can look a bit messy at first, but this technique will even allow you to fill in seams without any painting required.
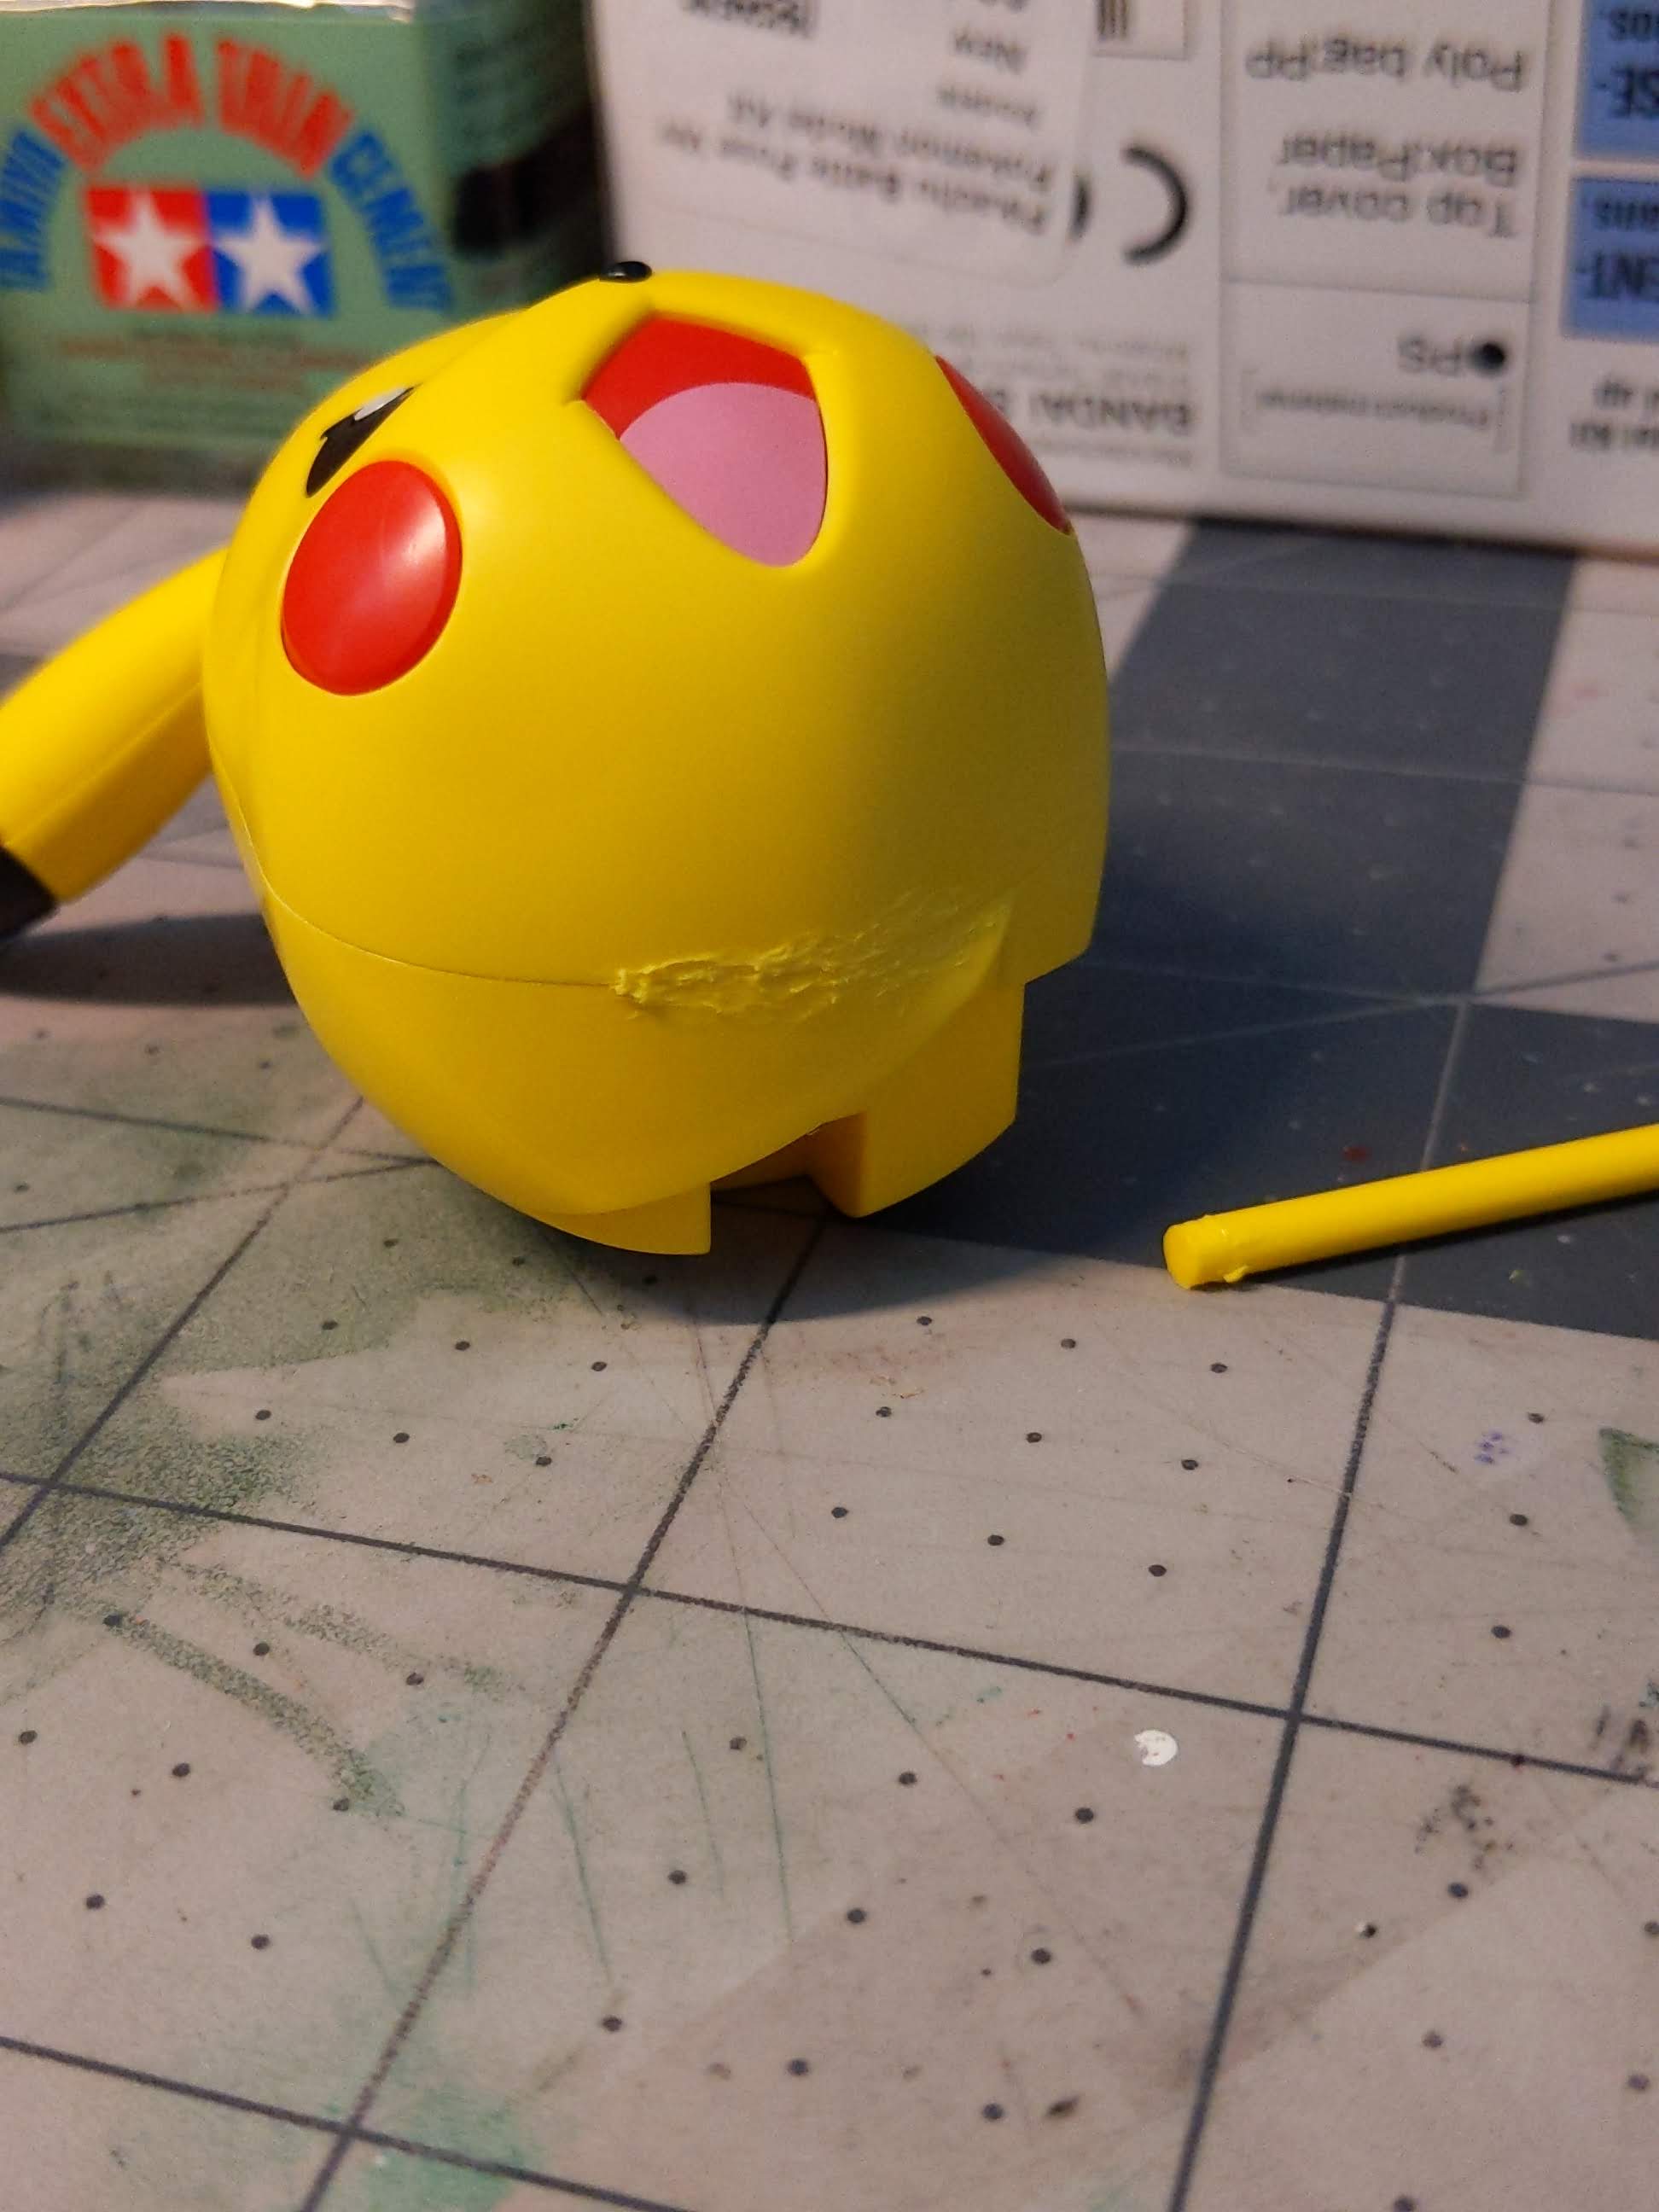
Once everything has cured completely, sand it back progressively until the surface is smooth. Depending on the severity of the gap that needs to be filled, it can require multiple applications.
The resulting surface should be indistinguishable from any other parts given you are filling it in with the same plastic it is made of.

This is a versatile technique that can help expand your tool kit into customization and scratch building.
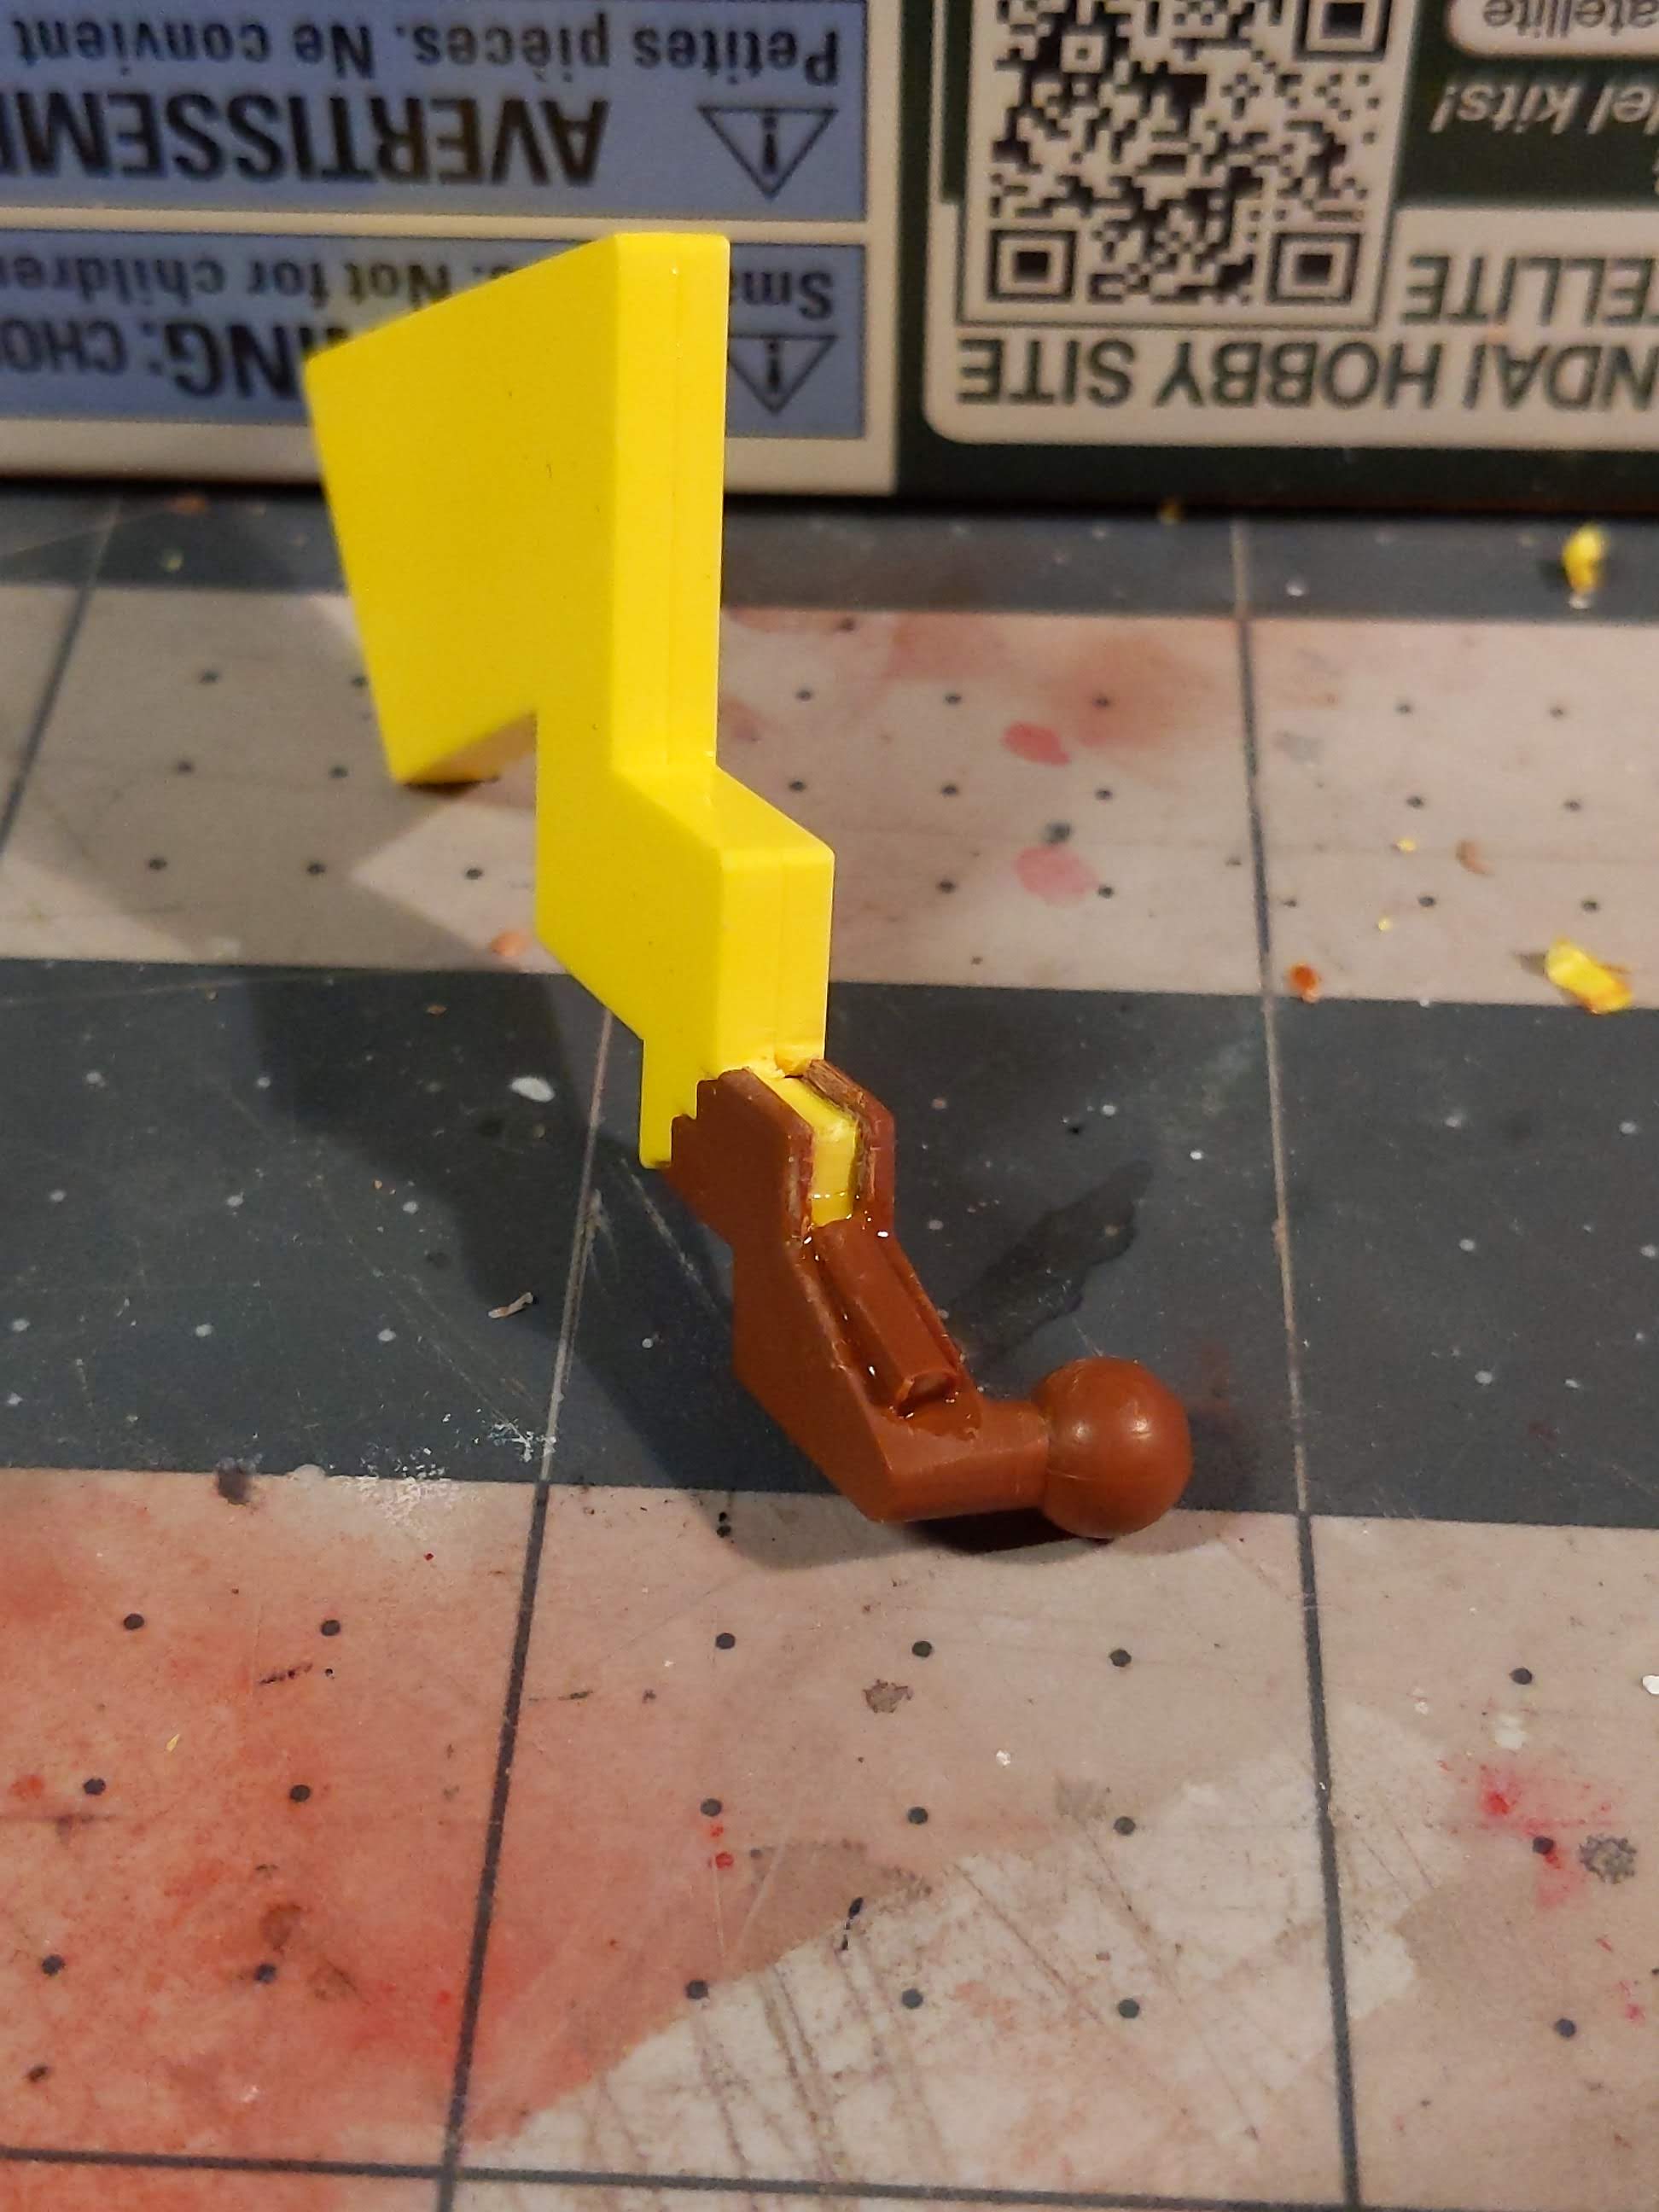
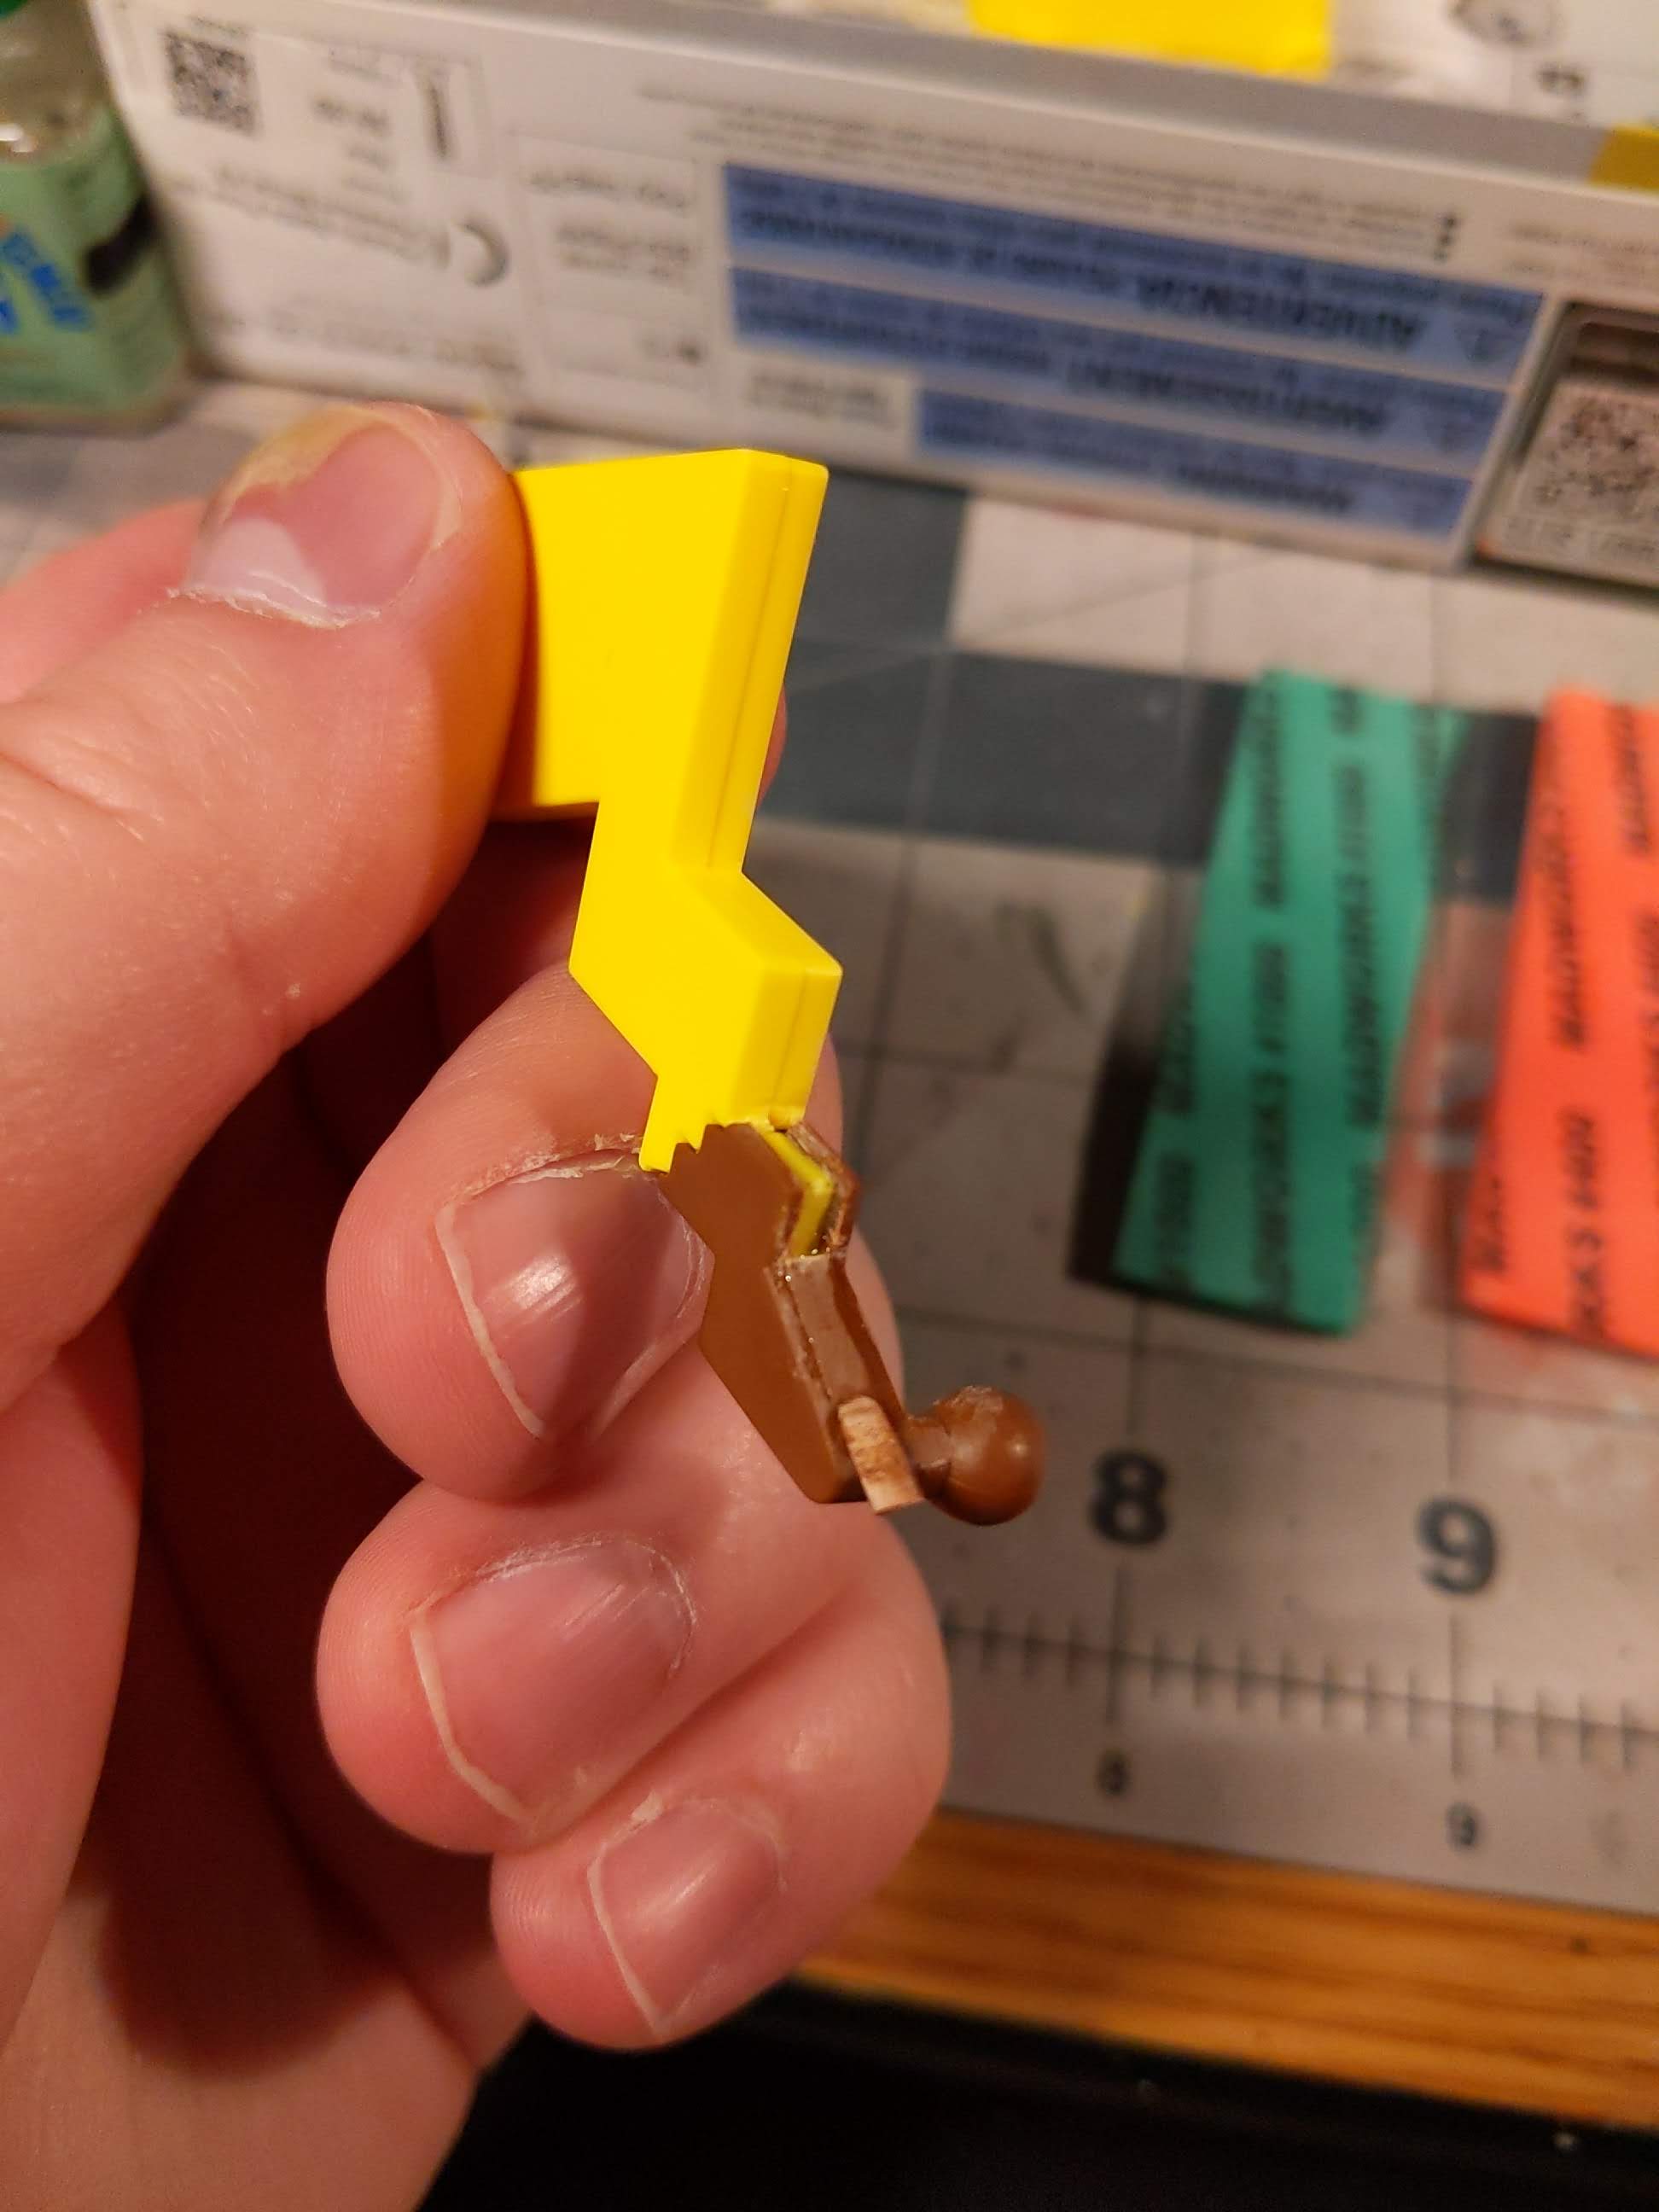
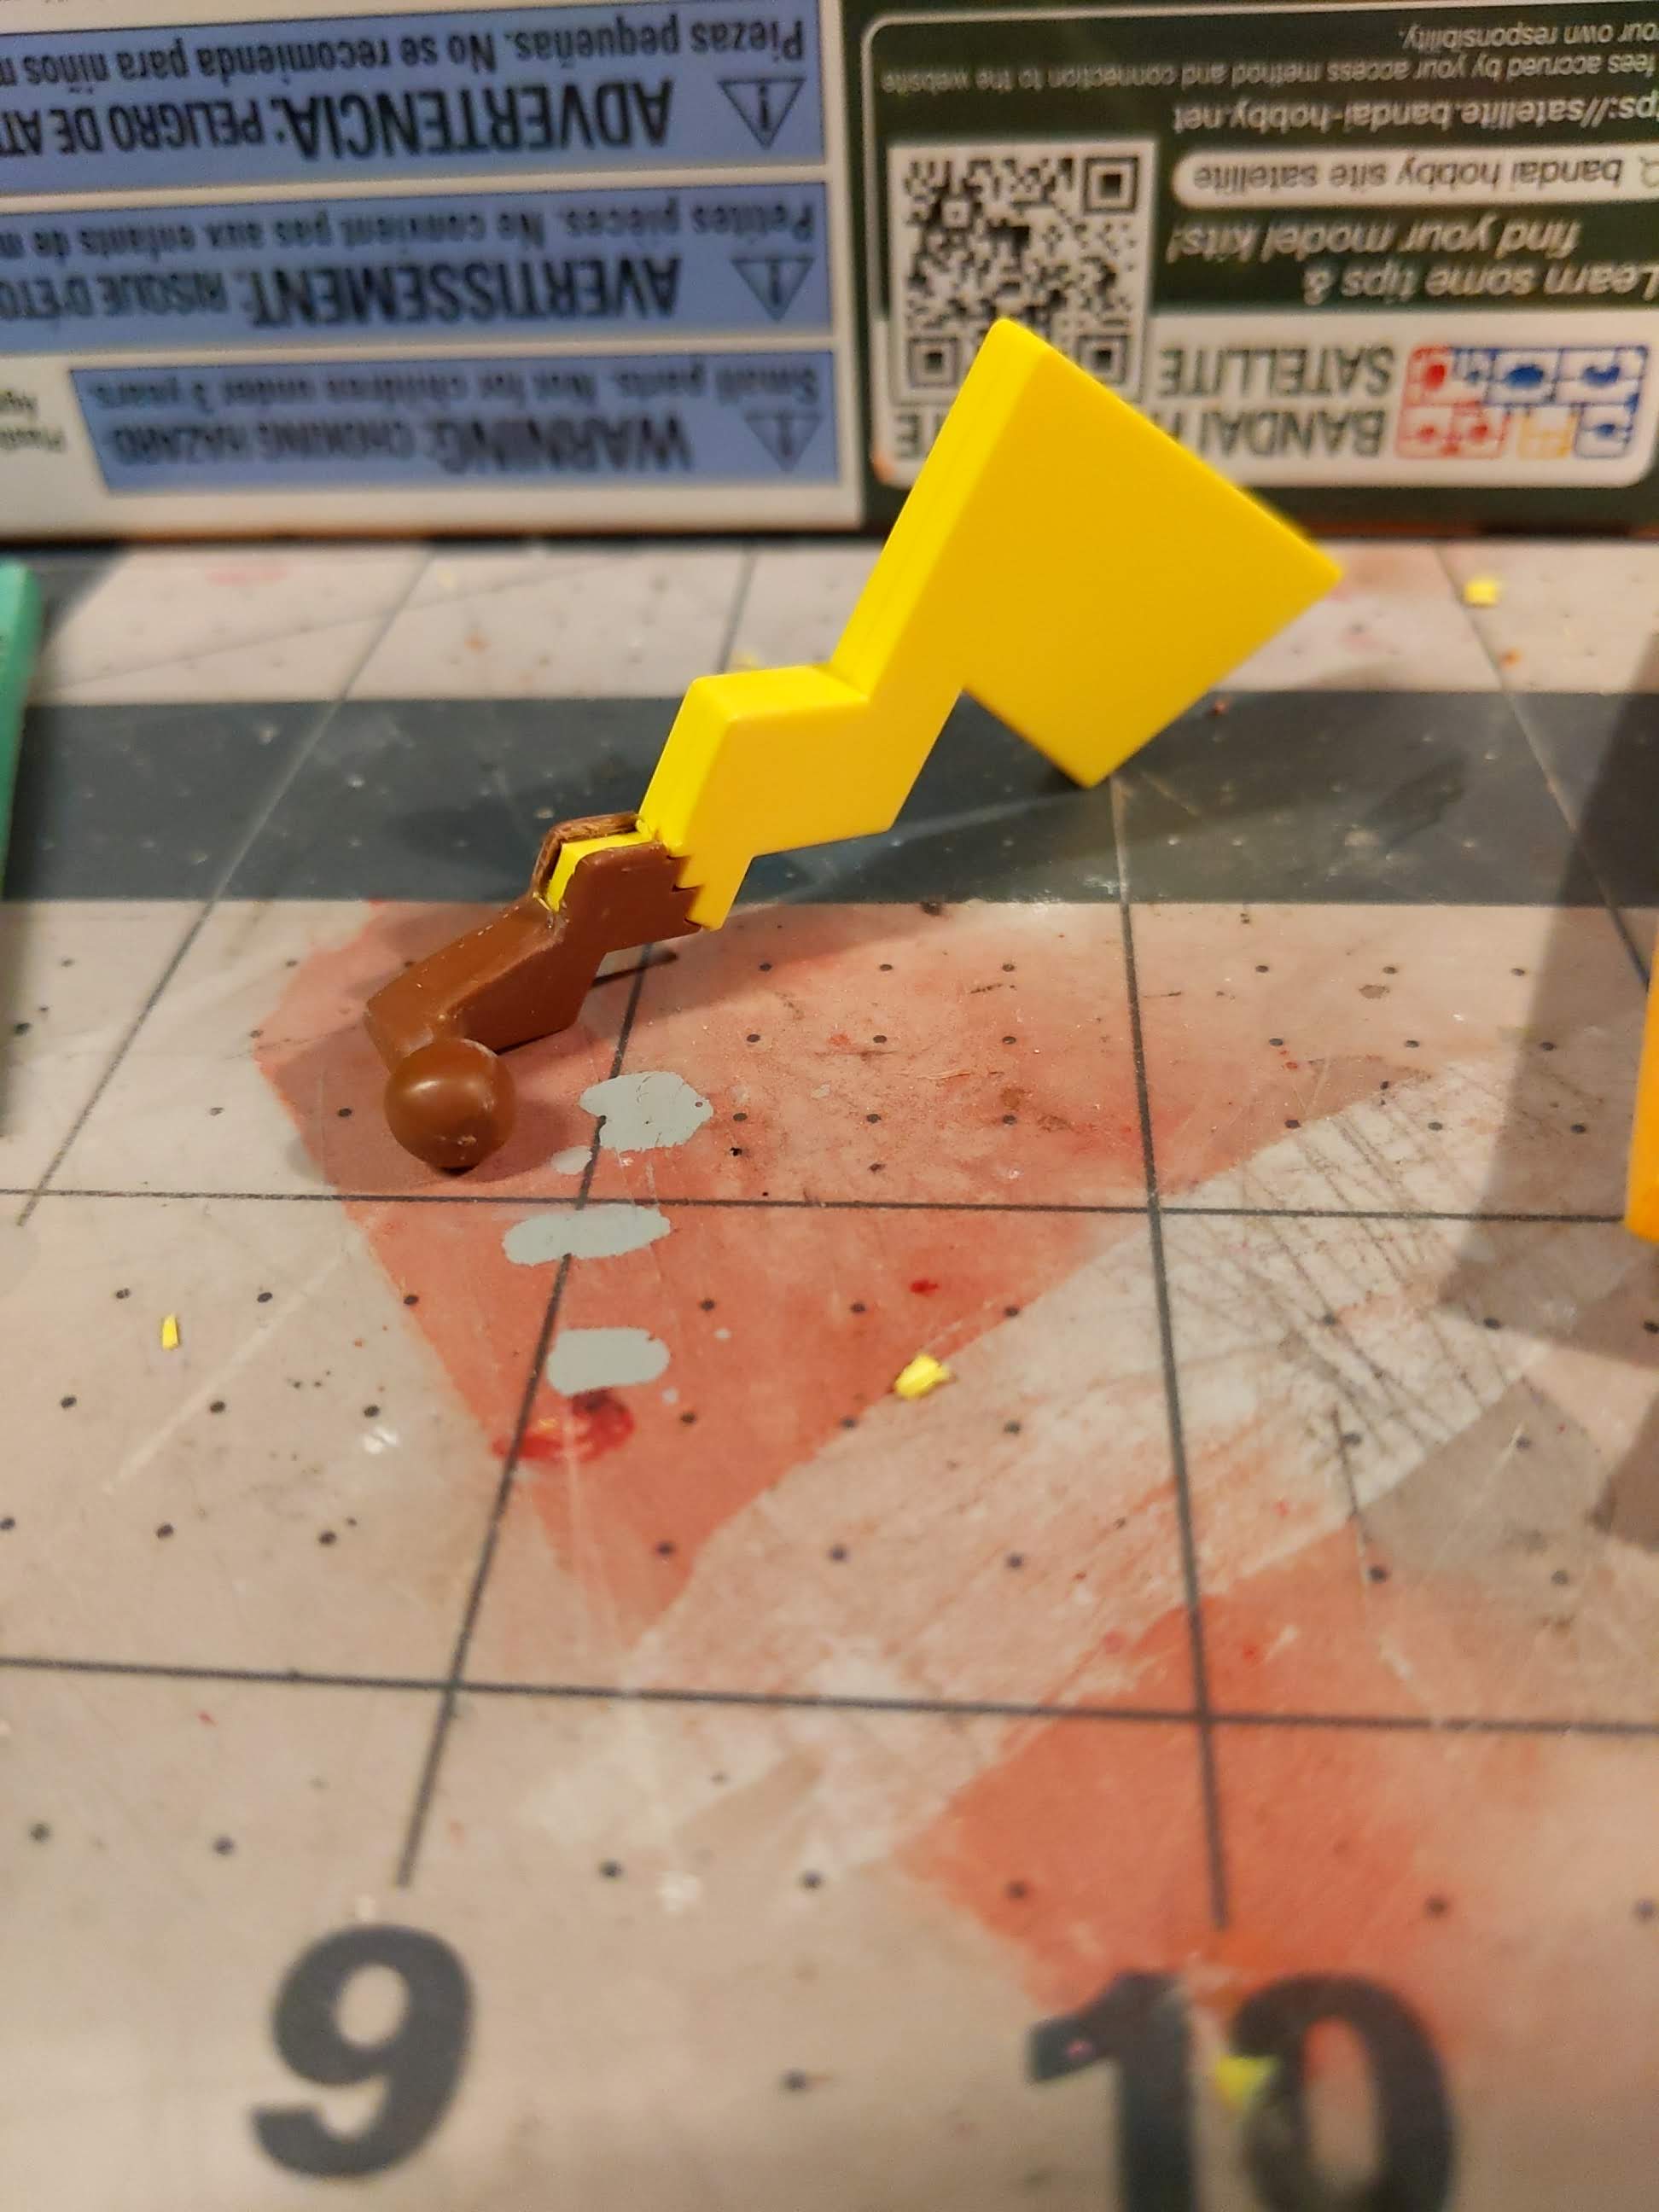
Here is an example where the same techniques were applied to fill in a section of the Pikachu tail that would normally be covered with a color correcting sticker. Instead it is filled in with the leftover brown runner that was cut to shape, cemented in place and sanded down to make it into one solid piece. Then using the seam filling technique to clean up any gaps and sanded smooth to match the finish.
Hopefully you found value in this guide and please feel free to leave any feedback in the comments section below. Happy building!