You know what makes a kit look pretty awesome? A little bit of shading! It adds a certain amount of depth to the kit that I think really looks really great, so let's talk about shading builds with some of my recent projects as examples.
I'm really happy with how my builds have been turning out when I shade them, so I thought it would be useful to share what I've learned over the last couple builds. Let's take a look at the shading methods I used on the Hi-Nu, Unicorn and Sazabi master grades.
For the Hi-Nu build, I decided to use a black preshade on everything like you when employing the Max technique, with a little difference: I didn't paint the entire part black. I watched some videos of F-14 builds on youtube (hey, remember when I thought I was going to finish that next?) and this way those builders prepped the aircrtaft kits. I figured that if I painted or primed the whole part black, that would darken the color that's going on top or I'd have to apply more coats to get the color I want. With that in mind, I landed somewhere in middle and gave highlighting the edges and panel lines with black paint a try.
I filled in the areas inside the black with the main color very carefully using paint I thinned somewhere around a 2-2.25:1 ratio of thinner to paint.
I used this style of shading for the entire kit since I opted to use a...Tan? Seagray? For the body on this one and felt that was appropriate. The end result is a kit that looks nice but also does have a bit of a weathered look to it. I went with black on it because I wanted a more serious vibe for the kit but to be hoenst, I haven't shaded any kits with black since finishing this one.
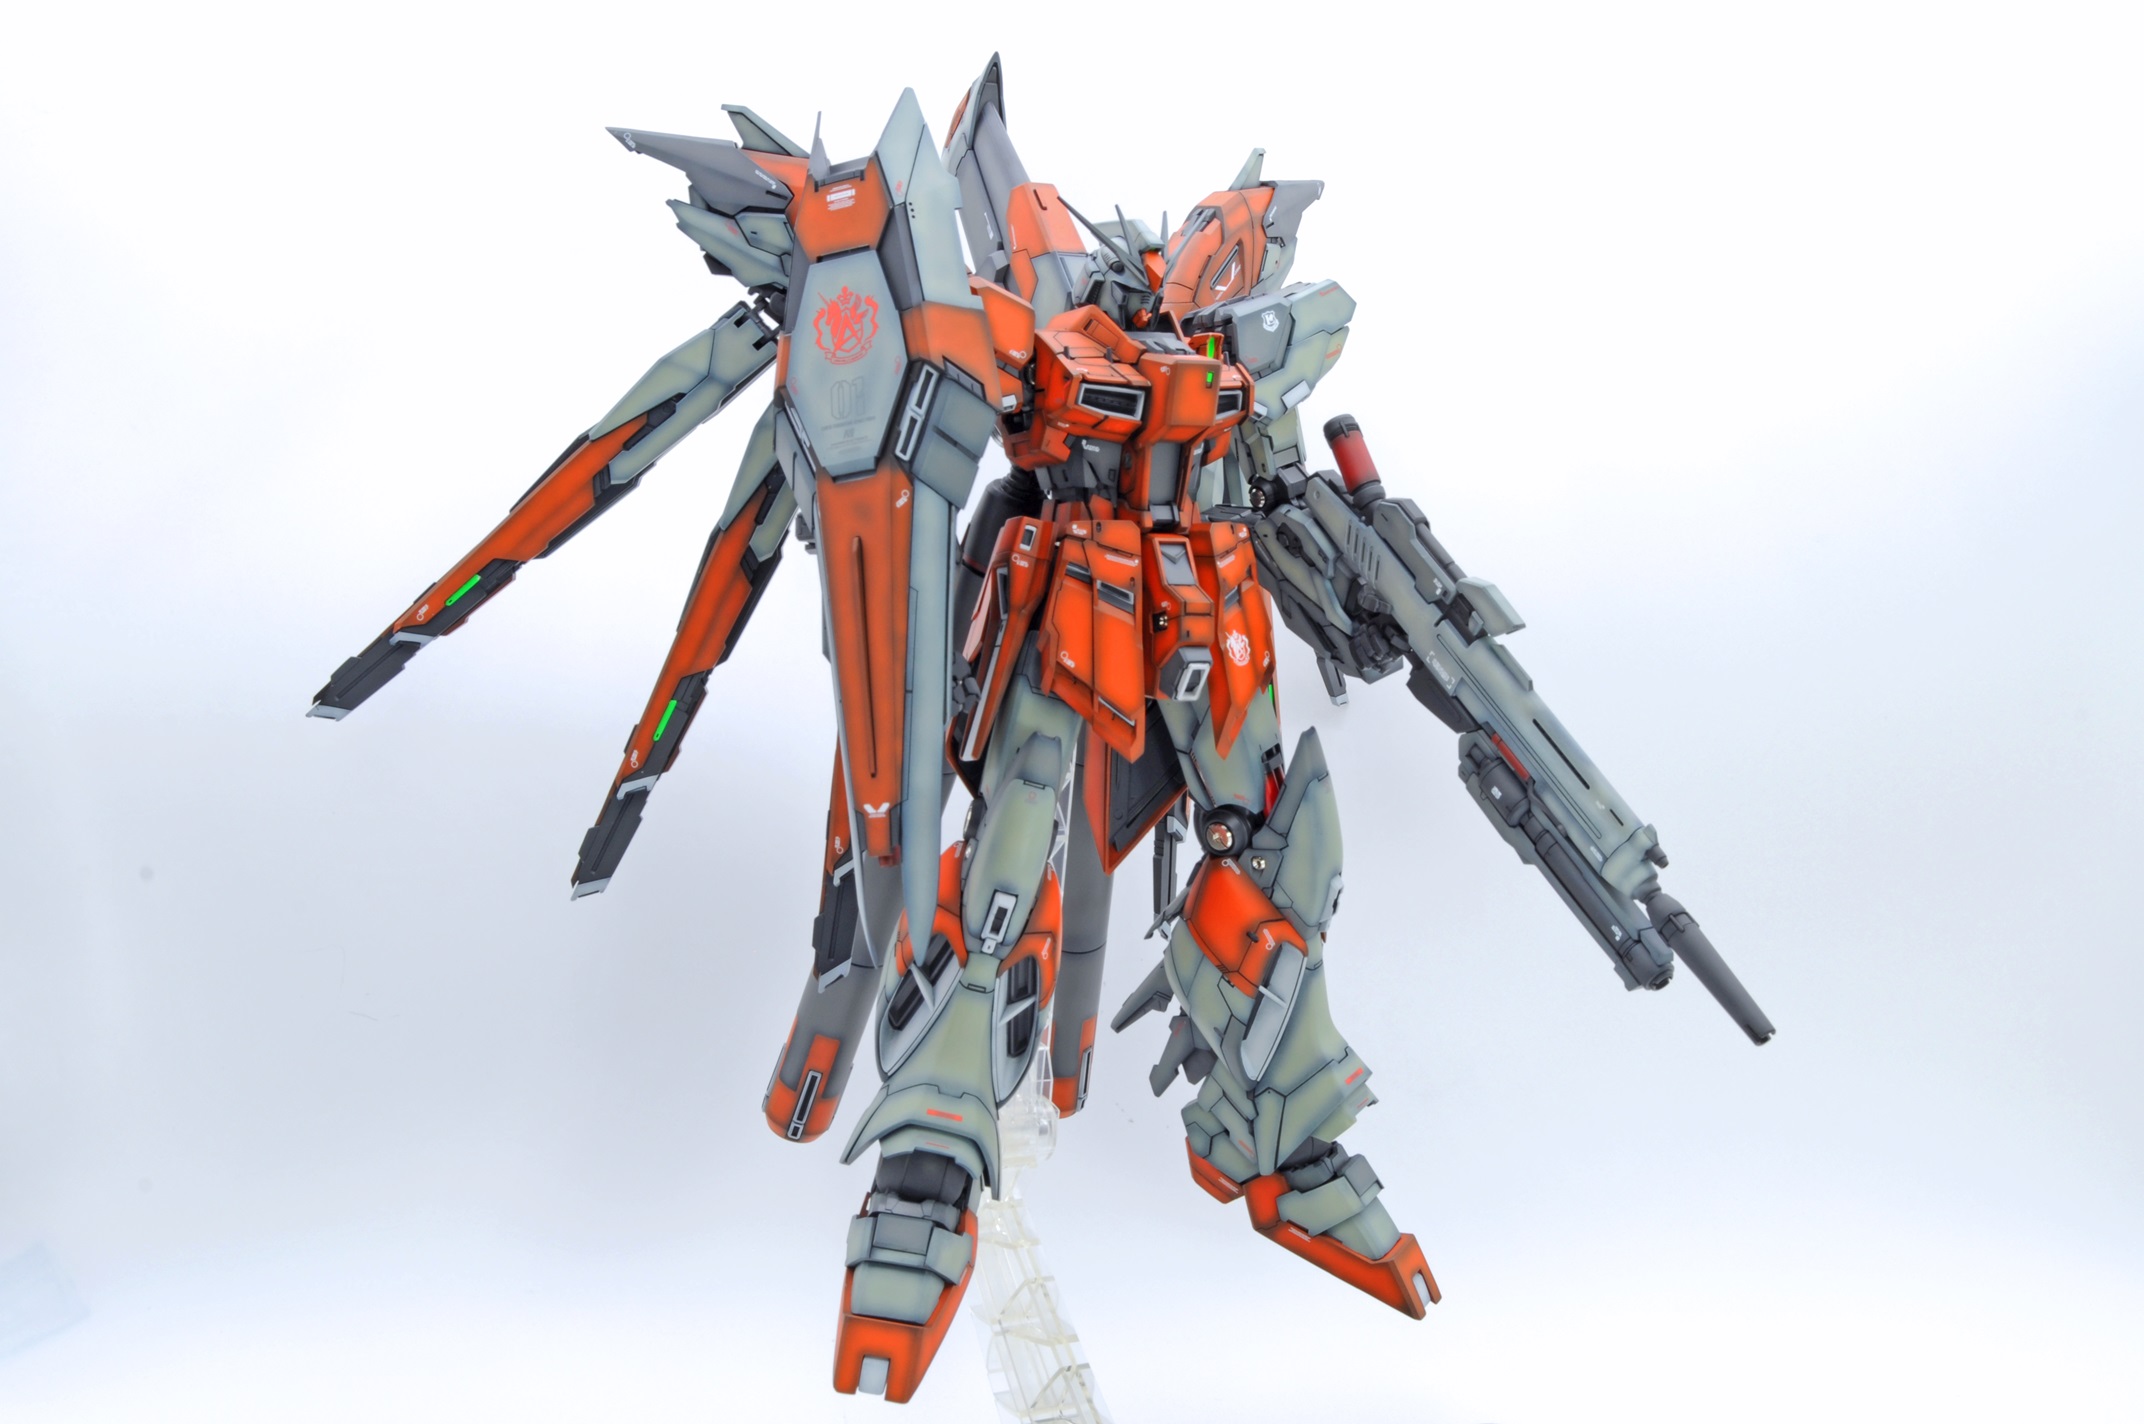
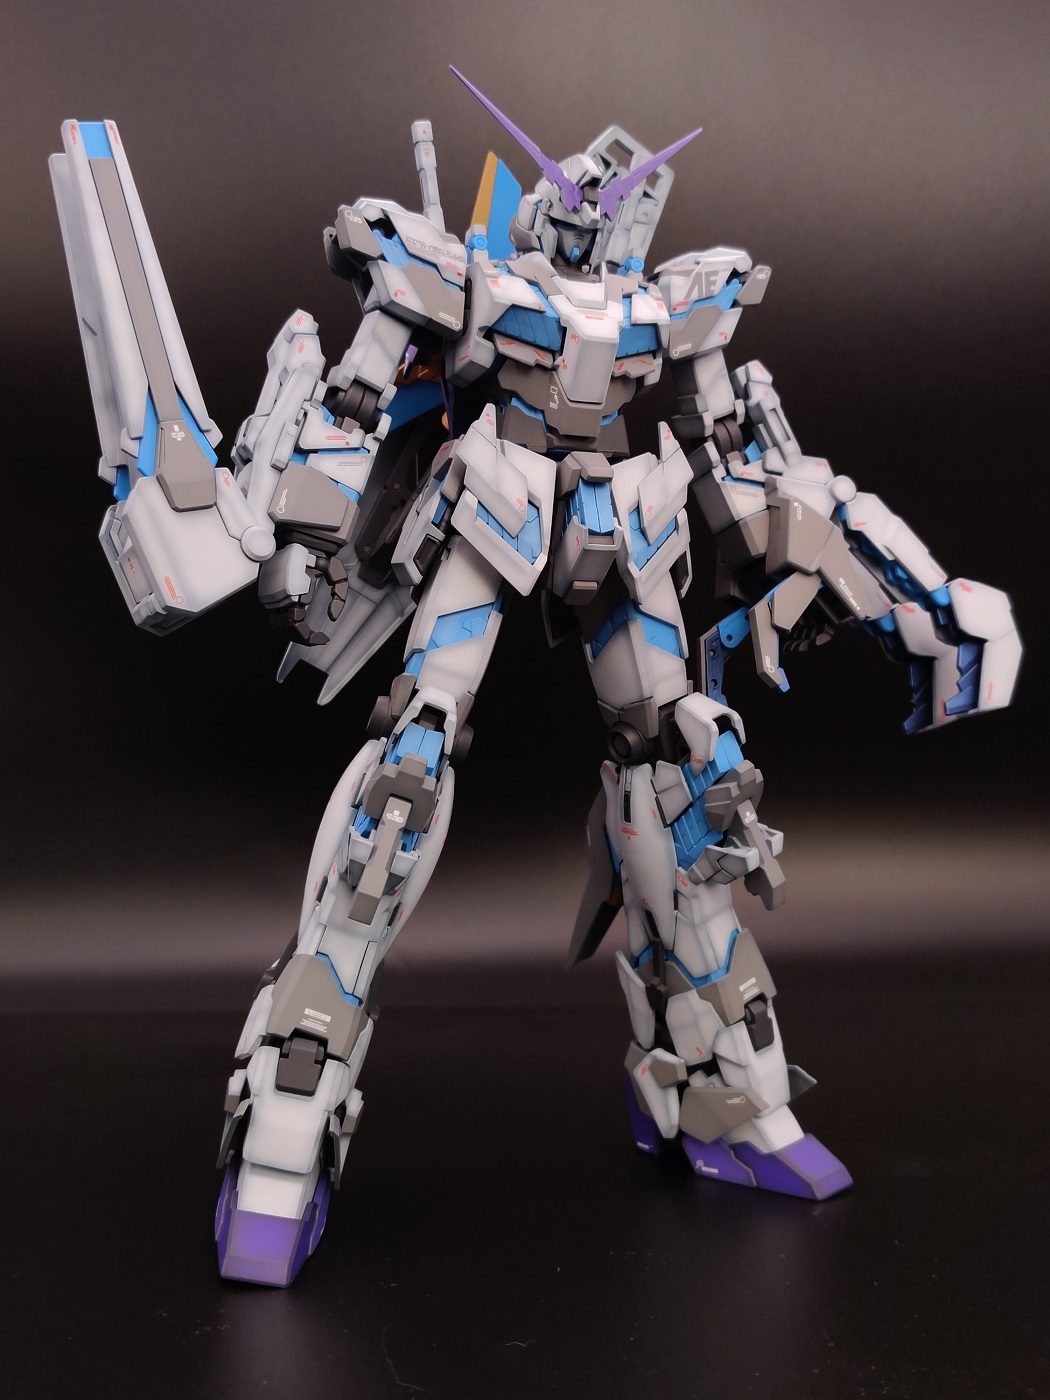
My favorite method when it comes to shading is to use a darker shade of the main color for preshading, like I did for my Unicorn Gundam and Sazabi. Bonus HG Sinanju pictures because I took some solid in-progress shots of those while I was doing some color tests for another project. This method is somewhat inspired by what Saint-ism (and other builders I'm sure but he was my main inspiration) does for his kits but with my own twists on it.
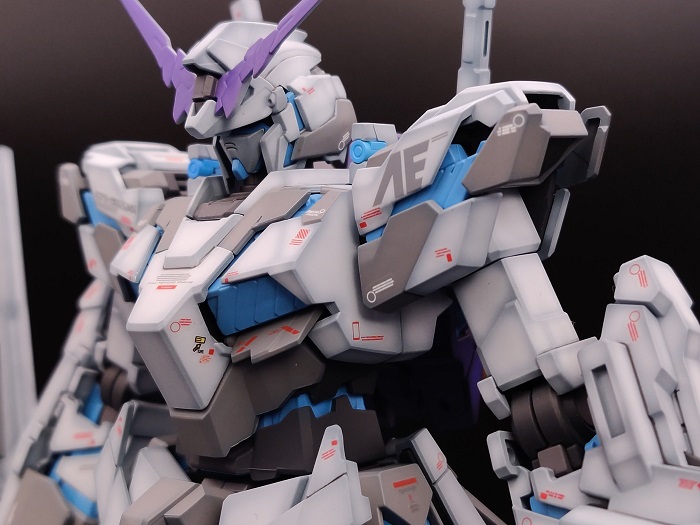
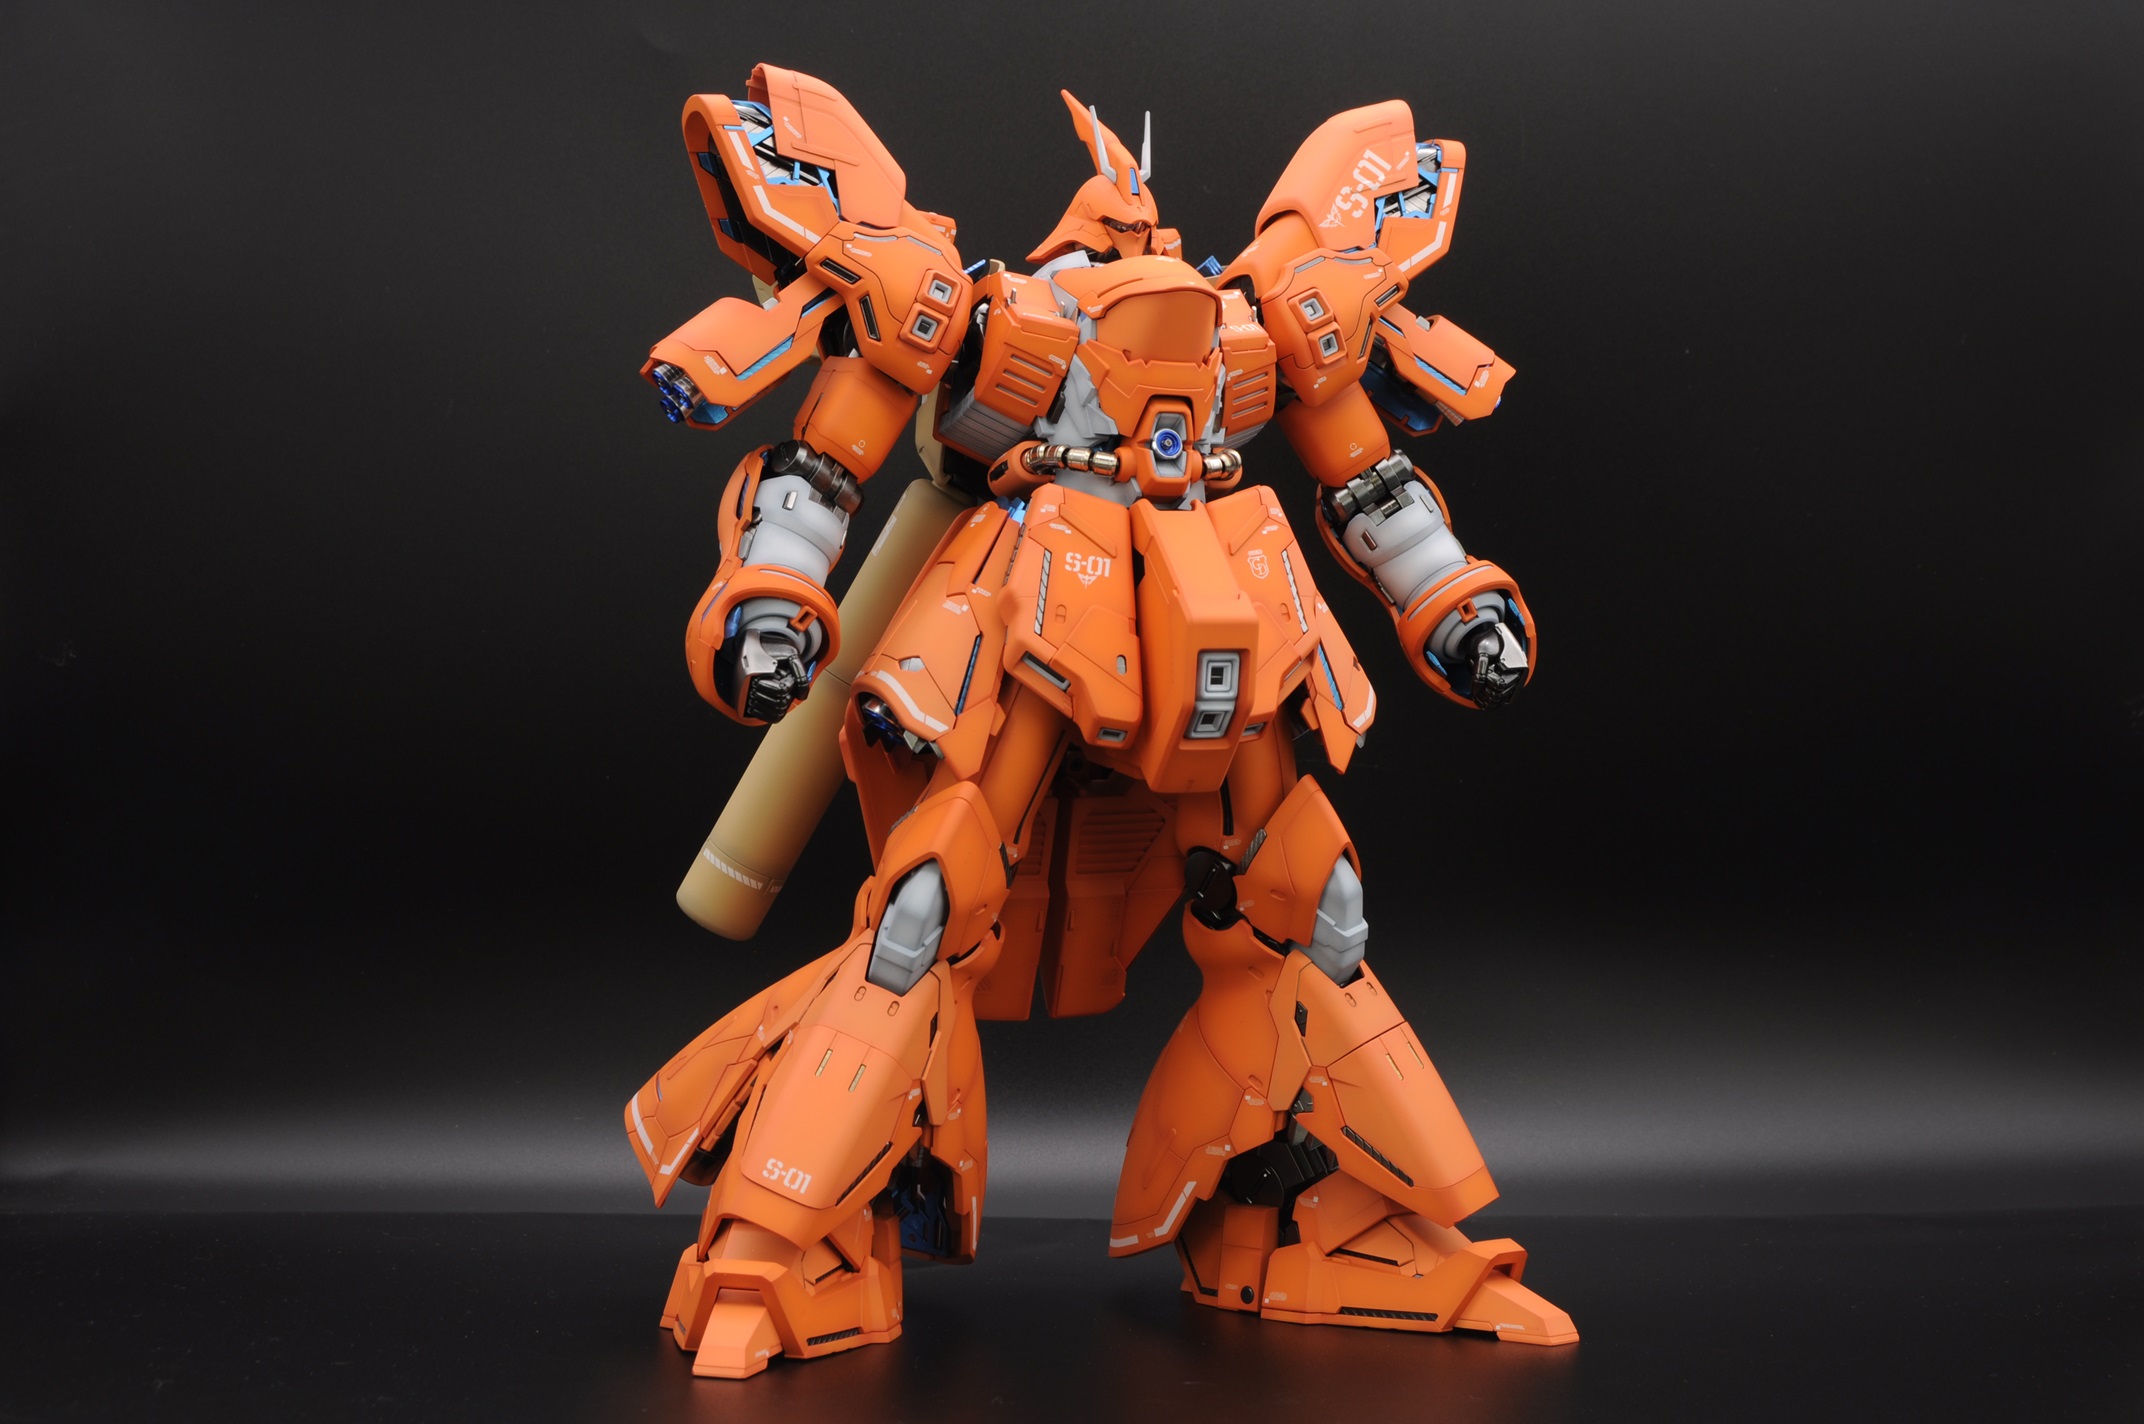
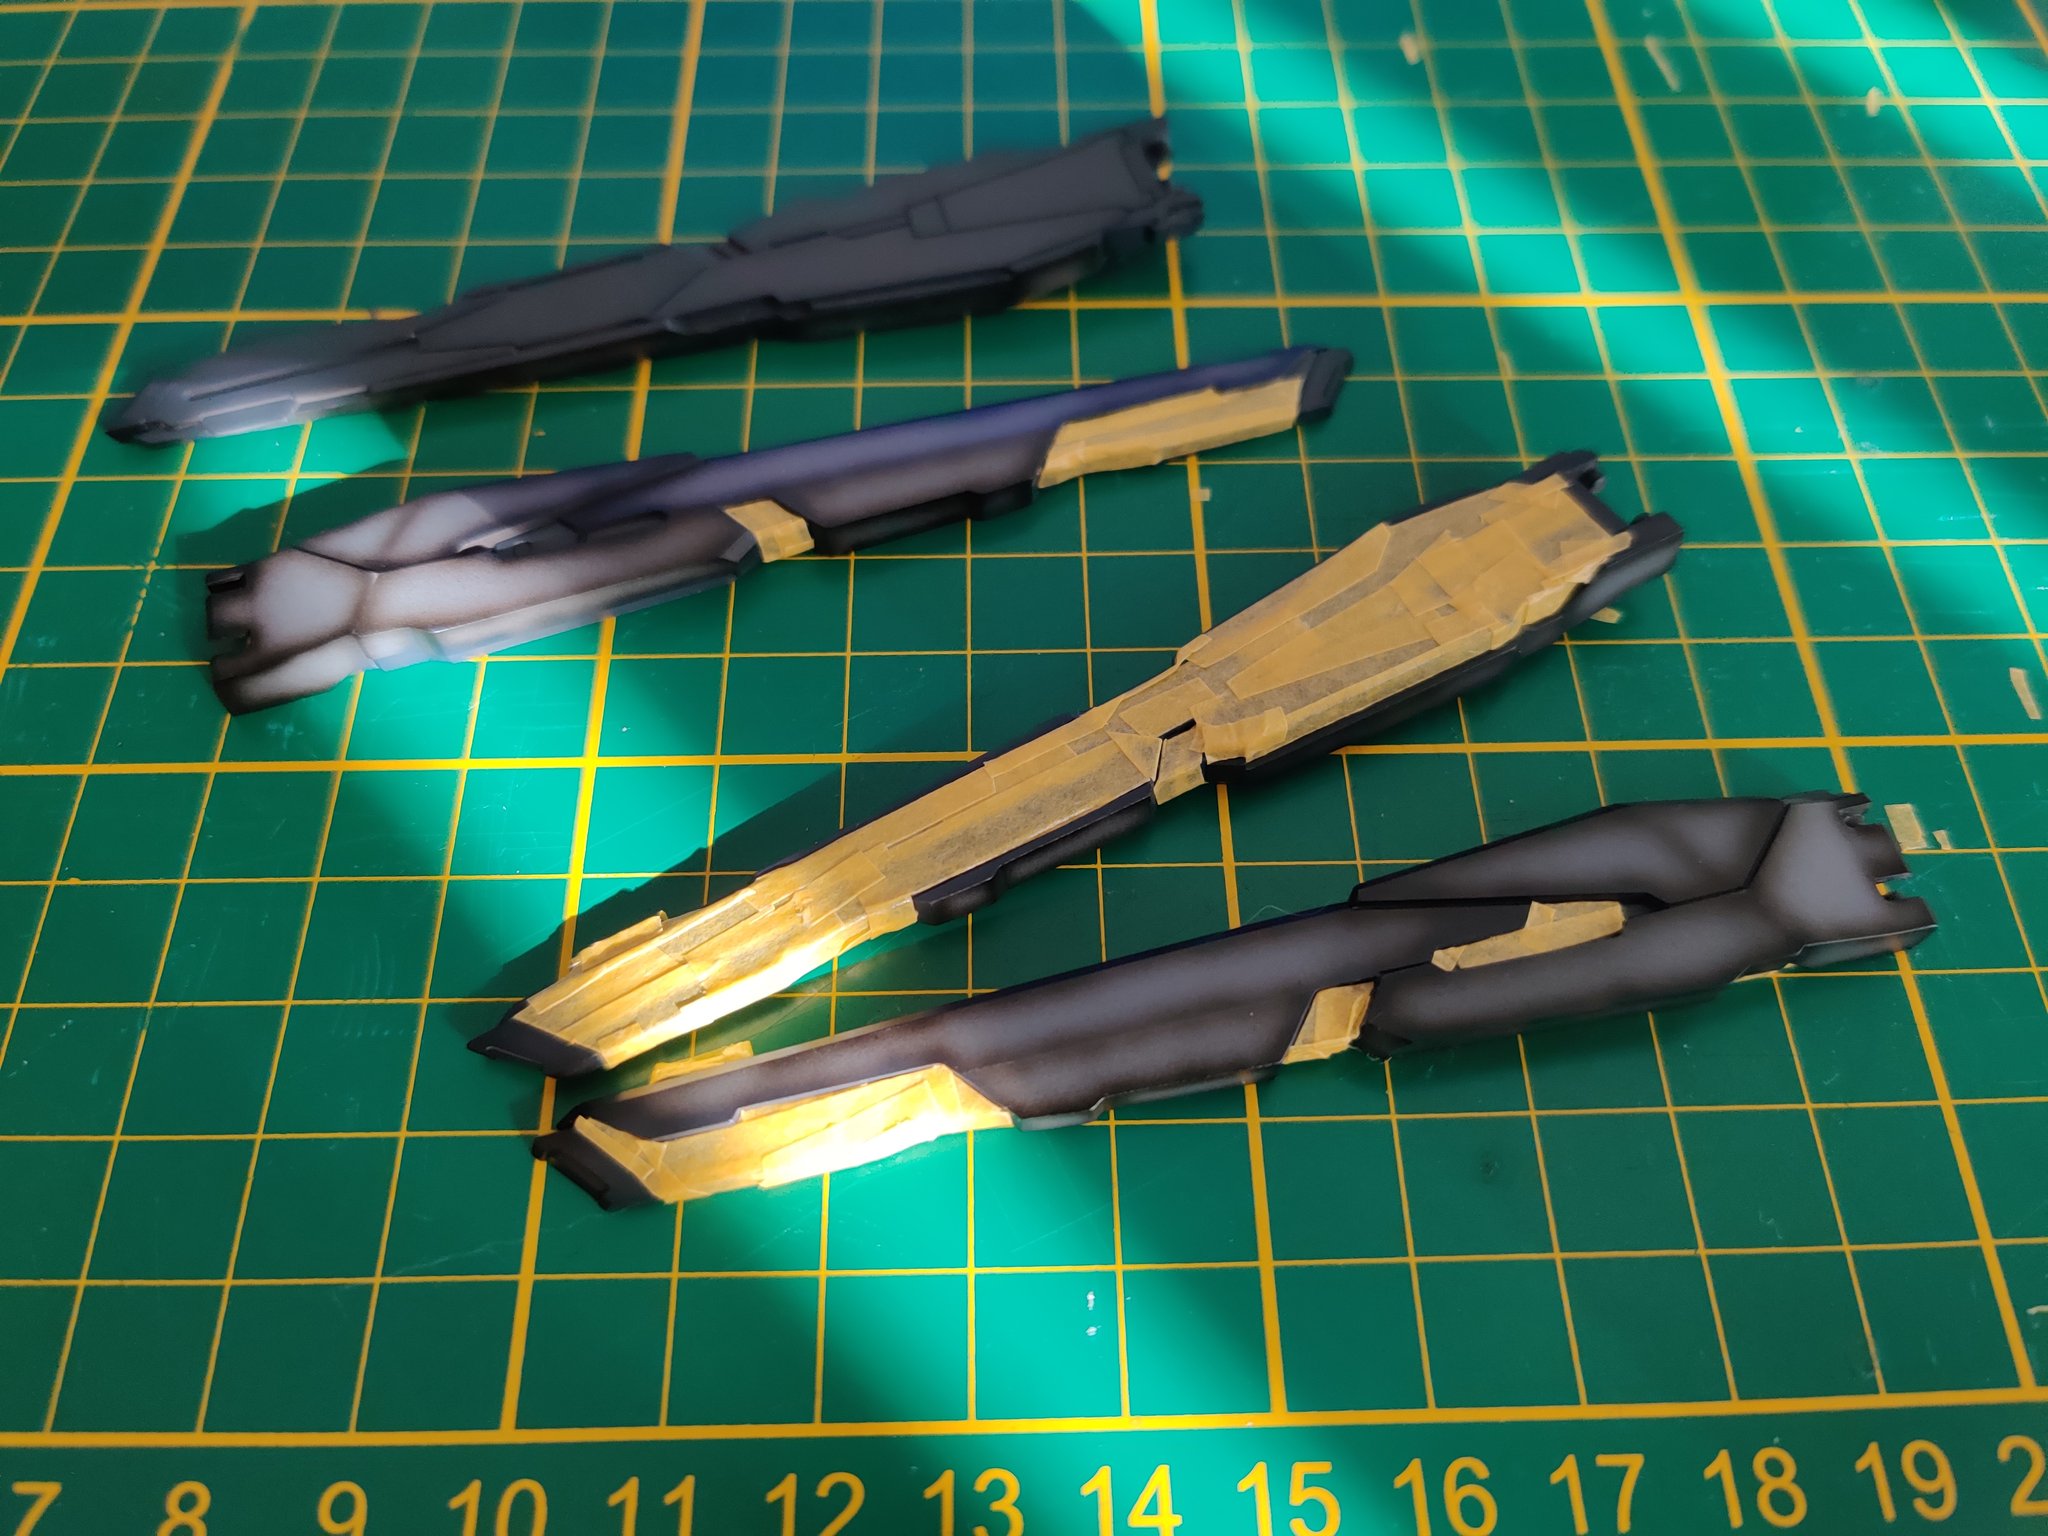
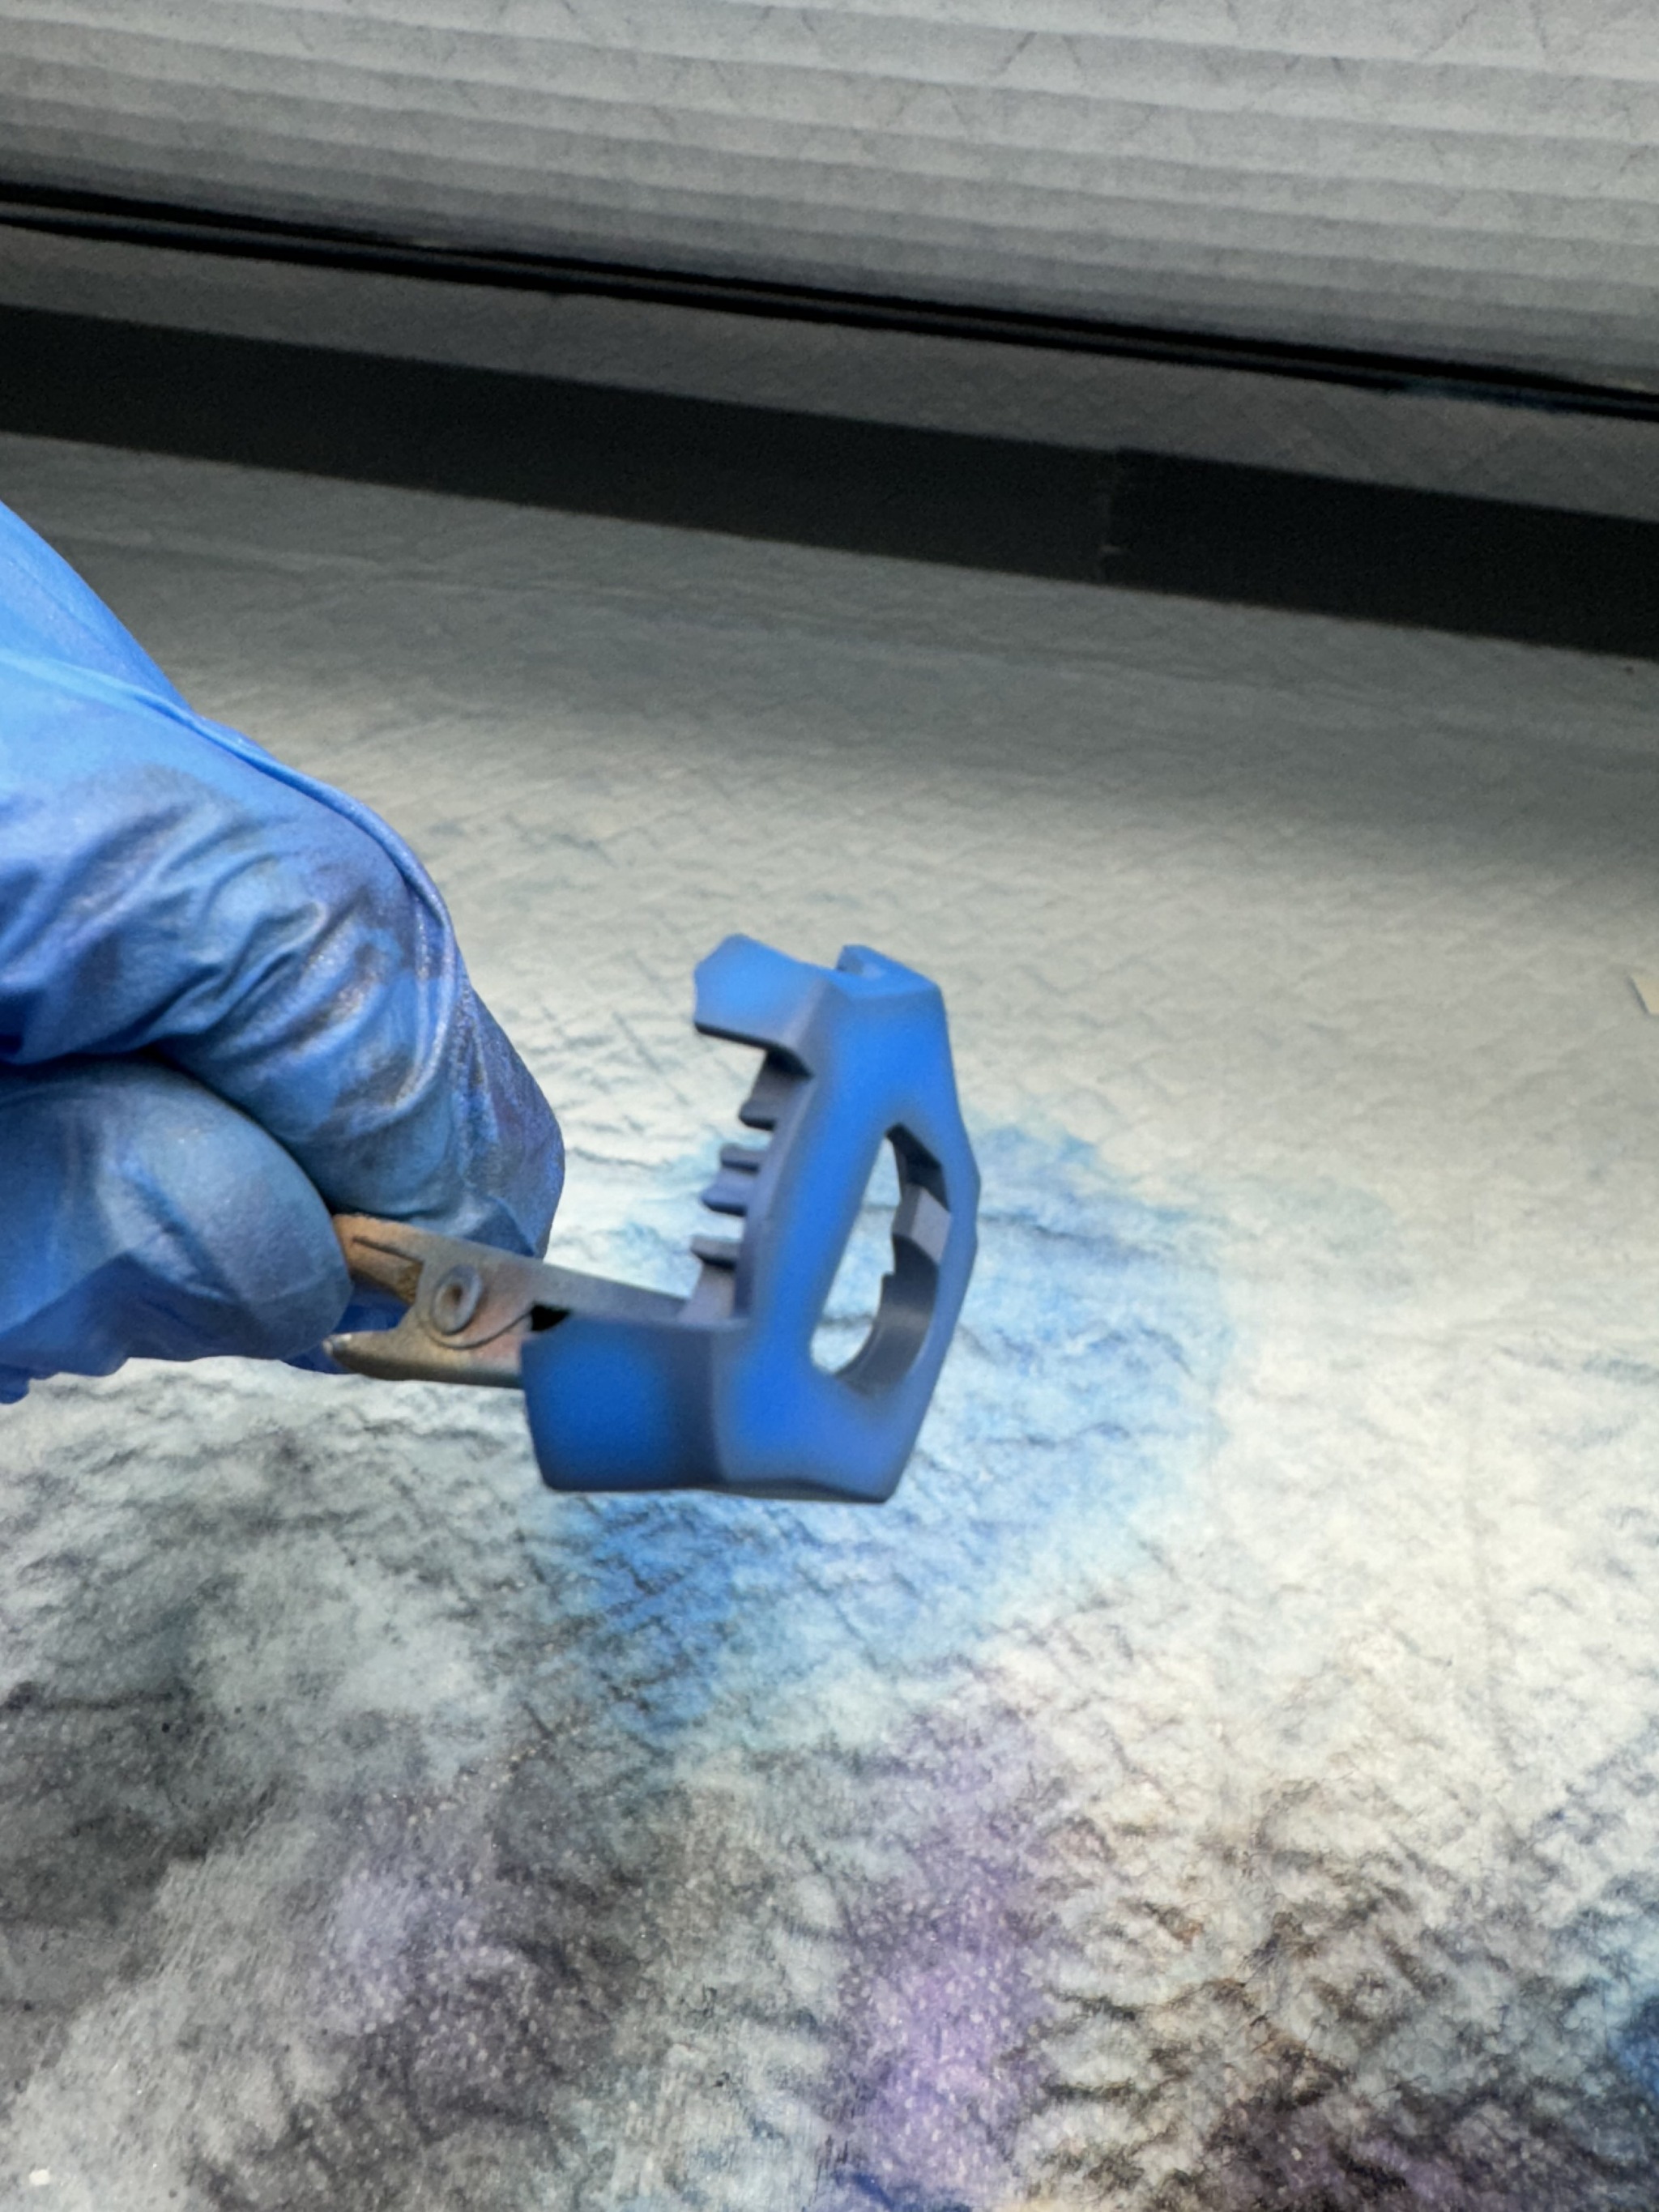
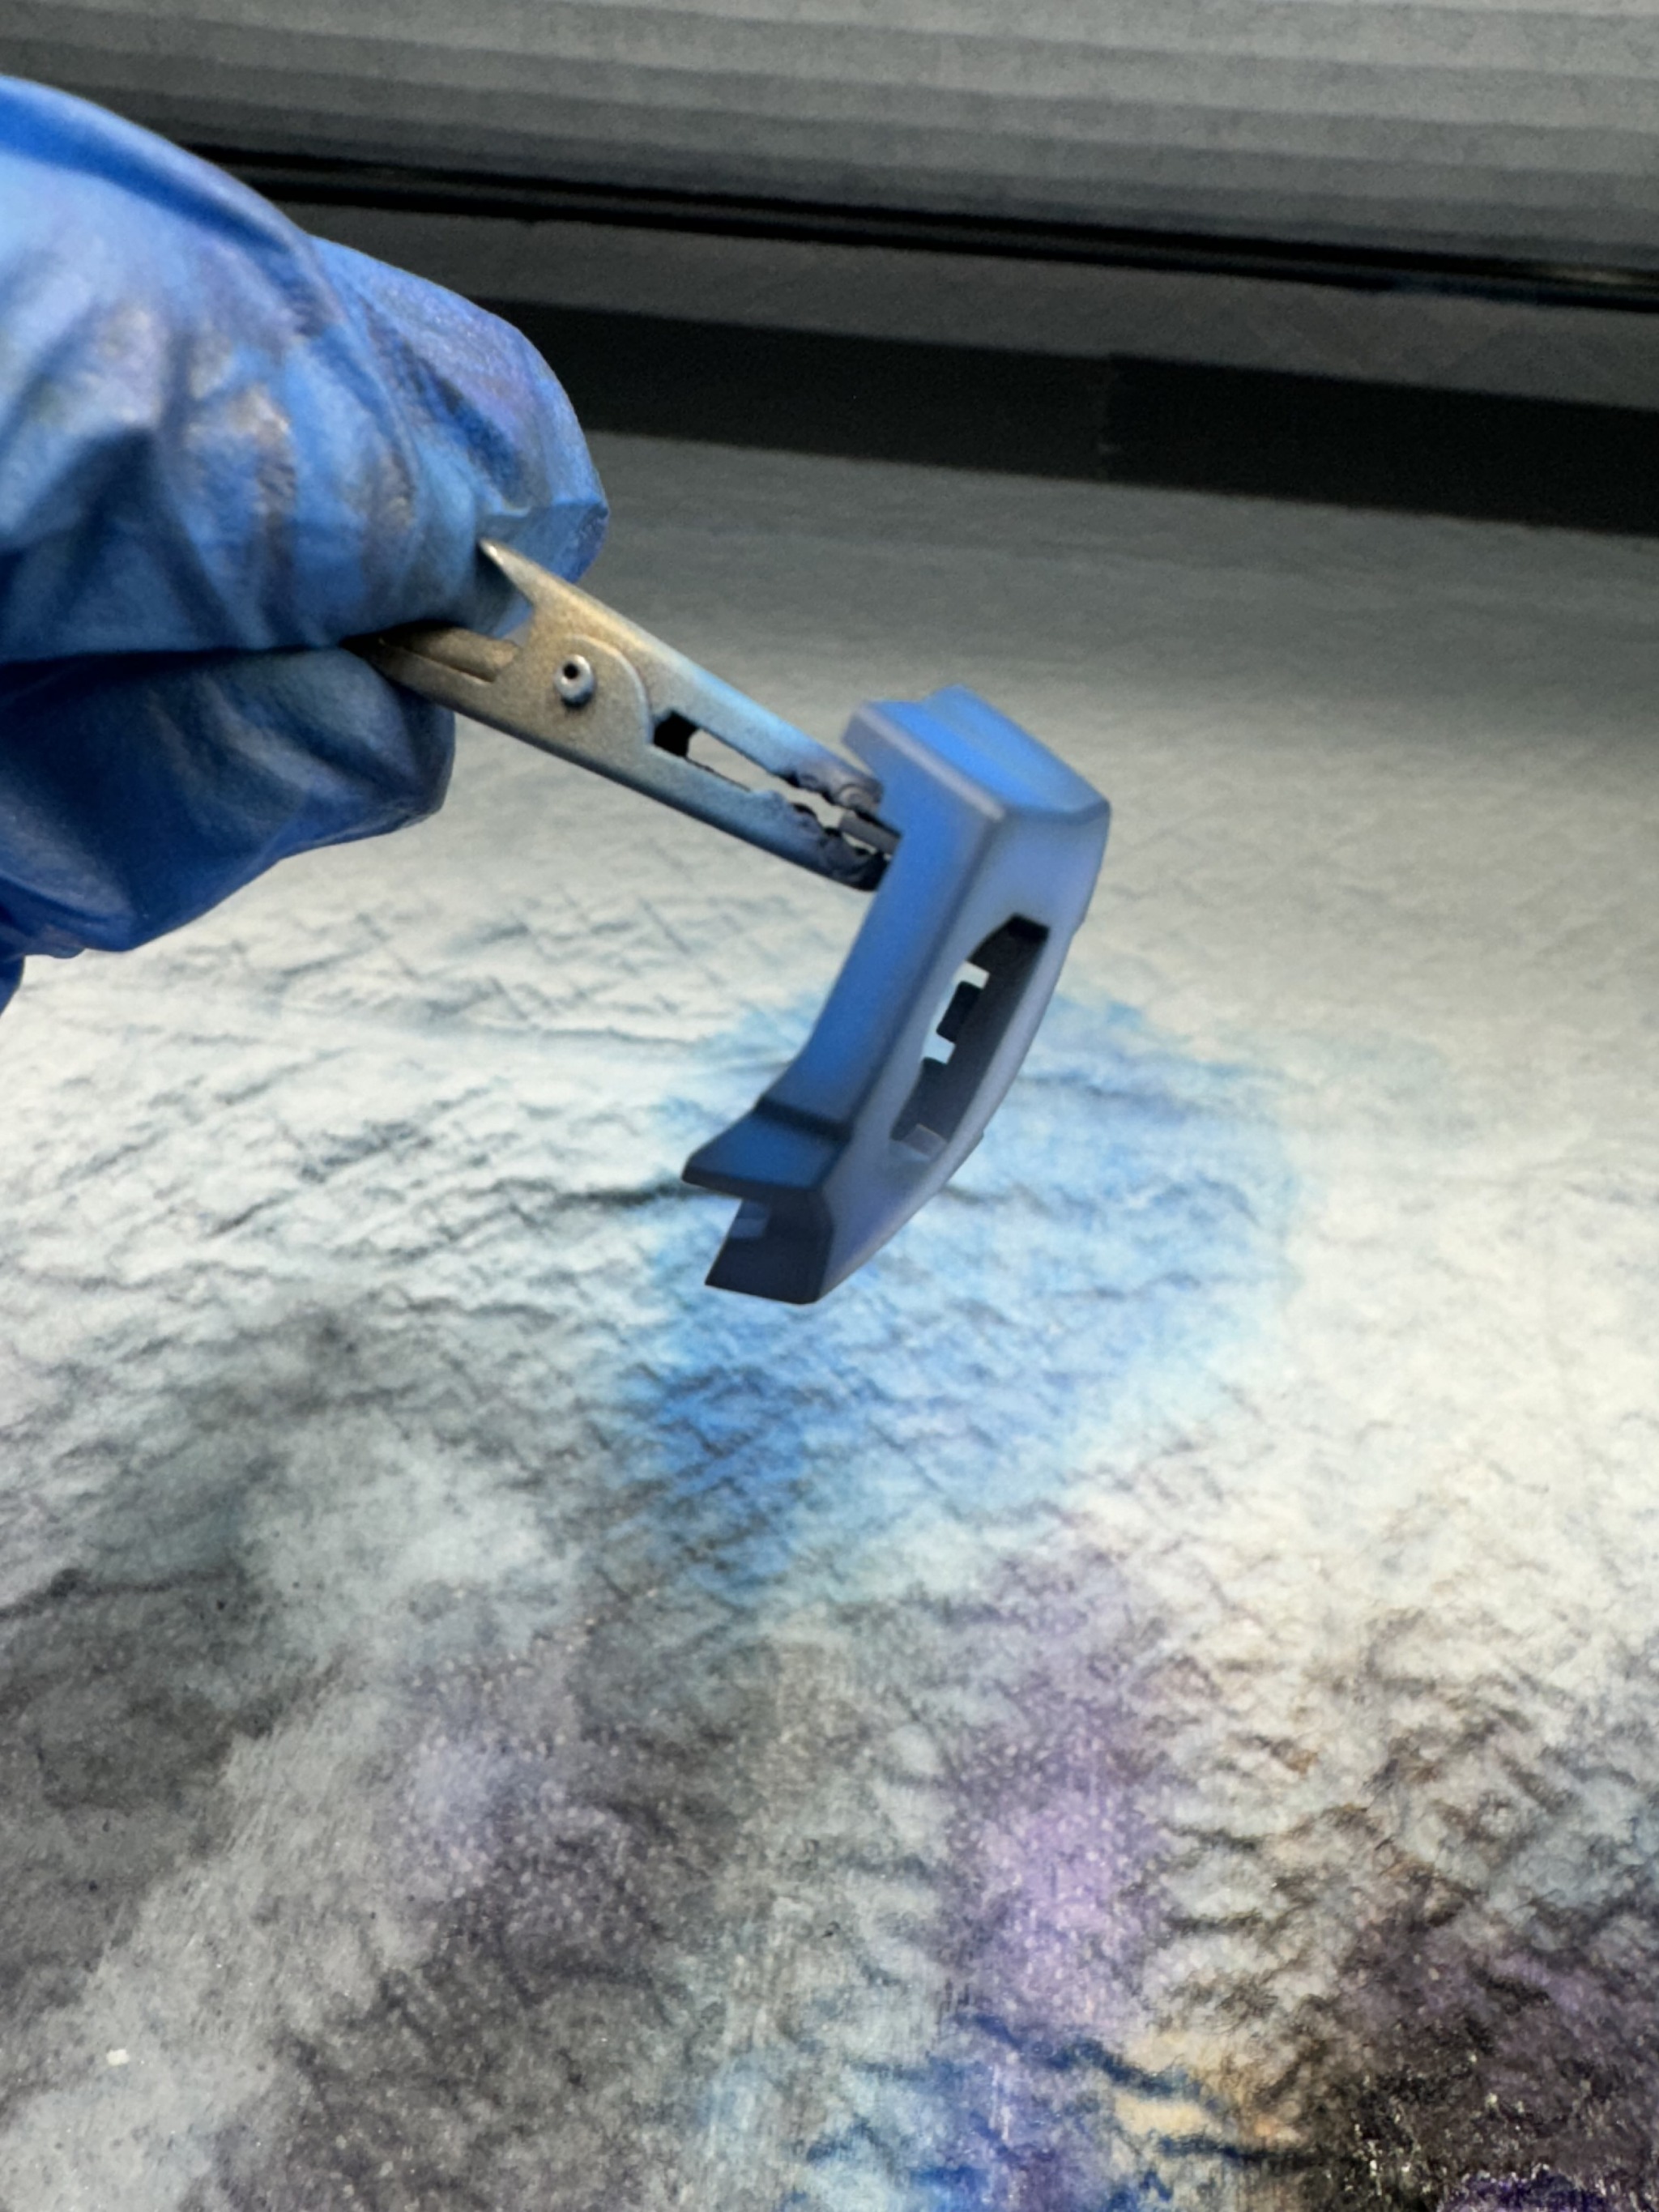
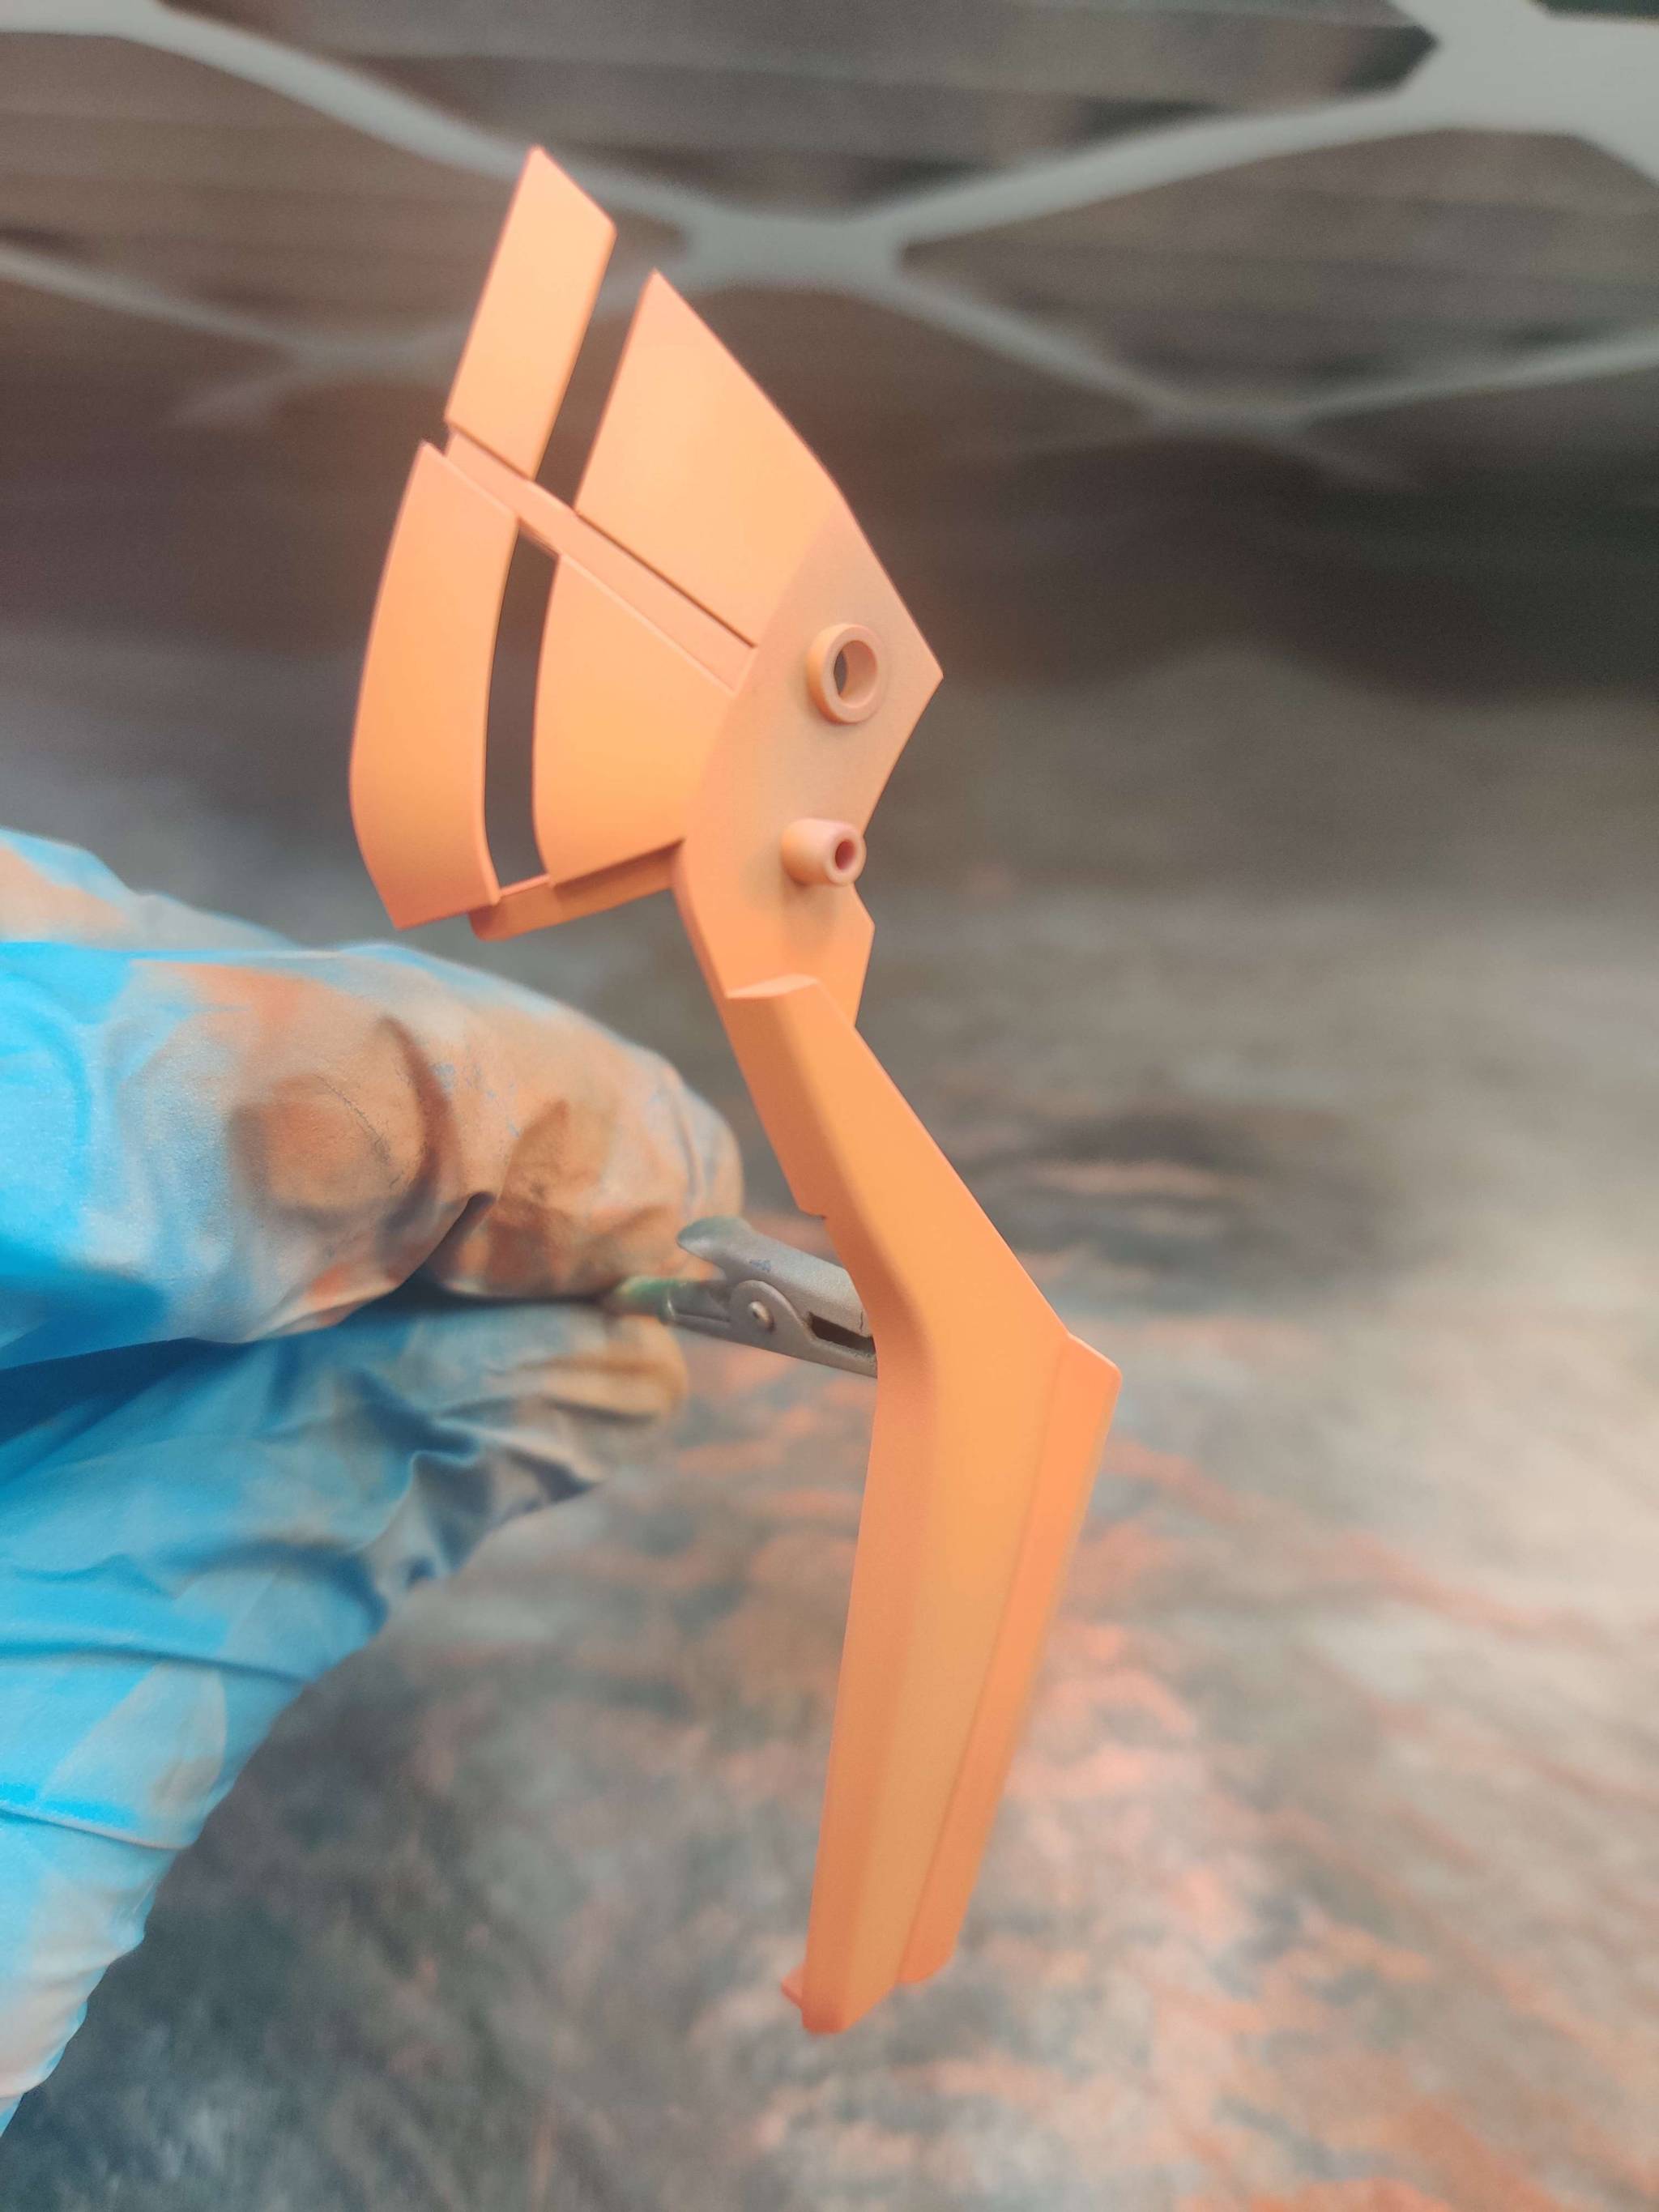
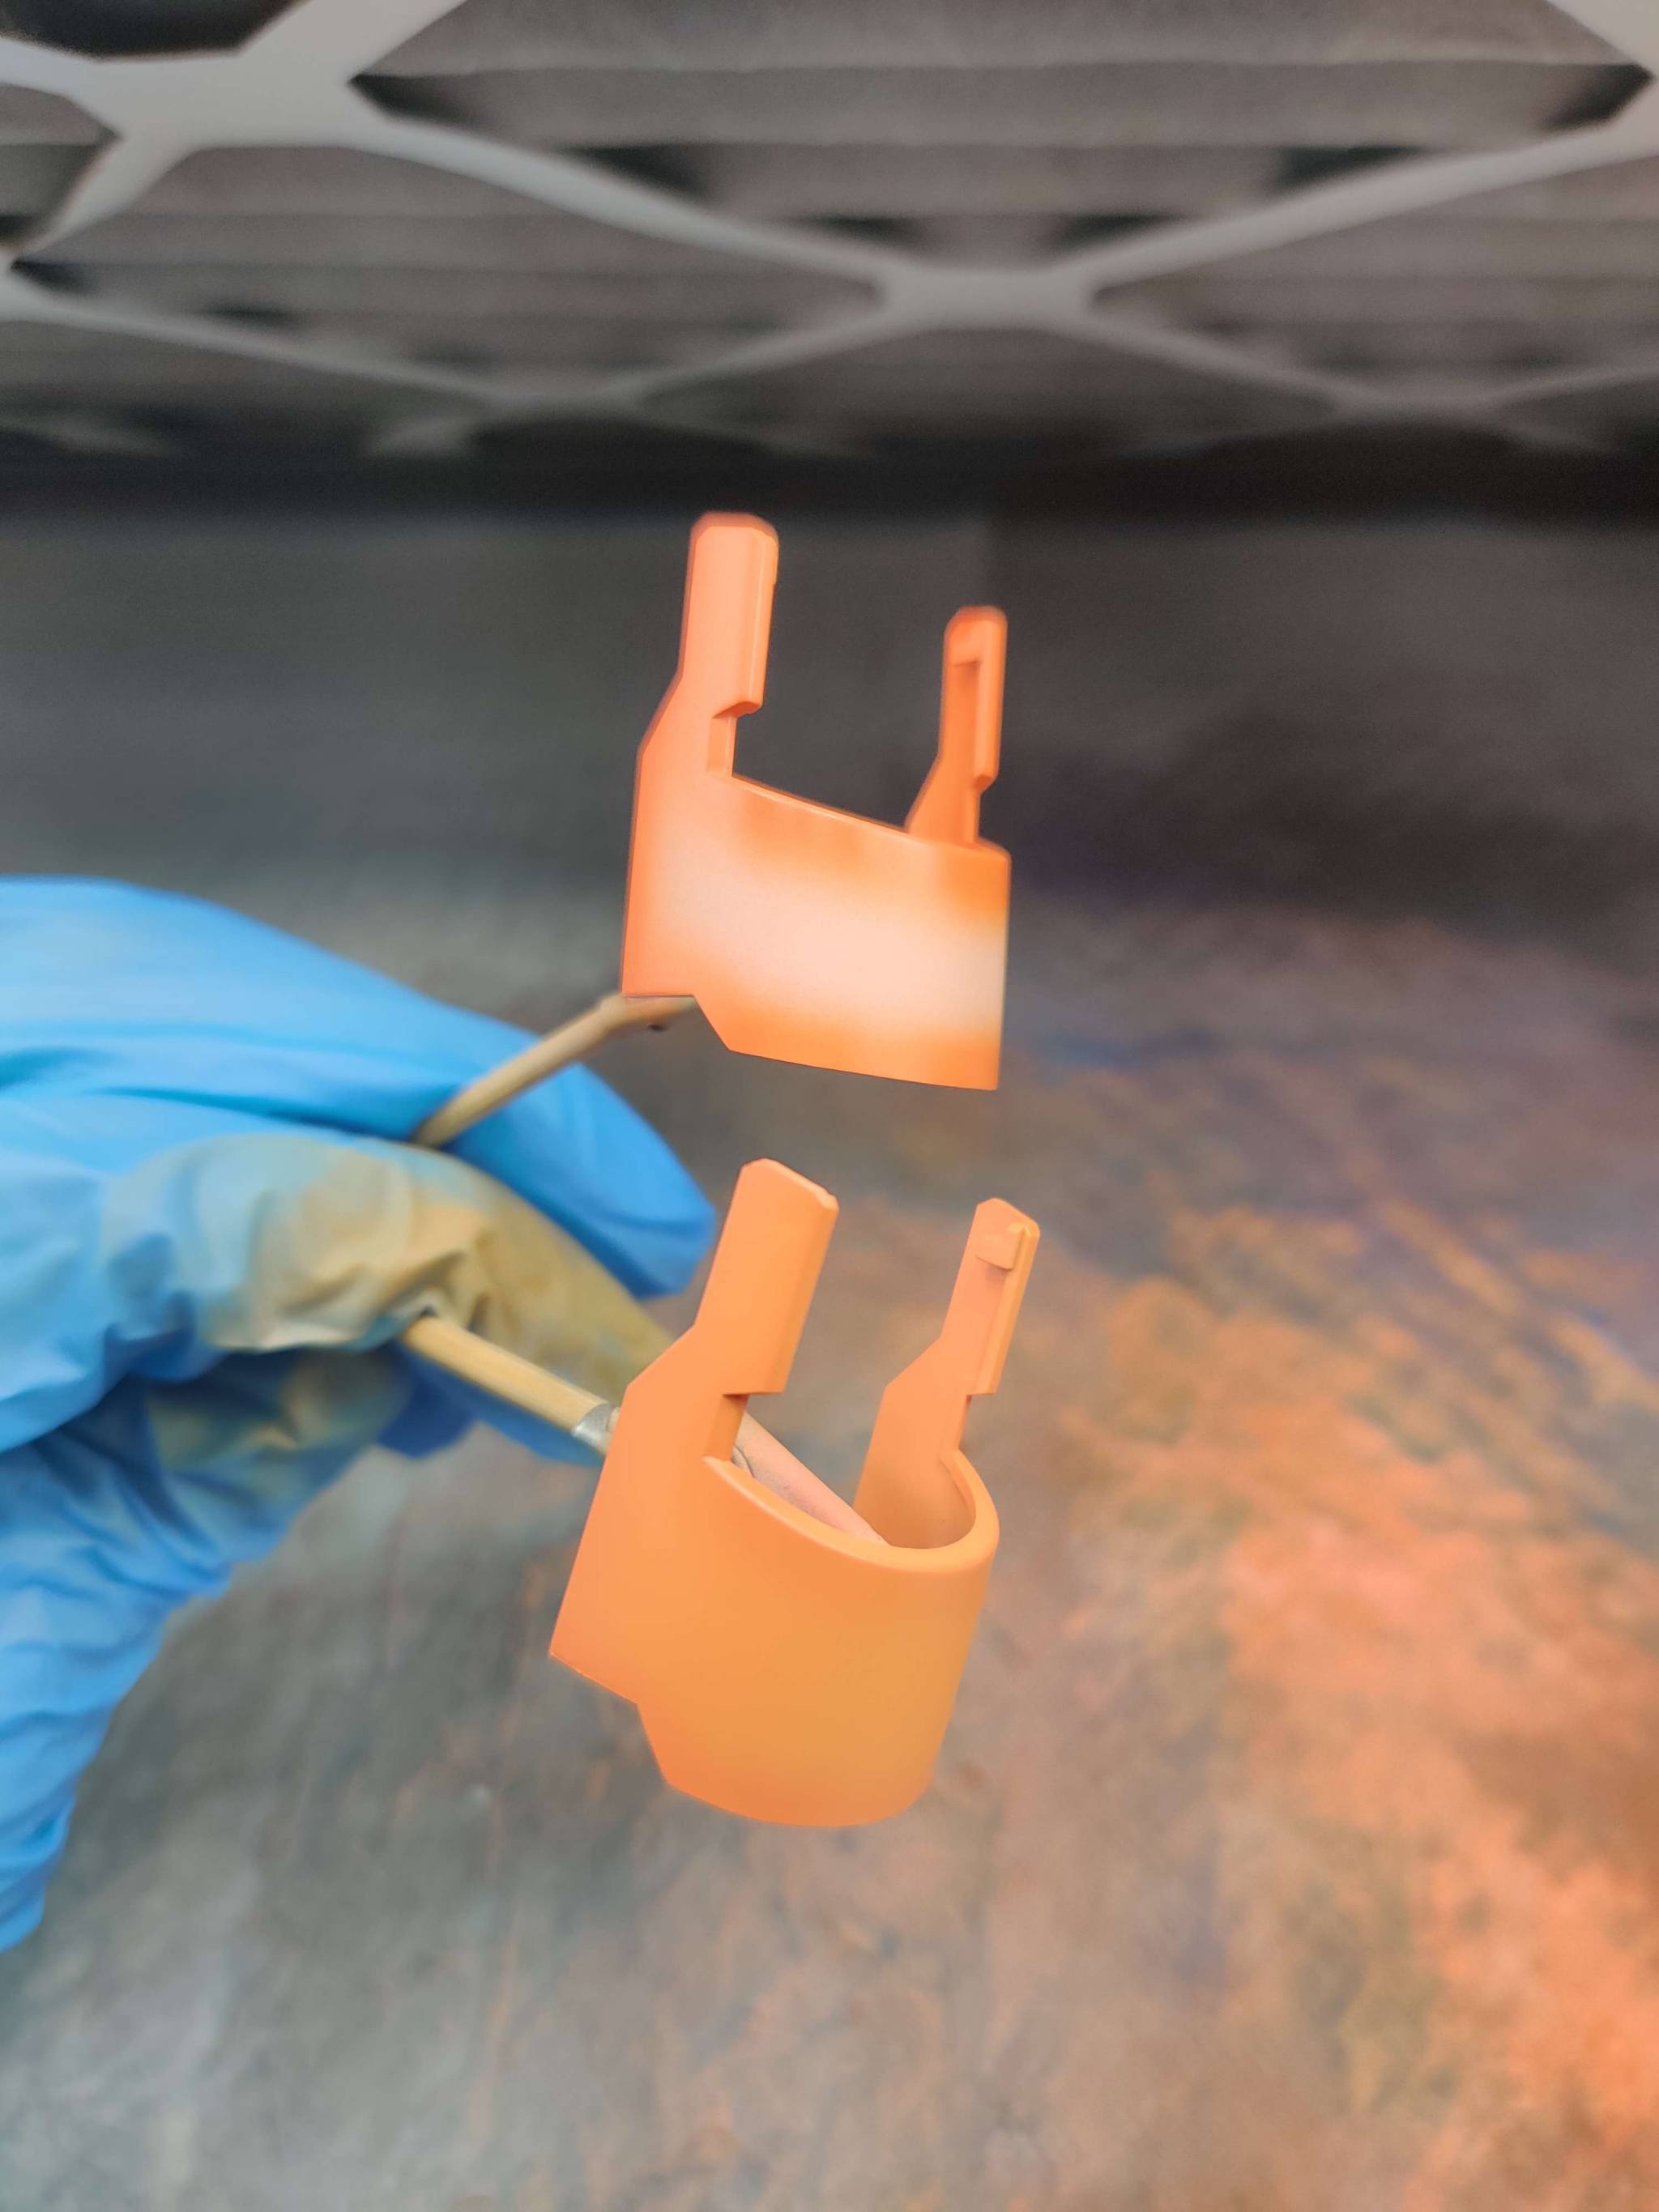
I make my shading colors by adding a complimentary+darker color to it so that way it's in general a softer shift from the main color to the shading color. For the Sazabi parts I mixed brown in to the custom orange color I made and for the Unicorn I used some "blue fog white" as my preshade color. I preshade my orange-yellow paints with pure orange, and blues with either a darker blue or blue with some purple/black mixed in. The goal is to compliment/blend a bit with the color that's going on top.

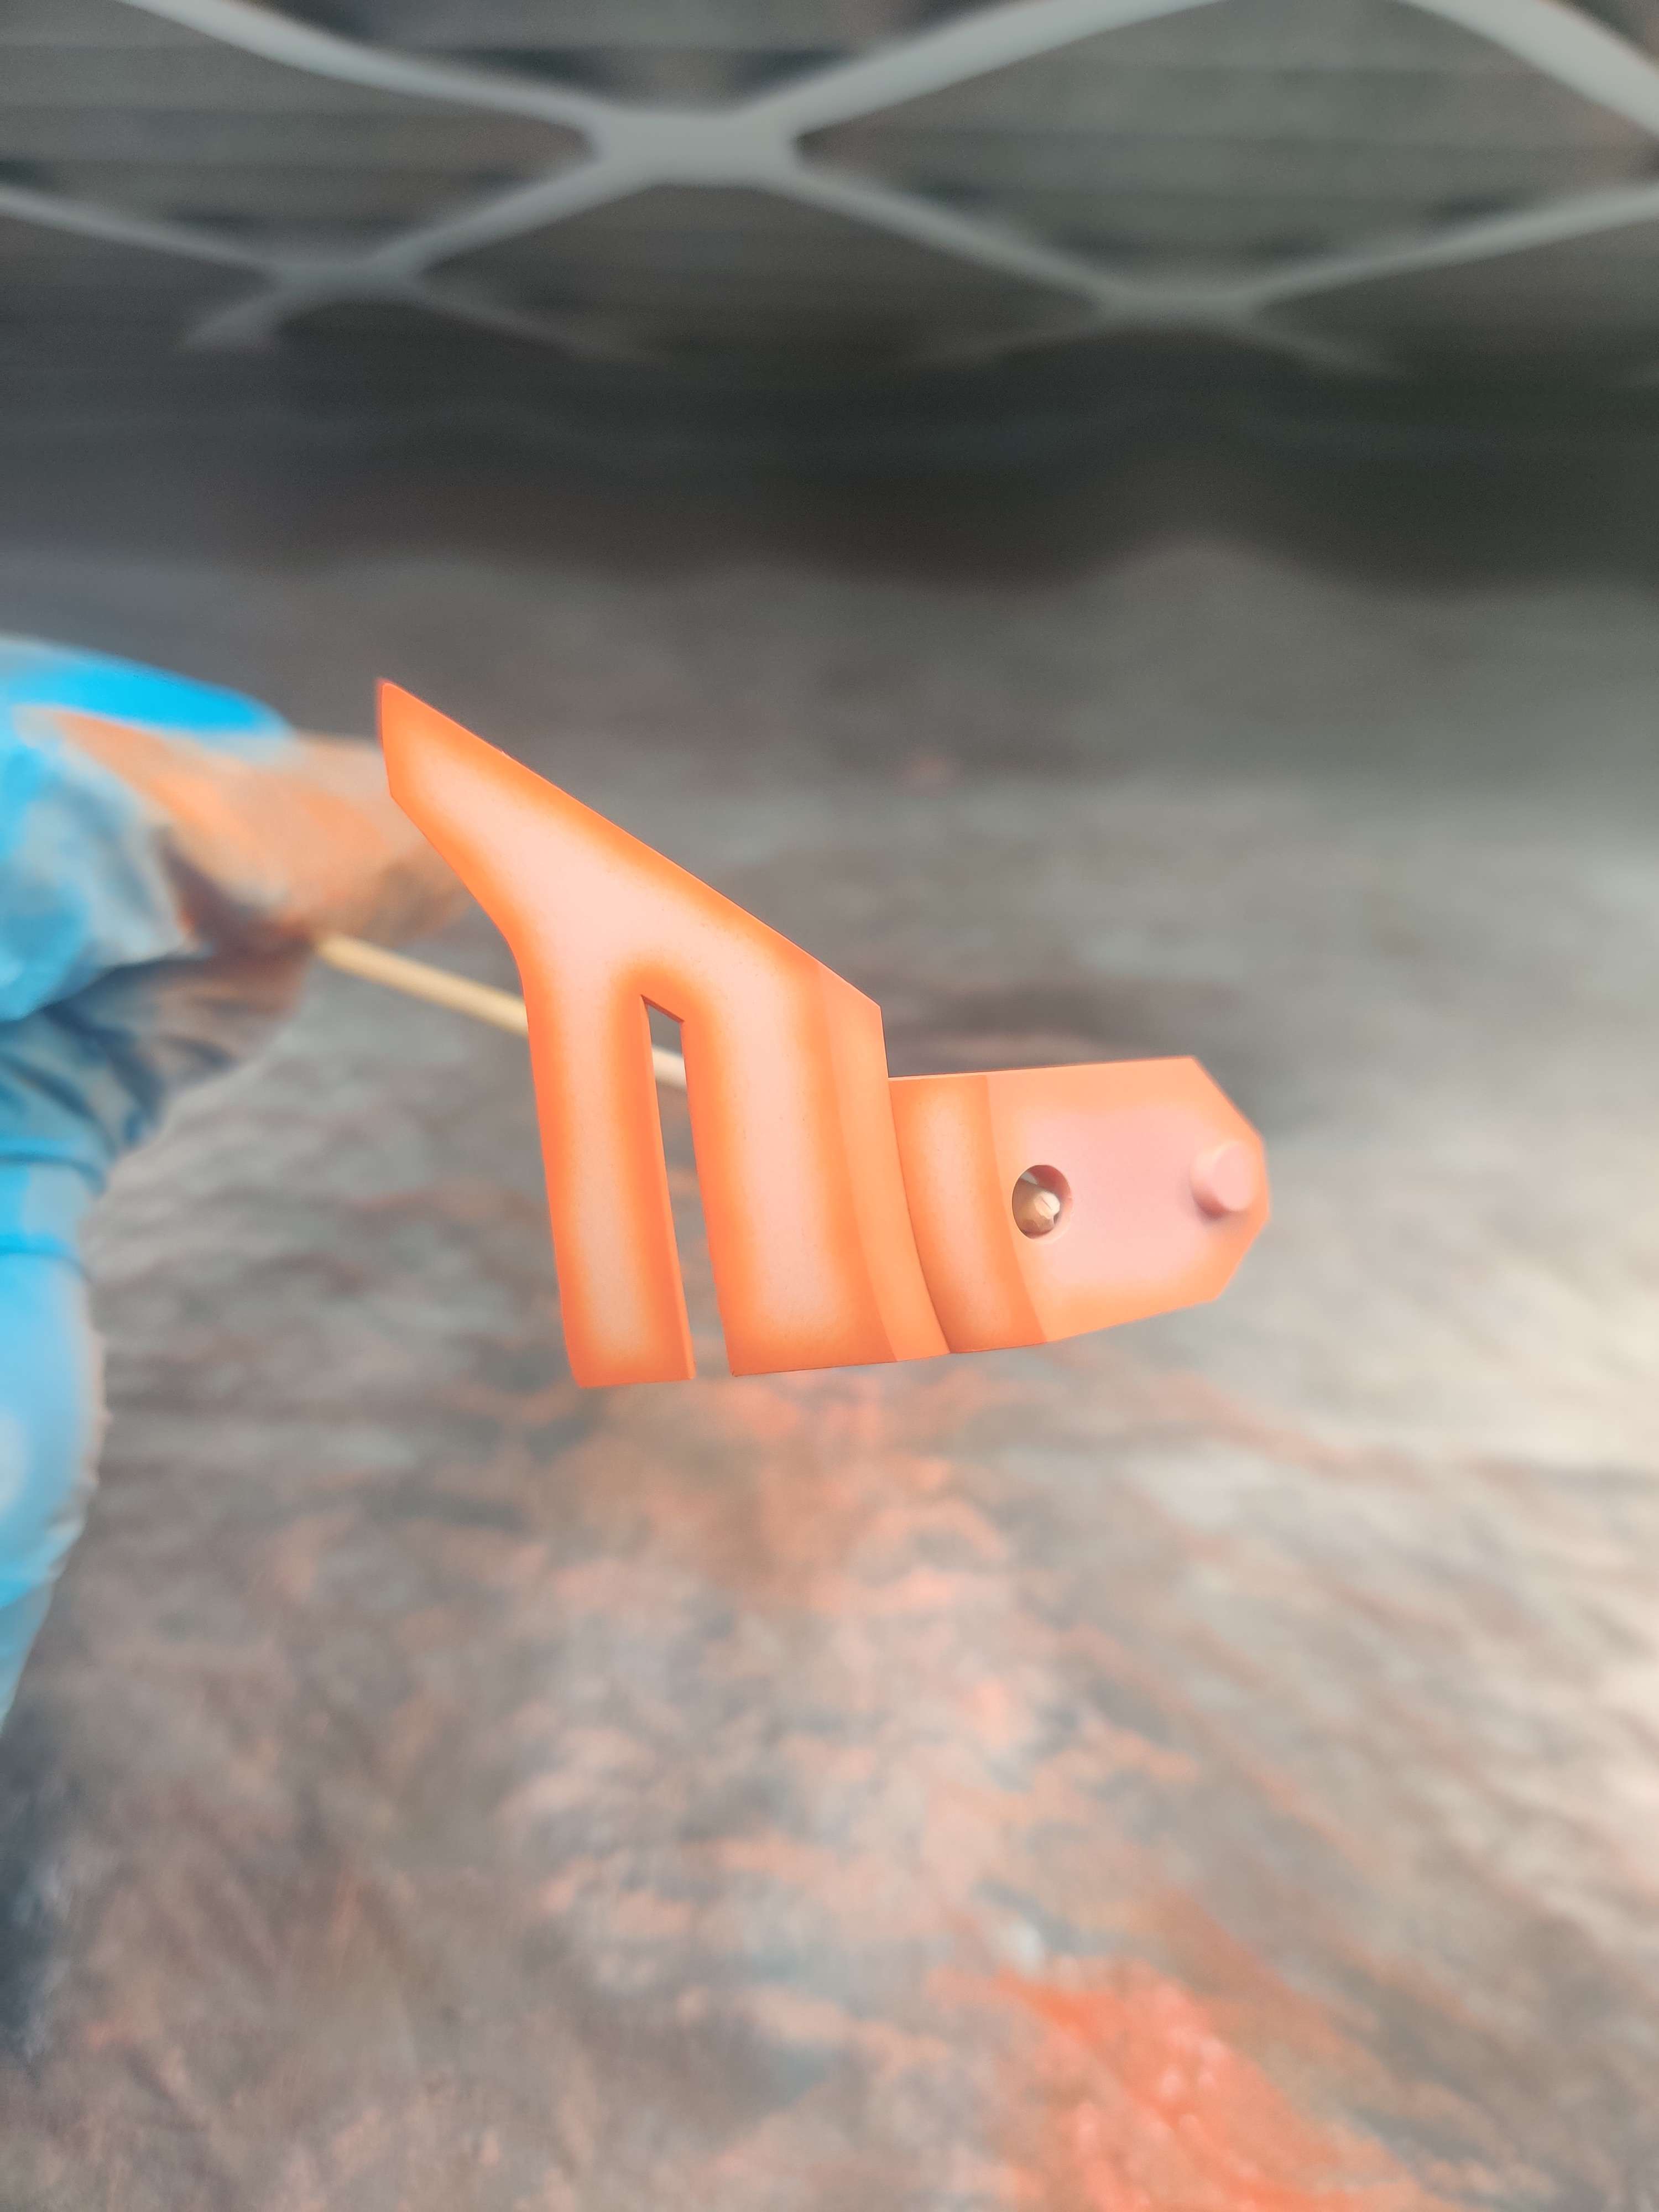
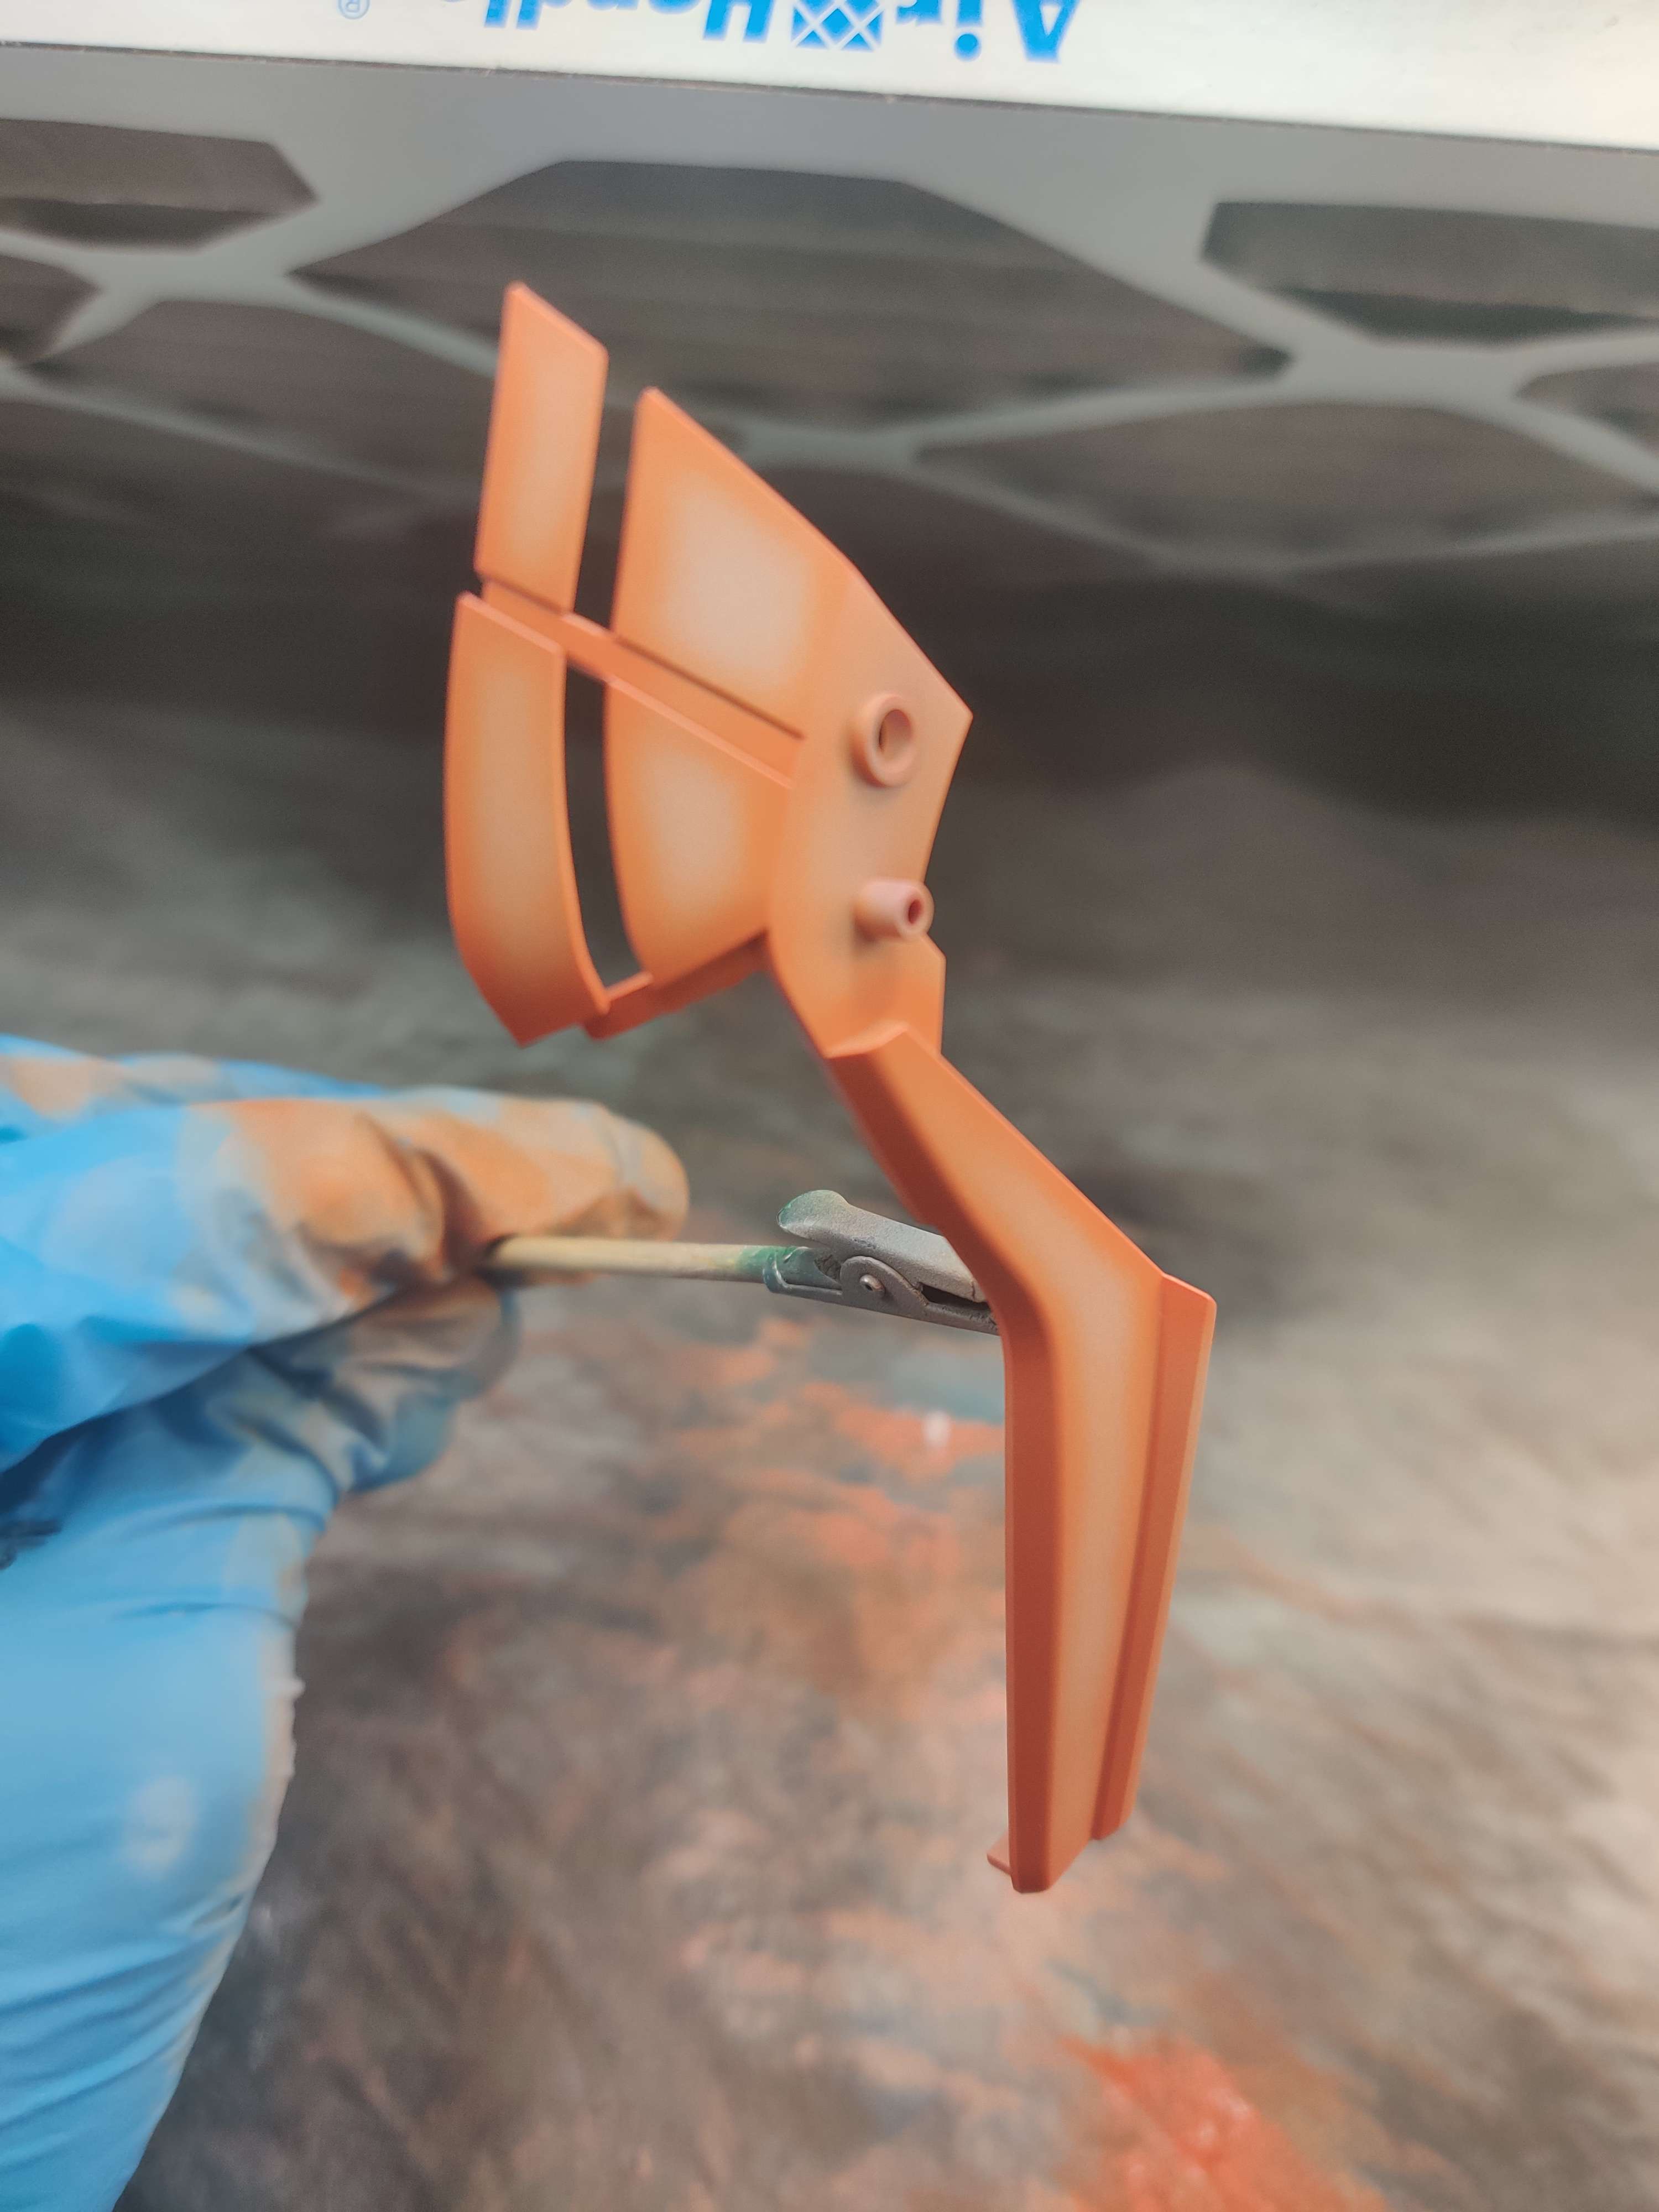

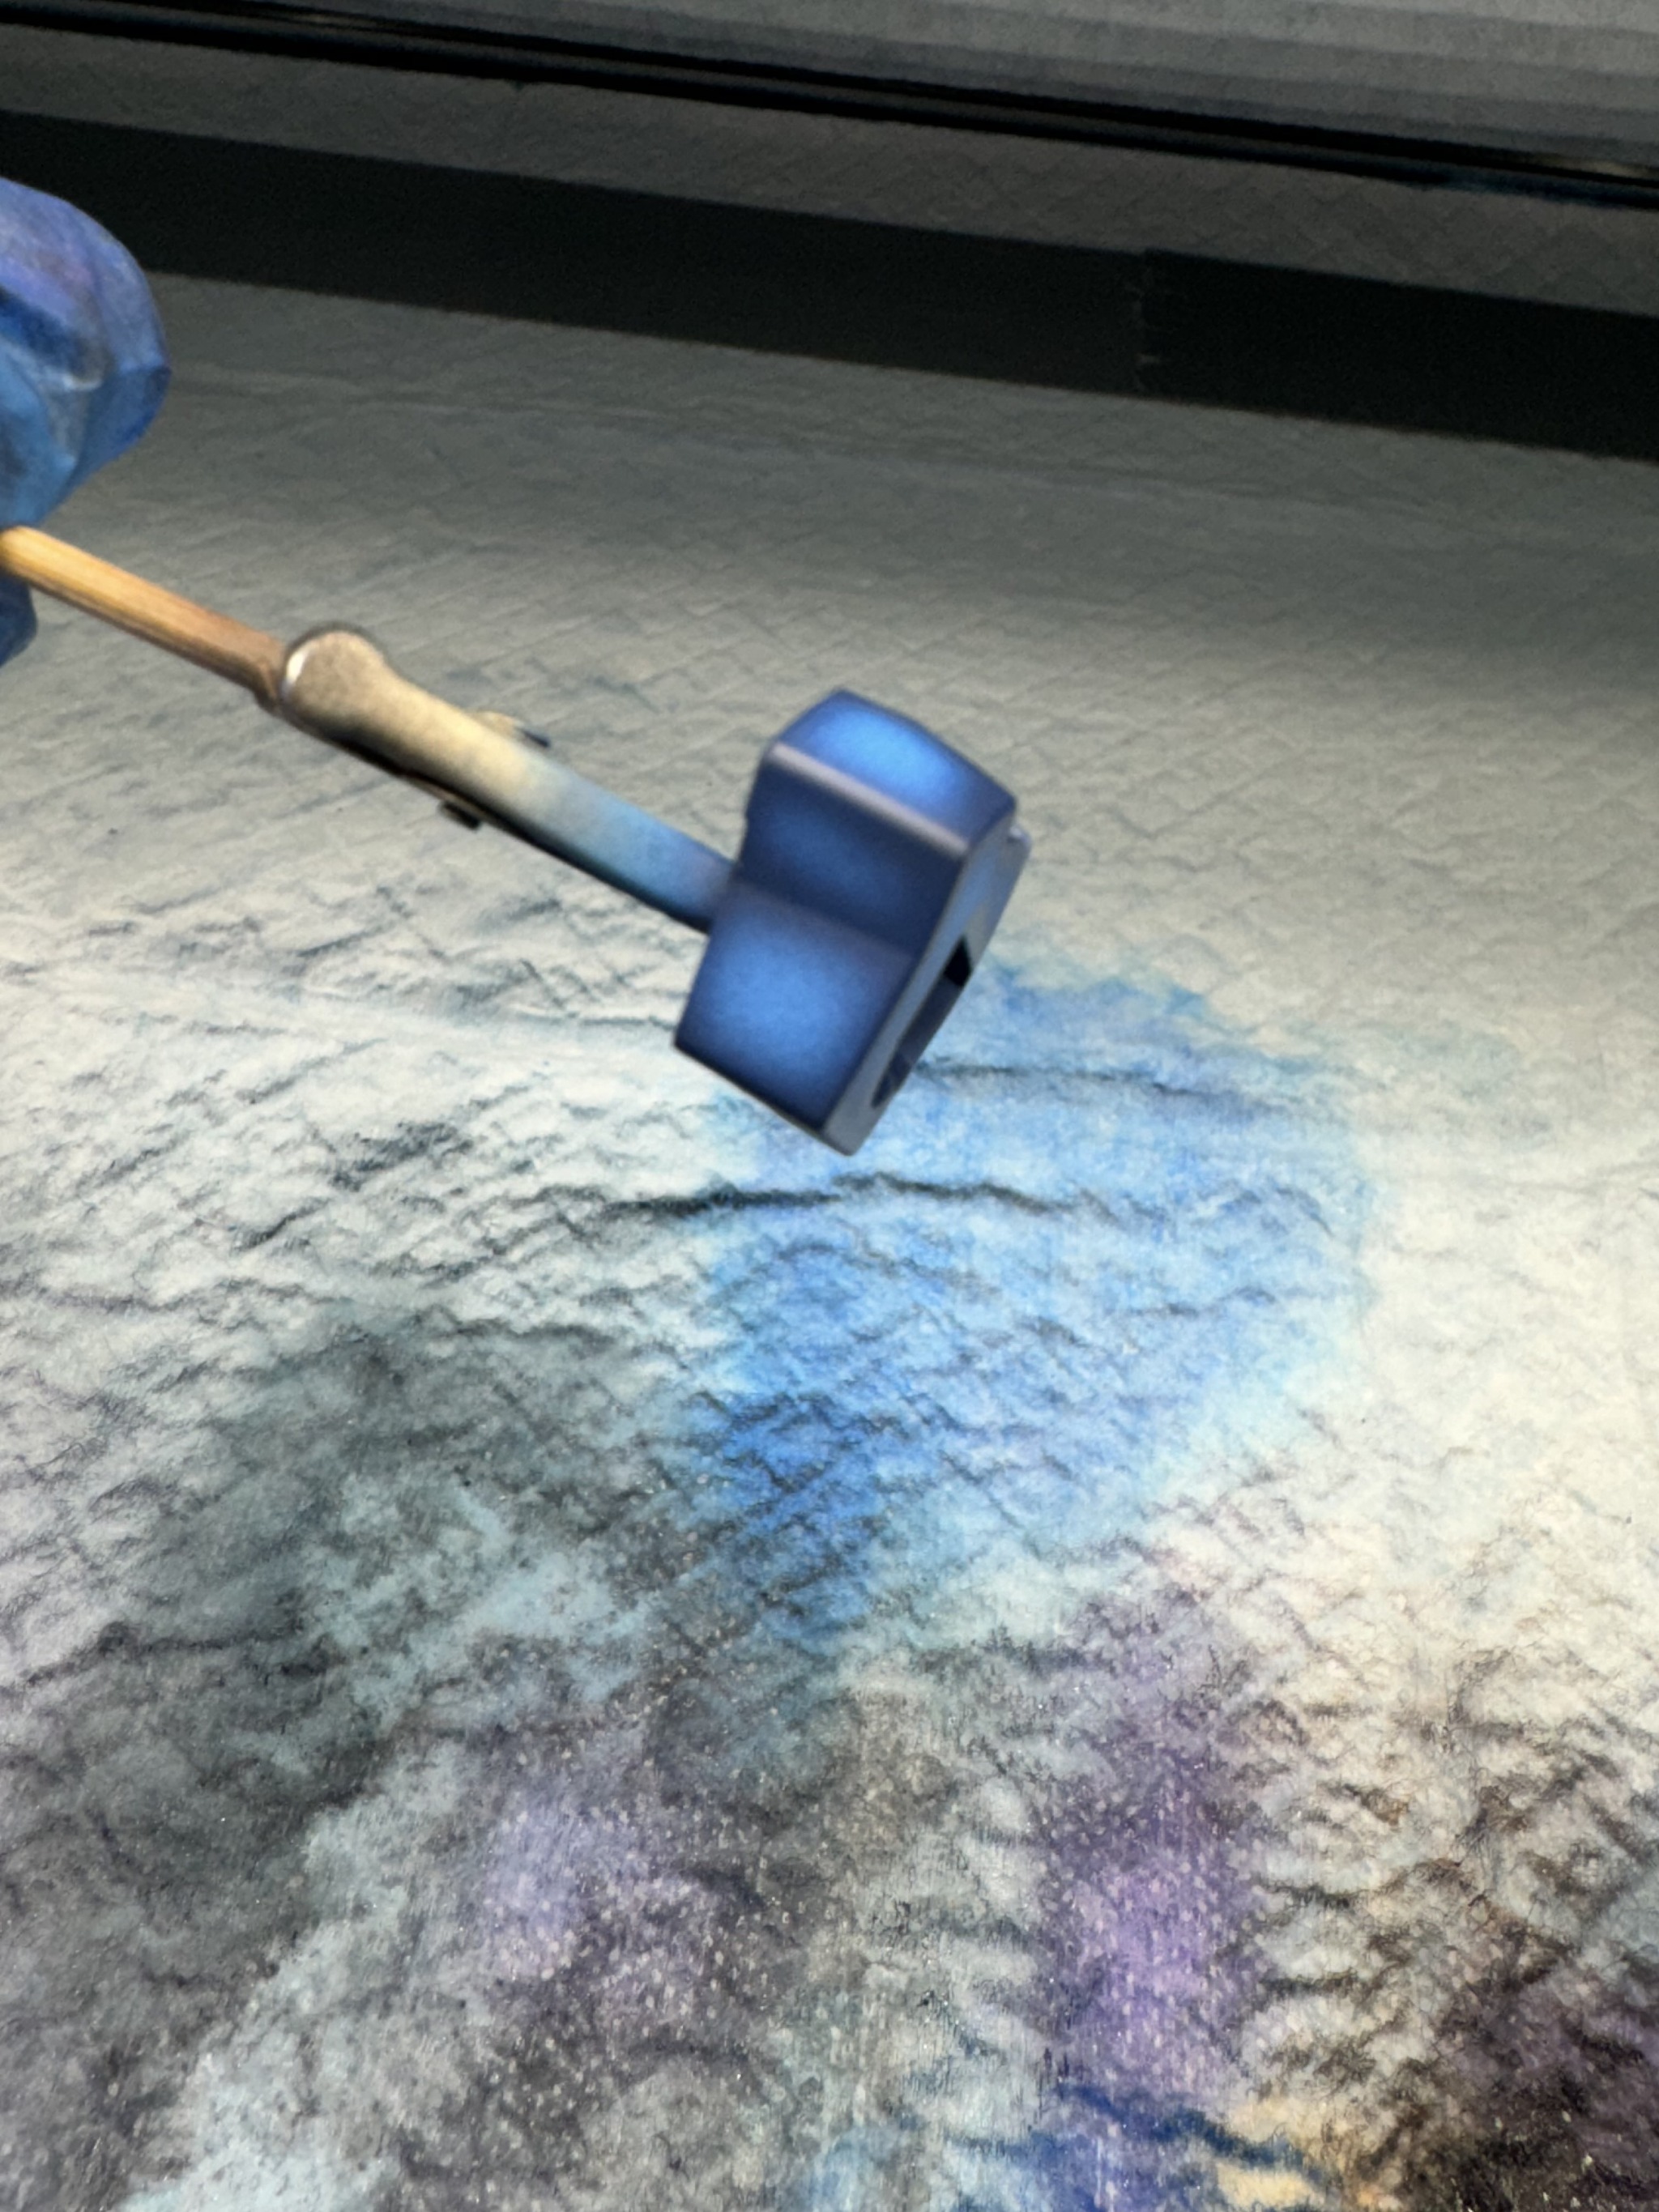
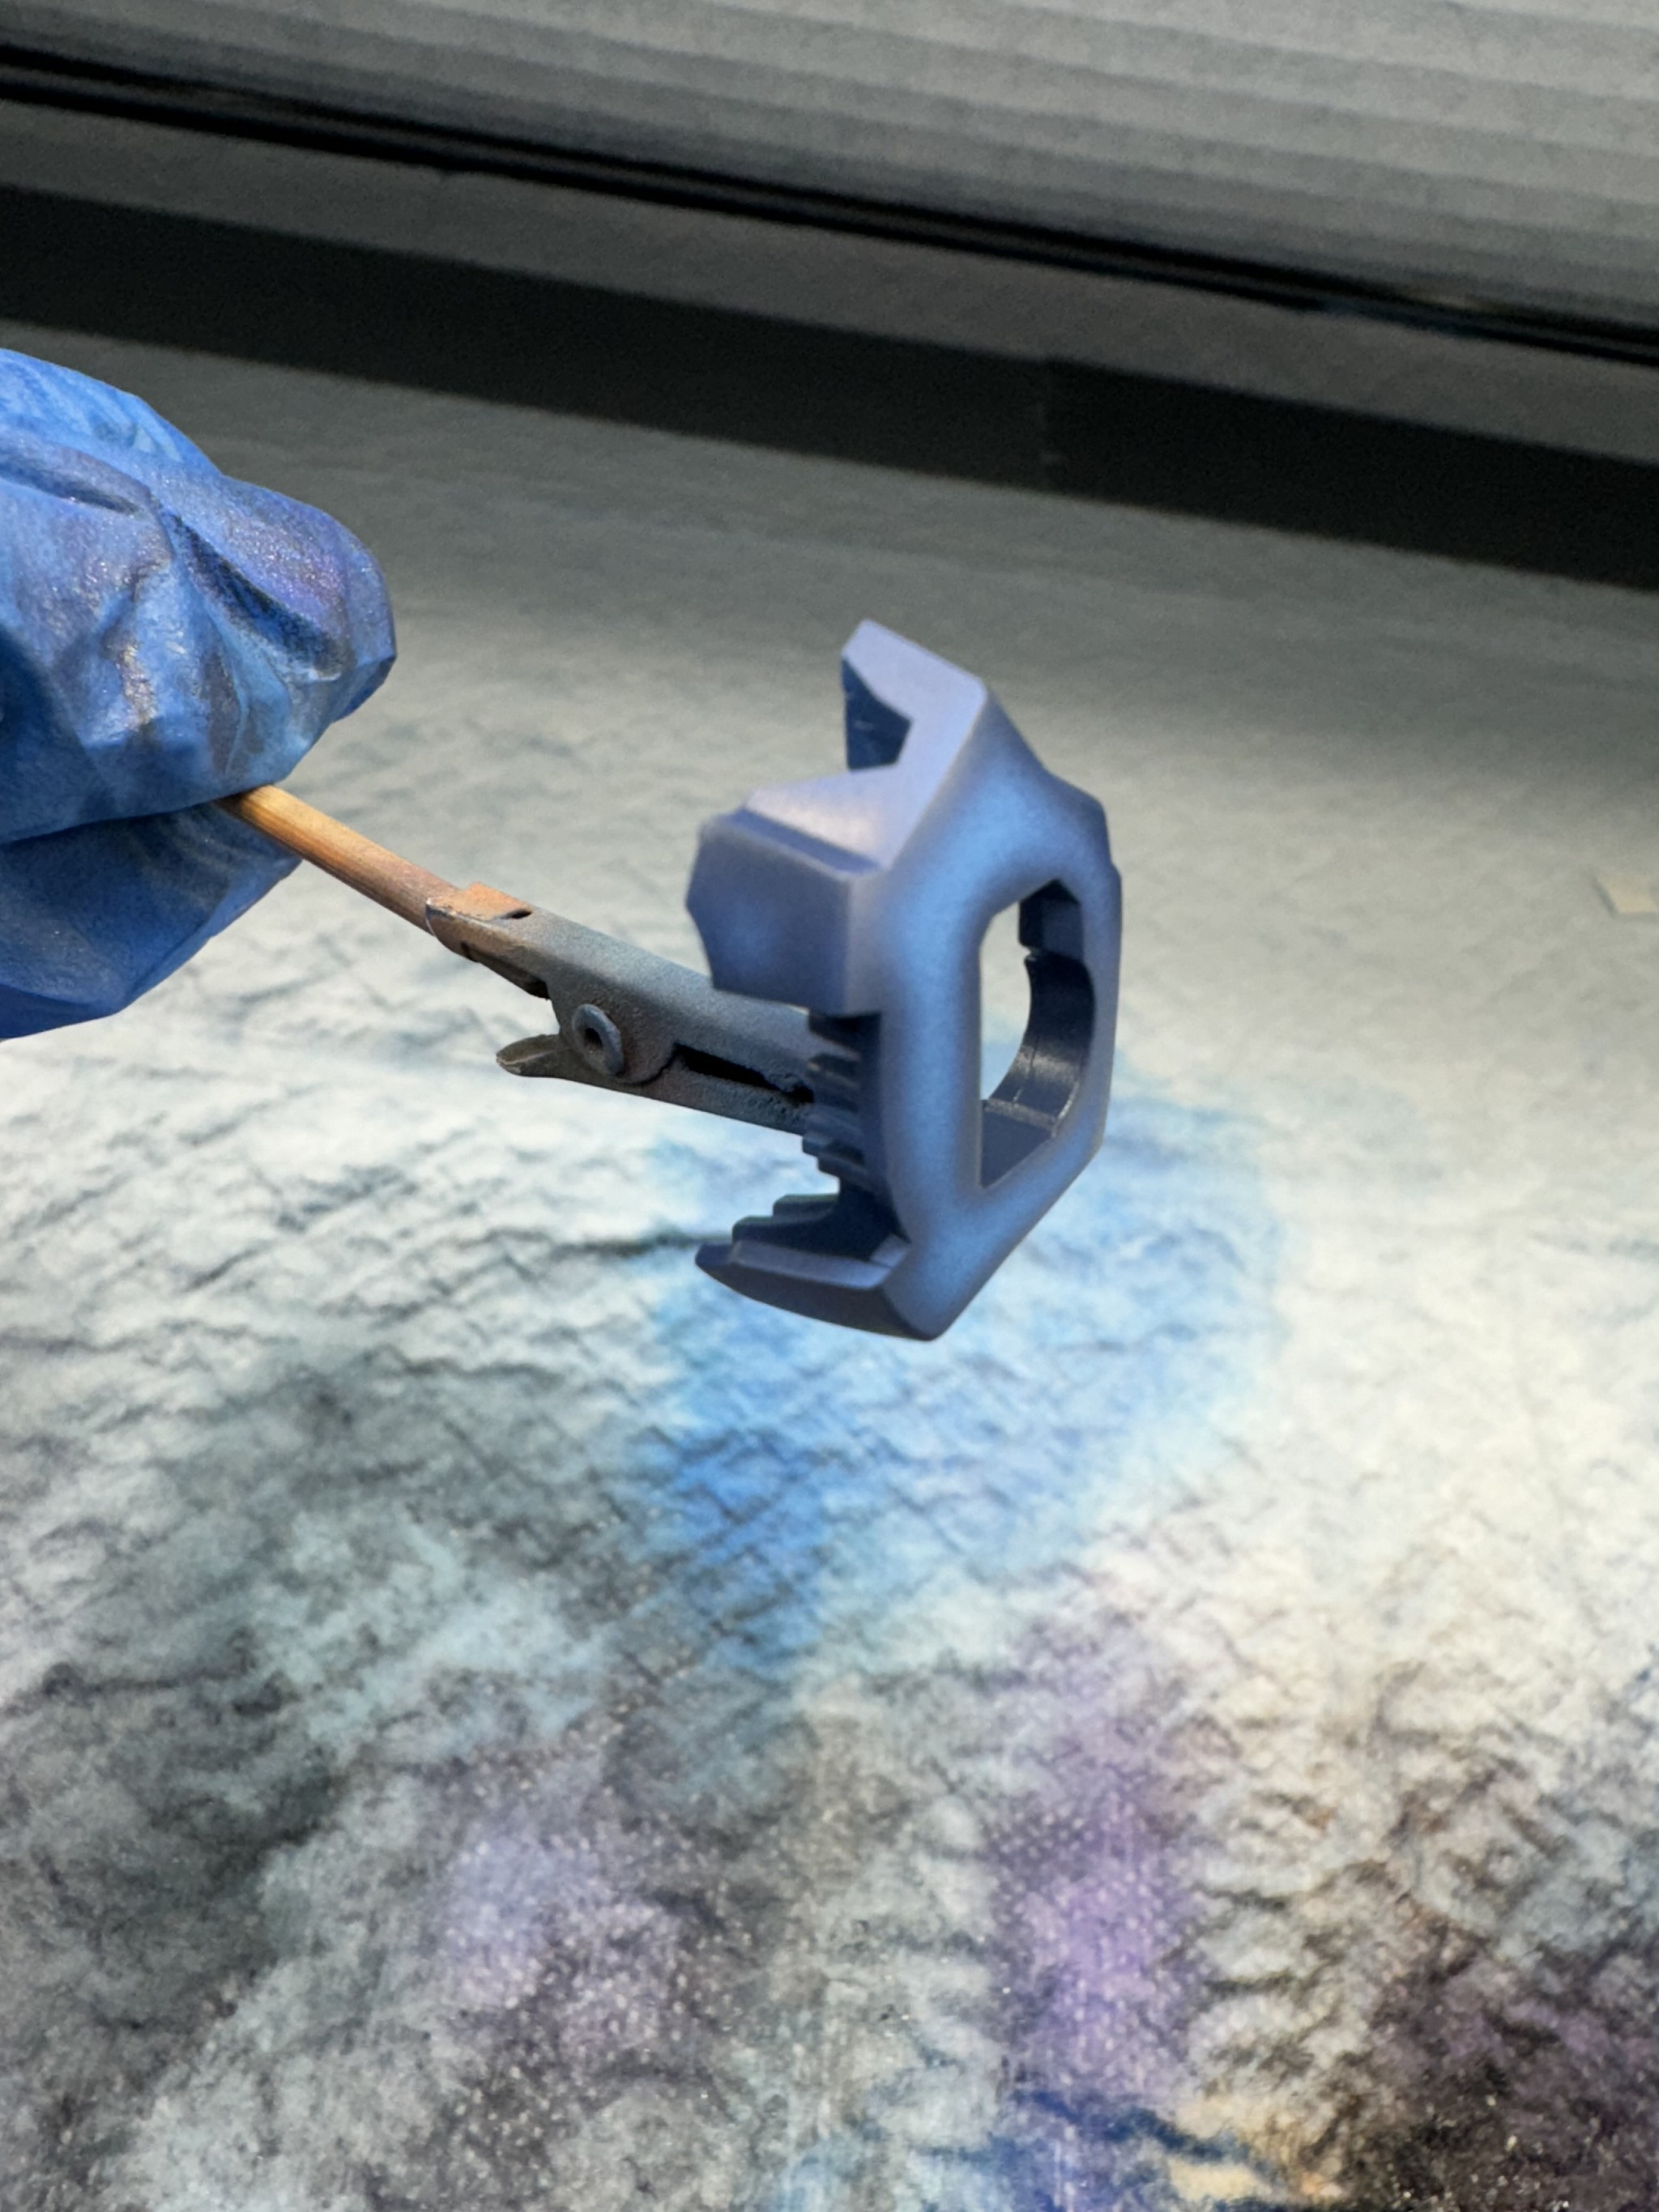
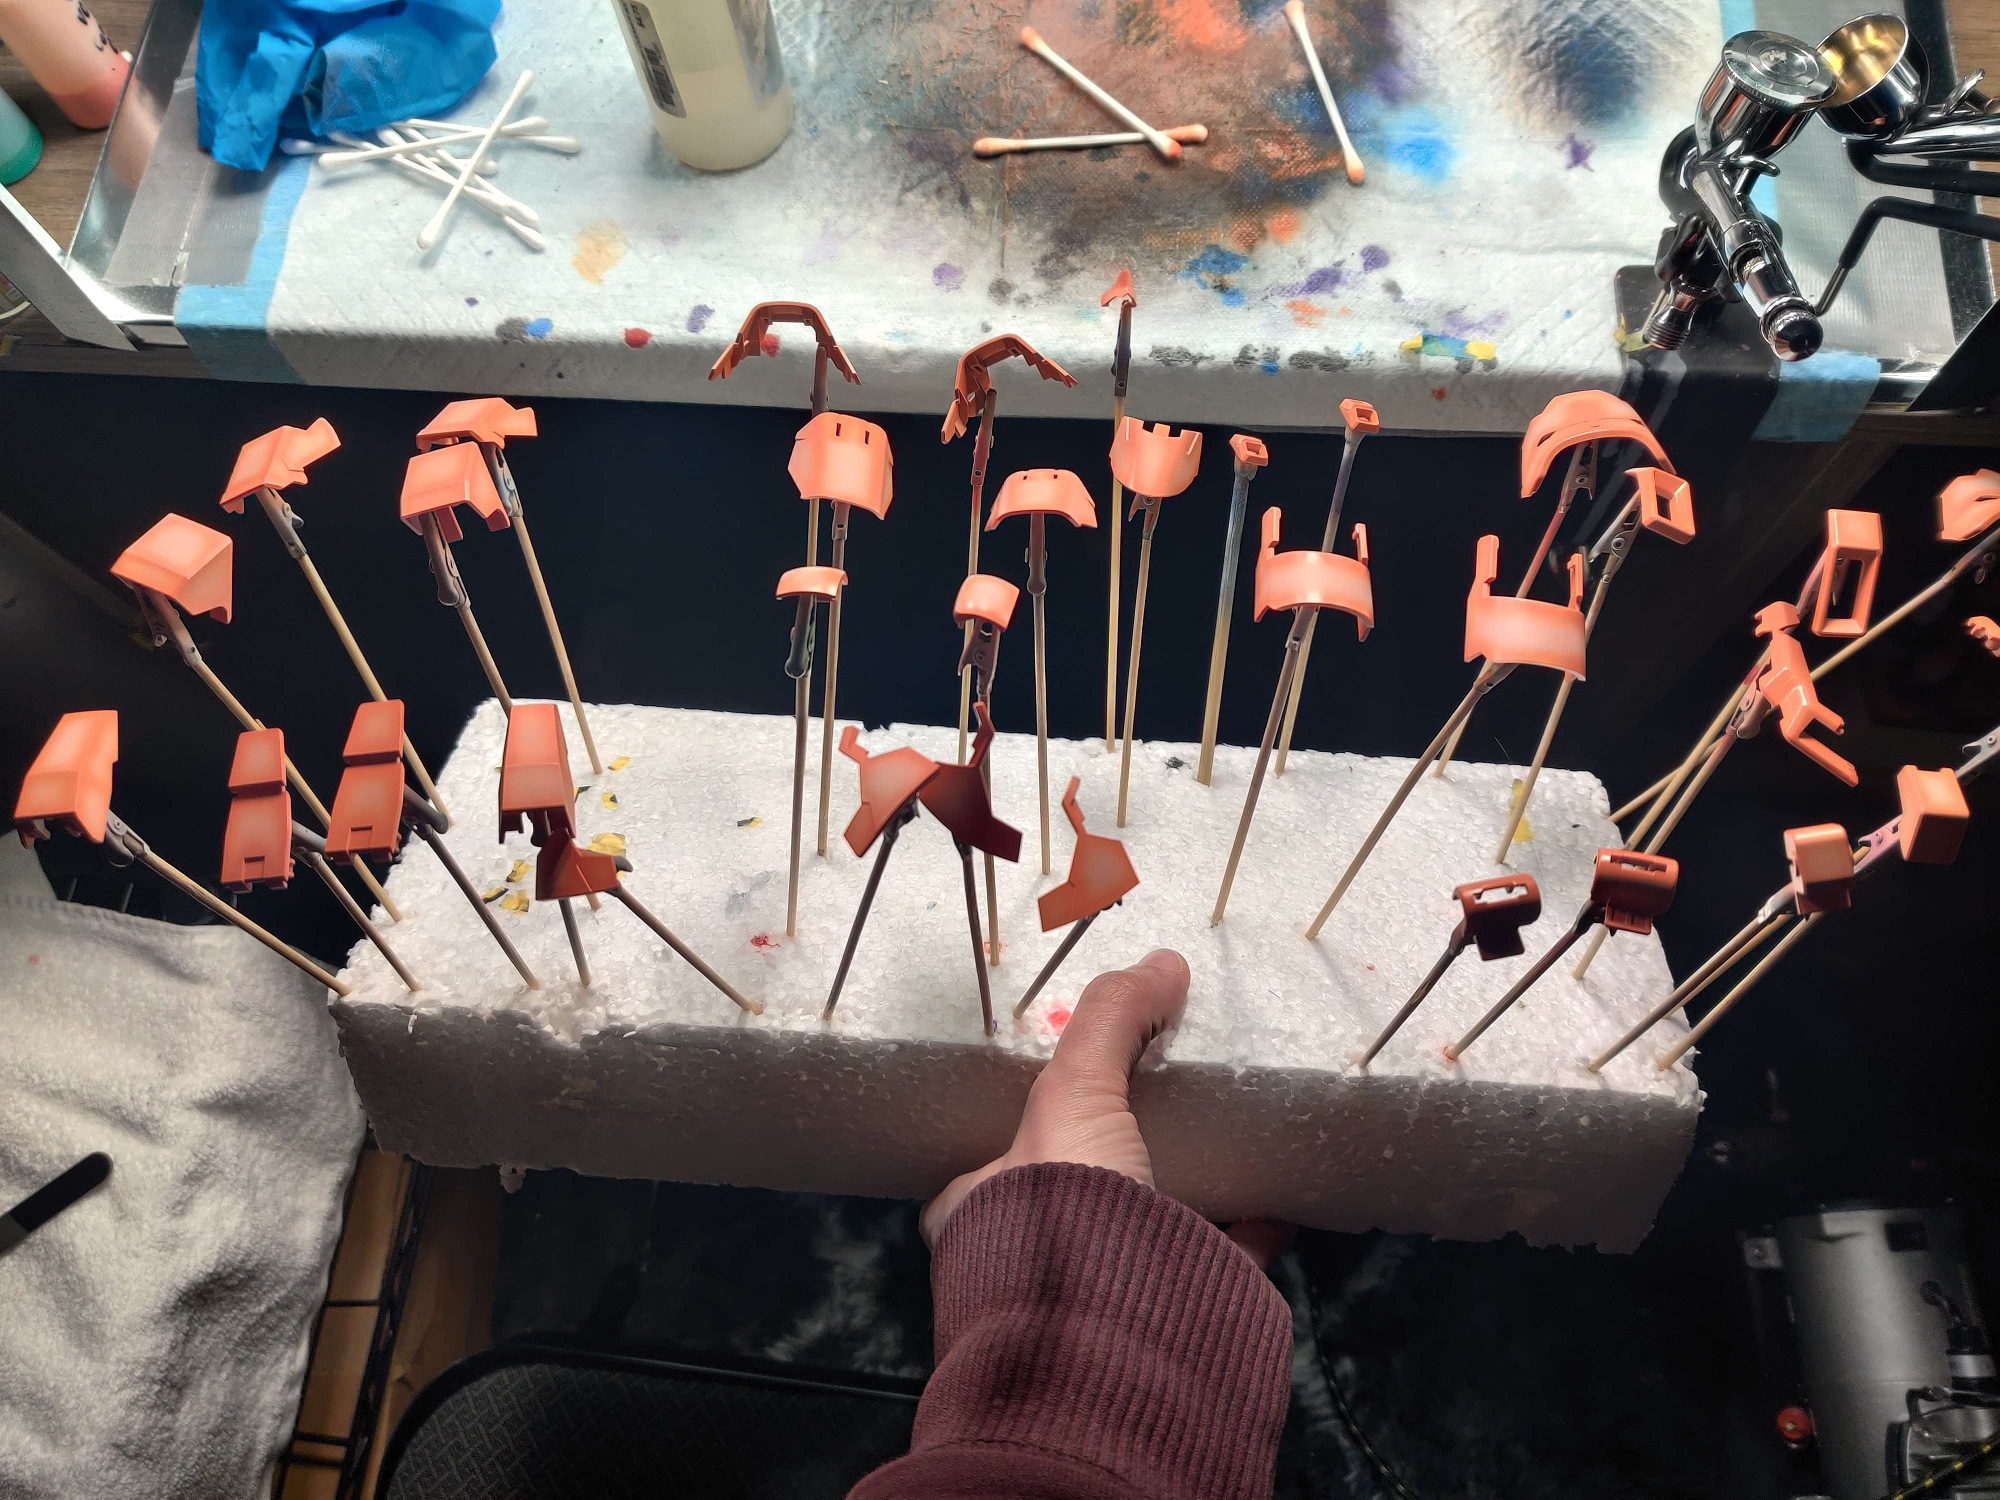
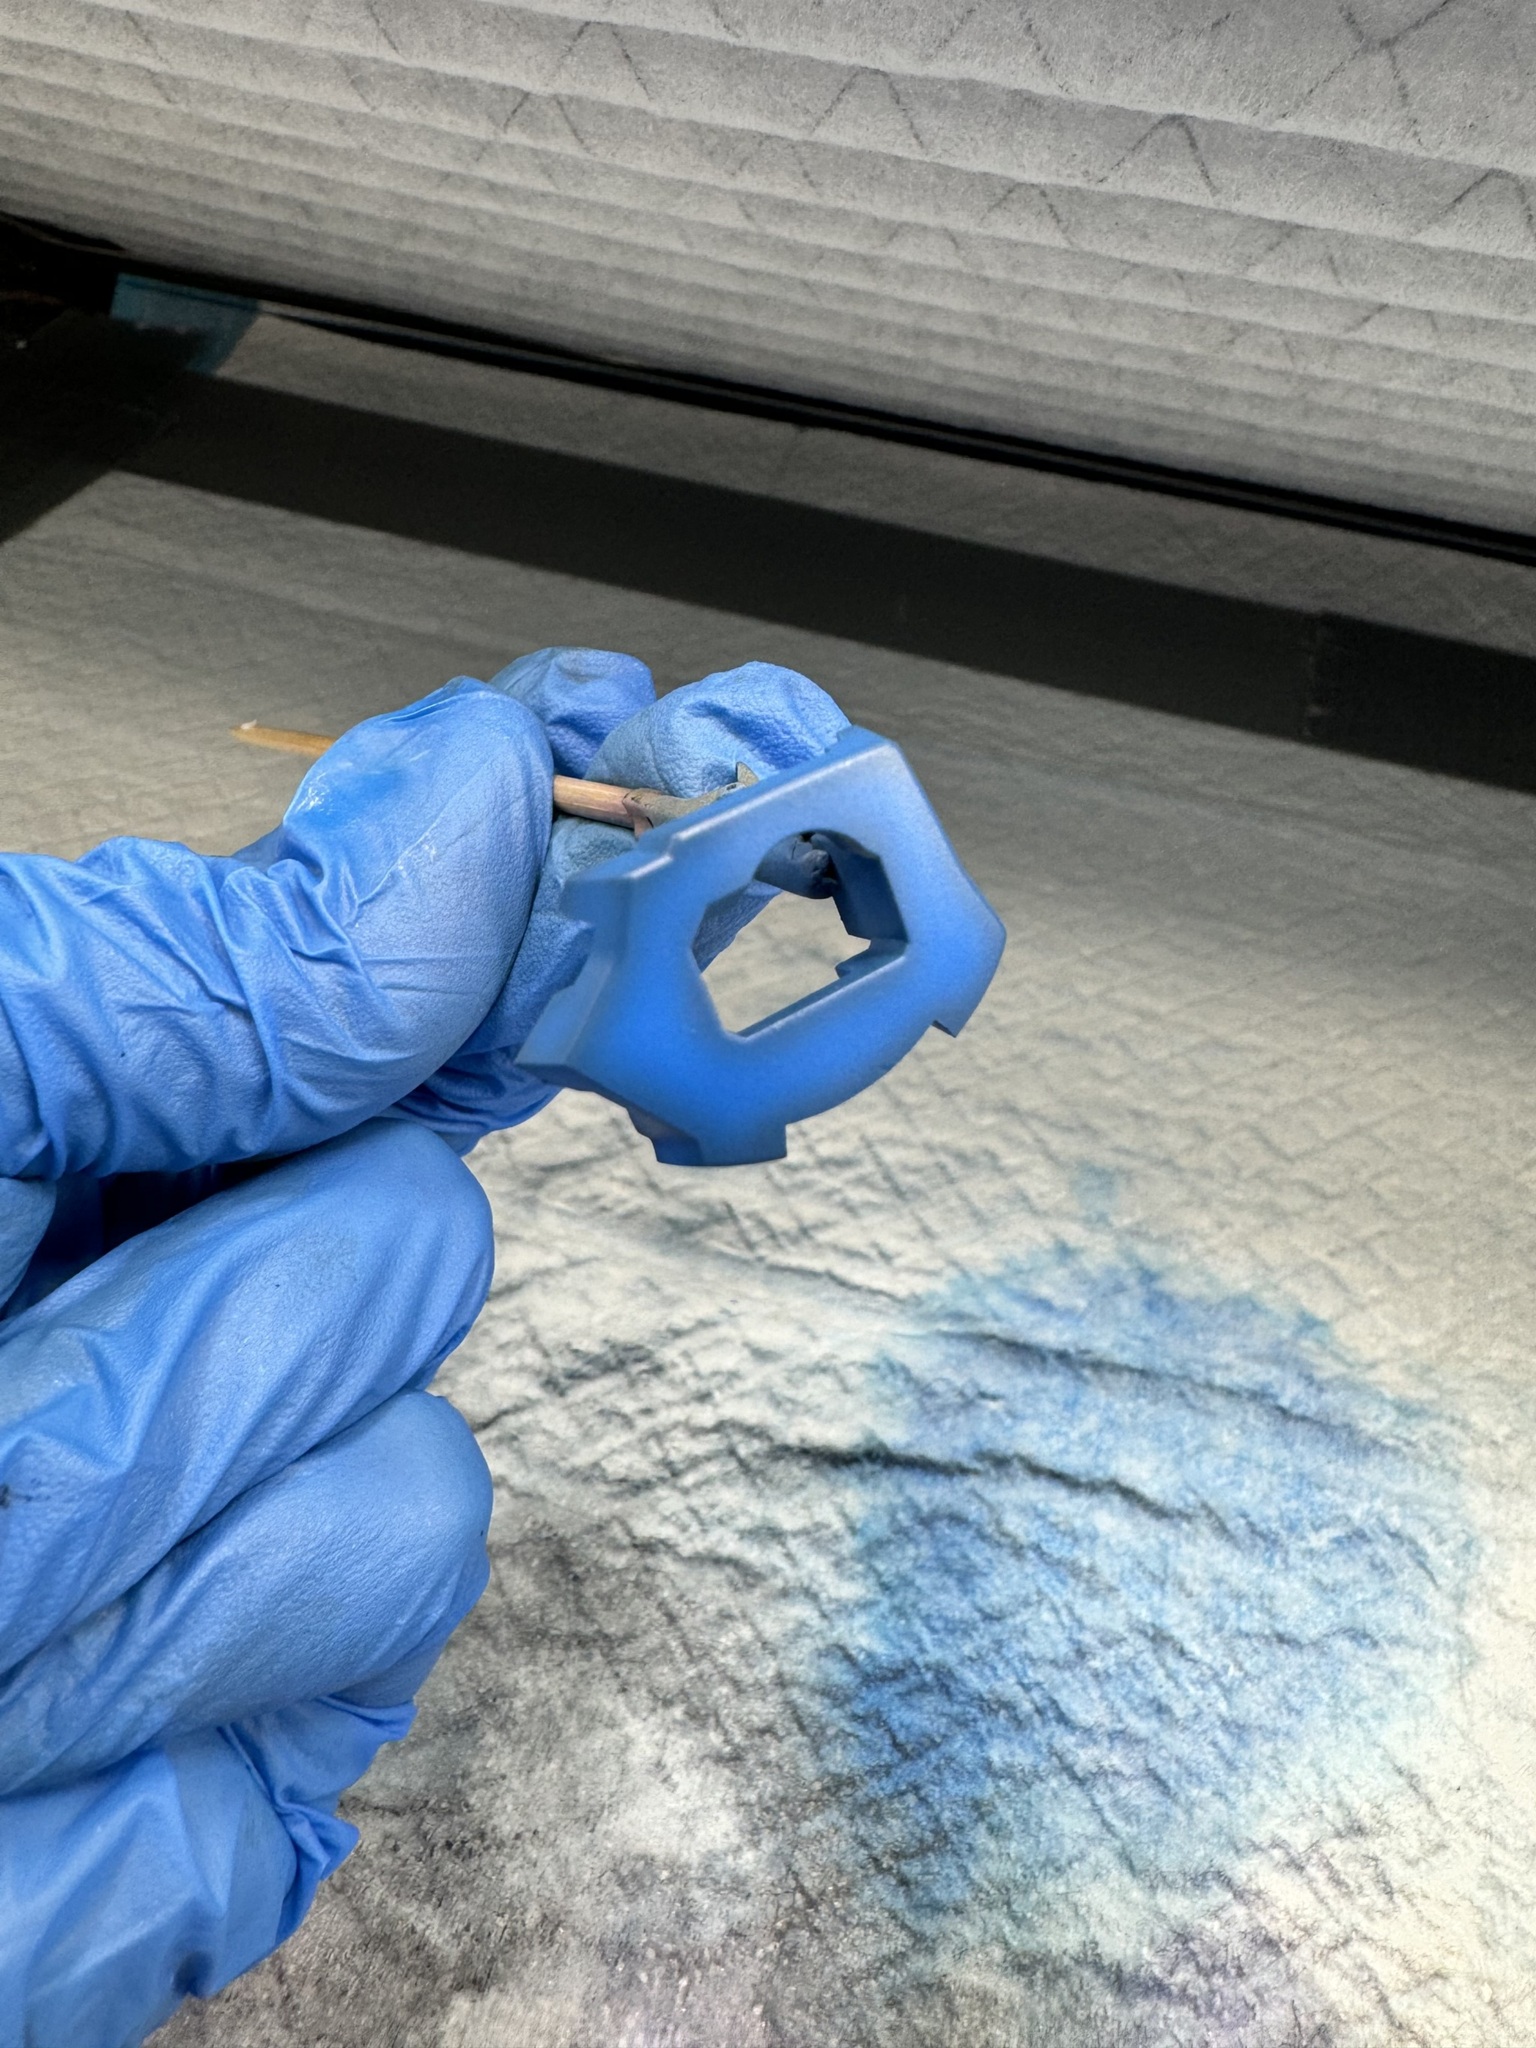
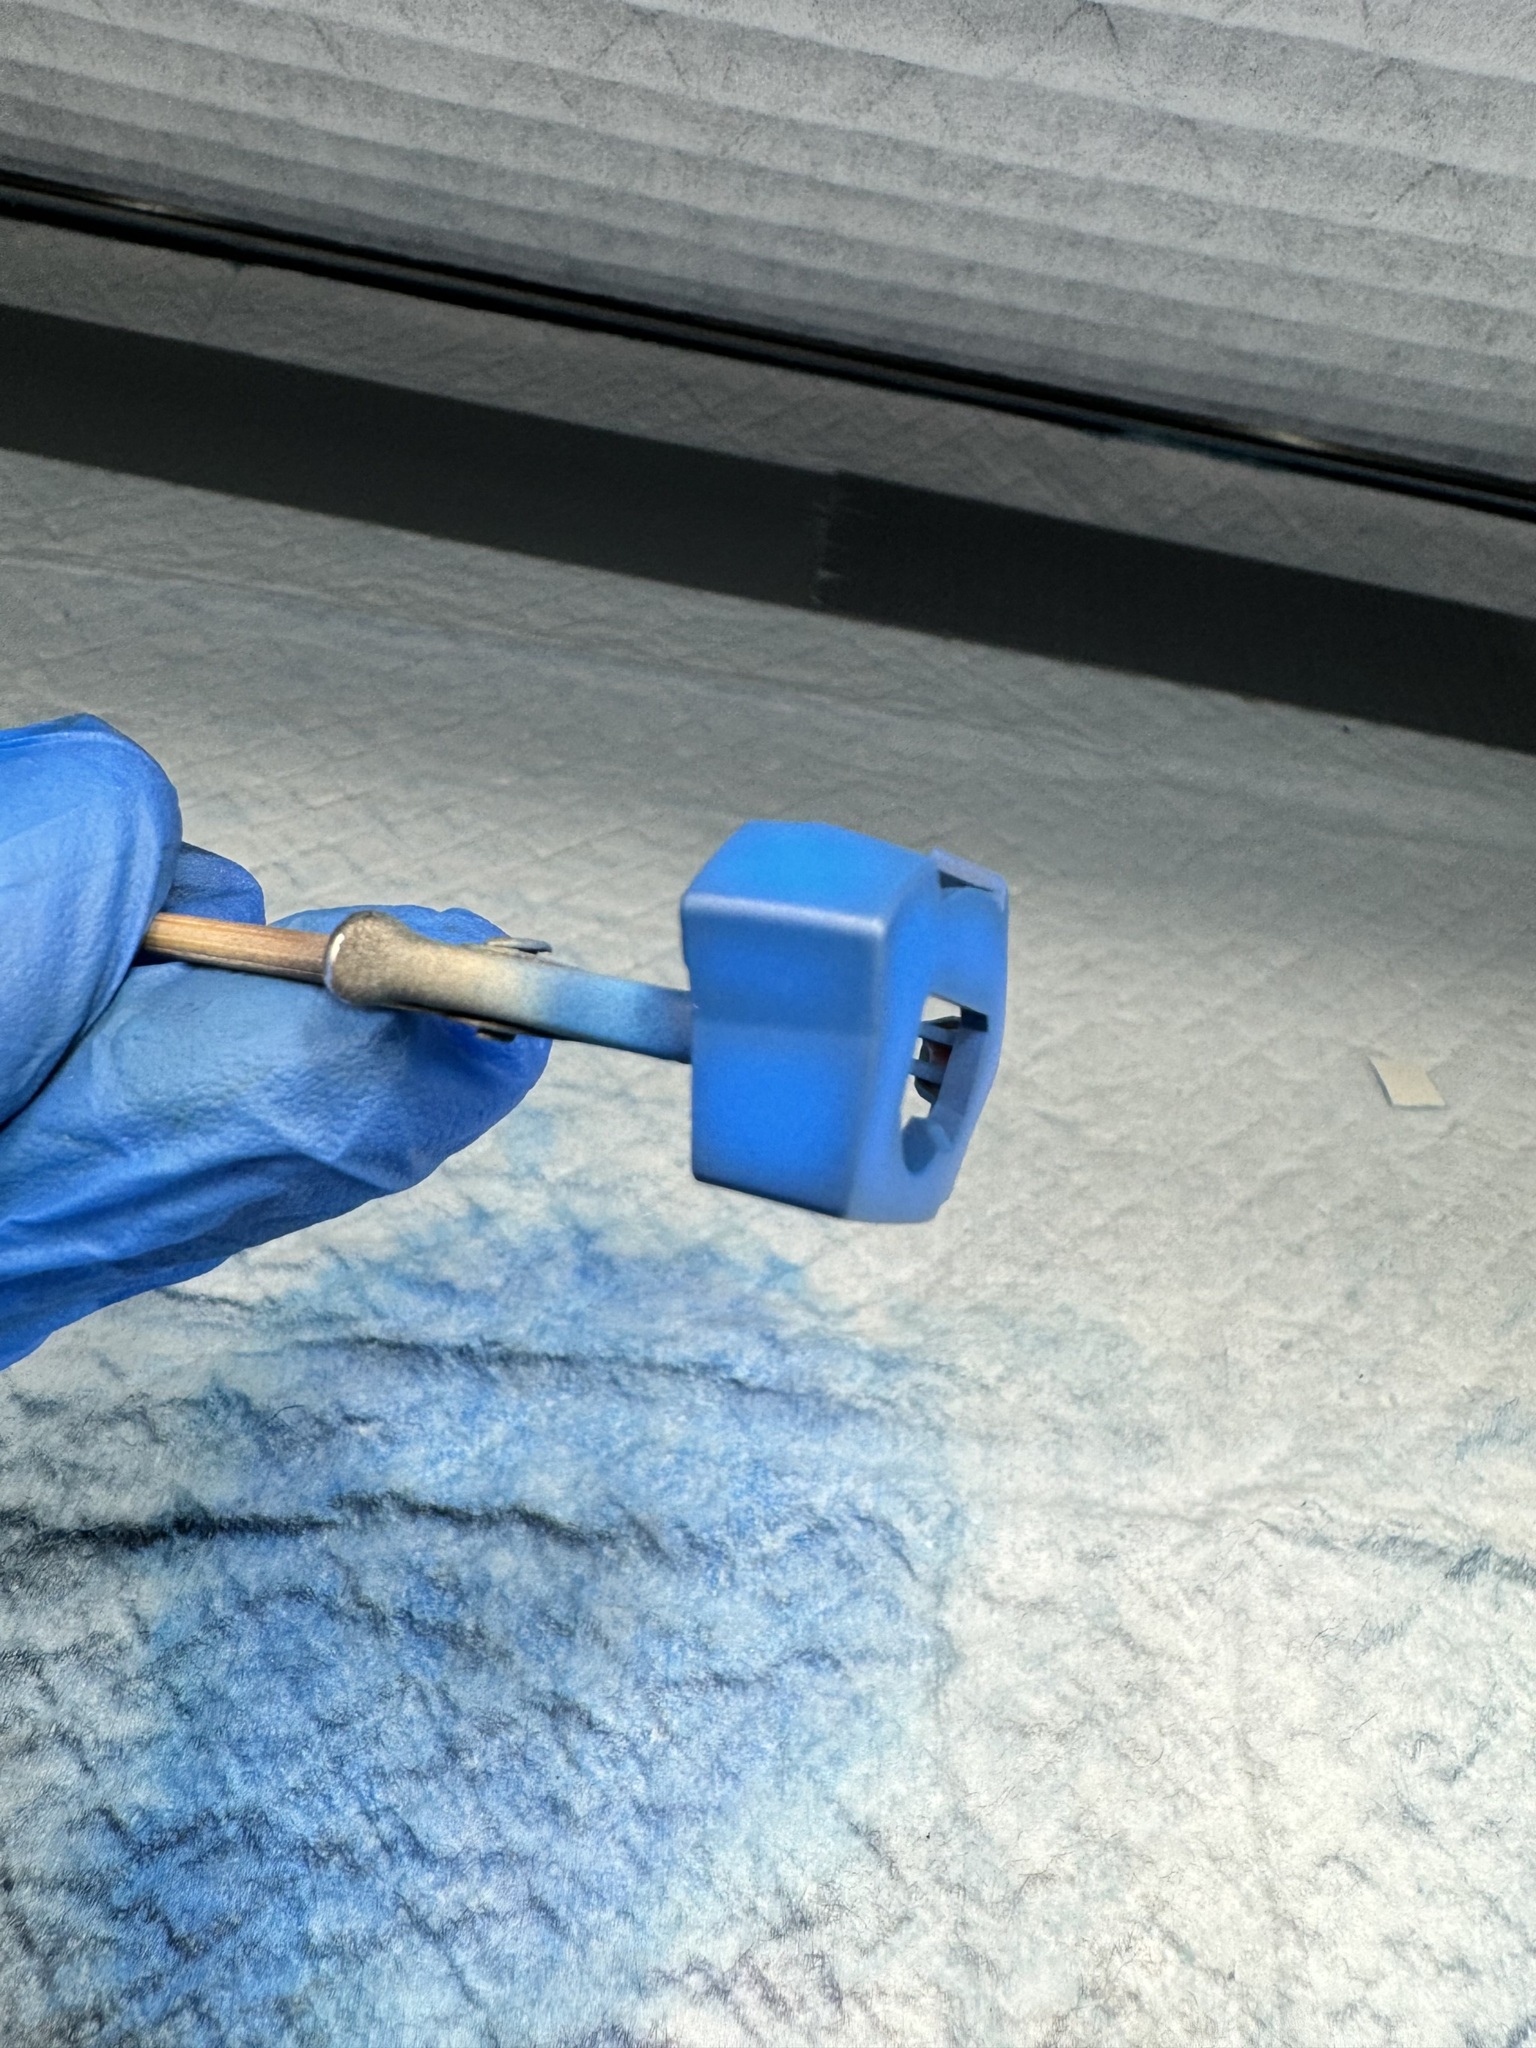
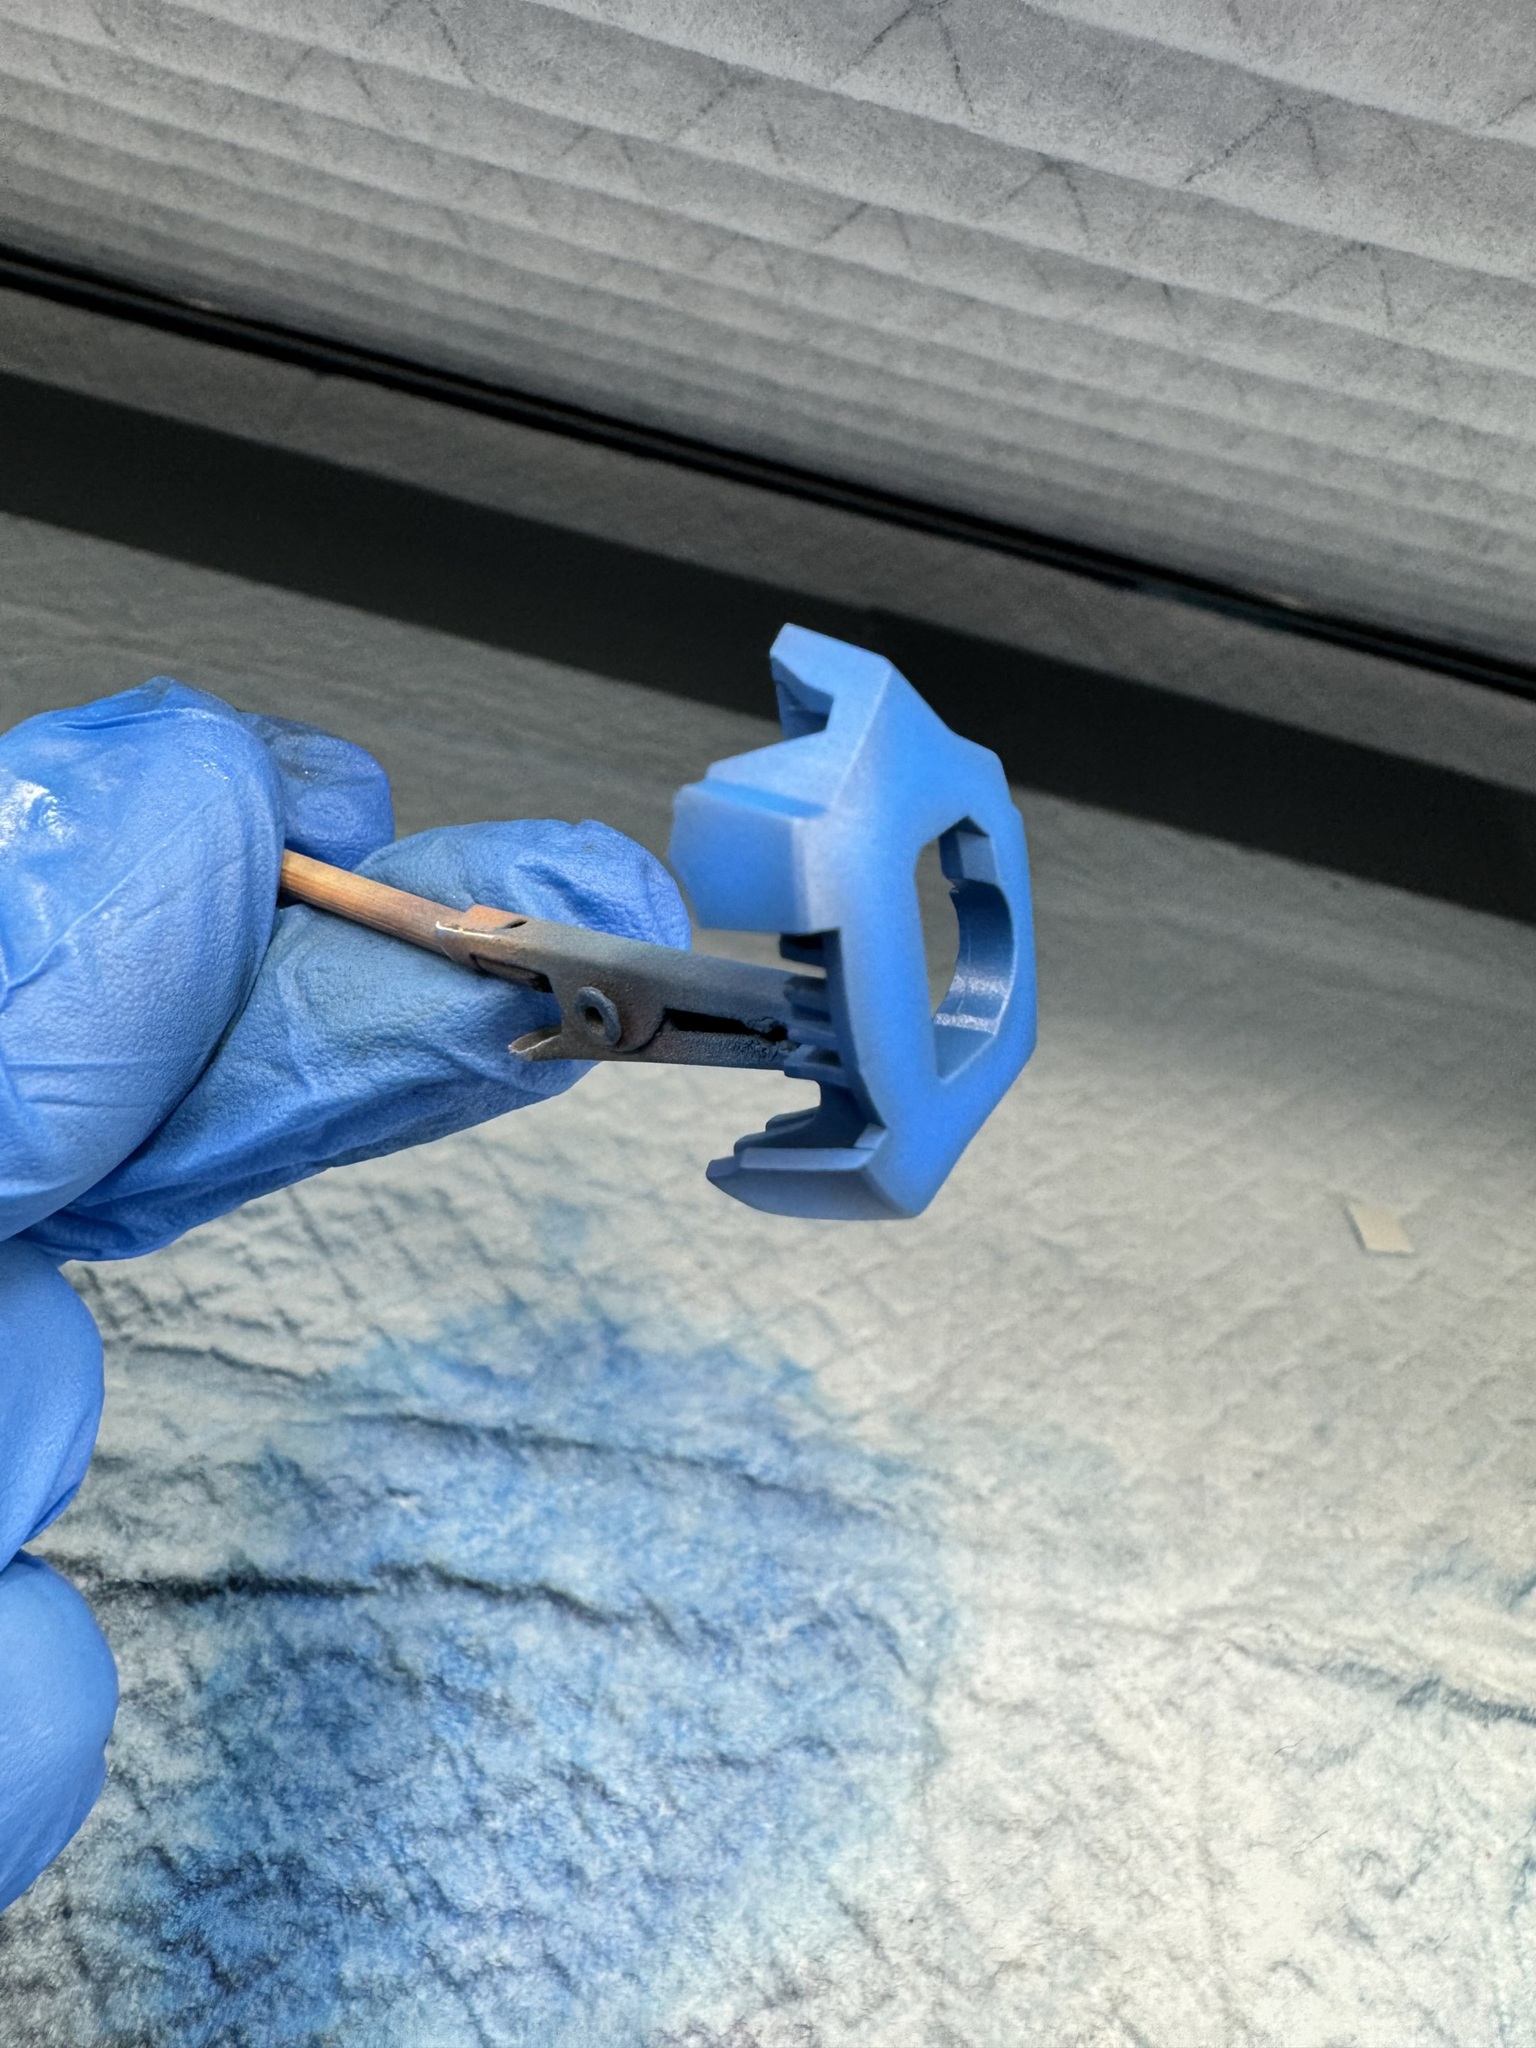
Once parts are primed, I go around the part and darken up the edges/panel lines/underside of my parts with my mixed preshade color while leaving the primer showing where I'll be filling in the main color. I shade anywhere where the light wouldn't reach/shadows would be naturally created but I can't speak to how realistic that approach is but it's what looks right to my eye. I do this this way for three reasons: First and second, I'm lazy and cheap. I don't want to waste time and paint coating the entire part when I'm just gonna cover it up anyway. Third, if I coat the entire part in the preshade color that's going to make the color on top darker. I don't want that so I landed on shading stuff this way.
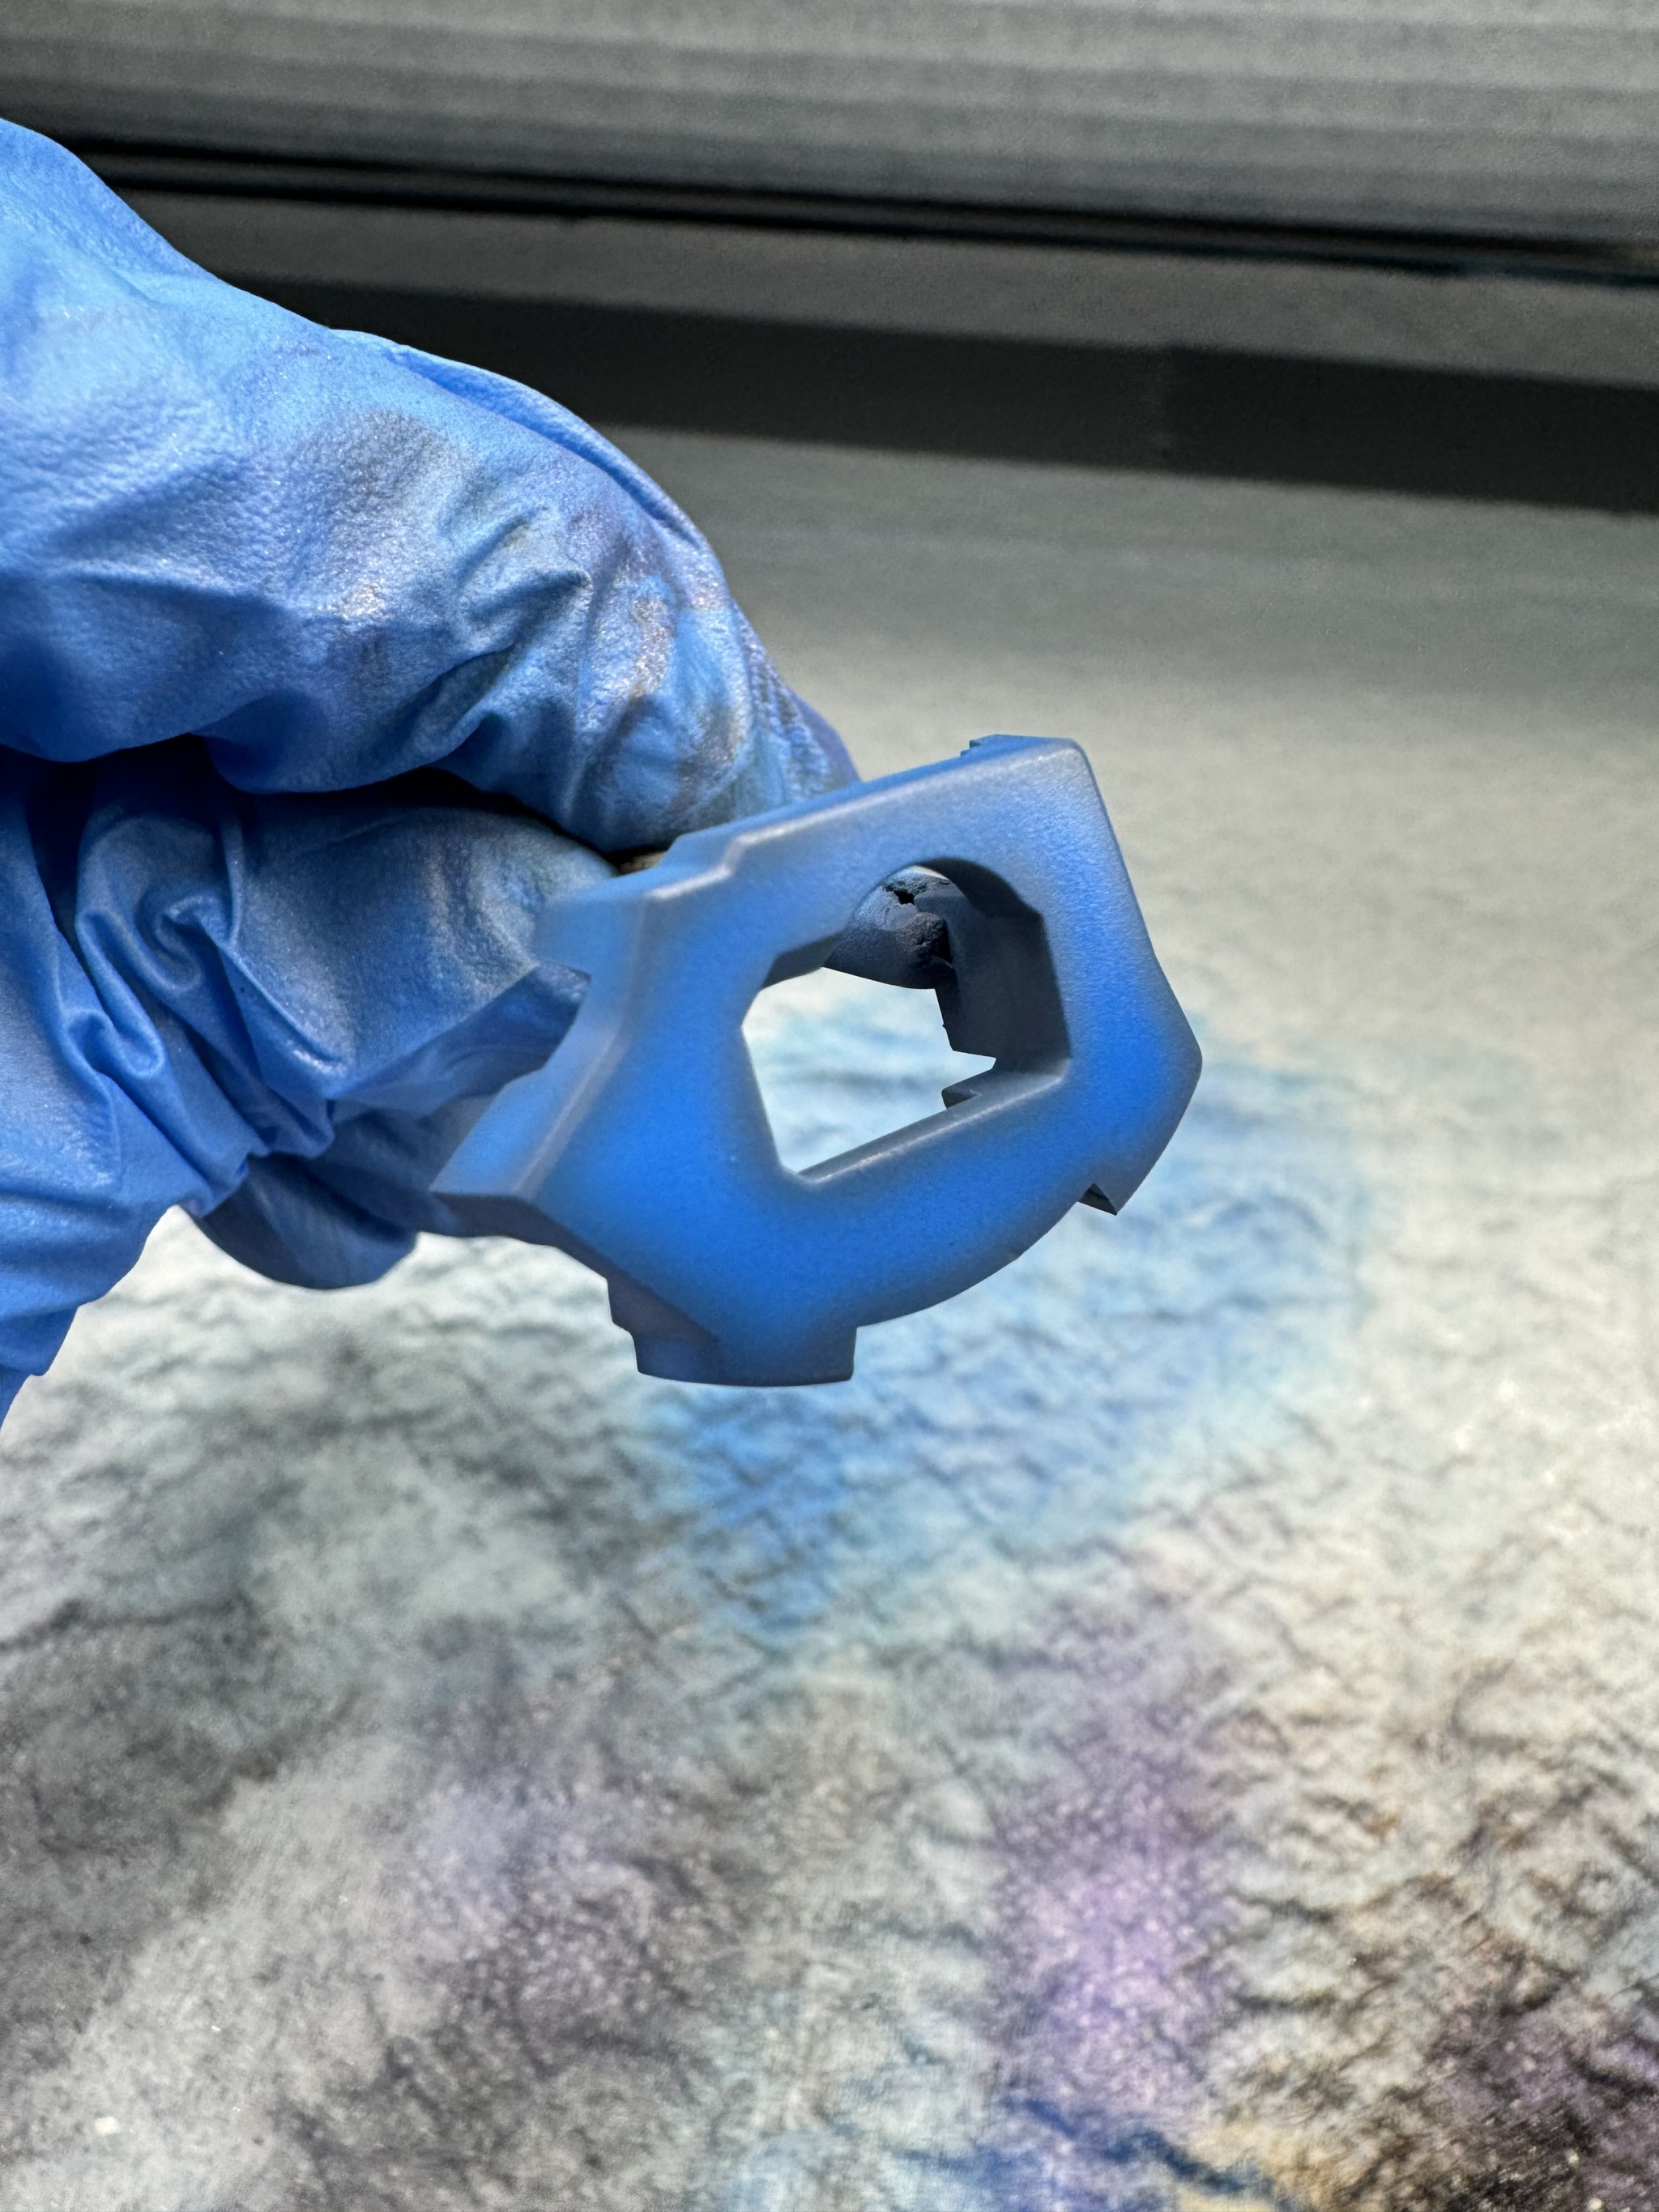
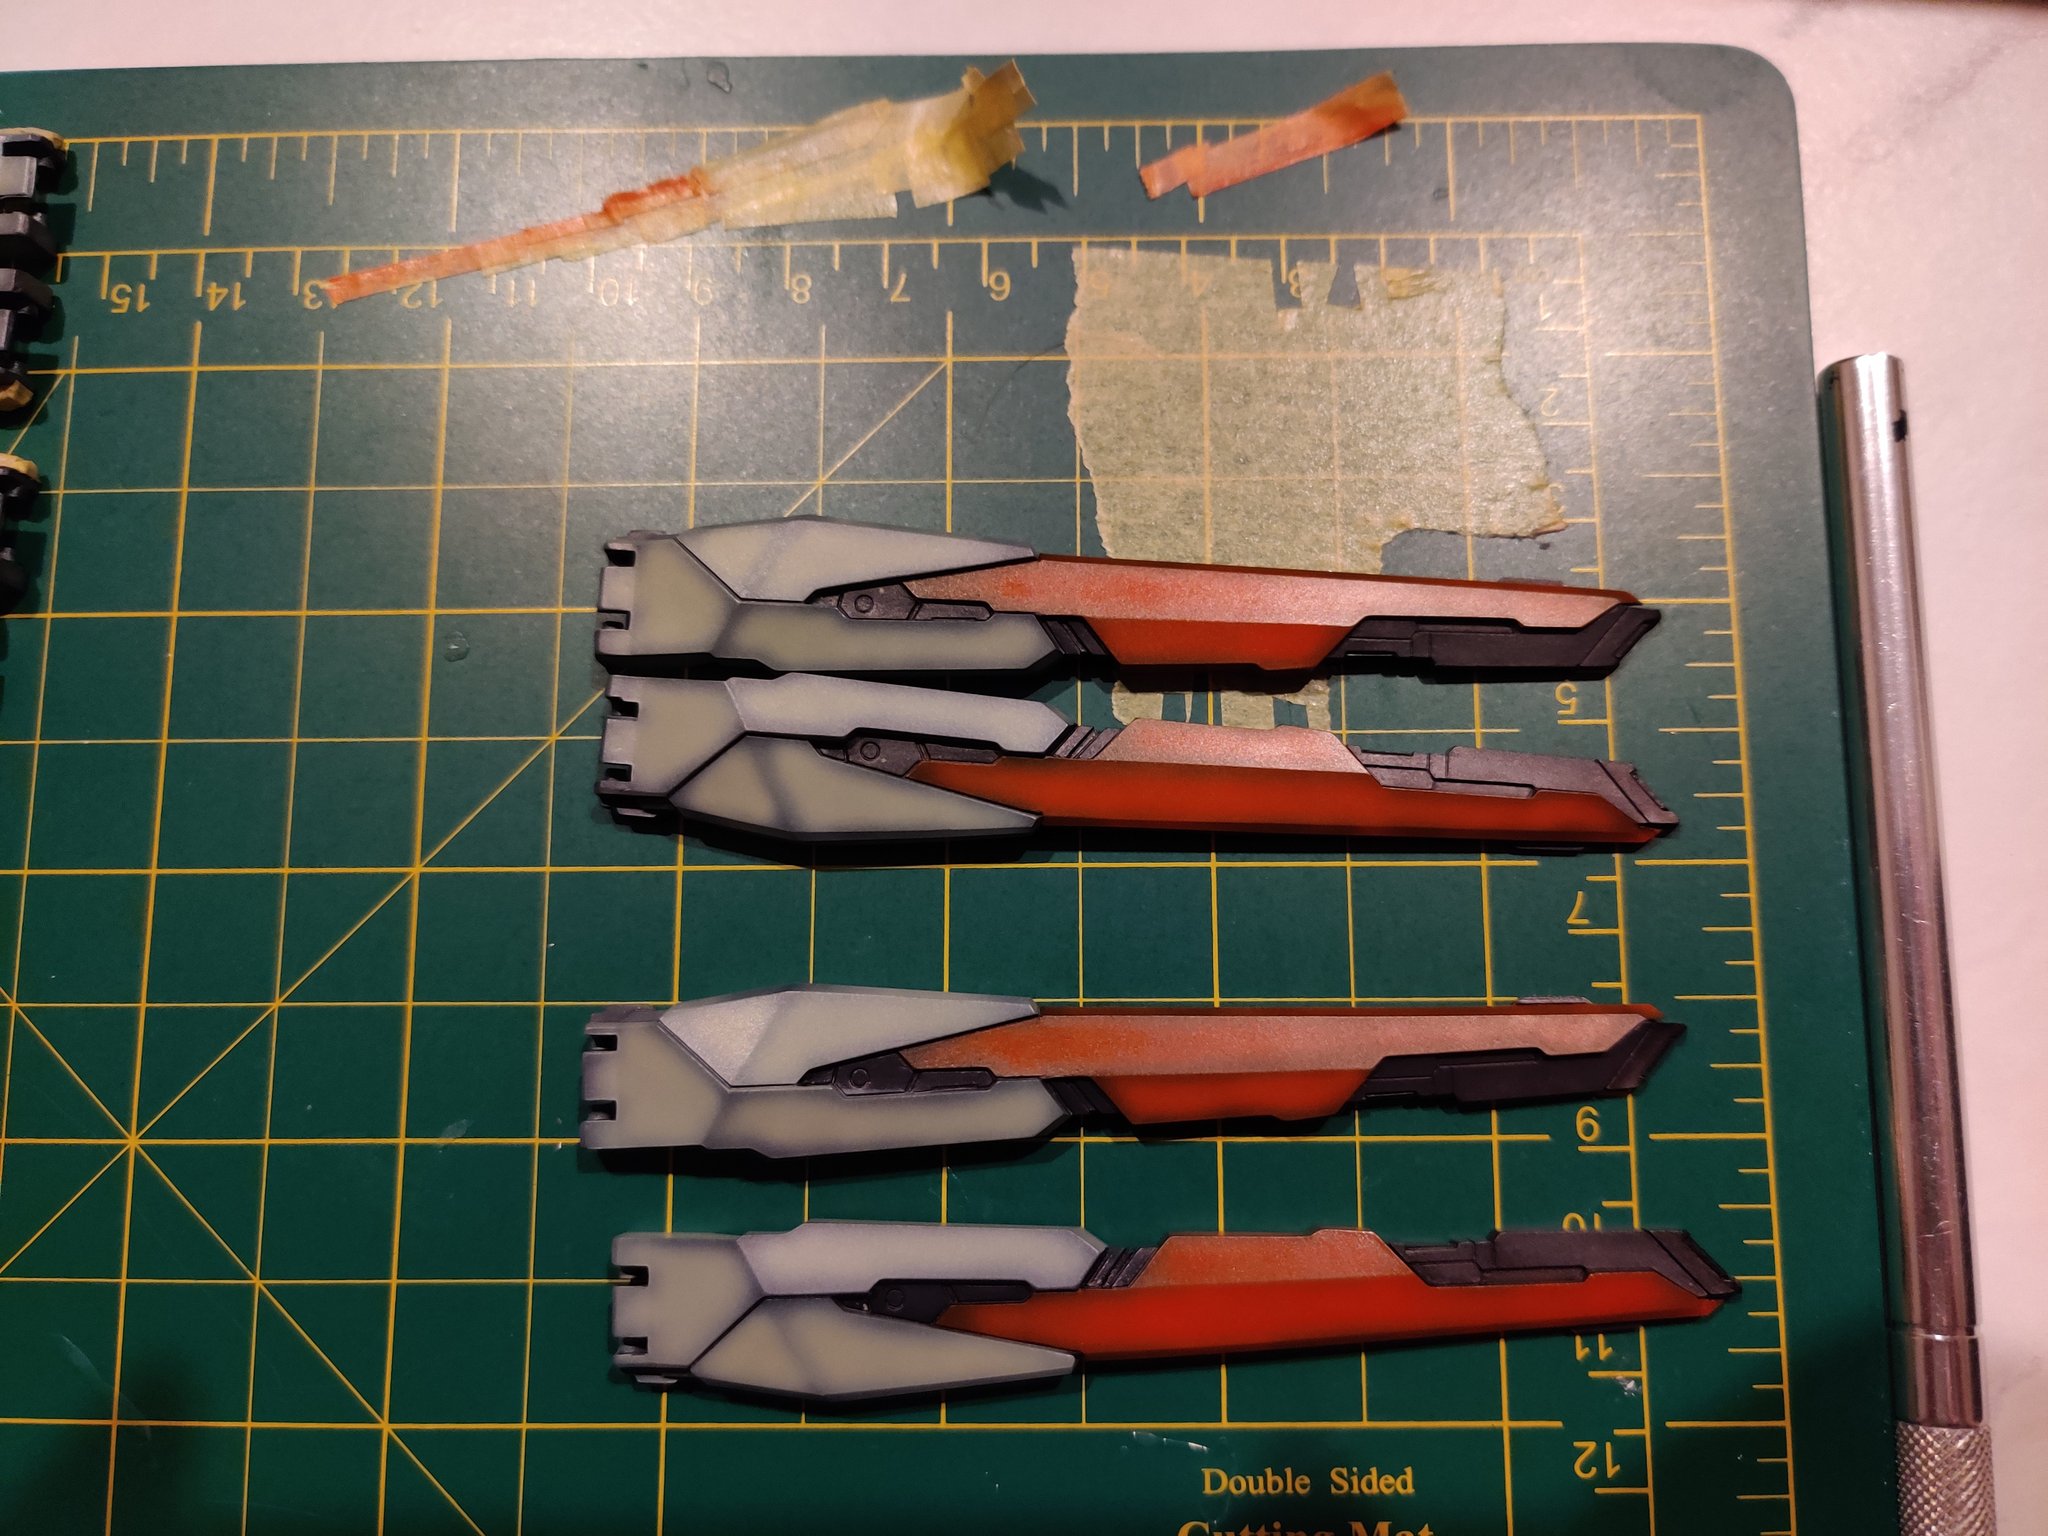
I always do a crummy job taking pictures of this step (that's why there are no sazabi pictures here) but once you have the edges and stuff painted now it's time to take your main color and fill in the primer-spaces. Don't go over your preshade lines, just get as close as you can to that line. It's fine if you hit the edge a little, after all this isn't the topmost layer of color and we'll be doing a little work to blend the edges in just a moment. Even if it doesn't turn out perfect just work with the wabisabi of the whole thing. Embrace the shading not being perfectly uniform. After all, things in real life have degrees of variance. Take your time, work with a psi around ~12-15, thin your paints well and be very gentle on the trigger. I work really really close to the part for this step and have to be very careful to avoid splattering or overspraying. this is probably???? one of the trickier parts of how I do this??? I don't know. When you've been doing this for so long your definition of that sorta changes. If you need extra help, look in to something to help steady your arm/hand while doing this part. My spouse got me one for christmas and its been super useful in preventing wrist/tendon pain.
Once all the shading down and the rest of the space is filled in with the main color things are starting to feel pretty good but there's one more step to bring everything together. I move my brush back and get little distance from the part and give the whole thing the lightest coat I can manage. The idea here is to blend the primary color and shading layer together with one or two very light coats of paint. I'm not trying to cover up the preshading, I just want a very thin layer of the main color to harmonize everything. See how the preshading isn't so stark after I've given it those final two coats? I think this is the key to bringing the shading and main layers together. Everything feels nice and finished now. From here, gloss coat the parts for panel lining and decals or flat coat (or whatever finish you wanna use) it if it's not getting any of those.
and...that's pretty much it. As an aside, glossy finishes tend to make the colors appear darker and flatcoats tend to look lighter but that could just be my eyes being weird.
My skill and knolwedge with this method of shading stuff is continually changing and growing and I'm usually experiementing in one way or another with my preshading to see what I can do with it so don't take this guide as the end-all-be-all. Half the fun of gunpla is discovering your own process and what works for you, so take this guide as a starting point and start playing around with it to find your own style!
'Til next time!