There’s a lot to be said for mixing up what you’re building when it comes to plamo. Building gunpla all the time is perfectly fine but after awhile I usually find myself feeling burned out, disinterested, or in dire need of constructing something that isn’t a mobile suit. If you find yourself in a similar situation with gunpla….maybe it’s time to check out another kind of model kit! Be it ZOIDS, traditional armor like tanks, cars, or really off the wall stuff like Frame Arms Girls, sometimes you need to work on something not produced by Bandai to stave off the dreaded burn-out and light that fire for mobile suits again.
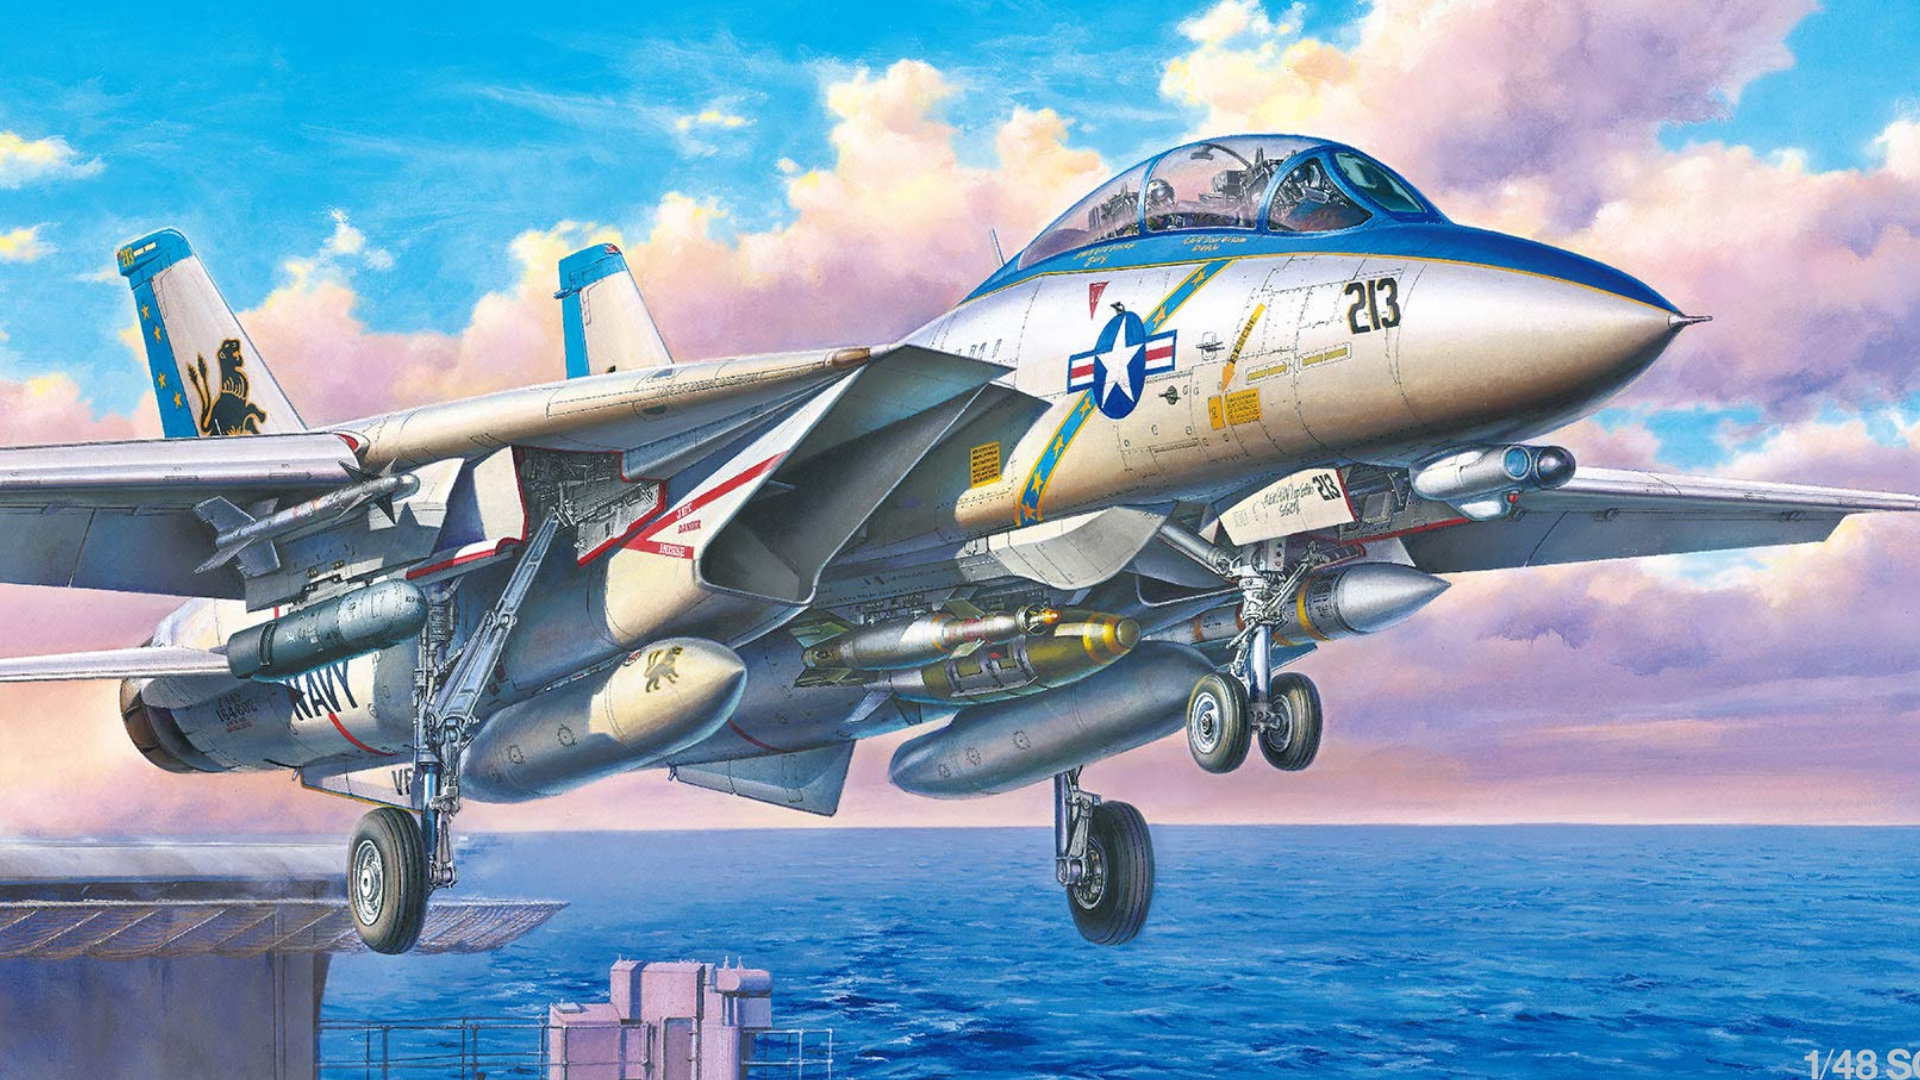
My go-to cleanser is aircraft model kits. The F-14D will always be a special piece of machinery to me (Top Gun is one of my favorite movies of all time and Ace Combat 5 is a favorite game of mine) and an old Revell F-4 model was my first ever model kit so I’m not too surprised that I keep gravitate to aircraft when I’m craving something different.
Taking a break from gunpla to build another kind of model is nice for a few reasons: traditional models require different techniques to build and afford me a lot of opportunities to try painting, detailing and weathering techniques that I don’t usually use on a mobile suit. The biggest difference is, of course, that things like glue and paint are mandatory when you’re talking about an aircraft model. Not to mention that with these kits the devil is absolutely in the details and techniques like drybrushing, masking and weathering are definitely a must if you want to really nail the realistic look of an aircraft.
After building a traditional model, coming back to gunpla is like drinking some cool, refreshing water. Military models really give me an appreciation for the ease of construction, color accuracy (yes, really) and articulation present in any Gundam model kit. It’s easy to lose sight of what makes gunpla so accessible to builders of all ages and just how fun it is to build gunpla when that’s all you’re working on. If you’re feeling malaise settling over your Gundam builds, head out to the local hobby store and grab something that catches your eye and set your mind to doing the best job you can on it. There’s a lot of fun to be had in levelling up your skills from zero again on something new!

Since I’ve done nothing but Gundams since January of last year, I was feeling pretty bored of everything in my backlog and it was difficult to find the hutzpah to start yet another full blown MG/PG kit. Enter the Tamiya 1/48 F-14D “Super Tomcat” model kit- I special ordered this kit from my LHS around a year ago and I’ve been saving it for a rainy day and when I’m properly motivated to go all out on it…and the time is now! I’ve gone through the manual for this kit a few times and watched a couple videos of builds on YouTube but I’m not going to lie: I’m delightfully in over my head with this thing. The last F-14 kit I built was Italeri’s 1/72 F-14A offering:
This kit was okay in it’s own right, but the molding was off in some areas and the panel lines on this kit were raised up instead of being recessed like the panel lines we’re used to seeing on gunpla, so detailing it was different than what I was used to doing. Still, the Italeri build was a great experience that made me want to try building an F-14 kit that was more on the “high end” side of things. I had a lot of fun detailing the cockpit on the 1/72 scale model, so I opted to go for 1/48 for a chance to show off even more detail.
Let’s see exactly what we’re dealing with in this box; first up, we’ve got the manual and a secondary booklet of background information.
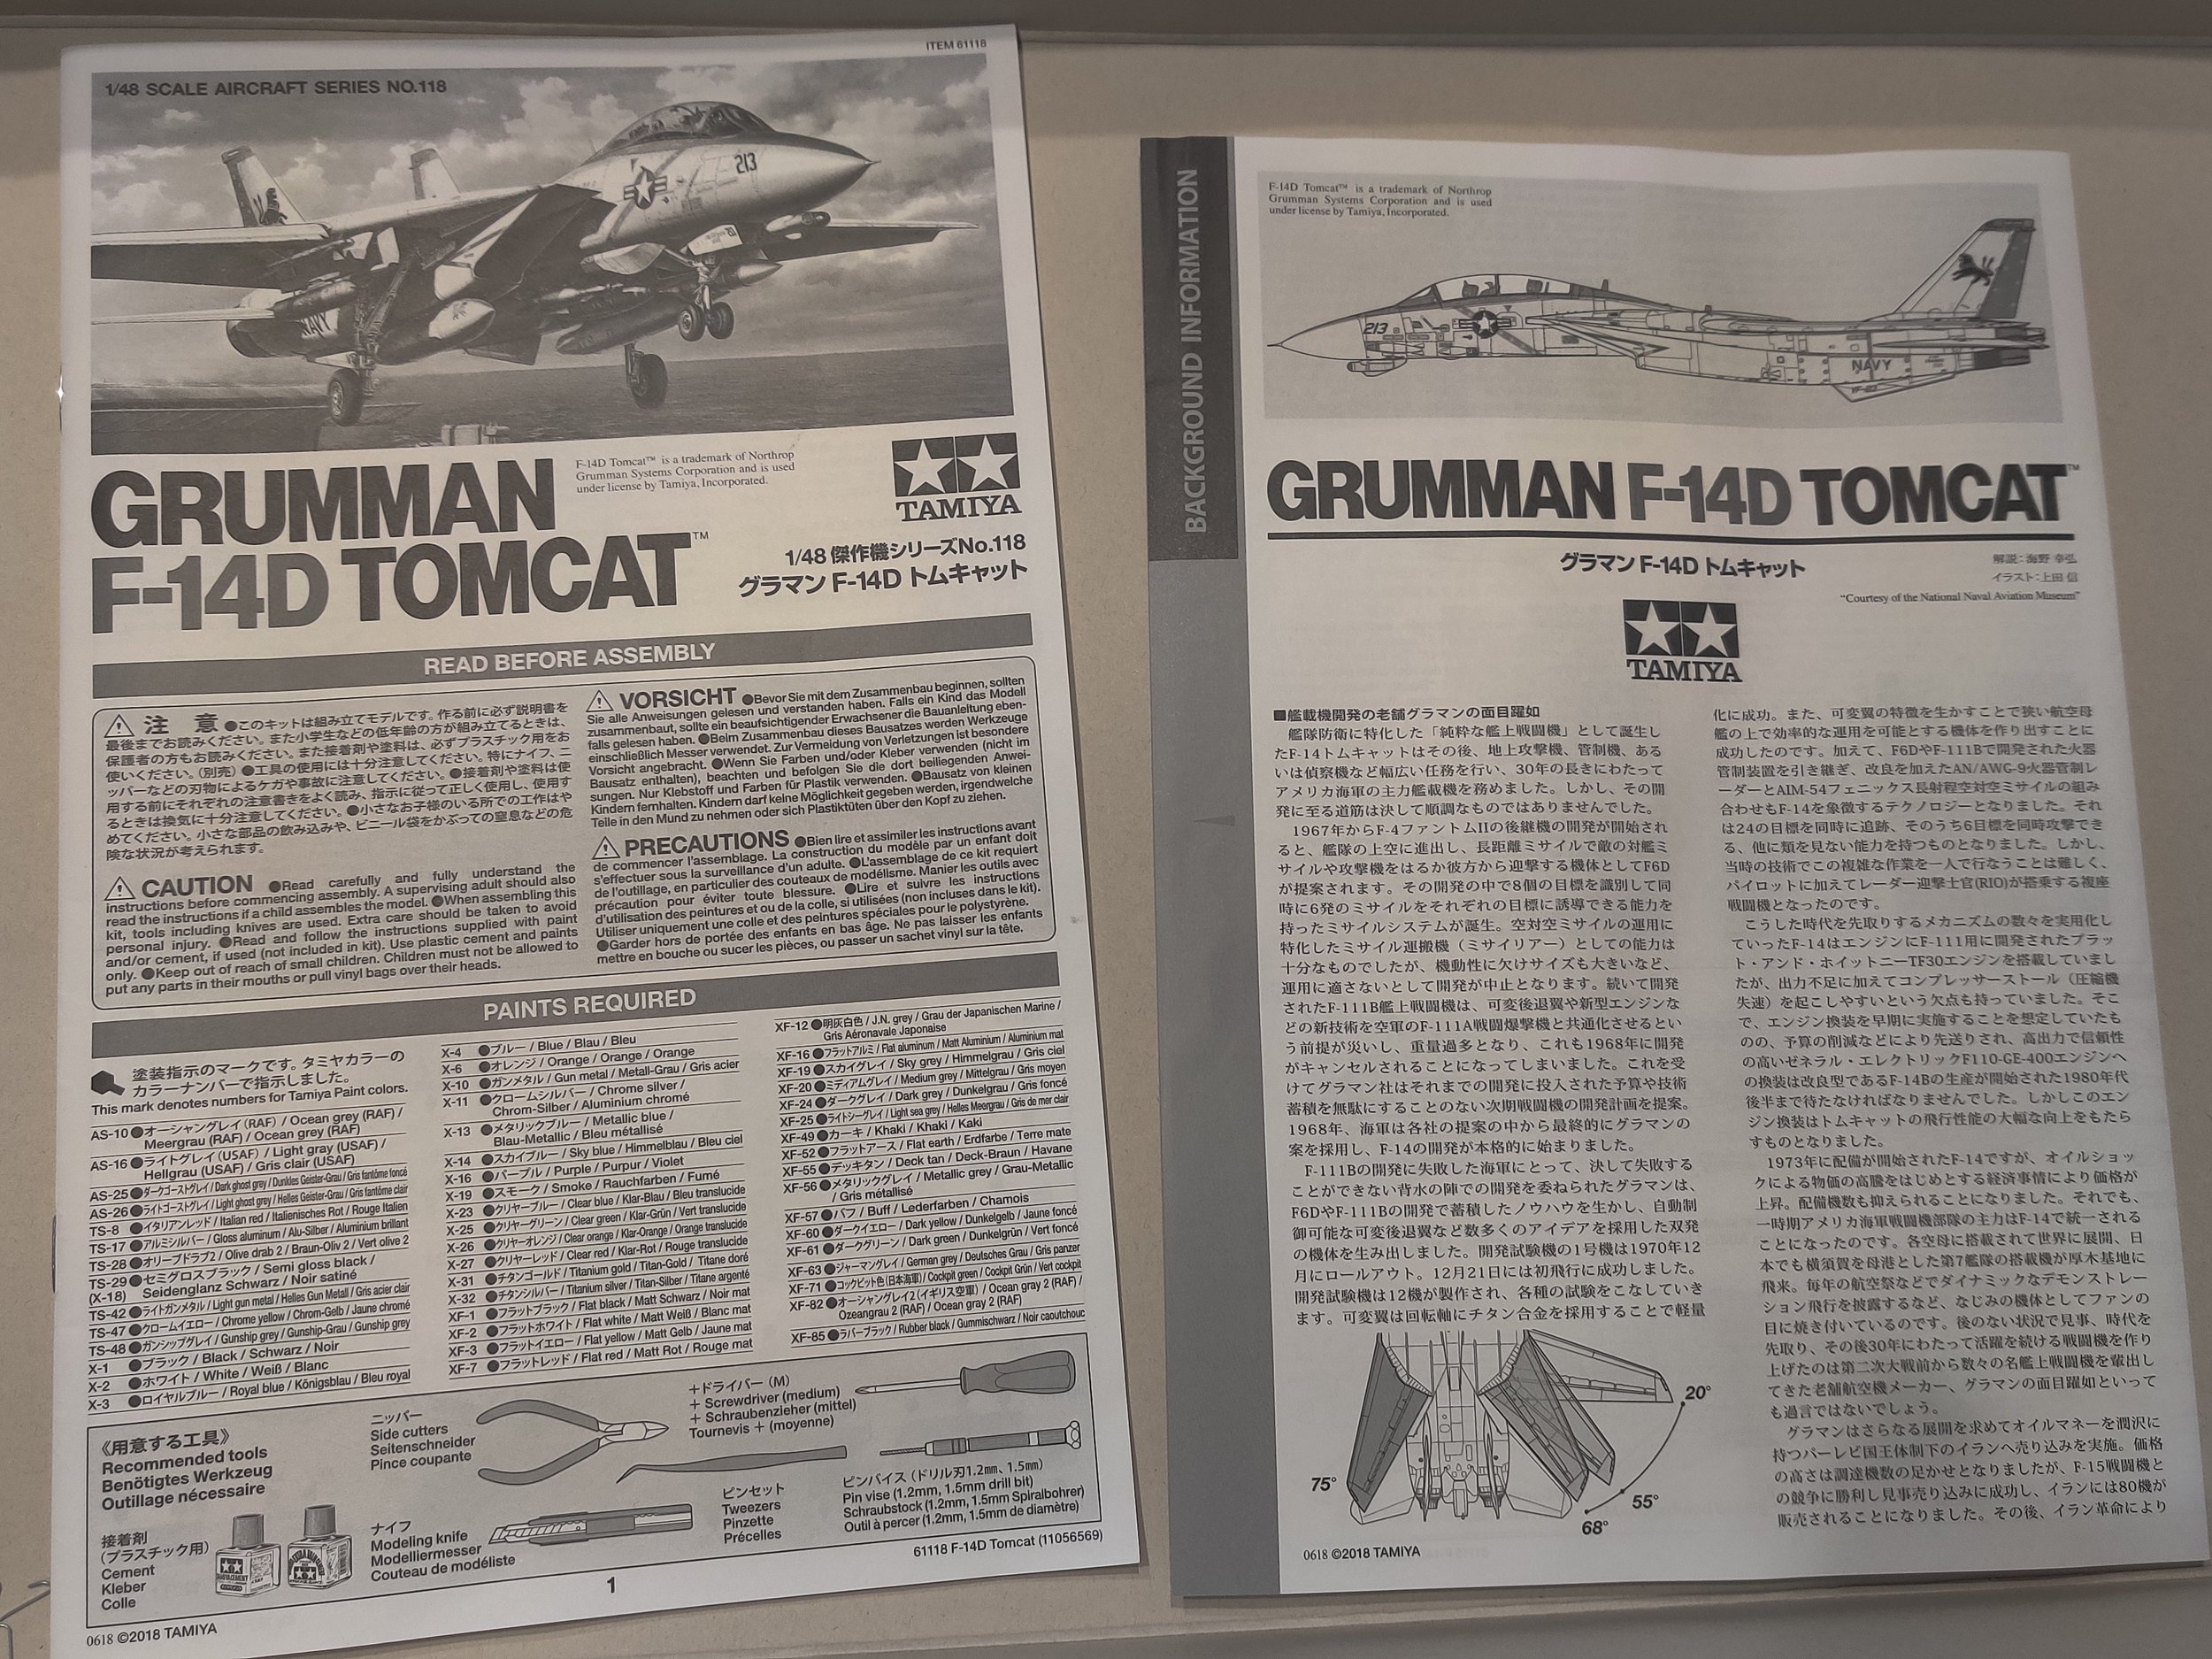
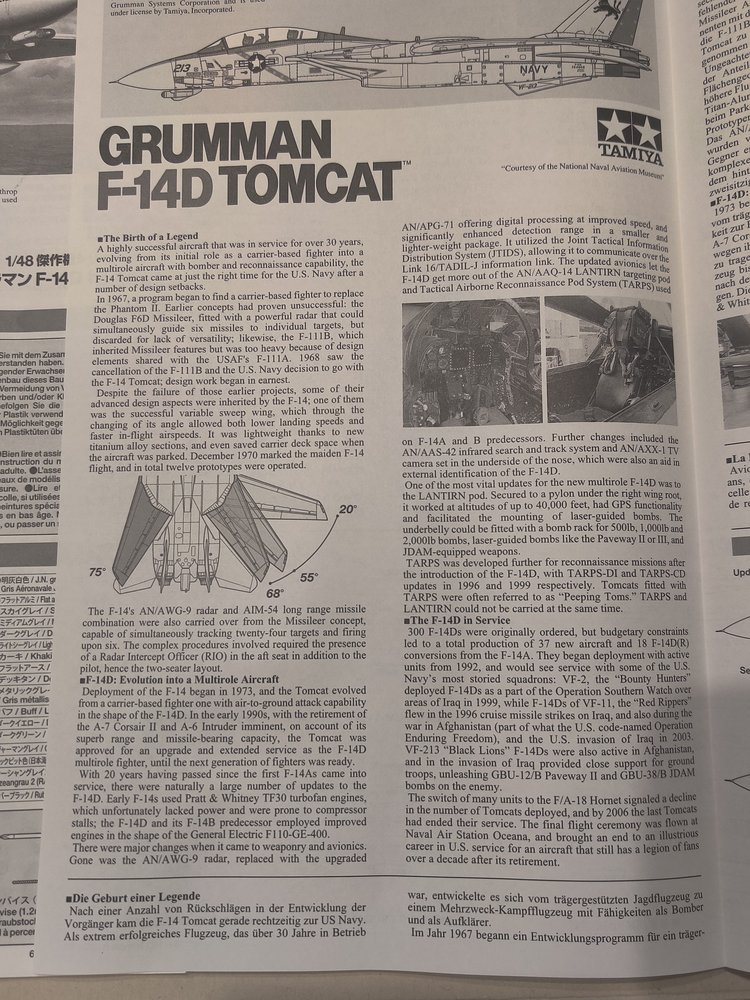
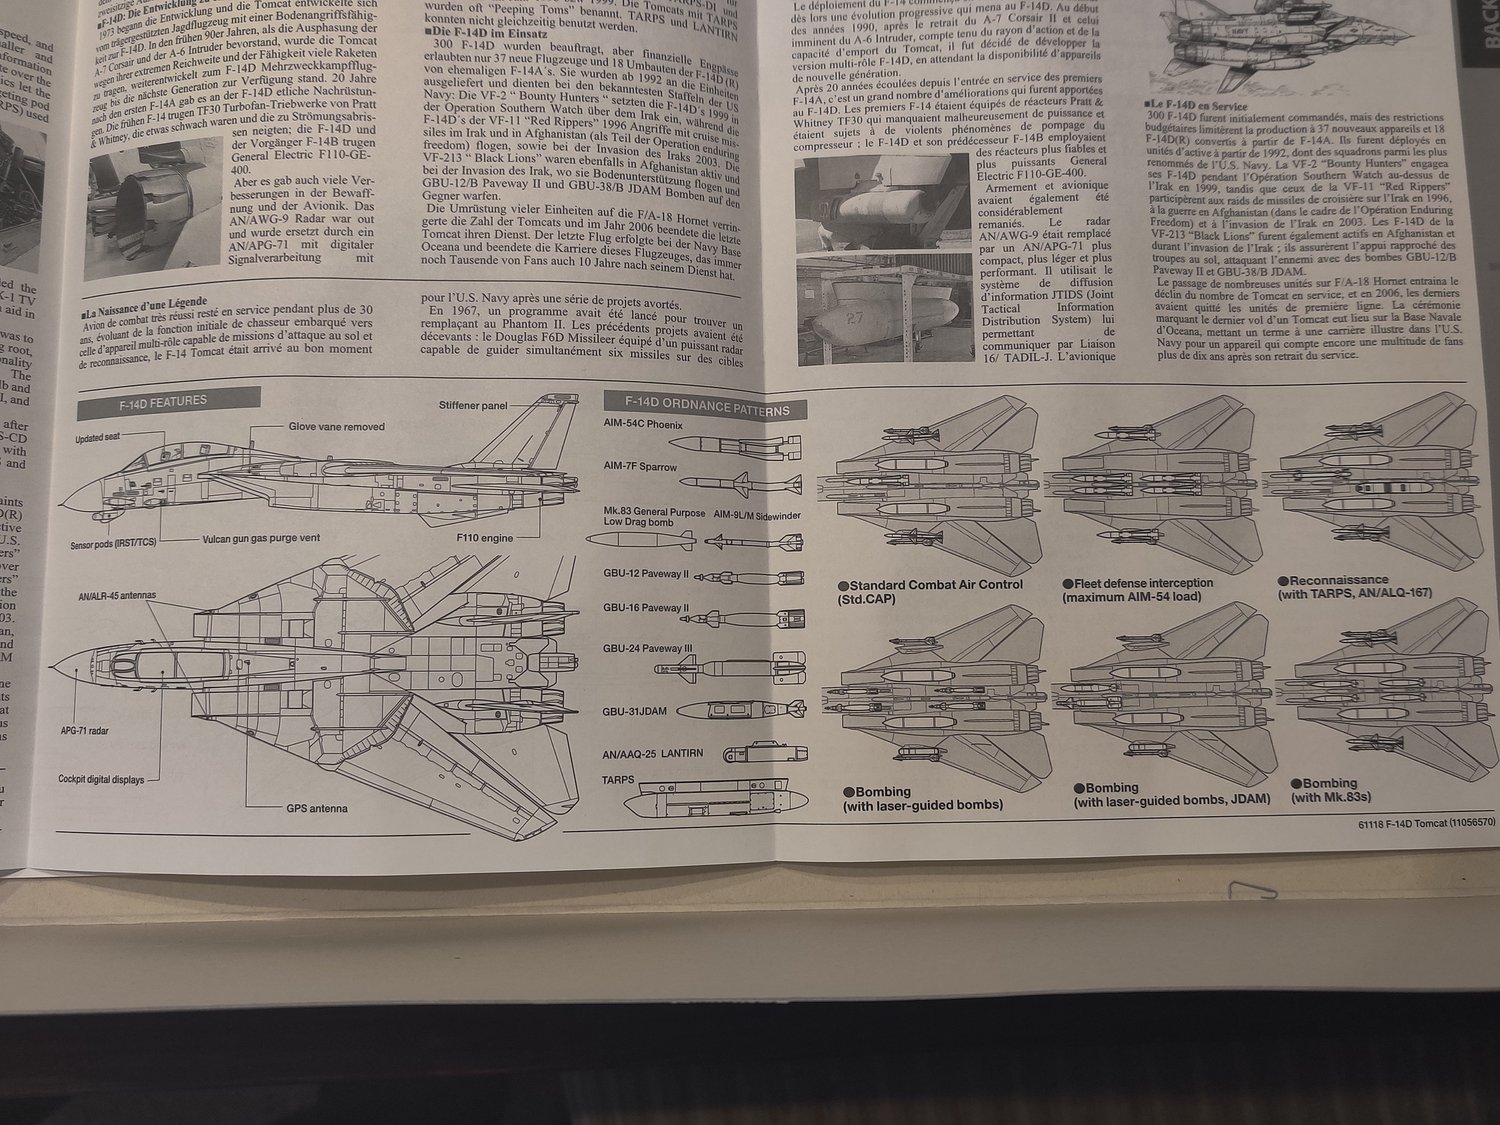
The background information booklet is exactly that: background information on the F-14D, some history on it’s development, service life, and loadouts. Neat stuff if you aren’t intimate with how this aircraft came to be and certainly a little extra something that gives you more appreciation for both the aircraft and model kit. Let’s check out the manual real quick and see what we’re getting in to…

That’s a lot of paint. Like, a lot of paint. Moreover, it’s a brand of paint I don’t use, so how should I go about matching these colors up? Luckily, mech9 has already done the work of converting Tamiya paint colors to Mr. Color equivalents. I’ll have to get creative with some colors as there isn’t a conversion listed for a few, but by and large everything I need could be found on that chart. Here’s what I’m subbing for just about everything on this list listed as Tamiya -> Mr. Color, except for a few instances where I’ve decided to sub in a GaiaNotes color because I already have it handy.
-
AS-10 Ocean Grey (RAF) -> c362 Ocean Grey
-
AS-16 Light Grey (USAF) -> c332 Light Aircraft Grey
-
AS-25 Dark Ghost Grey -> c307 Grey FS36320
-
AS-26 Light Ghost Grey -> c308 Grey FS36375
-
TS-8 Italian Red -> c158 Super Italian Red
-
TS-17 Gloss Aluminum -> GaiaNotes 123 Star Bright Duraluminum
-
TS-28 Olive Drab -> c303 Green FS34092
-
TS-29 Semi-Gloss Black -> c92 Semi-Gloss Black
-
TS-42 Light Gunmetal -> GaiaNotes 020 GunMetal + 10% GaiaNotes 121 Star Bright SIlver
-
TS-47 Chrome Yellow -> No substitute, I’ll get creative
-
TS-48 Gunship Grey -> No substitute, I’ll get creative
-
X-1 Black -> c2 Black
-
X-2 White -> c1 White
-
X-3 Royal Blue -> c71 Midnight Blue
-
X-4 Blue -> c65 Bright Blue
-
X-6 Orange -> GaiaNotes 015 Pure Orange
-
X-10 GunMetal -> c61 Burnt Iron
-
X-11 Chrome Silver -> sm206 Super Chrome Silver 2
-
X-13 Metallic Blue -> c57 Metallic Blue Green
-
X-14 Sky Blue -> c34 Sky Blue
-
X-16 Purple -> GaiaNotes 017 Purple
-
X-19 Smoke -> c101 Smoke Grey
-
X-23 Clear Blue -> c50 Clear Blue
-
X-25 Clear Green -> c138 Clear Green
-
X-26 Clear Orange -> c49 Clear Orange
-
X-27 Clear Red -> c47 Clear Red
-
X-31 Titanium Gold -> Using Tamiya enamel X-31
-
X-32 Titanium Silver -> Using Tamiya enamel X-32
-
XF-1 Flat Black -> c33 Flat Black
-
XF-2 Flat White -> c62 Flat White
-
XF-3 Flat Yellow -> c4 Yellow
-
XF-7 Flat Red -> c108 Character Red
-
XF-12 J.N. Grey -> c35 IJN Grey (Mitsubishi)
-
XF-16 Flat Aluminum -> GaiaNotes 121 Star Bright Silver
-
XF-19 Sky Grey -> c334 Barley Seagrey BS4800/18821
-
XF-20 Medium Grey -> c60 RLM02 Grey
-
XF-24 Dark Grey -> c116 RLM66 Black Grey
-
XF-25 Light Sea Grey -> c115 RLM65 Light Blue
-
XF-49 Khaki -> c55 Khaki
-
XF-52 Flat Earth -> c369 BS381C/450 Dark Earth
-
XF-55 Deck Tan -> c321 Light Brown
-
XF-56 Metallic Grey -> c28 Steel
-
XF-57 Buff -> c44 Tan
-
XF-60 Dark Yellow -> c4 Yellow + 15% c2 Black
-
XF-61 Dark Green -> c23 Dark Green (2)
-
XF-63 German Grey -> c36 RLM74 Grey Green
-
XF-71 Cockpit Green -> c312 Green FS34227
-
XF-82 Ocean Grey 2 (RAF) -> c362 Ocean Grey
-
XF-85 Rubber Black -> c137 Tire Black
Whew, that’s a ton of colors! A lot of these colors, as far as I can tell, will be used for minor details in the cockpit or weaponry because much of the main fuselage and other areas of the plane are various shades of grey.
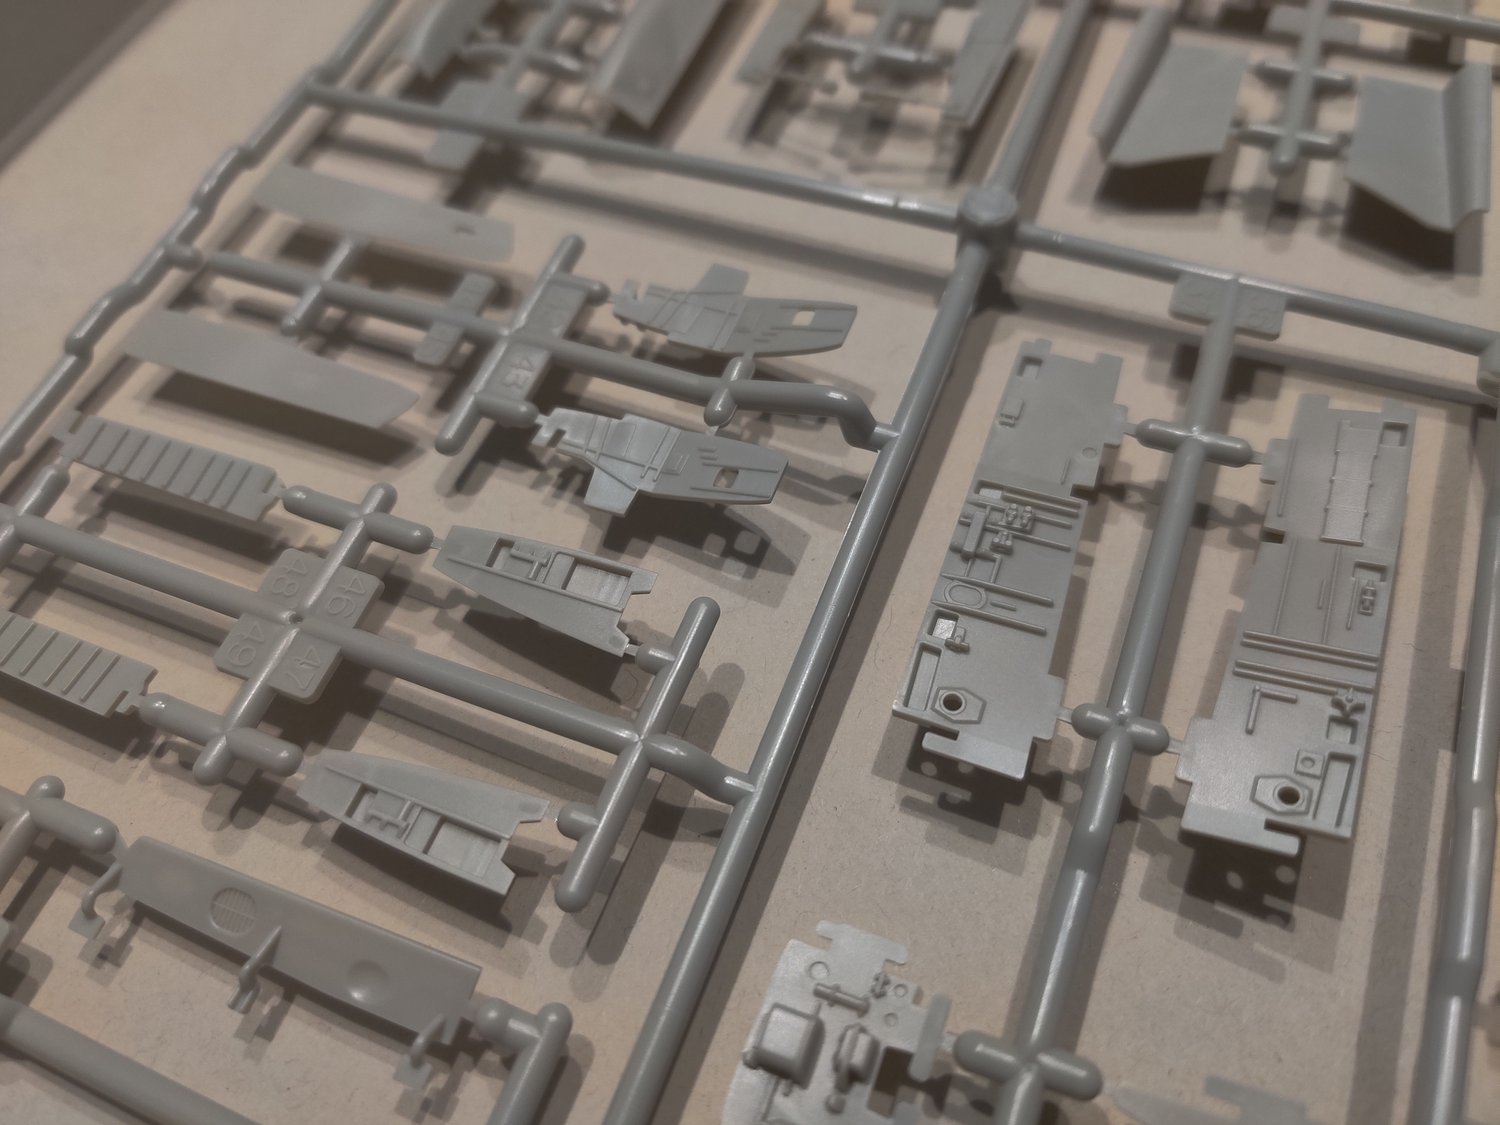
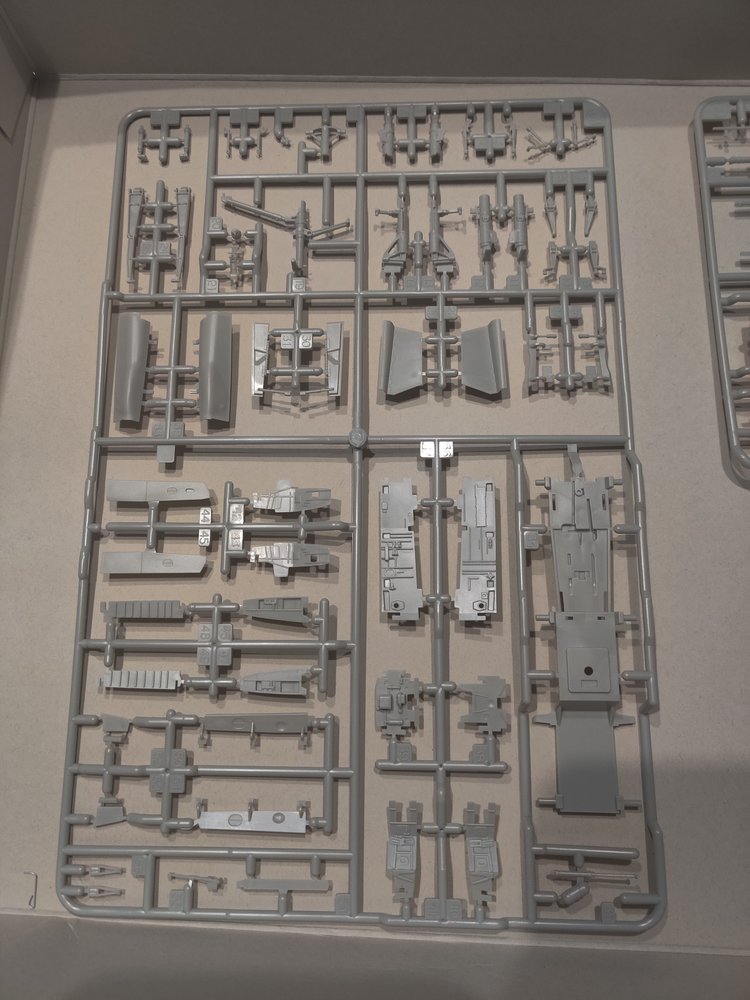
Speaking of the fuselage, let’s check out the detail on that section of the kit:
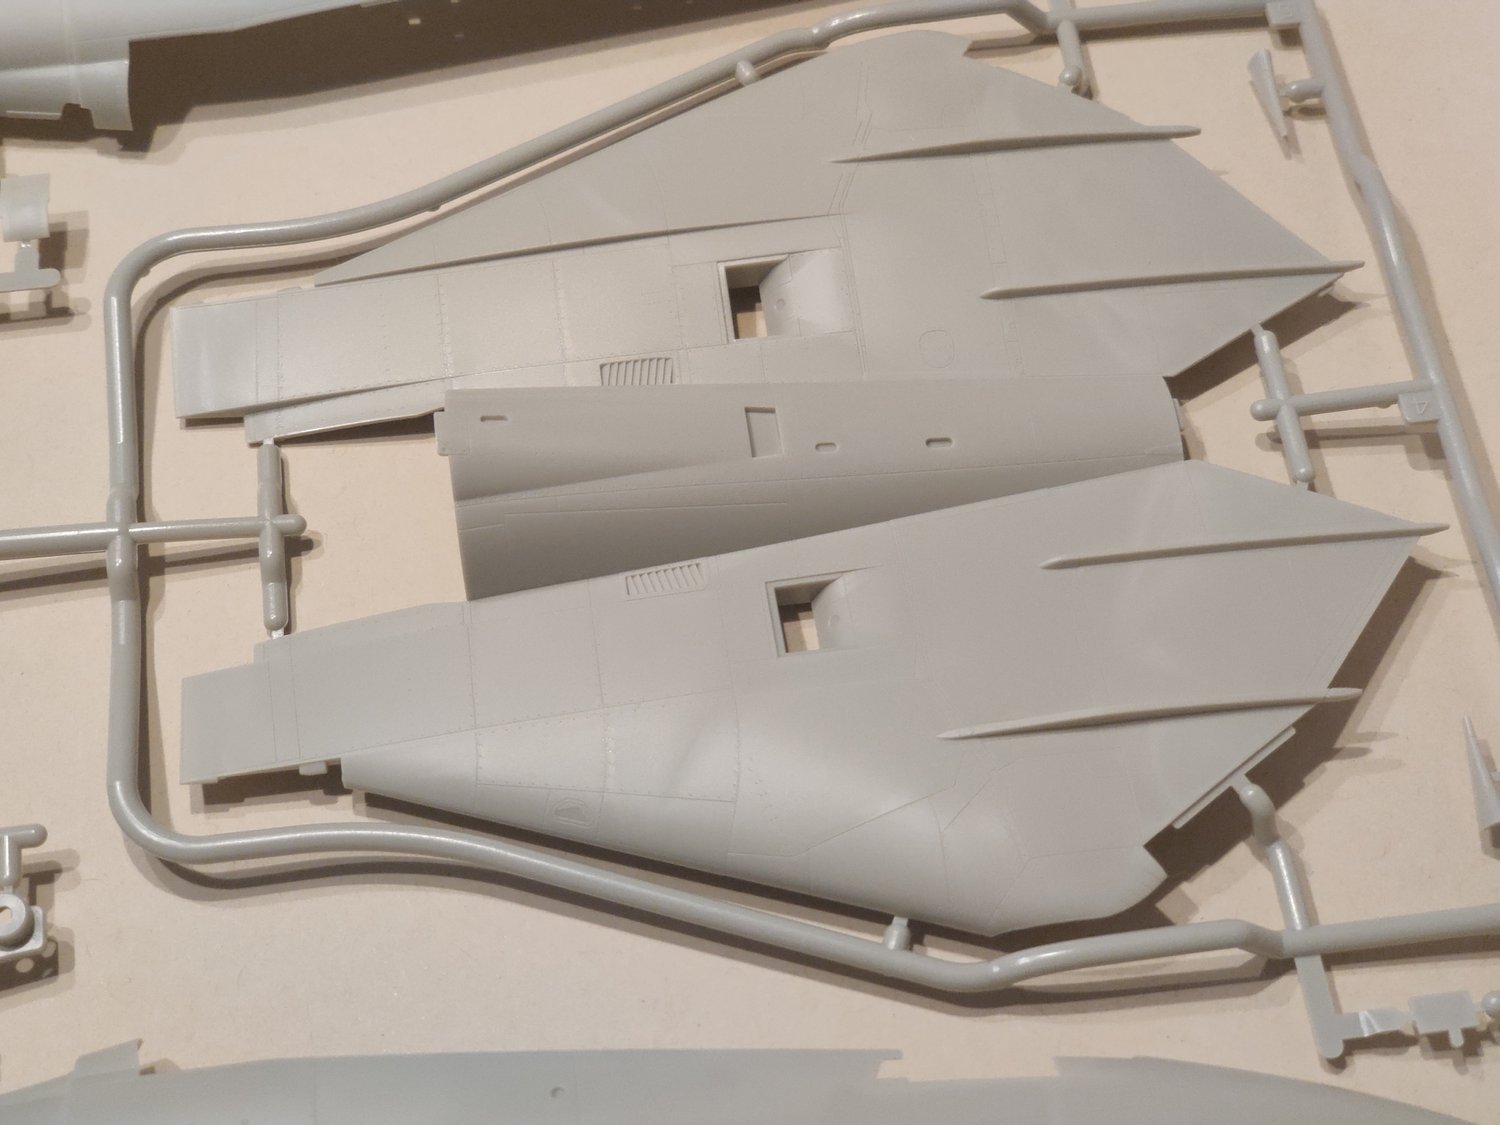
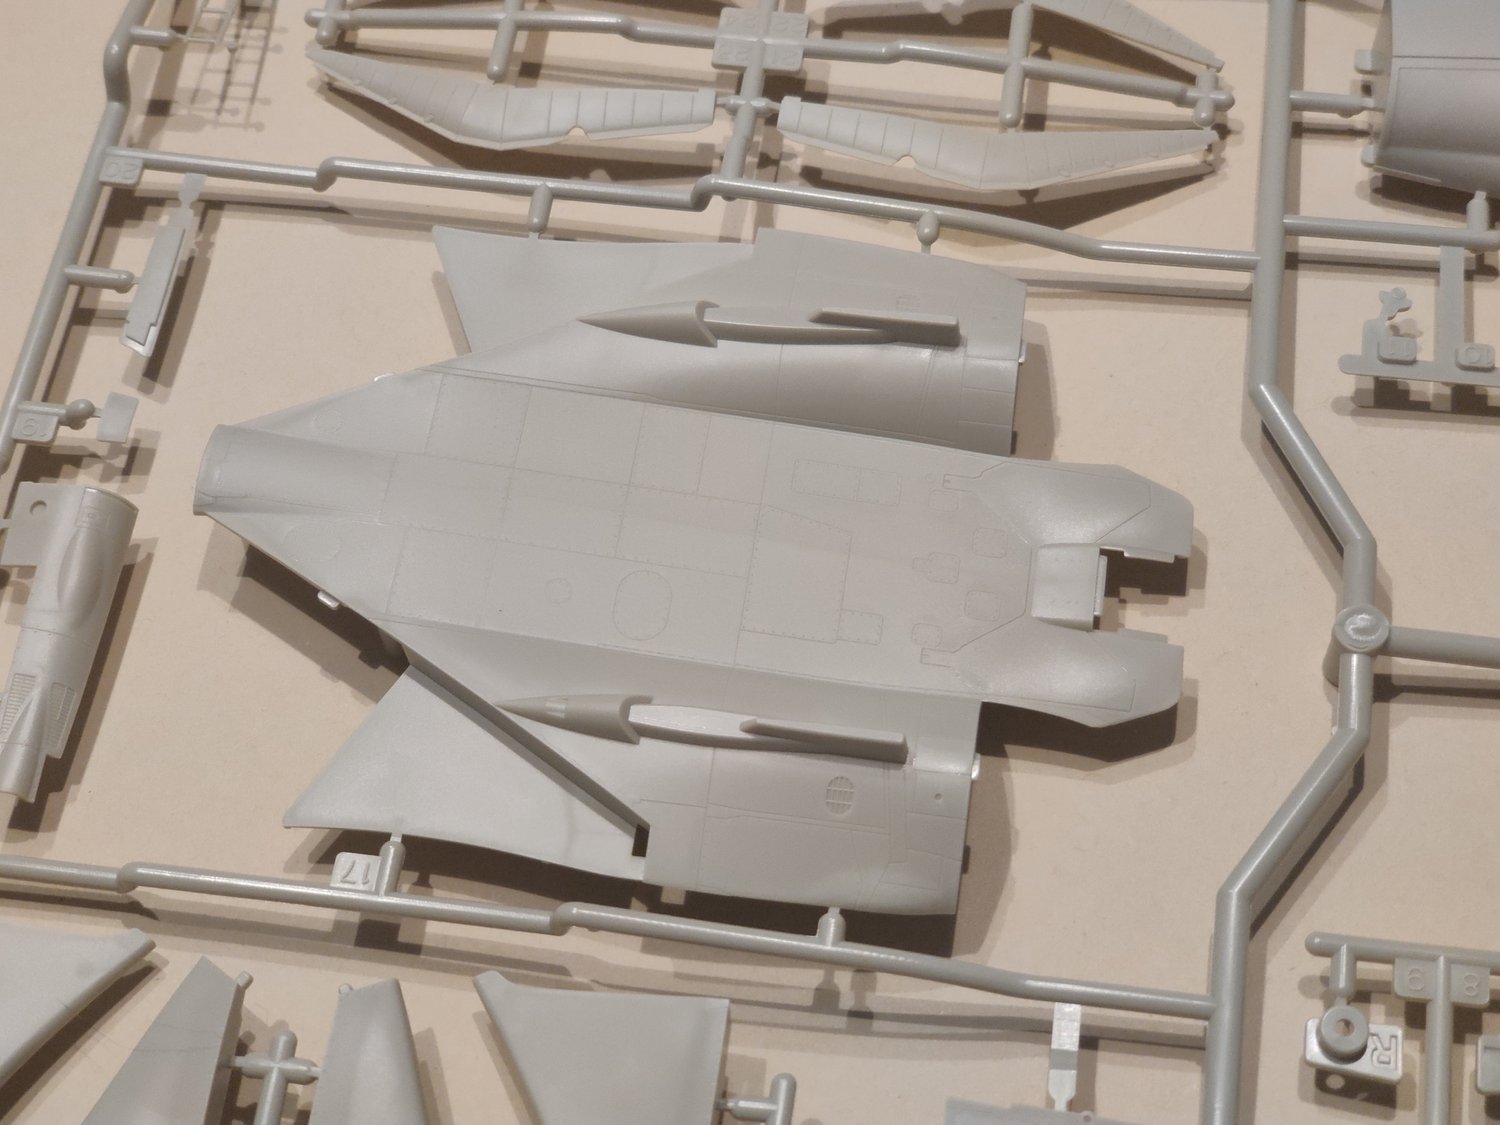


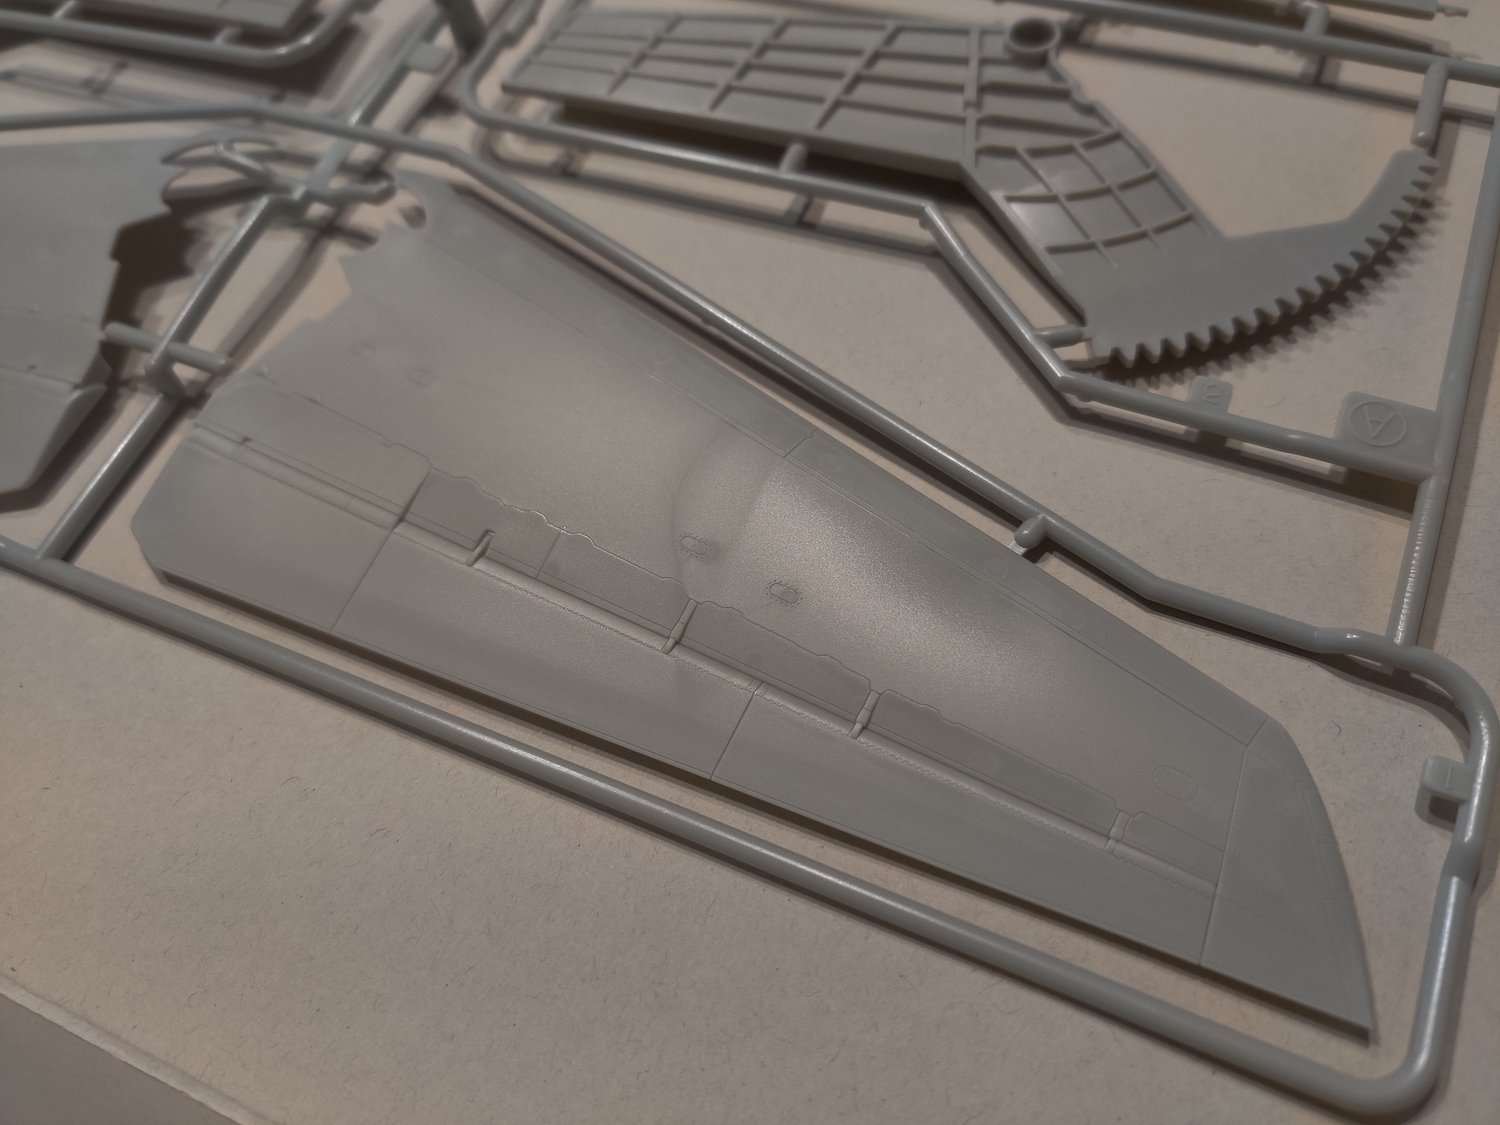
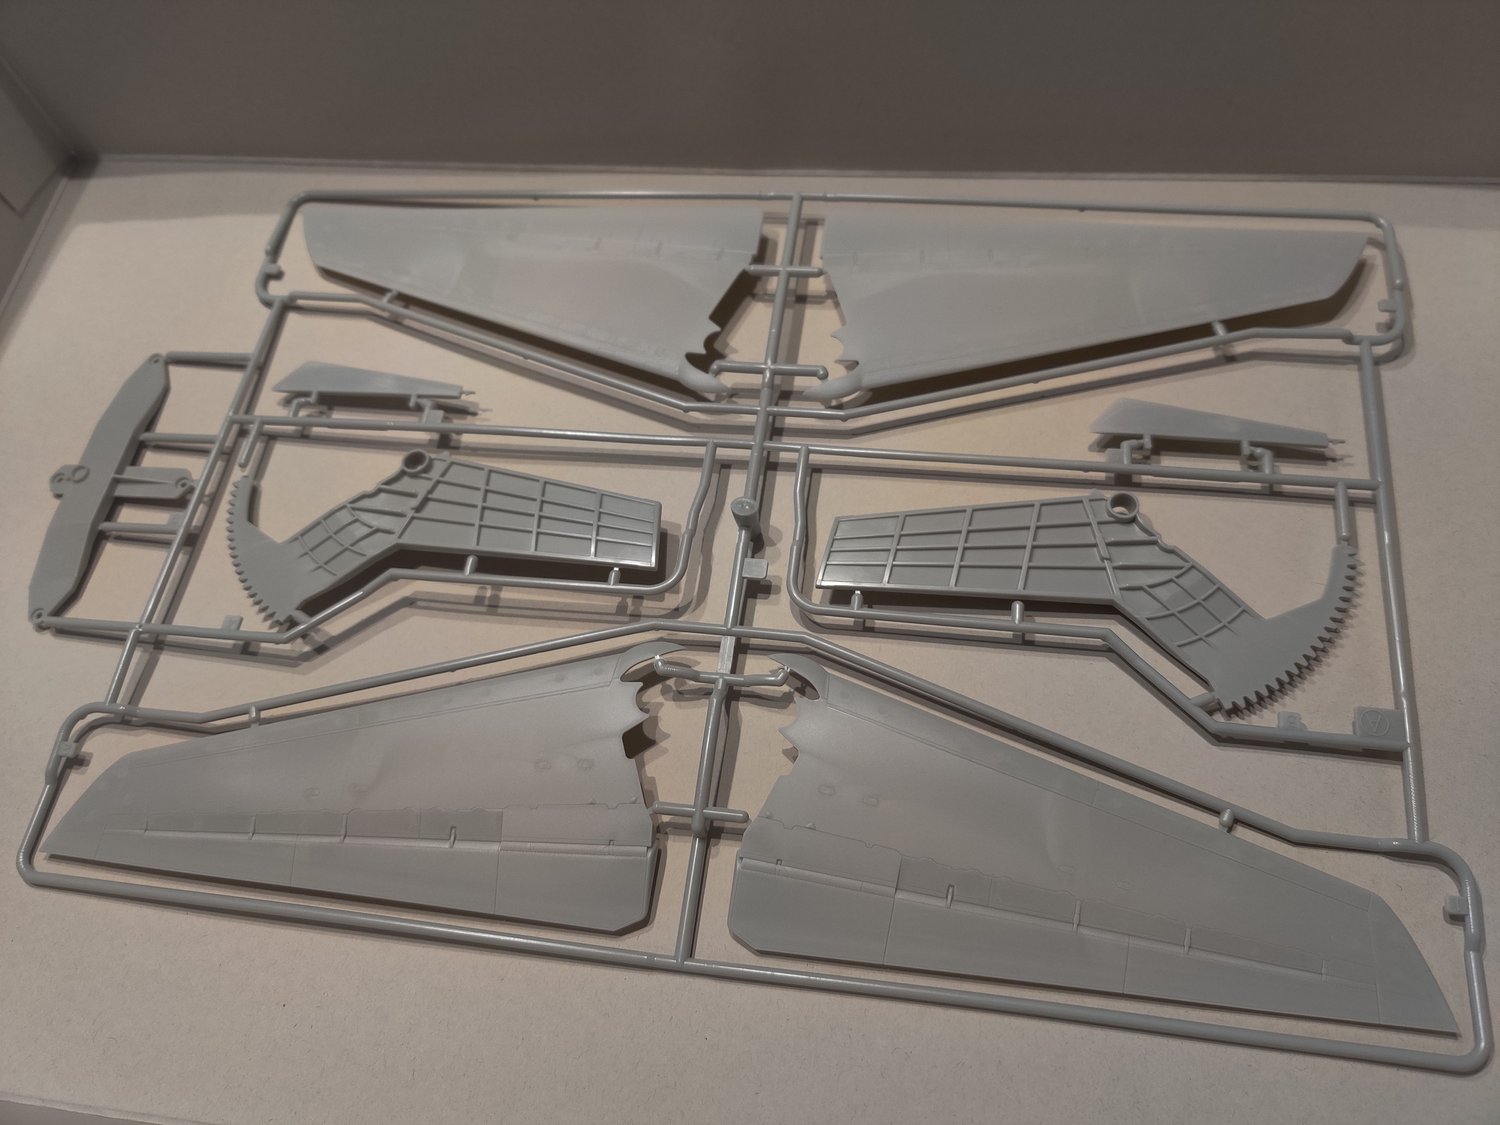
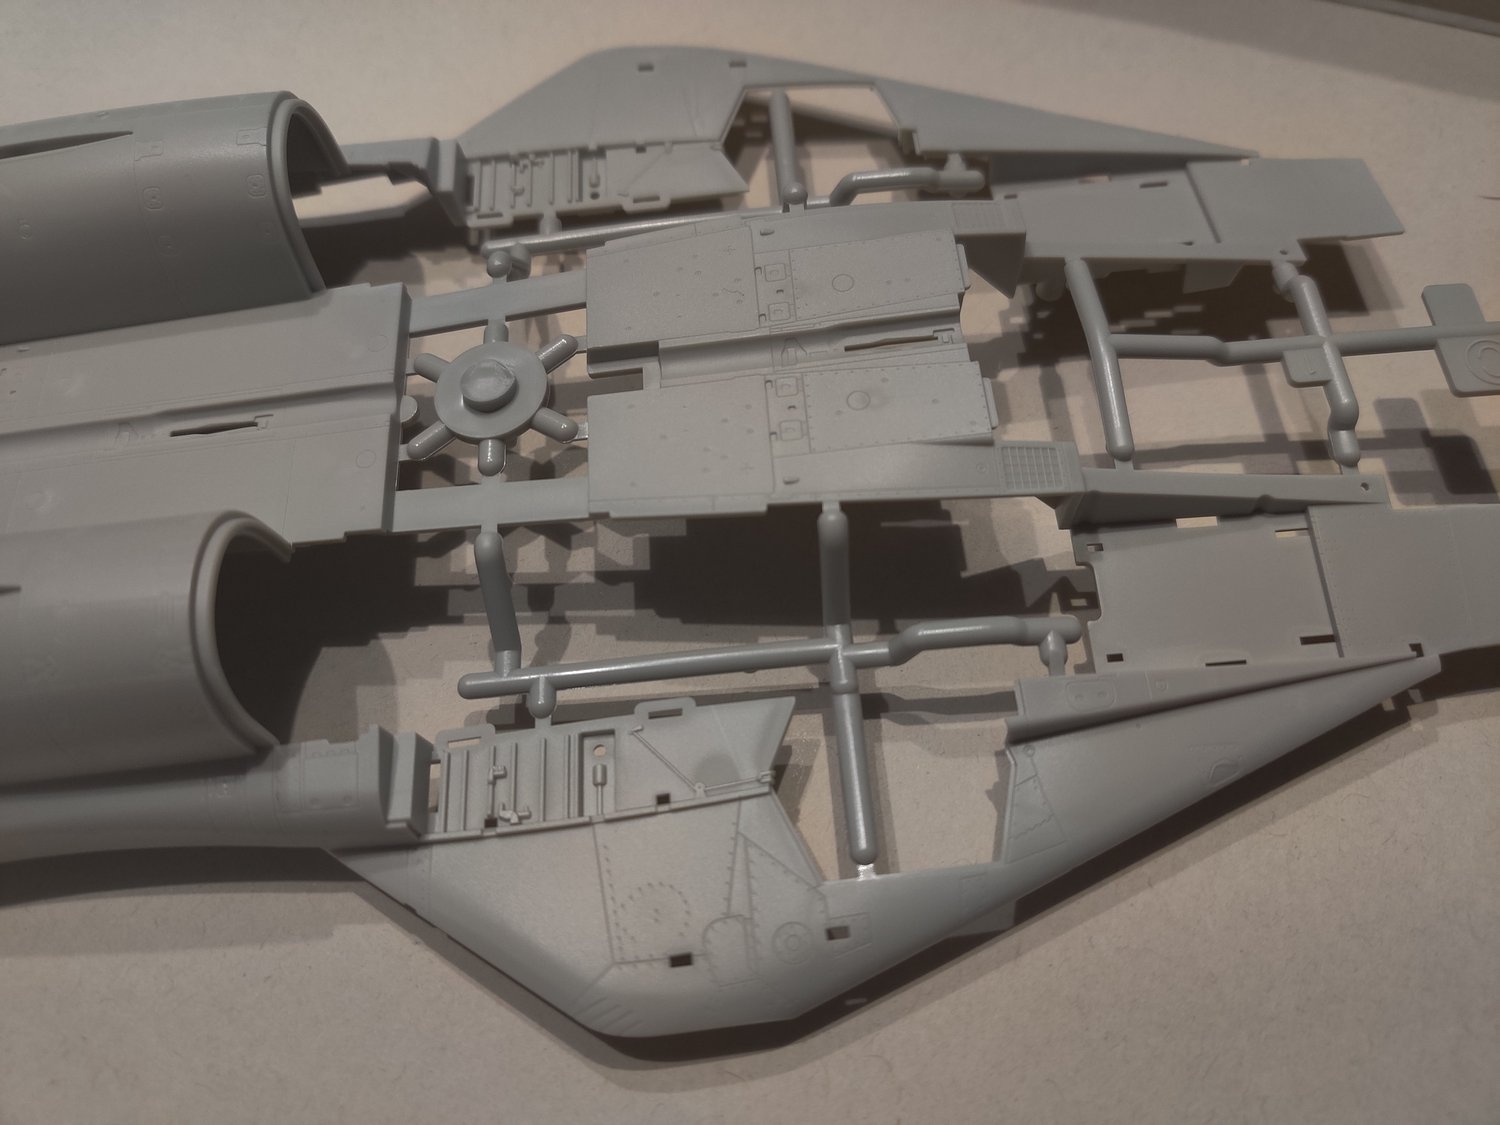
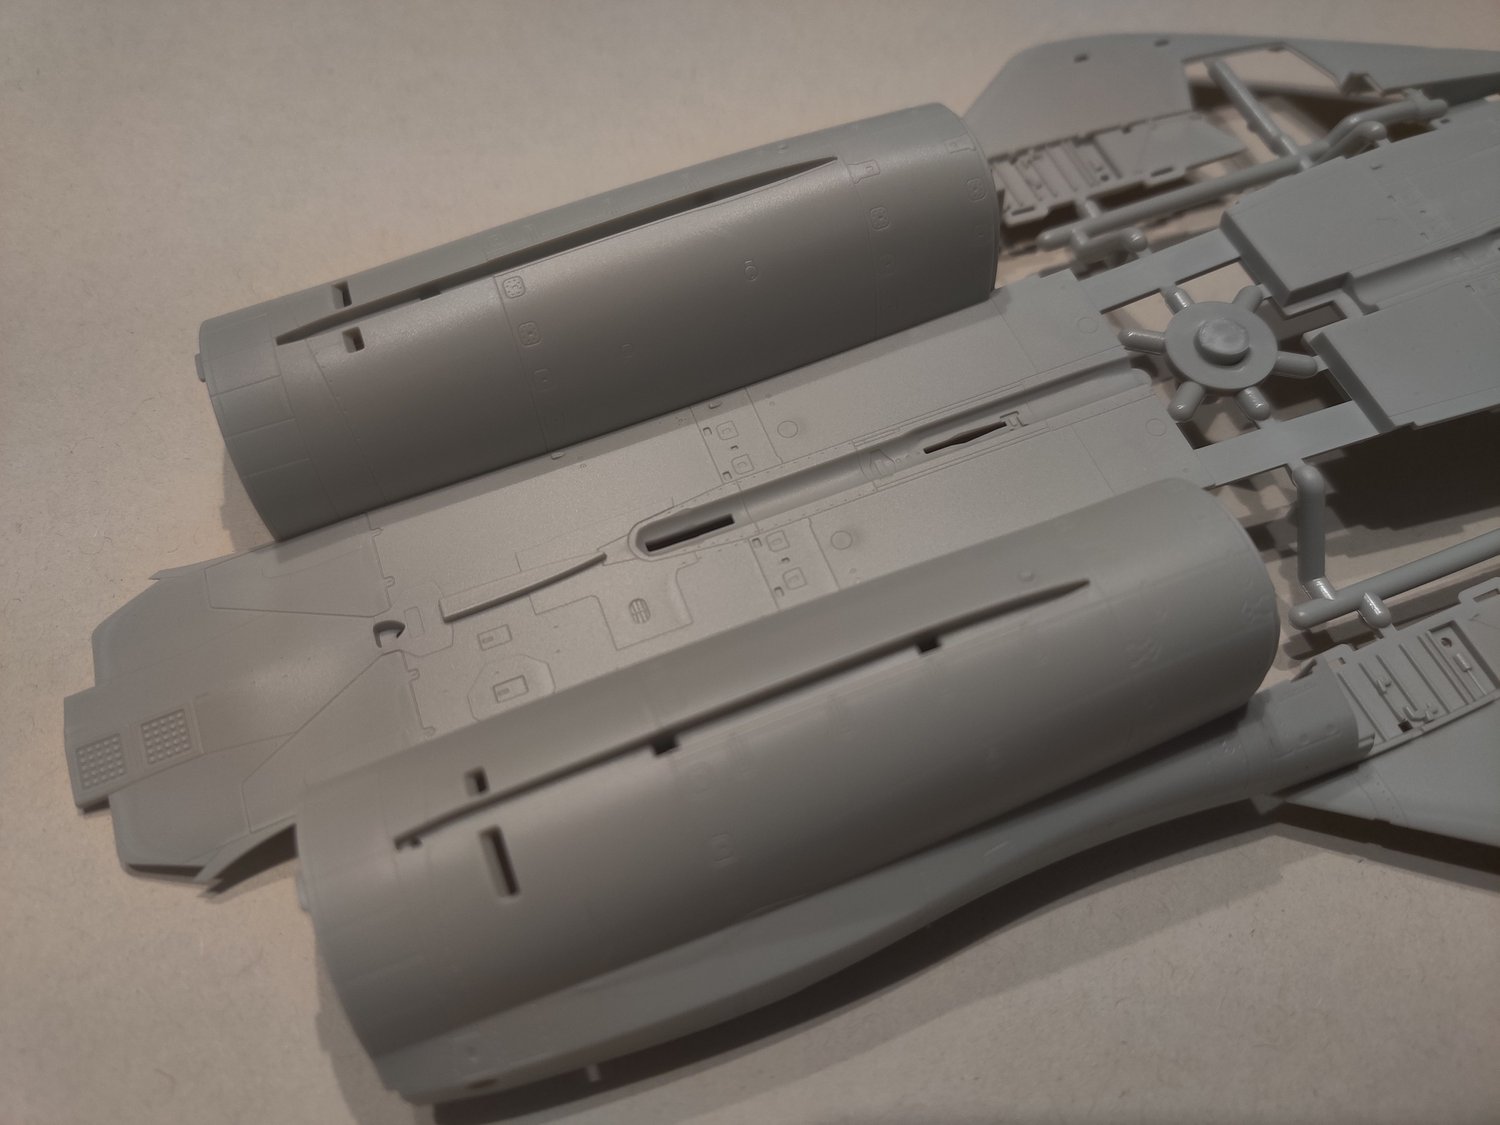
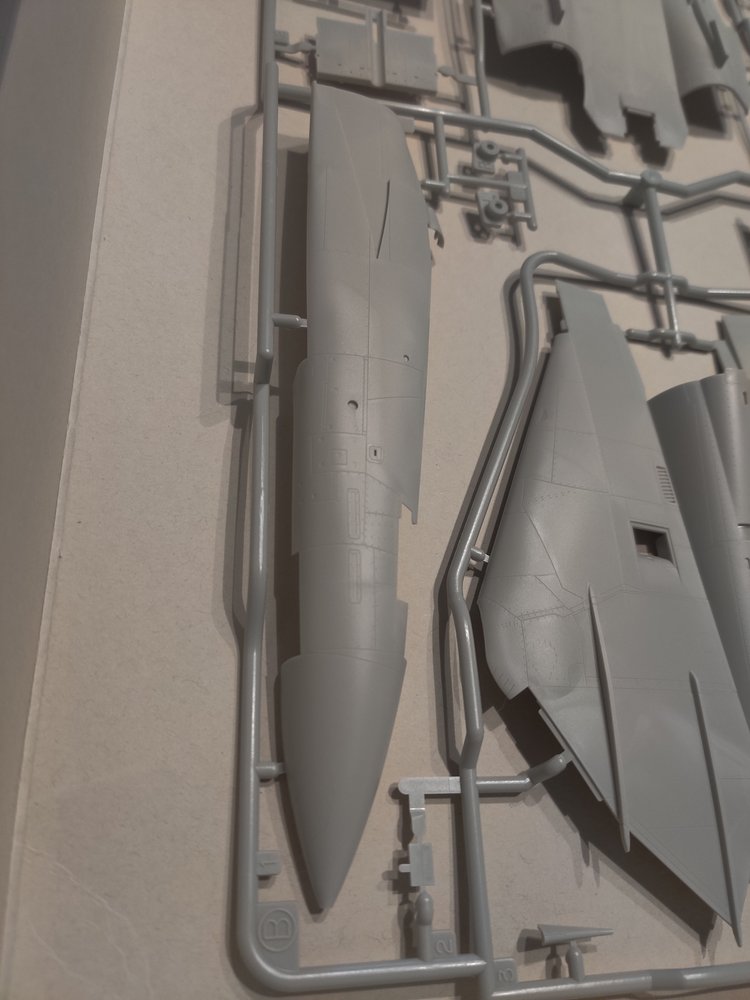
The detail here is substantially more impressive than that of the 1/72 kit I worked on previously, as one would expect when talking about the differences of a 30$ kit vs a 120$ kit. All of the panel lines are unbelievably crisp, though I worry that I’ll run in to issues when it comes time to panel line as we’re going to have a lot of paint layers applied to this kit. I’ll have to do some thinking when it comes to making sure all of this inherent detail shines through when the kit is done. The detail on the cockpit is also outstanding, with lots of the buttons, switches and handles being represented faithfully.
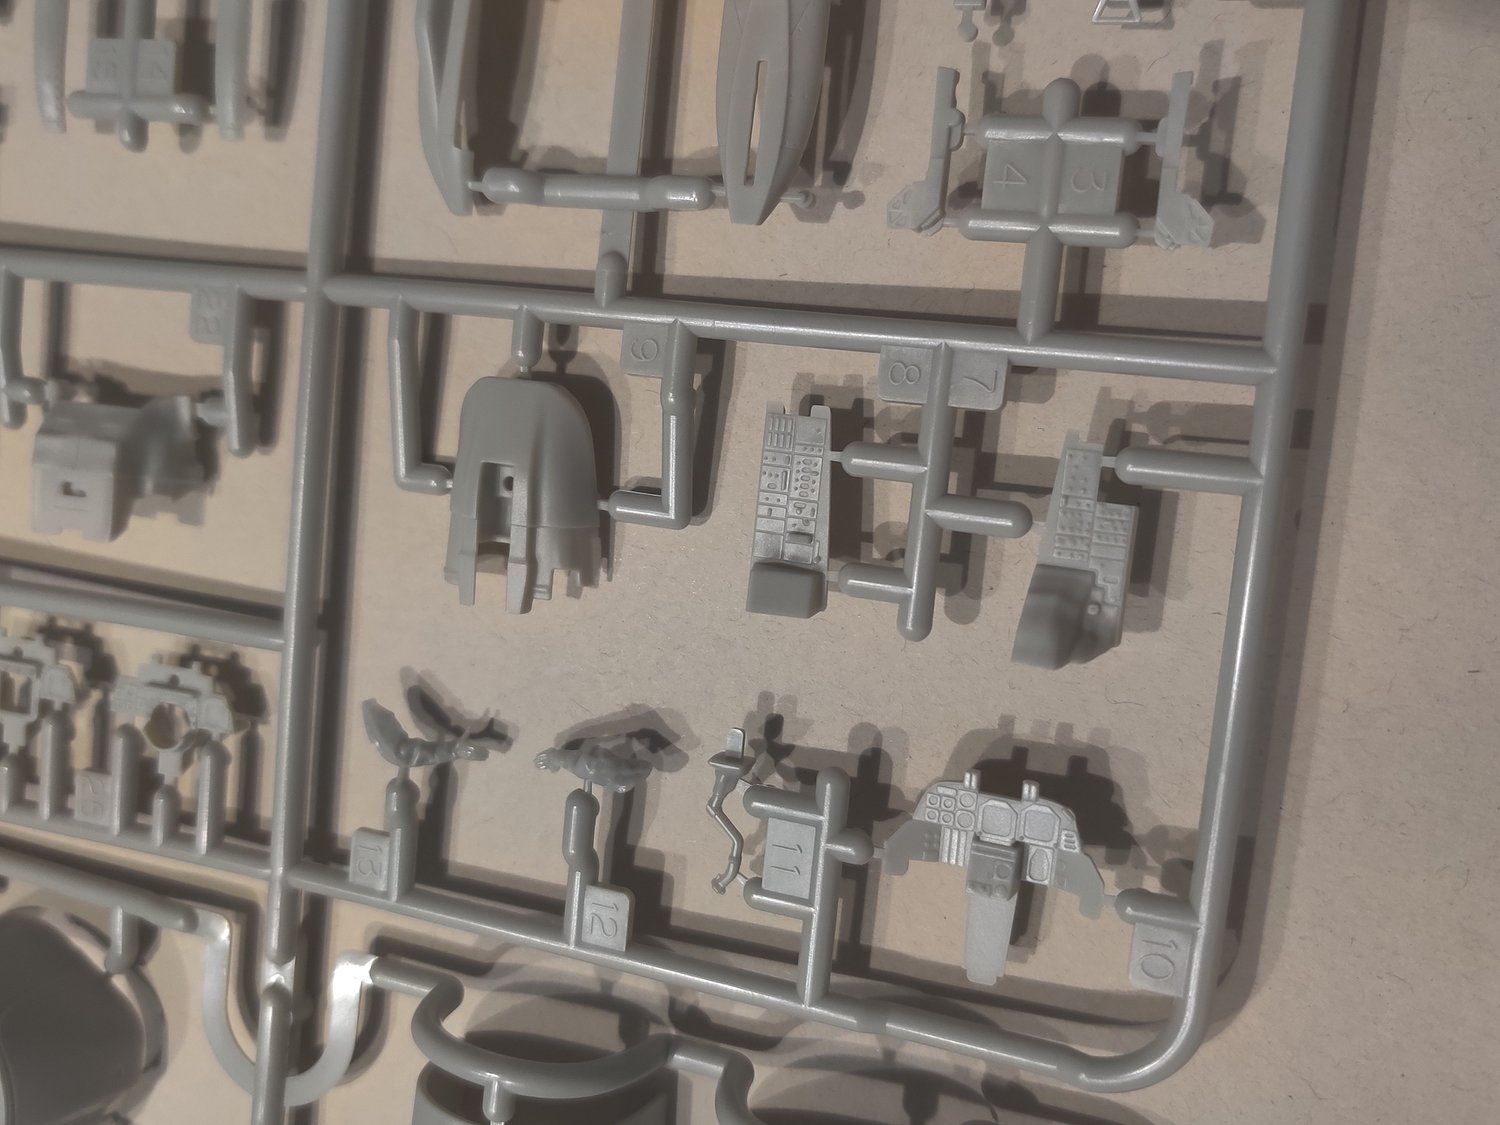
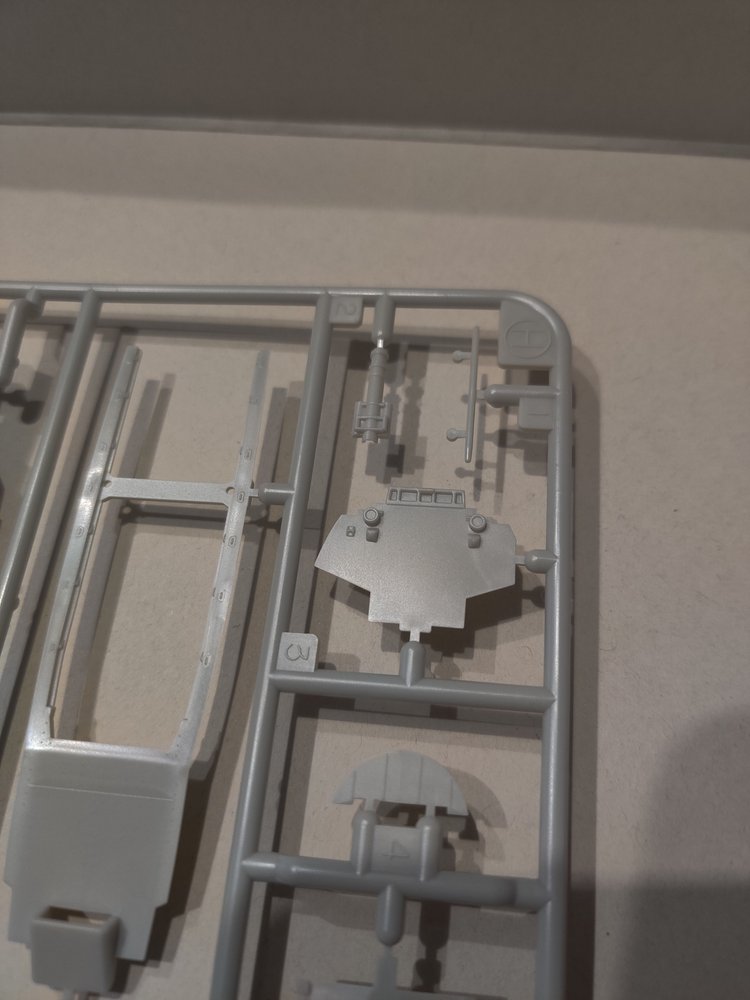

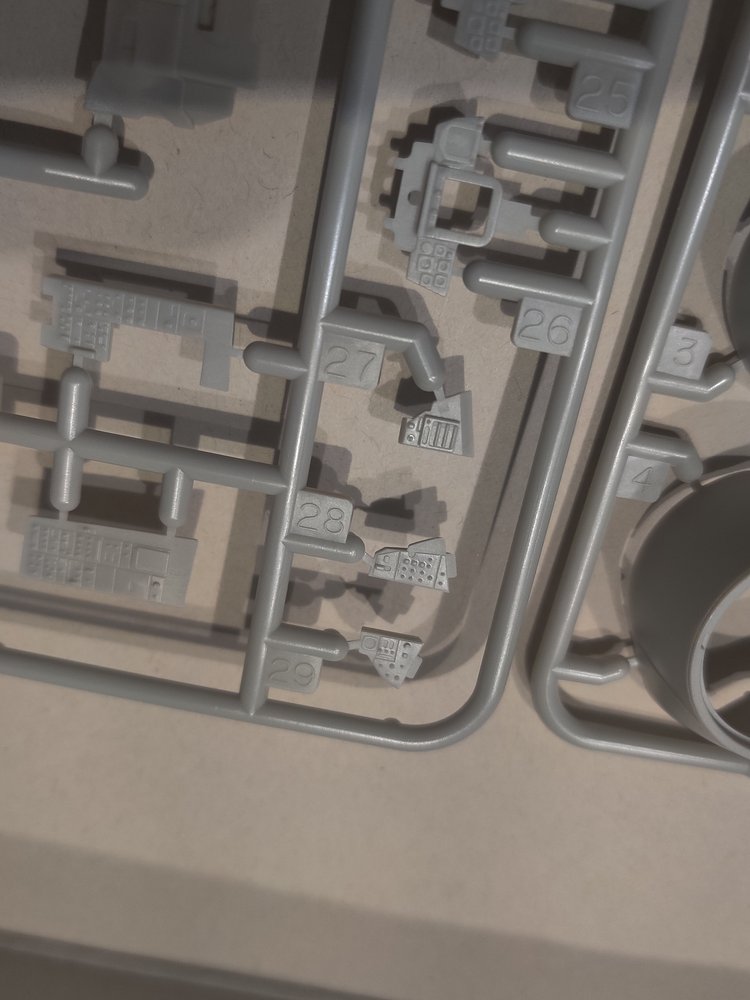


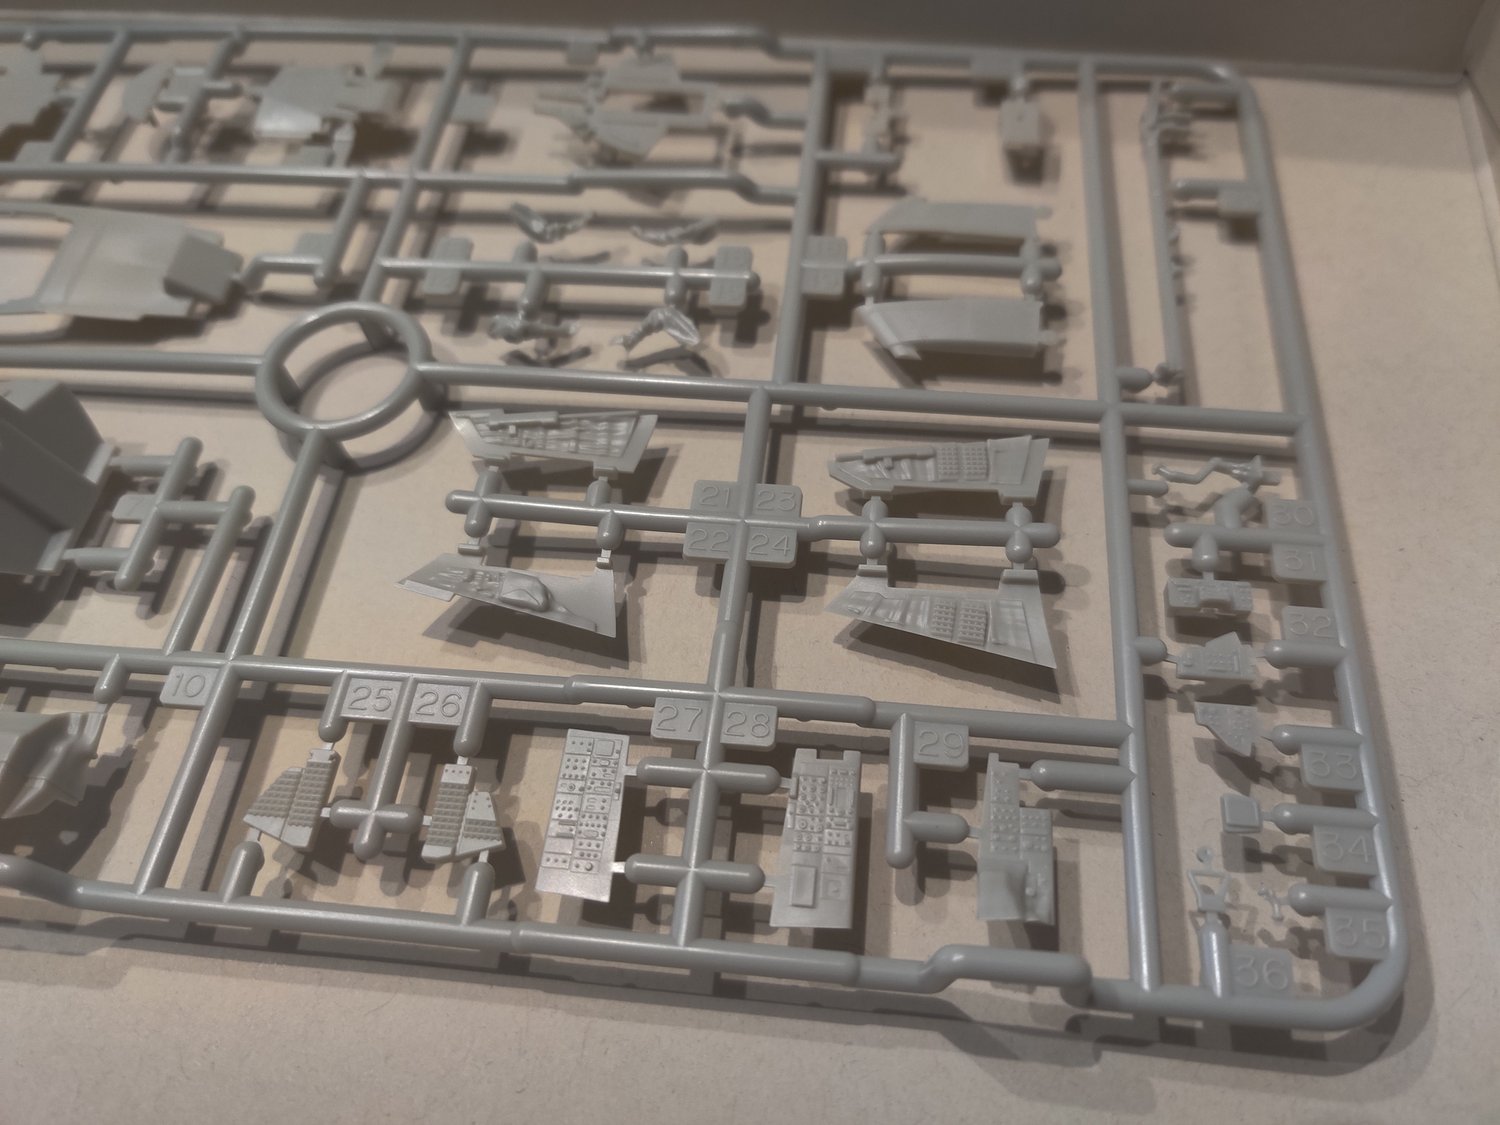
While the detail on these parts are great, I wanted to take this kit further than the stock parts could and as a result I’ll actually be sanding off a lot of the detail on the instrument panels to make room for the Quinta Studio 1/48 F-14D Tomcat Interior Detail Set.
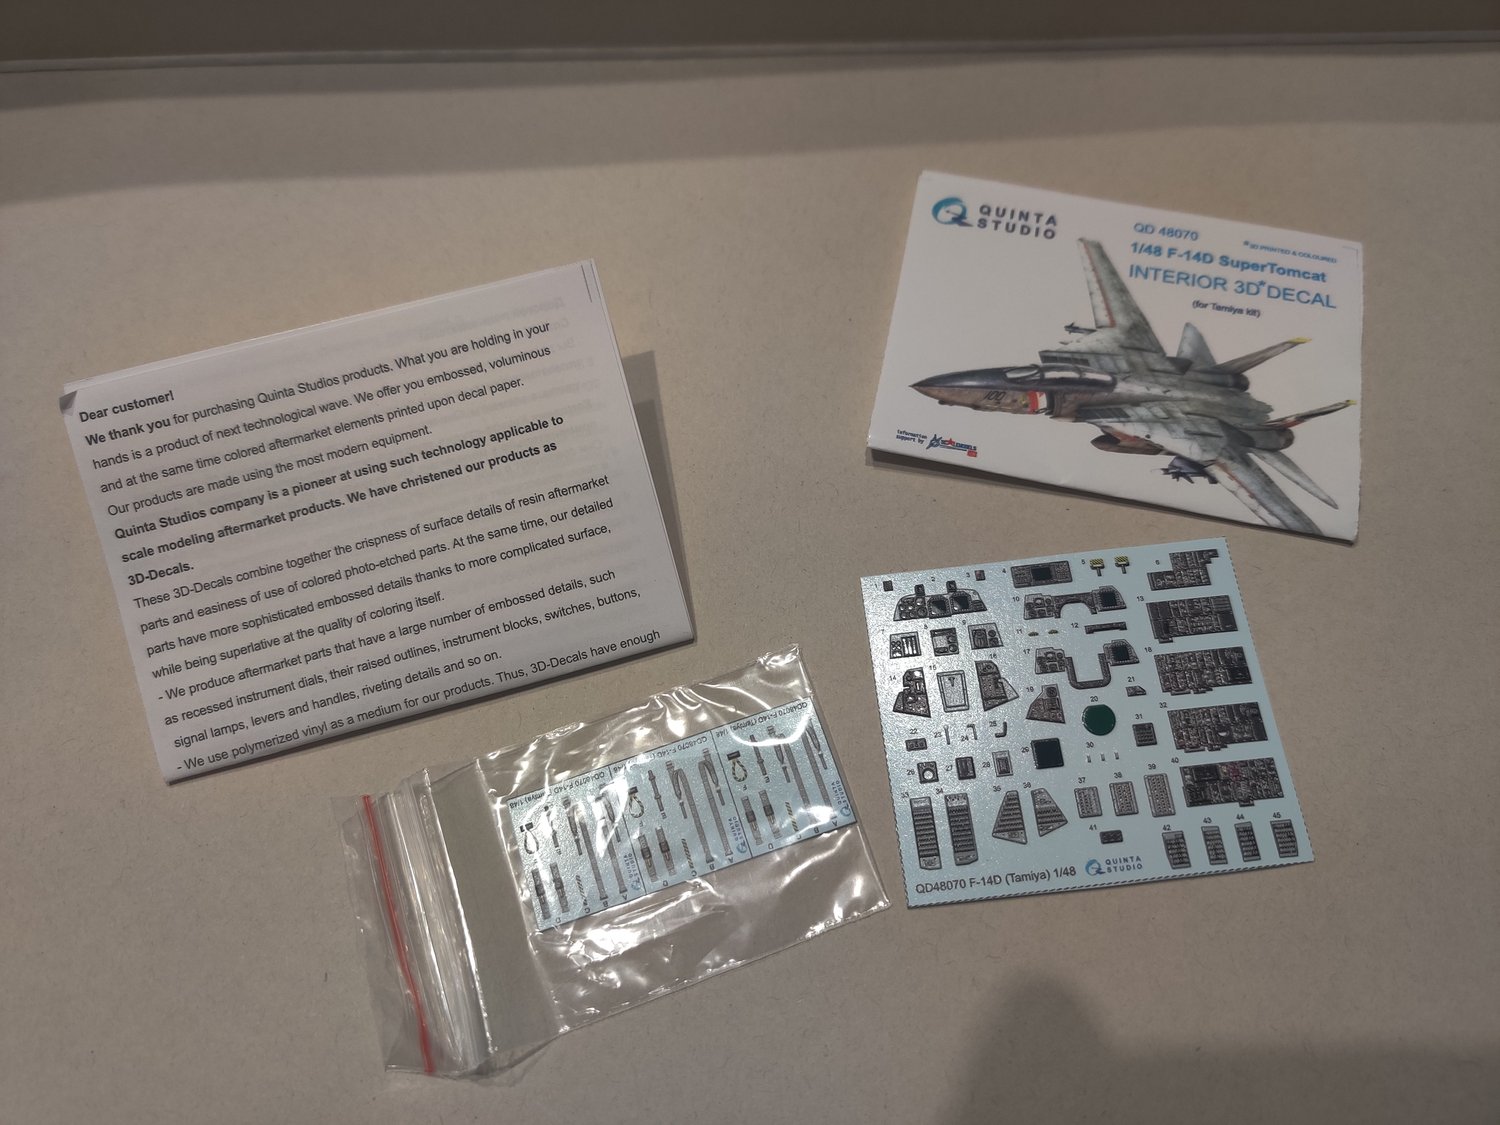
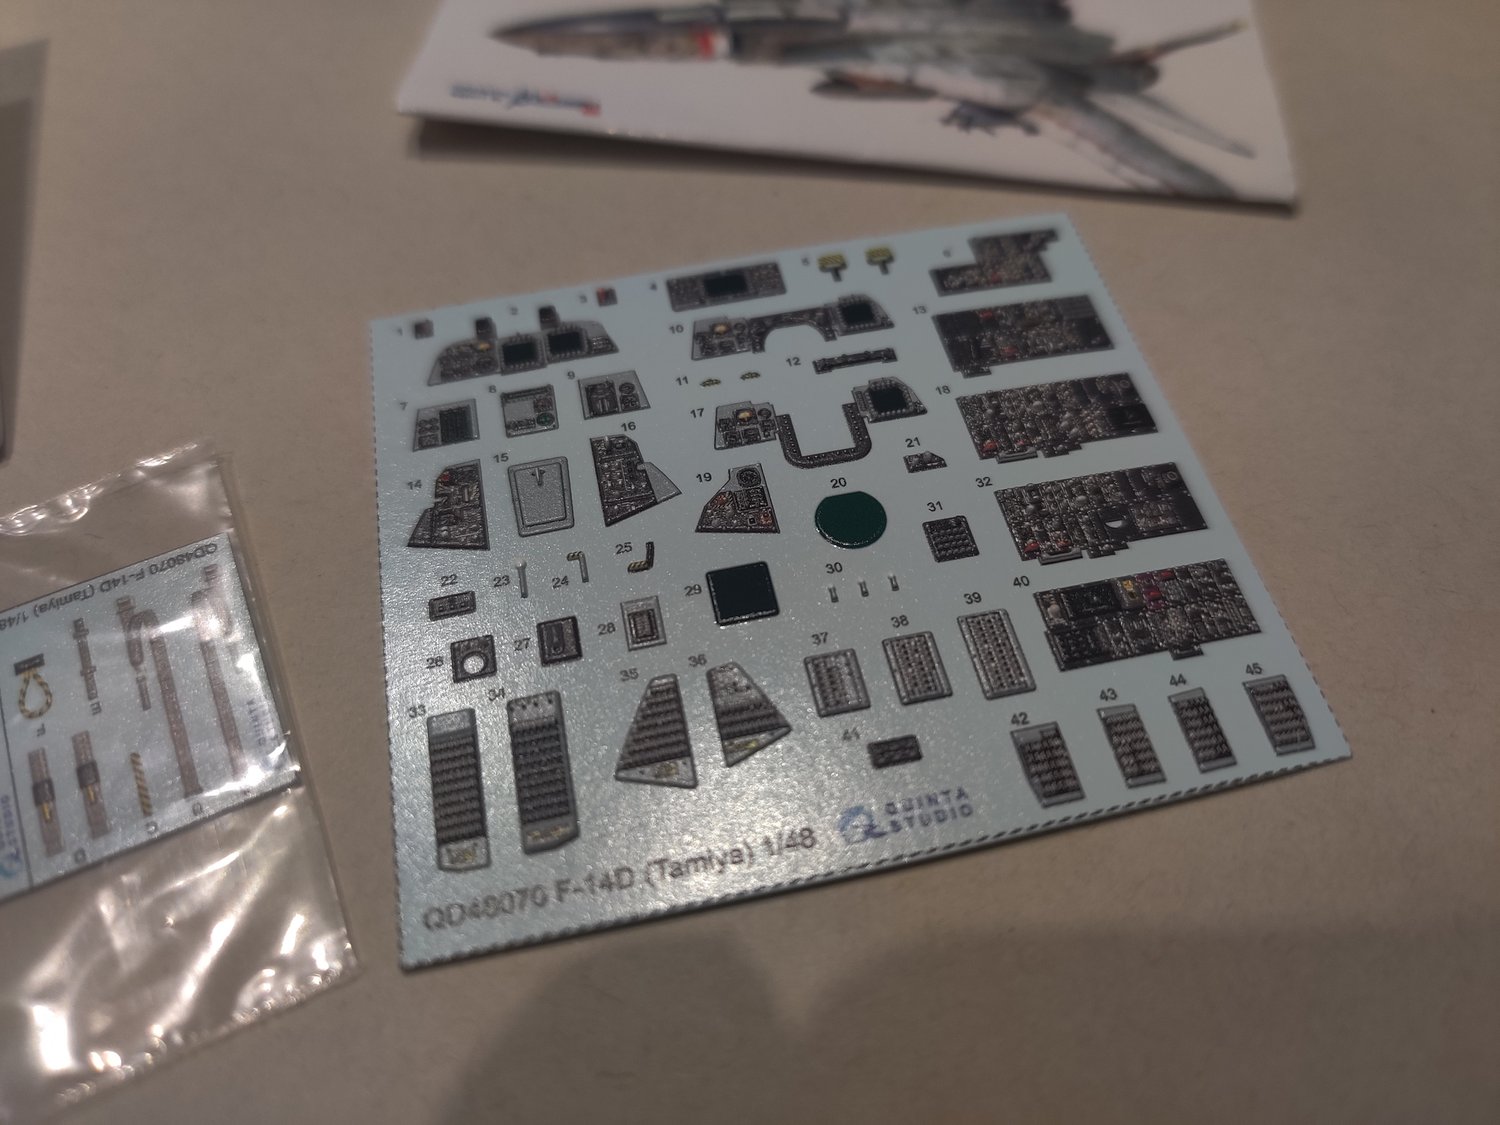
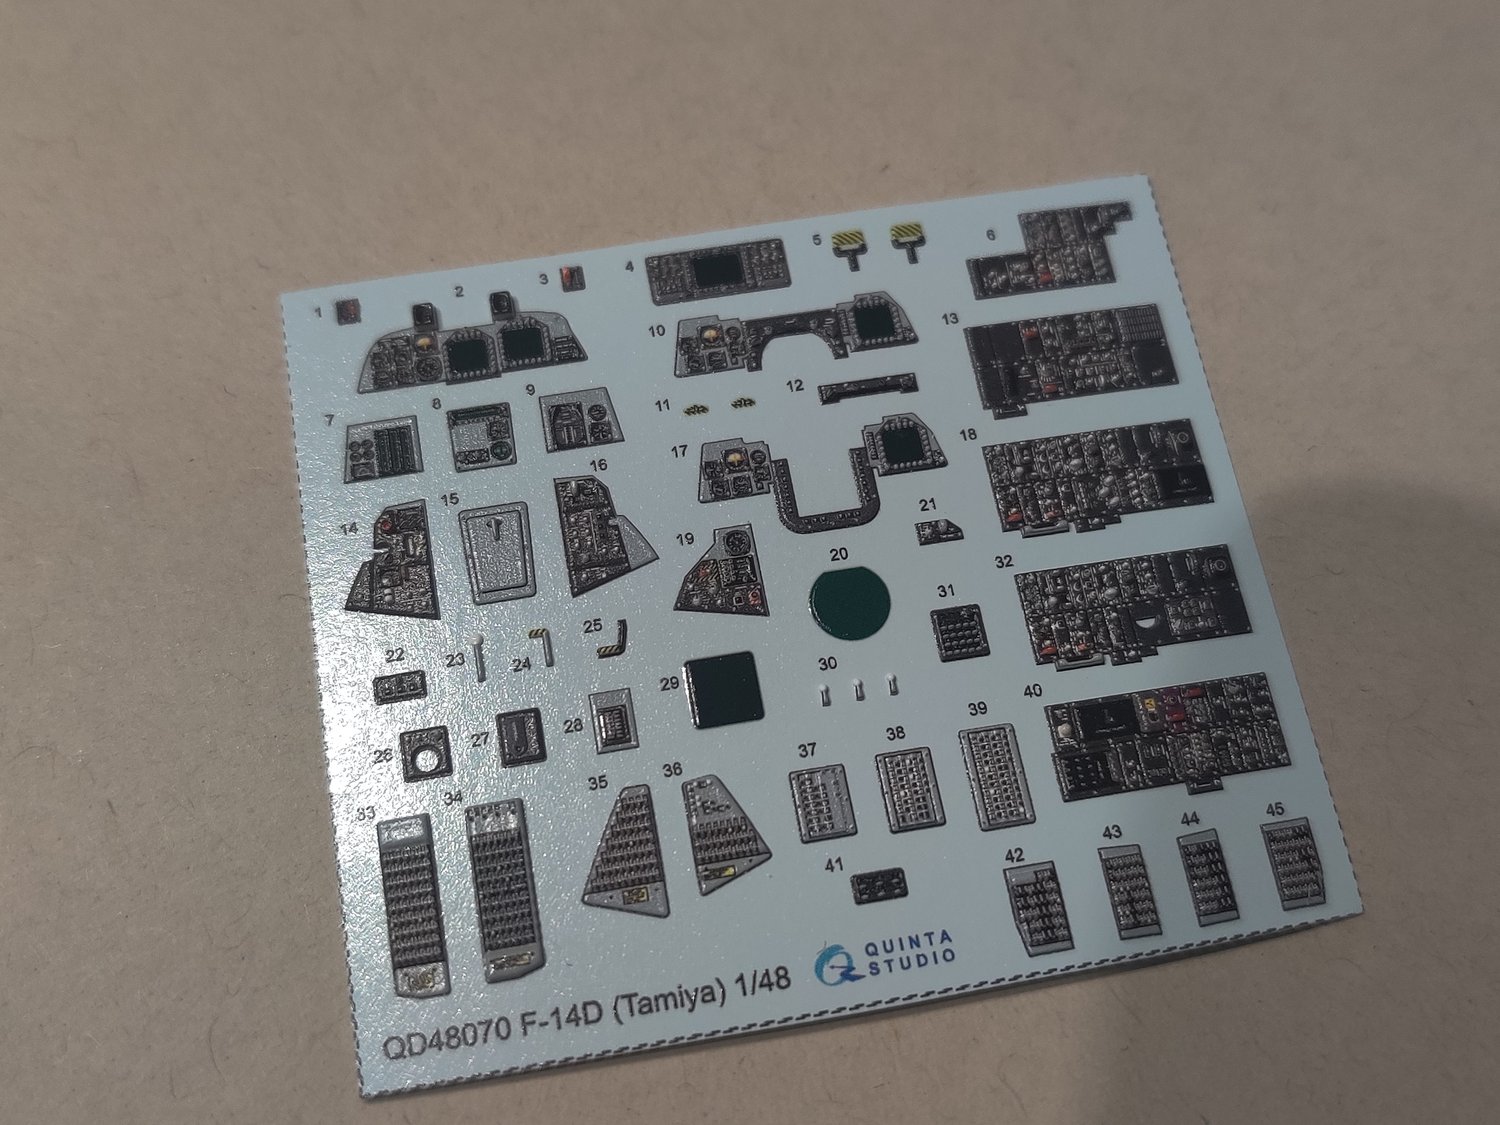
Using these aftermarket parts will be nice since it cuts down on a lot of the small detail painting I would need to do otherwise and the extra depth I’m going to get out of them should really make the cockpit truly a sight to behold. I think they’ll need a light wash to complete their look, lest they look too pristine. Since I decided to upgrade the look of the instrument panels, I wound up getting a set of the Brassin 1/48-F-14D Ejection Seats too.

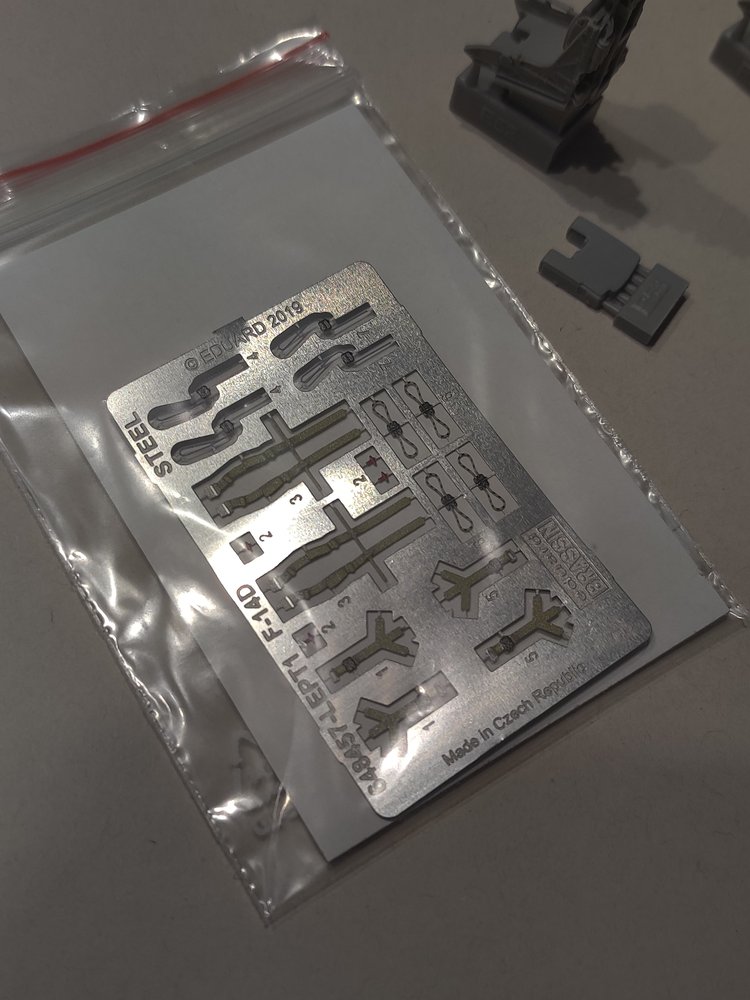

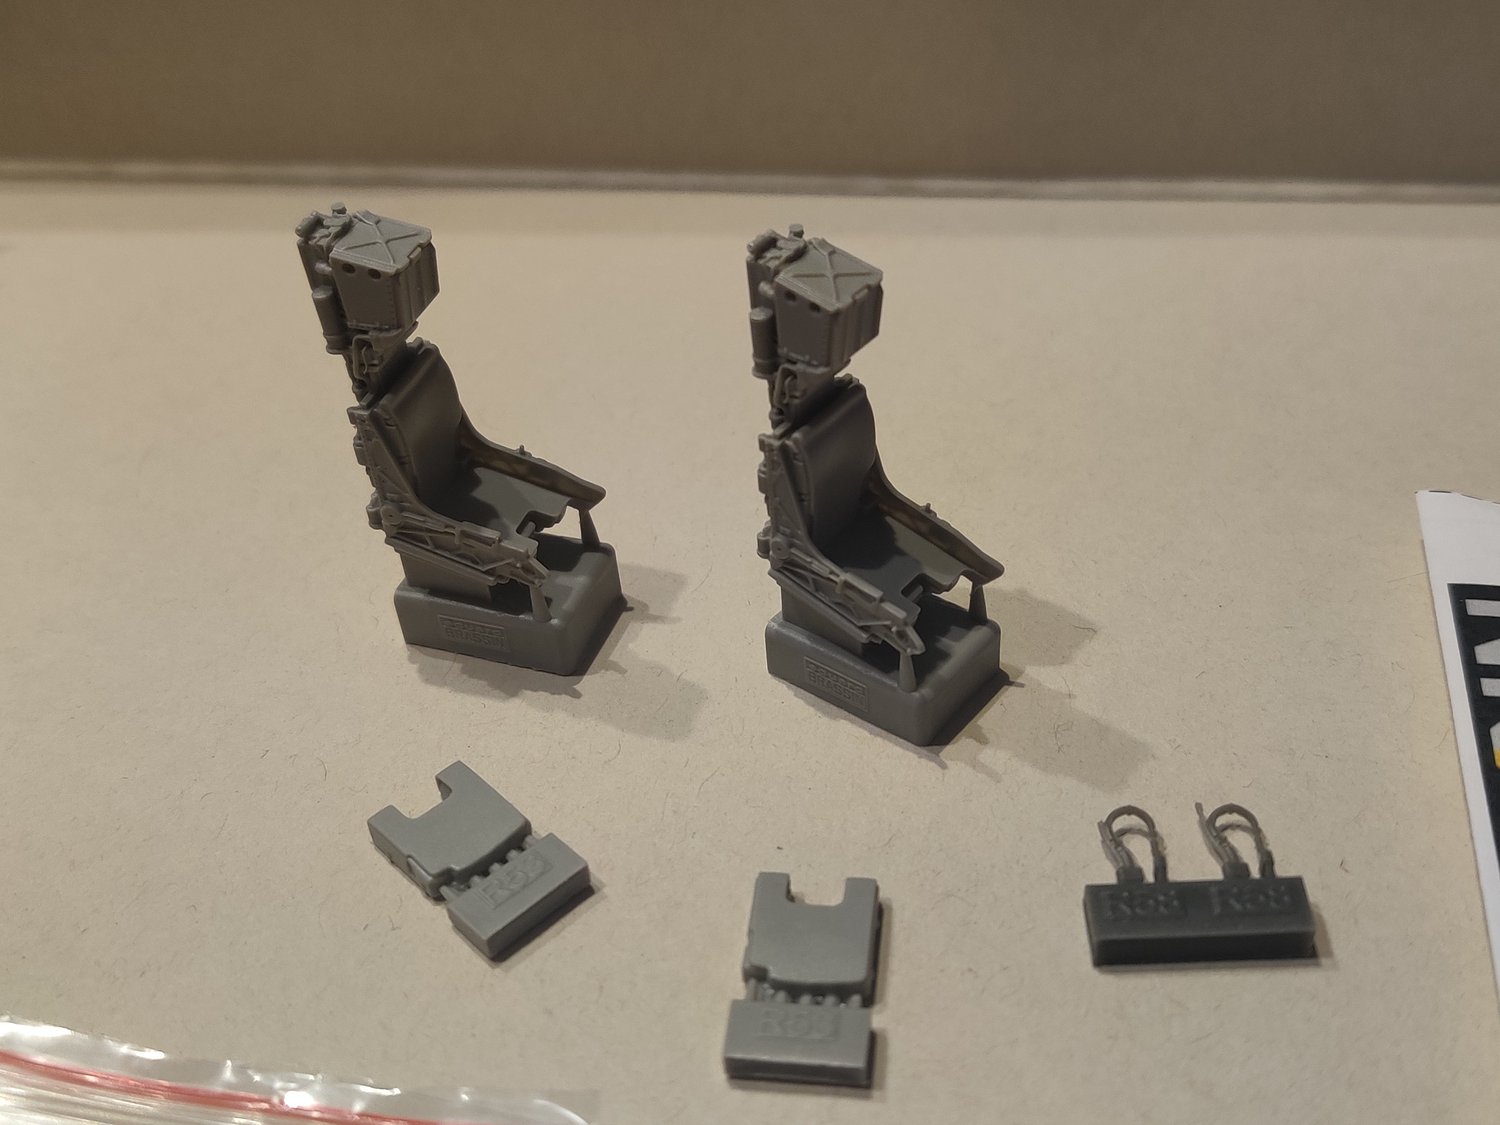
The stock detail on these parts is perfectly fine but in if I’m in for a penny, I’m in for a pound. Expect comparison pictures between all of these afterparket parts and what’s included in the stock kit too, because if I’m going to go this route I think it' would be nice to show off the differences! I’m contemplating more aftermarket parts for sections like the turbines and some additional cockpit + exterior detail, but we’ll see if I decide to shell out the extra money for those parts.
Let’s check back in on some of the other things that come with this kit, though:
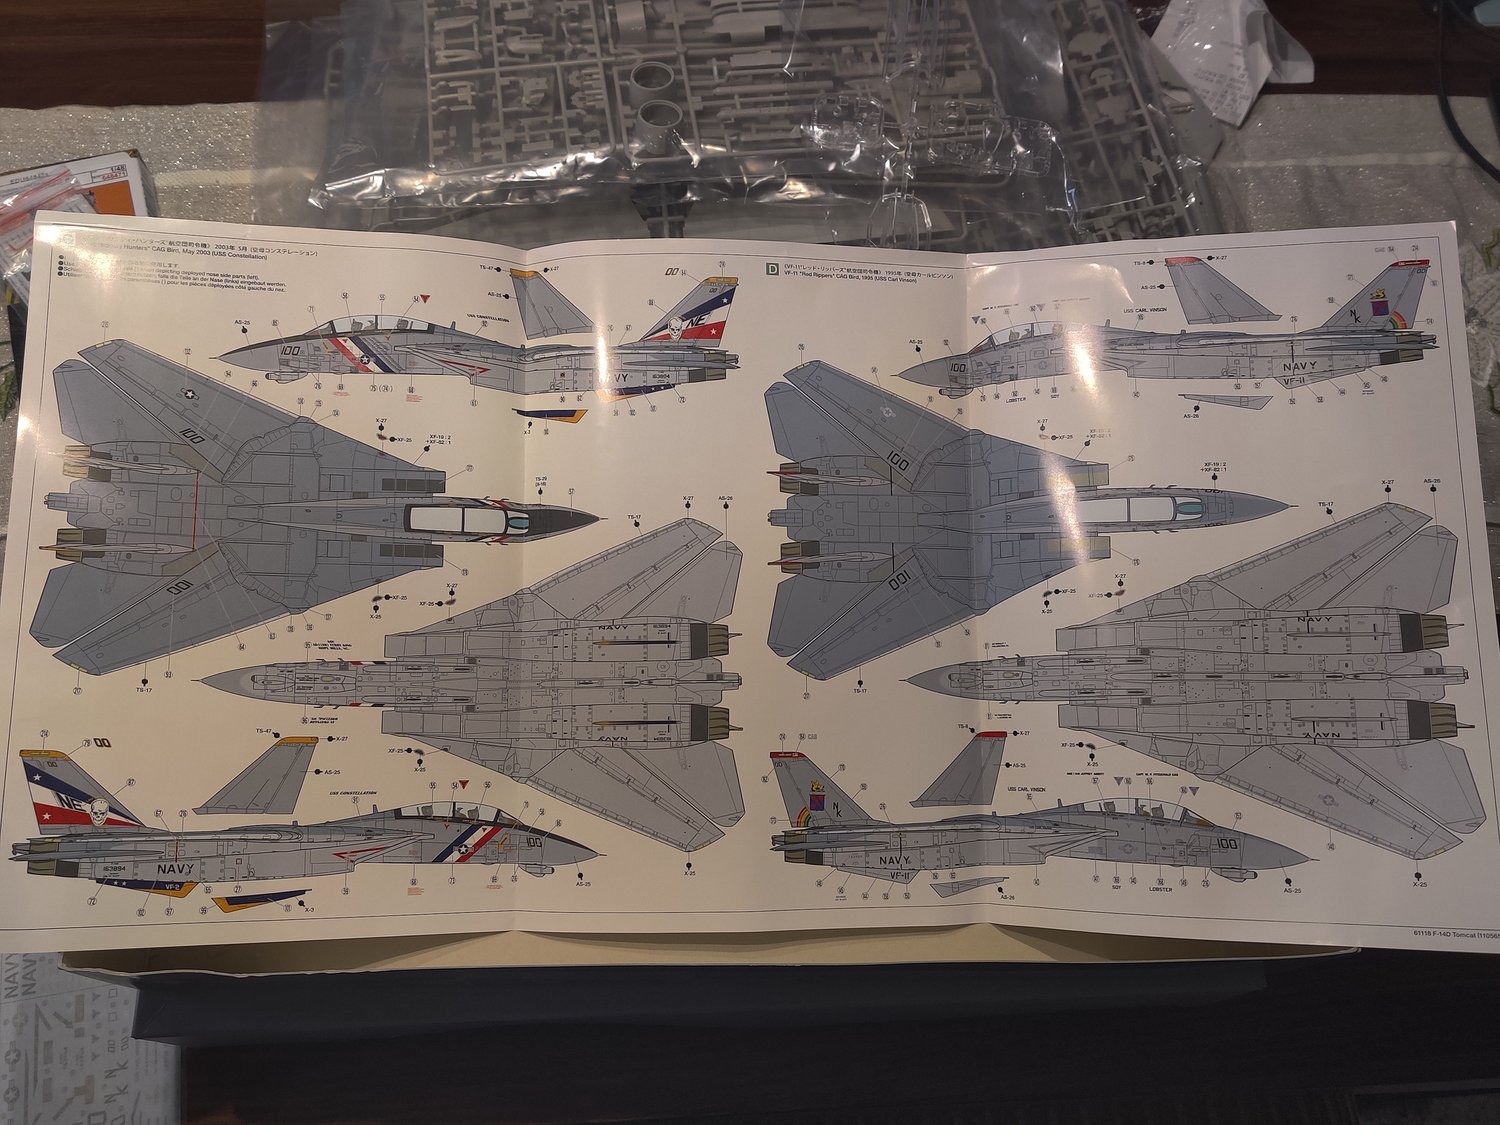
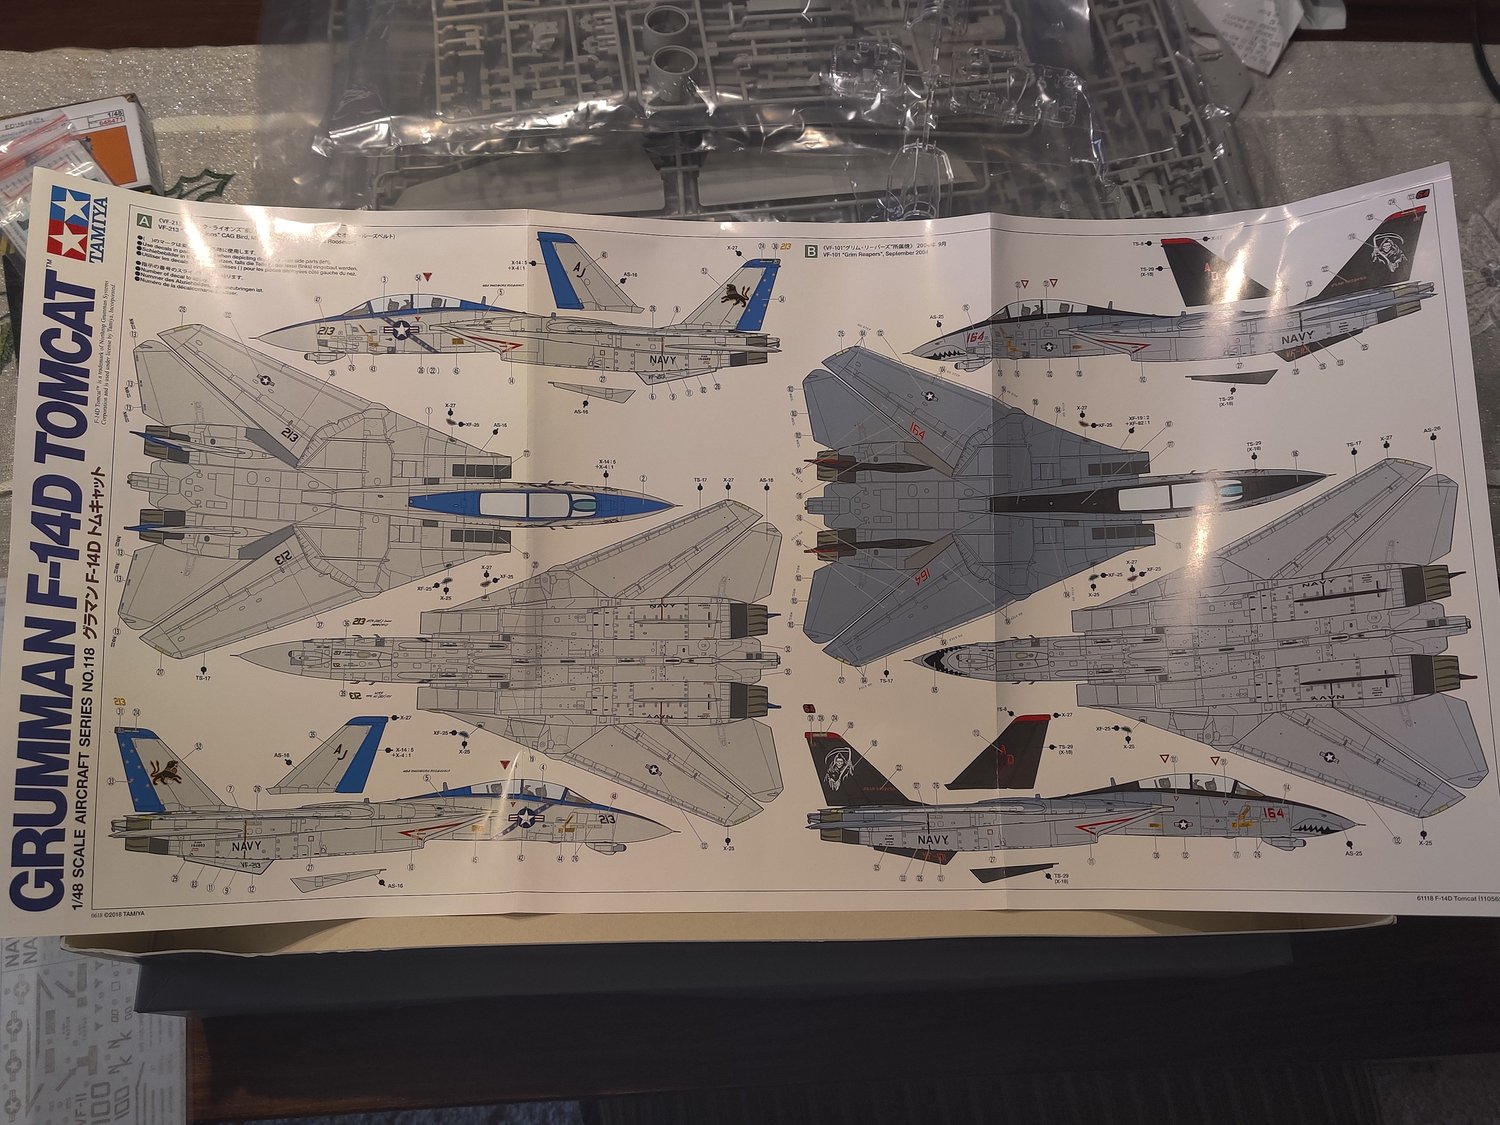

We’ve got an absolutely massive marking sheet, because we’ve got our choice of four different sets of markings for this kit. Personally, I’ll be going with the Black Lions squadron for my paintjob + decals since I couldn’t resist a subtle reference to the RX-0 Banshee Gundam. Also included is a set of masking decals for the canopy detail, which is extremely welcome since masking that off myself on the 1/72 F-14A was a real pain in the butt. Speaking of the canopy, here’s that part too:
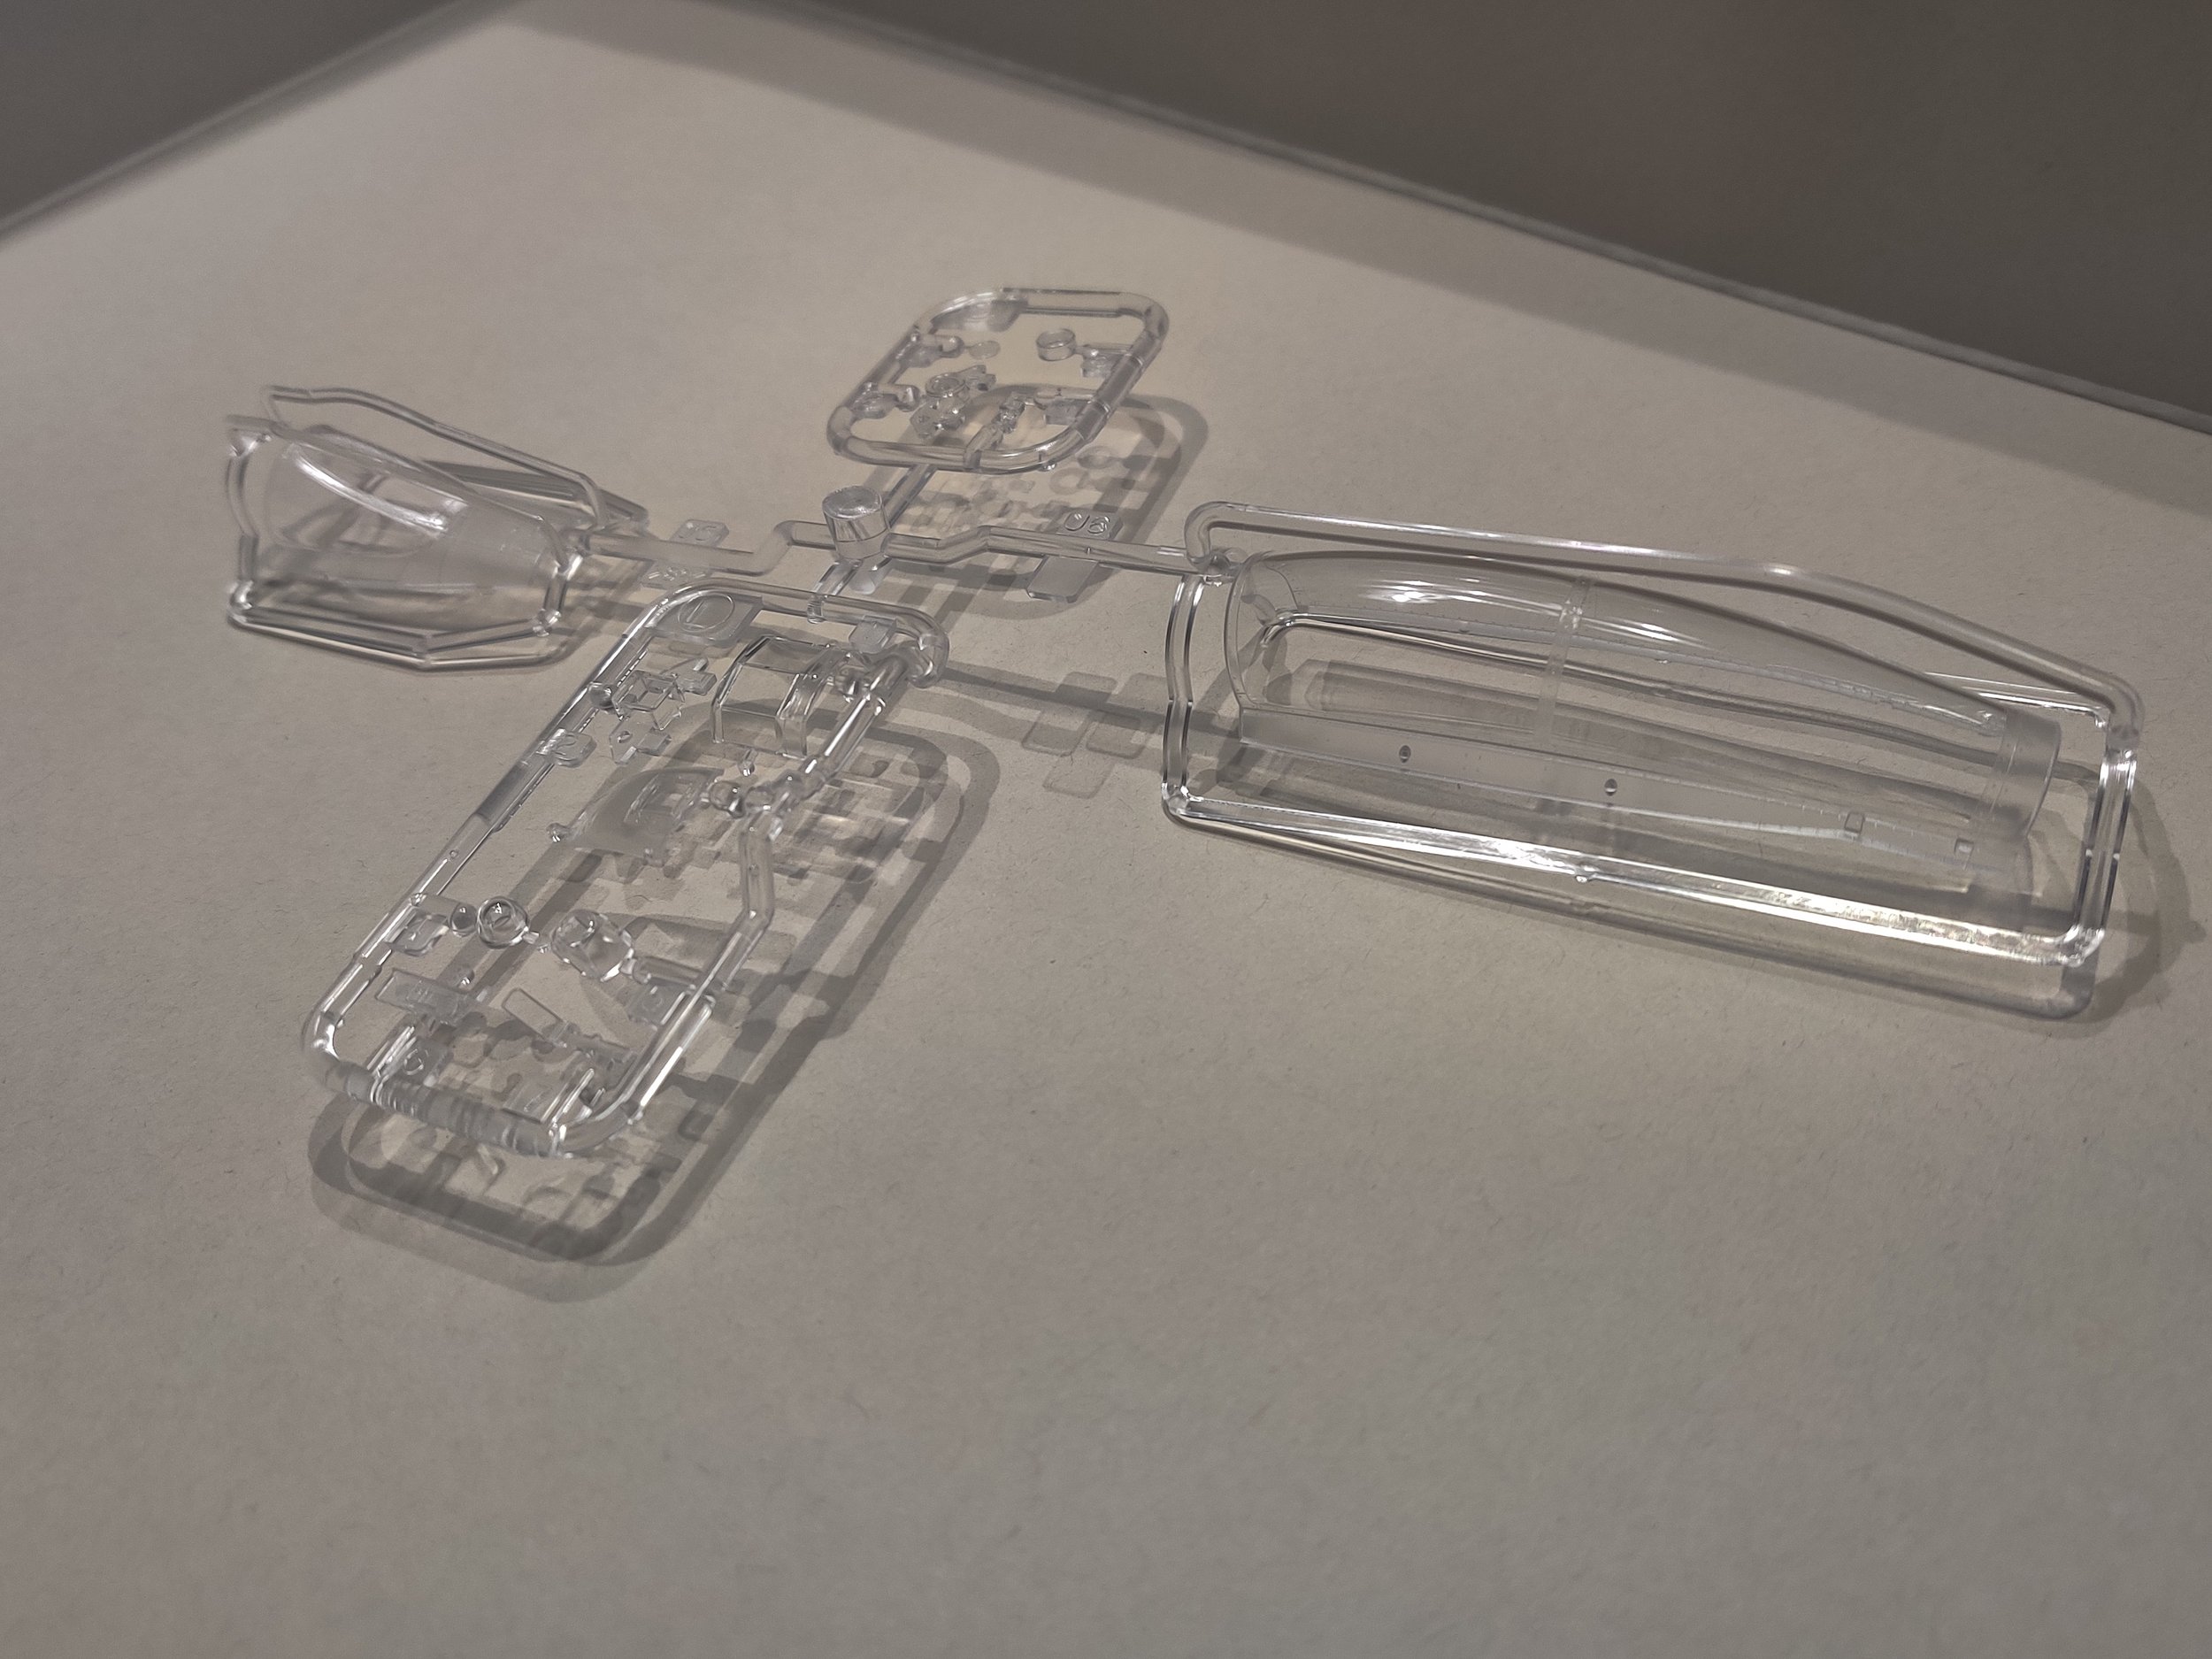
The extra protection molded in to the runner to prevent scratches or damage to the clear parts is especially nice.
This concludes going through everything that’s in the box! Frankly, very impressive detail and molding for a 124$ kit. However, I’m far from an expert on F-14s so if there are details that are inaccurate or otherwise lacking….I don’t notice them. Maybe some day when I’ve been at this for longer I’ll find criticisms of the kit in that vein but for now I’m just marveling at how nice this kit is.
The next WIP post will be coming along soon, since I’ve already gotten all of the cockpit and front-end fuselage cut out and prepped. Right now I’m working my way through sanding panel detail down for the aforementioned 3D decals and boy some sections are tough to grind down! I’m excited to finish up the section I’m working on now and to show that off though, so keep on checking back here for WIP #1: Cockpit detailing!
’Til next time!